Wood Stabilizing #3 Unwrapped and Unplugged
One of the things I was trying to find out about wood stabilizing when I embarked on this adventure was whether it would be possible to work the resulting pieces of wood with hand tools. I'm not completely sure of the answer yet, but I have a few observations. But I'm getting ahead of myself.
The first thing you notice when unwrapping the wood from the foil is that there's excess plastic everywhere. It sticks to the foil, it sticks the foil to the wood, and it crinkles and flakes off and will be all over your shop. It's pretty easy to remove from the wood using a knife, but less so with a plane. I tried both a jack plane and a block plane, and both had trouble getting a “bite” through the plastic on the surface.
Maybe it's just that my planes aren't super sharp at the moment, but I found it a lot easier to get down to wood using a knife or sanding block. And it was a lot easier to work with wood that had been relatively smooth to begin with. Next time, I'll plane everything before stabilizing it, rather than going straight from the saw to the resin.
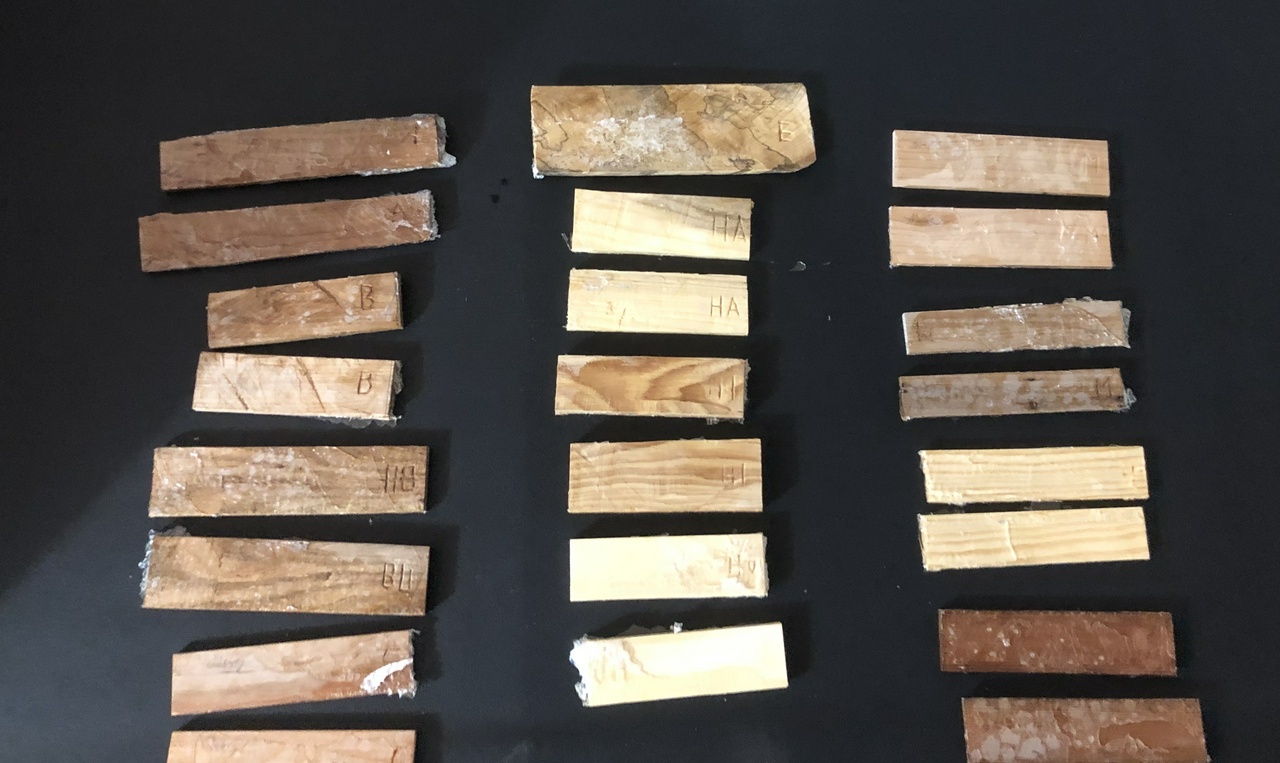
Here are a series of images of each wood. In some cases, I've included a before picture, but not always. I tried to get down to bare wood, which goes pretty slowly with a plane, and pretty quickly with a sanding block with 60 grit paper.
Apple:

Birch:

Butternut:

Cherry:

Spalted Elm:

Hackberry:

Hickory:

Holly:

Hard Maple:

Soft maple:

Pine:

Redwood:

The first thing that struck me is that every wood carved like the finest walnut and as though my tools were razor sharp. It's a little unnatural, but then I guess that's the point of stabilizing wood, isn't it? It almost entirely eliminates the difference in hardness between early wood and late wood in pine and redwood. The soft maple and spalted elm were firmed right up. And the elm, which was cut at a 45°︎ angle, such that I was working in end-grain, carved as easily as anything else.
With a plane, the elm showed little tiny tear-out when I was planing it the wrong direction, so it's not as though the wood has completely turned to plastic. There is still some effect from the grain, but it's been minimized. With sharp tools, it's hard to go wrong. But getting a shaving started with the plane is nearly impossible until you've cleared the surface of any excess resin. That's easier with sandpaper. If you do try to plane off the excess resin, be prepared for a bunch of white dust and plastic chips all over everything (you can see them on the block plane in the “birch” photo above). But you'll have a dust if you sand too. For the hand-tool woodworker, stabilized wood is just going to be a little messier.
Color-wise,it was kind of a mixed bag. Hard maple and holly both darkened up quite a bit. Birch went from fairly pale to looking like decades-old birch overnight. Butternut, cherry and hackberry hardly seemed to change color at all. Hickory also darkened up significantly, and was a pain to work, which isn't much change really. Softwoods went from uneven and requiring razor-sharp tools to easy and pleasant to work.
So what do I think? I'll almost certainly stabilize more wood. Especially for punky or spalted stuff, stabilizing makes it work like “normal” wood. And I suspected it would make softwoods easier to work, and that's definitely the case. I'll probably have more after I've had a chance to experiment more.
Discuss... Reply to this in the fediverse: @davepolaschek@writing.exchange