Running an XRPL validator on a Raspberry Pi 4

**WARNING**
**This is an experiment for educational purposes only. Keep in mind that running a production-grade XRPL node requires dedicated, professional hardware and expertise handling servers, updates and software in general, as well as time to take care of the node. This experiment is just an attempt to demonstrate the capabilities and efficiency of the XRP ledger, and a cheap and easy way of introducing yourself to how the XRPL works.**
TL;DR: I've prepared a fast-and-dirty installation script for you, but it's been tested only once.
A few months ago, I bought a Raspberry Pi 4 with an idea in mind: to build and run an XRPL validator node on it. Since the XRP ledger does not rely on mining or other similar computing-intensive tasks to reach consensus, it makes a great candidate to be tested on cheap, low-powered devices like Raspberry Pis and other SOCs. And I’m a great fan of those little machines. How great would it be to have an experimental validator on the palm of your hand?
I had been looking at the requirements for a while, but those recommended 8 GB of memory were definitely a no-go for my 1 GB Raspberry Pi 3. And then the Raspberry Pi 4 8GB came onto the market, so I could do nothing but get one. The other of the unmet requirements for me was an SSD disk with at least 50 GB, and as you may already know, the Pi boots from SD cards, which are not known by their I/O speed. I bought a cheap Kingdian USB SSD 120 GB disk with the hope that this would be enough, and an Argon Neo case to keep the Pi fresh to avoid throttling.

As xrpld runs on 64 bits, as soon as I got my hands on the pi I installed Ubuntu 20.04 on it. The other option was to try Raspbery Pi OS 64 Beta, but as it had been under three months since its release at that time, I opted for the Ubuntu path as I felt it might be more mature and stable. I fired up the Pi, plugged the USB disk in and got ready to build xrpld. The instructions on how to build, configure and run xrpld (aka rippled) as a stock node can be found here. The XRPL is composed of two kinds of nodes: stock nodes, which store the ledger's history and allow API calls, and validator nodes, which participate in the consensus mechanism and vote for amendments. I decided to start with a stock node as it felt the right starting point to me.
Following the building instructions, everything went pretty straightforward with the exception of installing CMake, which gave me some trouble, so I ended up using the distribution’s package instead of the installing script. After maybe two or three hours, the build had been completed successfully. Now it was time to configure xrpld, but I wasn’t really sure of what I was doing, so I just set [node_db], [database_path] and [debug_logfile] variables on the node’s configuration file as per the install instructions. I pointed those paths to my SSD root and hoped for the best.
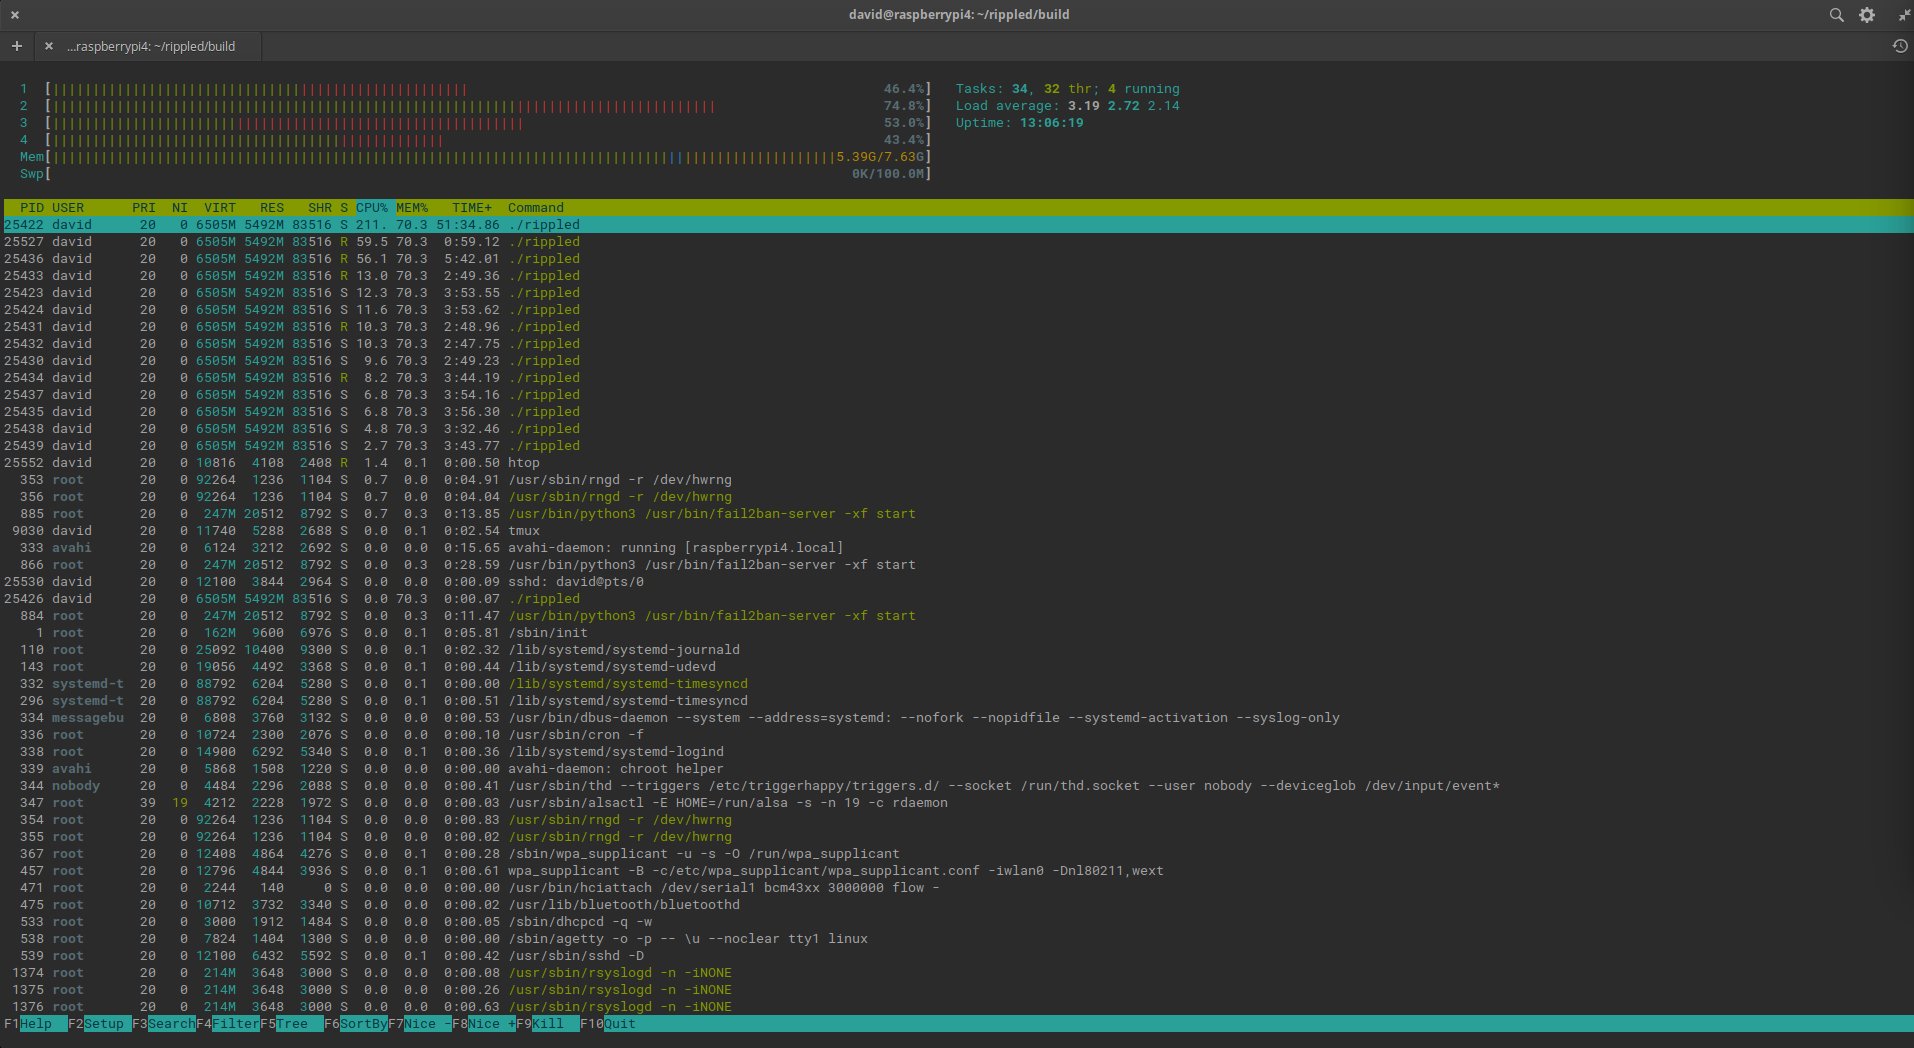
It seemed that everything was in place, and xrpld was ready to fire up. I ran the compiled binary and started looking at a bunch of logging information. After a while, I ran the following command to get some insight about the node status.
rippled server_info
When xrpld runs, it changes across different states: disconnected, connected, syncing, tracking and full. It is when you see the full state when you know everything is running OK. Ideally, you want a constant full state. You don't want a lot of transitions between states because that's indicative of some problem. And that was exactly what I was looking at. The node could not keep up with the network, and I wasn't sure why: maybe because of a not fast enough disk, or maybe it was the CPU. Somewhat lost, I contacted Nik Bougalis through Twitter, and he swiftly recommended me to touch some configuration things, like setting the [node_size] to tiny. That didn't solve the issue either, and after a few days trying, I put the experiment on hold with the suspicion that the storage speed was the root cause.
Fast forward to November, I started thinking about it again. I had read that with the last Raspberry Pi OS 64 beta it was possible to boot the entire system from an external USB drive, and I decided to give it another chance. I installed the new OS on the SSD and hoped that running not only xrpld, but also the system from a fast drive could make a difference. And it did: that was the first time I could run xrpld with almost no transitions. The tweet I posted on Twitter about that caught the eye of Alloy Networks, who started helping me on how to improve the setup, from turning xrpld into a systemctl service to advising about the configuration. Thanks, Alloy and Nik for helping me along the process.

After a few days running stable, and with the support from Nik, we decided it was time to step it up and turn the stock node into a validator. Who would have thought that doing it was as simple as adding some token to the configuration? Not me, for sure. And as soon as we added it, we could see a proposing state indicating the node was running perfectly. Mind blowing.
It was funny to see some comments assuring Nik that validating on a Raspberry Pi was not possible while we were already testing it.
For the last three months, I've been running the node, despite not on a day-to-day basis: sometimes for a few weeks, sometimes for a few days. Changing some settings and testing if something improves. We must understand that this should be taken as an experiment and it's not intended to be a production validator, but more an academic exercise. With last week's update to xrpld 1.7 and its astonishing performance improvements, I felt like it was the right time to write this post and encourage you to try it yourselves, so I prepared a small bash script that will download and build xrpld for you (despite doing it yourself is advised). You will have to configure it yourself, following the aforementioned instructions on xrpl's website. And keep in mind that some issues remain:
- Usually, xrpld on the Pi consumes about 4-5 GB of RAM. But every 2-3 days (sometimes less), the process starts growing until it is killed by the system, forcing it to restart.
- Not all tests in the test suite are passing. When running
rippled -u, you'll see some errors likeripple.app.Book BookOffer Limits ERR:Env Env::close() failed: null. - Since I updated from 1.6 to 1.7 I'm seeing some state transitions again. I'm not sure yet what is causing that.

Anyway, this is being a great experiment and I intend to keep it going. I also encourage those of you who have a Raspberry Pi at home (or are thinking about getting one) to join me and try to clear those remaining issues. For many, myself included, seeing a little machine like the Raspberry Pi achieving consensus on a distributed ledger can show what a great piece of software the XRPL is.