Raspberry Pi – Sense Hat .py 2
This is a continuation of my previous walkthrough “Raspberry Pi - Sense Hat”, which itself is part of a series describing setup of a Raspberry Pi (RPi) computer and beginner's Python programming.
To keep the previous walkthrough brief, I only described scrolling messages, today I'll explain another function of the SenseHat module. This will again be about the 8x8 LED array as these are functions you can visibly see even when using the emulator.
You may not have a Raspberry Pi, you can still follow along with this web browser emulator on any device: https://trinket.io/sense-hat
Fair warning – This'll be a long one...
We left last with a scrolling message, we begin here with showing letters. Open “Thonny Python IDE”, found in the “Programming” section of your application menu, press “Ctrl+N” to open a new file.
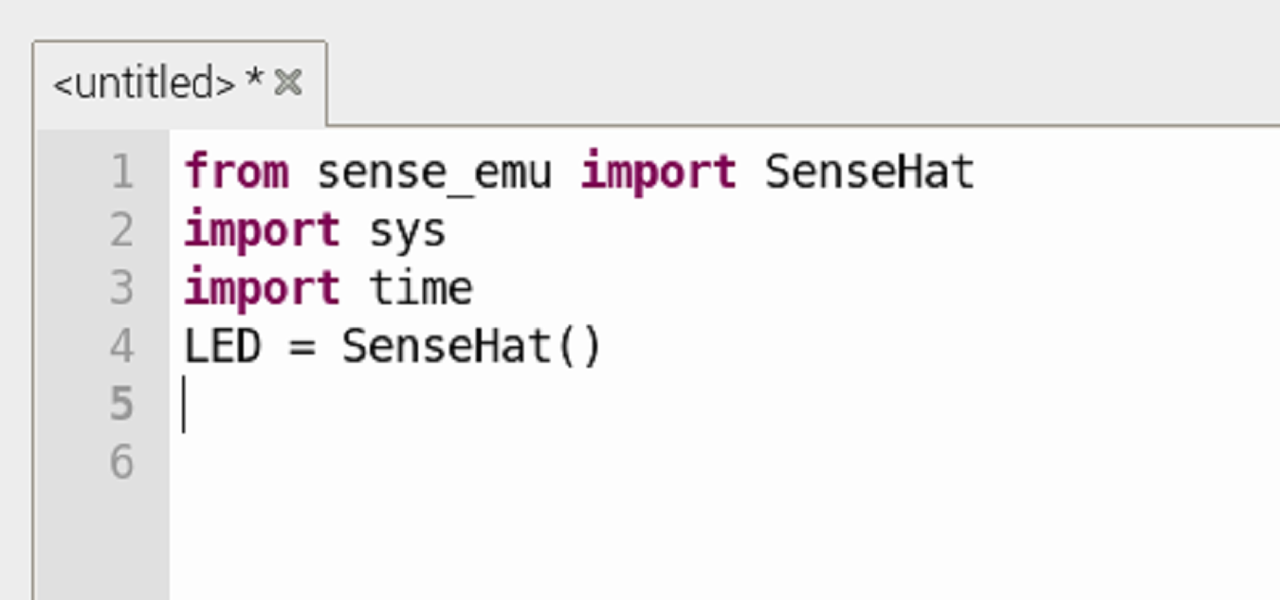
Next you'll need to import the necessary modules and packages, this allows your Python code to perform tasks. By typing from sense_hat in the script area we're asking the Raspberry Pi's GPIO pins [Those 20 pins on your RPi's board] to communicate with the Sense Hat accessory. If you don't own the accessory, you'll need to type “from sense_emu” instead to use the emulator. Continue by typing the following:`
from sense_hat import SenseHat
import time
or
from sense_emu import SenseHat
import time
Please remember that Python is case-sensitive and syntax is important too. For example, if you mistakenly type “import senseHat” and later ran the program an 'ImportError:' will be shown like this...

“import SenseHat” in this situation just required an upper-case “S”.
We'll now give the function “SenseHat()” a name, “LED”, this makes the code you're writing just that bit simpler. Type the following:
LED = SenseHat()

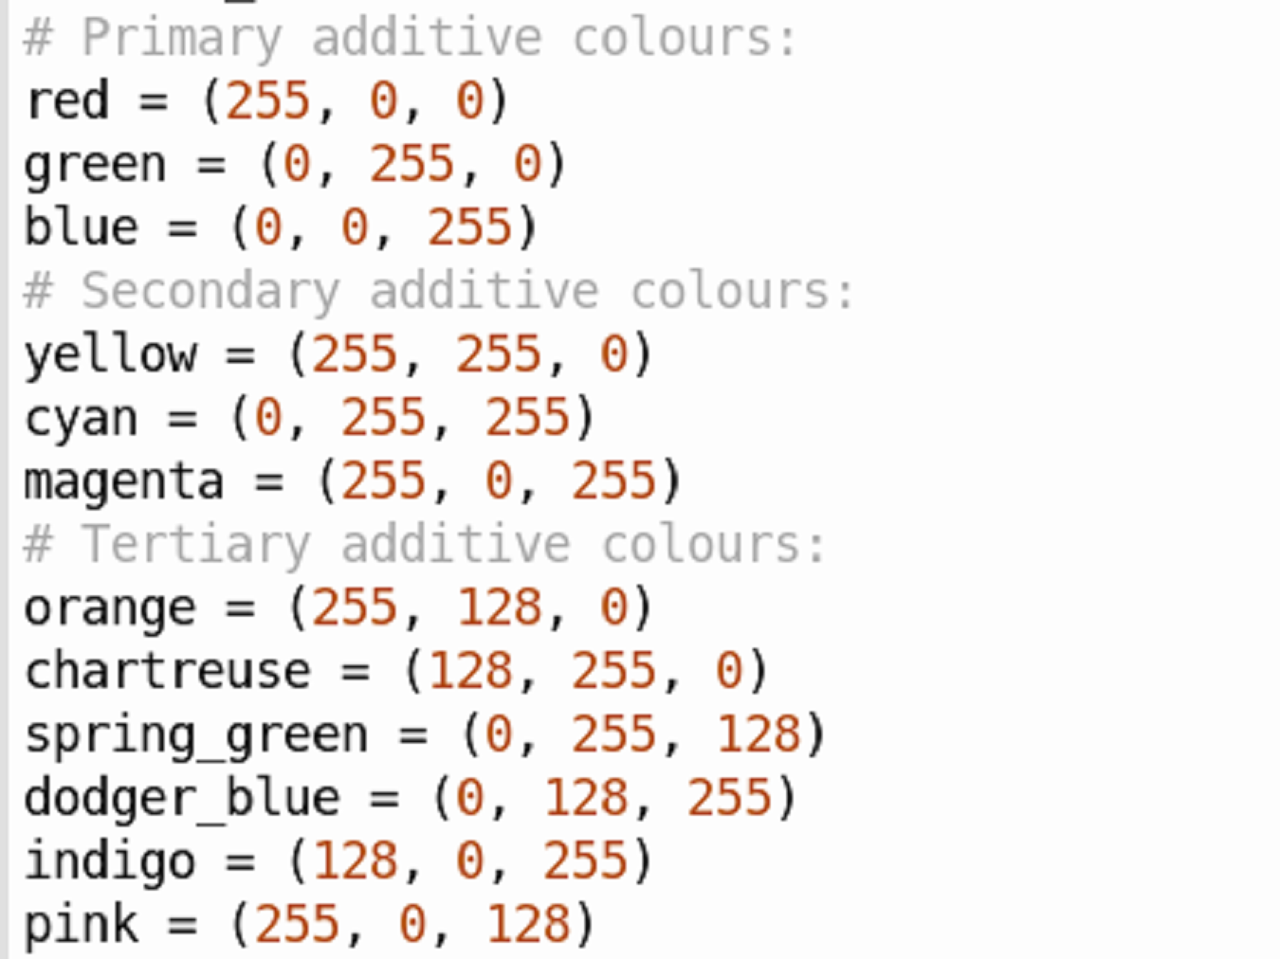
We'll be adding colour to our letters. Using the RGB colour code, which would normally look something like (210, 160, 255) can be a pain though so we simplify our code by naming some colour codes first, then we only have to include the name later:
red = (255, 0, 0)
green = (0, 255, 0)
blue = (0, 0, 255)
I've included more colours in the screenshot, give them a try.
With our names ready, we can write some code so that a letter appears on the Sense Hat accessory, or the emulator program. You can do this by adding the renamed “LED” SenseHat() function to another function, “.show_letter()“
It should look like this: LED.show_letter()
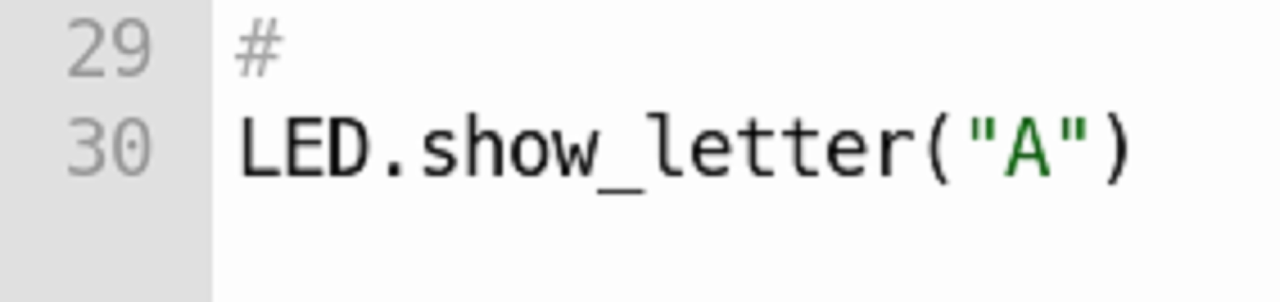
In the brackets you can add a letter to display on your LED array, inside quotation marks like this: LED.show_letter("A")
At this point, it is time to save, use the keyboard shortcut “Ctrl+S” and give your code a name. As usual I recommend using only lowercase, without spaces but underscores “_” are fine. If you reach a point in the future when you're using the Linux command-line, you'll be glad you did. Remember to include the suffix “.py” so Linux knows how to use the file you've made.

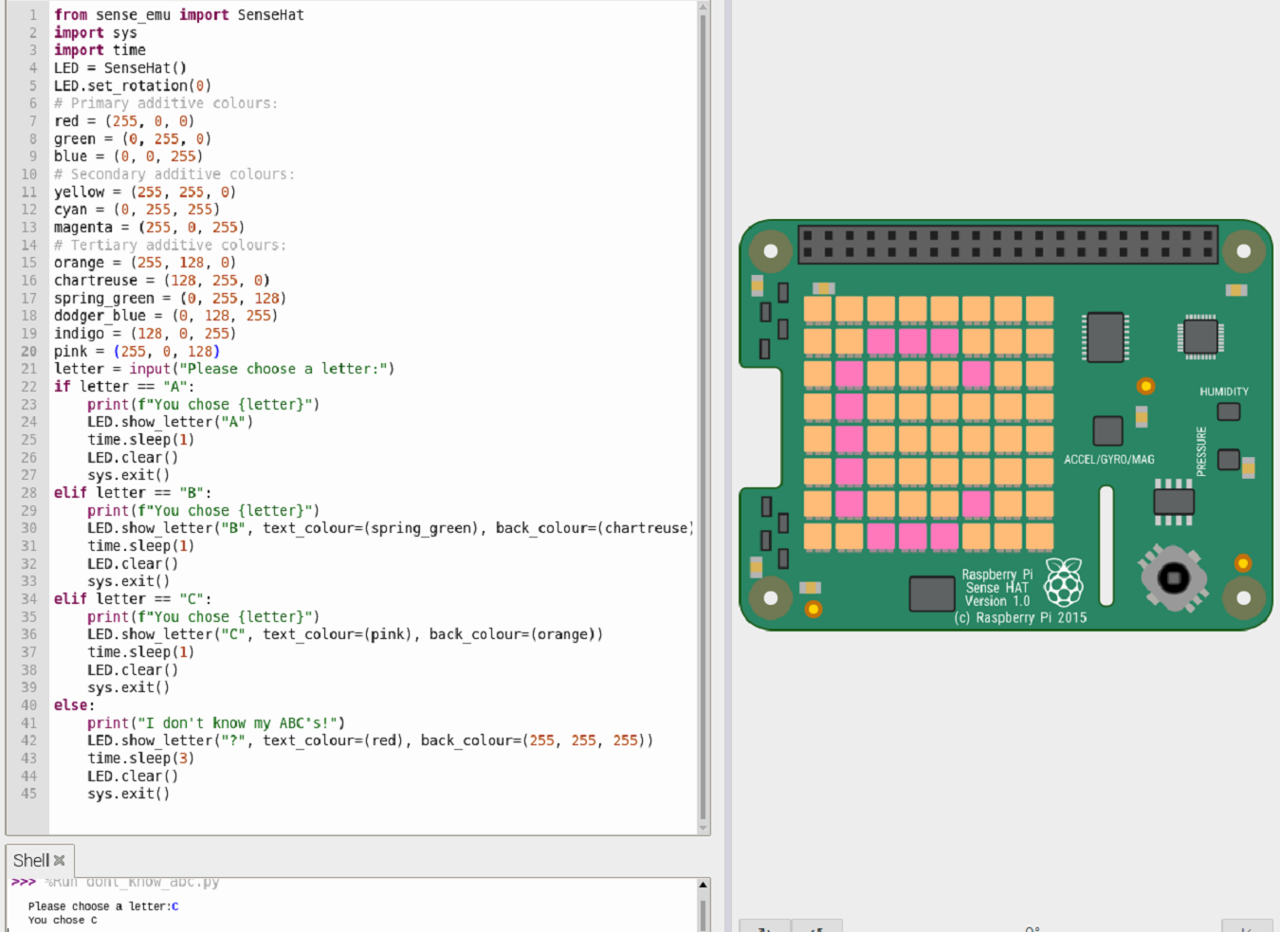
The image above shows another program running in the Linux Command-Line, I named it “dont_know_abc.py”, you can see the name below the asterisk line.
Back at the script area, your work isn't done, if you ran the code now, a letter will appear but it wouldn't disappear again. No worries. At the beginning of this code you typed “import time”, you can now use this to briefly 'pause' the program before it performs the next task by typing time.sleep(2.5), you can use any number here, it is the time in seconds to pause for.

Then you add another line of code, telling the Raspberry Pi to turn off the 8x8 array. Type: LED.clear() which is the same as LED.clear(0, 0, 0), we used in the previous walk-through . You could clear the letter and add a colour at the same instance by changing the “()” or “(0, 0, 0)” to any RGB code up to and including “(255, 255, 255)”
Save once more (Ctrl + S) and press the F5 button to run your code.
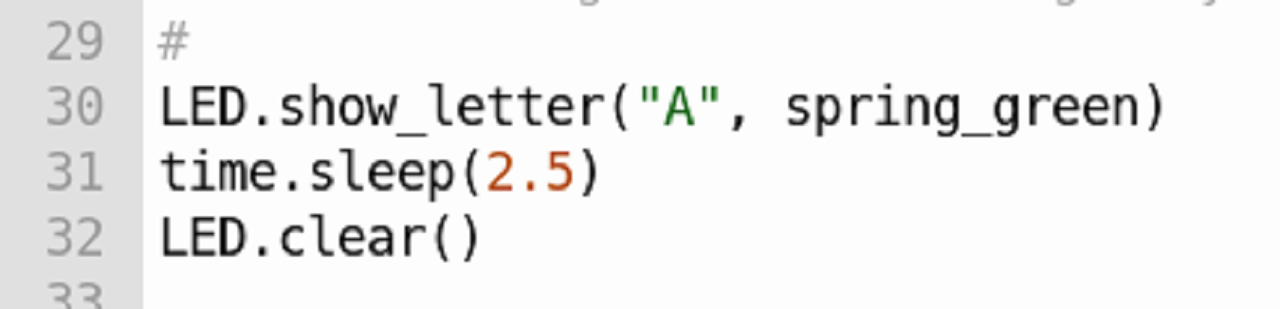
Once the code has finished running, press the red stop button in the taskbar. We'll add colour to the text now. Inside the bracket of LED.show_letter(“A”) add a comma and a colour you've already named. For me this will look like:
LED.show_letter("A", spring_green) Try running your code again to see the change.
If you want to be even more specific, you can add parameters to change colours for both text and background. To do this alter that same bracket again by including text_colour=() and back_colour=() like this: LED.show_letter("A", text_colour=(spring_green), back_colour=(indigo)) Please pay attention to my use of brackets.
That line could have also been typed like this: LED.show_letter("A", text_colour=(0, 255, 128), back_colour=(128, 0, 255)). We can show more letters by repeating the last three lines of code again with some differences, in my screen-shots, I have colours included.
LED.show_letter("A")
time.sleep(1)
LED.clear()
LED.show_letter("B")
time.sleep(1)
LED.clear()
LED.show_letter("C")
time.sleep(1)
LED.clear()
The entirety of your code so far should look something like this:

The keen eyed here will notice I've added a new line [at line “8”]. “Led.set_rotation(180)”, this new function rotates the LED display around. Just in case you have the real Sense Hat Accessory and your letters are all upside down... You could replace this number with “0”, “90” and “270” it looks the right way up for you.
User input, Python Output
Well that was easy enough, so let's begin a new code and add user inputs using a keyboard. We'll ask the user to pick a letter and then code the Raspberry Pi to output a response. I'll be keeping this very simple, writing long-hand at first, even repeating code. I can already feel the eye rolls of seasoned coders out there.
For the sake of simplicity & your sanity however, we march on...
Hit “Ctrl+S” to save and then “Ctrl+N“
As before we import SenseHat and time modules, except this time we'll import a new module “sys”. This will help us automatically end our program once it has run.
Again we give the SenseHat() function a name, “LED”.
To save on code, I copy-pasted the named colours from the code we typed earlier. You may want to type it again for practice, or change some colours completely.
Next we'll want to define the user input with a name. When I was coding & screenshotting for this walk-through I used the word “letter”, you could use another word, “value” is a popular choice and in hindsight would have saved some confusion so I'll write “value” in this article so it's understandable.
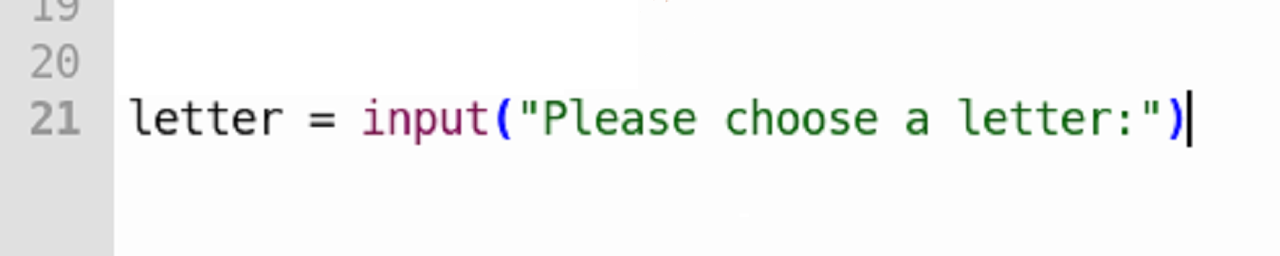
So type in: value = input("Please choose a letter:") The “value” here is whatever the user inputs, inside the brackets will be printed instructions for the user. We then add conditions with a block of commands for Python to perform if the letter “A” is chosen. When creating a block we finish our condition with a colon “:“, tasks to be performed are below that, with a tab indent (or 4 spaces) in them.
if value == "A":
print(f"You chose {value}")
LED.show_letter("A")
time.sleep(1)
LED.clear()
sys.exit()

You can see the print function here, which adds text to the shell area of Thonny (or the command-line). Except this version is different as it contains an 'f-string'. Before typing the quotation you'd like to see, add an f, in the example above we have a quote “You chose {value}”. Without the “f”, it will print that exact sentence but with it, that {value} becomes whatever the user input.
Below that we have the now familiar LED.show_letter("A"), which displays an “A” on the 8x8 array. Then a pause time. We ask the array to clear and finally we ask the program to end using sys.exit().
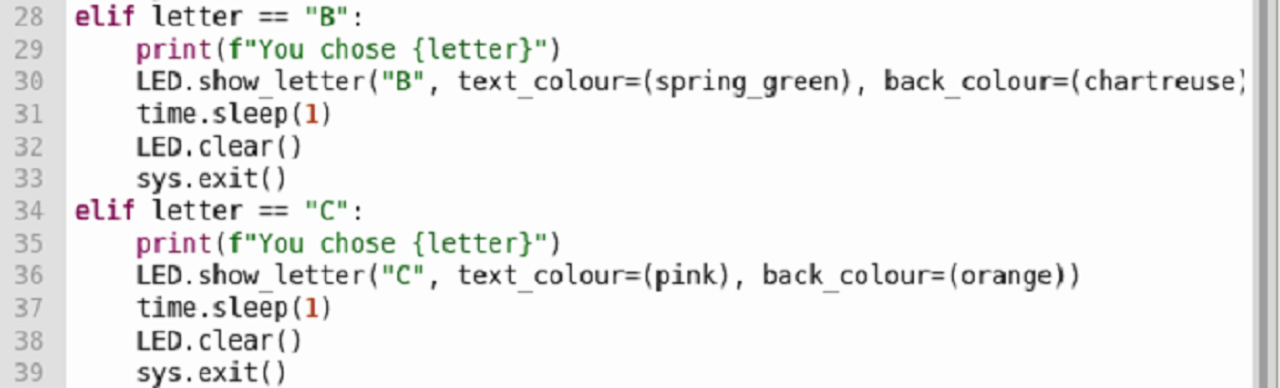
We'll need some outputs for situations when the user doesn't press “A” known as “else-ifs”, they're other options you can choose for the Python code to acknowledge when the first condition is False and respond in a specific way. We type it “elif”.
elif value == "B":
print(f"You chose {value}")
LED.show_letter("B")
time.sleep(1)
LED.clear()
sys.exit()
elif value == "C":
print(f"You chose {value}")
LED.show_letter("C")
time.sleep(1)
LED.clear()
sys.exit()
You might like to go back and add colours to the LED's also.
For all other responses we'll add an “else:” condition.
else:
print("I don't know my ABC's!")
LED.show_letter("?")
time.sleep(3)
LED.clear()
sys.exit()

“Ctrl+S” to save, then “Ctrl+F5” to debug this longer code. The program will fault-find. Once errors are fixed. You can run your code. Type an input and see how it behaves.


That's the longer way of typing this and sure enough you could add every letter with “elif” conditions, but what if you'd prefer a one-size fits all short piece of code for every letter... Read on.
Defining Functions
I introduced basic Python coding like “functions” in the third part of this RPi series, “Raspberry Pi – Python Coding”, and how to define new custom functions. We're now going to create one to make our typing more efficient.
Add the following code just below where you had named the RGB colours:
def action():
print(f"You chose {value}")
LED.show_letter(f"{value}")
time.sleep(2.5)
LED.clear()
sys.exit()
As you can see, the LED.show_letter() function no longer has a quoted letter in it, instead I've added an f-string that shall show the user input. You can still add text/background colour in the brackets, after the quotation marks. Try not to forget syntax like commas.
Anything below the line that reads “value = input(“Please choose a letter:“) can be deleted, replaced with only one line:
action()

We've now defined a function, that will respond to any one-character input from the user. You can also change LED.show_letter() to LED.show_message() to see the user's input scroll along the Sense Hat.

An important skill to learn when coding and in life is “Lateral Thinking”. A part of that is the ability to take information learned and apply it some other way. Perhaps something you've just tried today can be used somewhere else, in another code? Well the best way to find out is to try it out. Practice, practice, practice.
Thanks for reading another one of my walk-through, These can get wordy. Hopefully it helped? I welcome feedback through my Twitter.
If you'd like, you can follow me on Twitter and call me an idiot every day of my miserable life, at the link below:
https://twitter.com/SASchofield52
Note: You'll have to forgive my mismatch of images in this walk-through, as it was created over several weekends; I may change them to match the text exactly at some point in the future.
Disclaimer: Images are my own, opinions are my own