Baby Bow Saw – More Shaping
My next shop session was spent shaping the cross-piece and the arms. First up, taking a spokeshave to the cross piece to thin it slightly in the middle, and make the ends match the arms nicely. It's not going to be a huge taper, but just a little bit looks a lot better than none. Plus I get to smooth out the surface now. I don't think I'll be doing any sanding on this saw, so I want to fix any little spots of tear-out from cutting and planing the pieces.


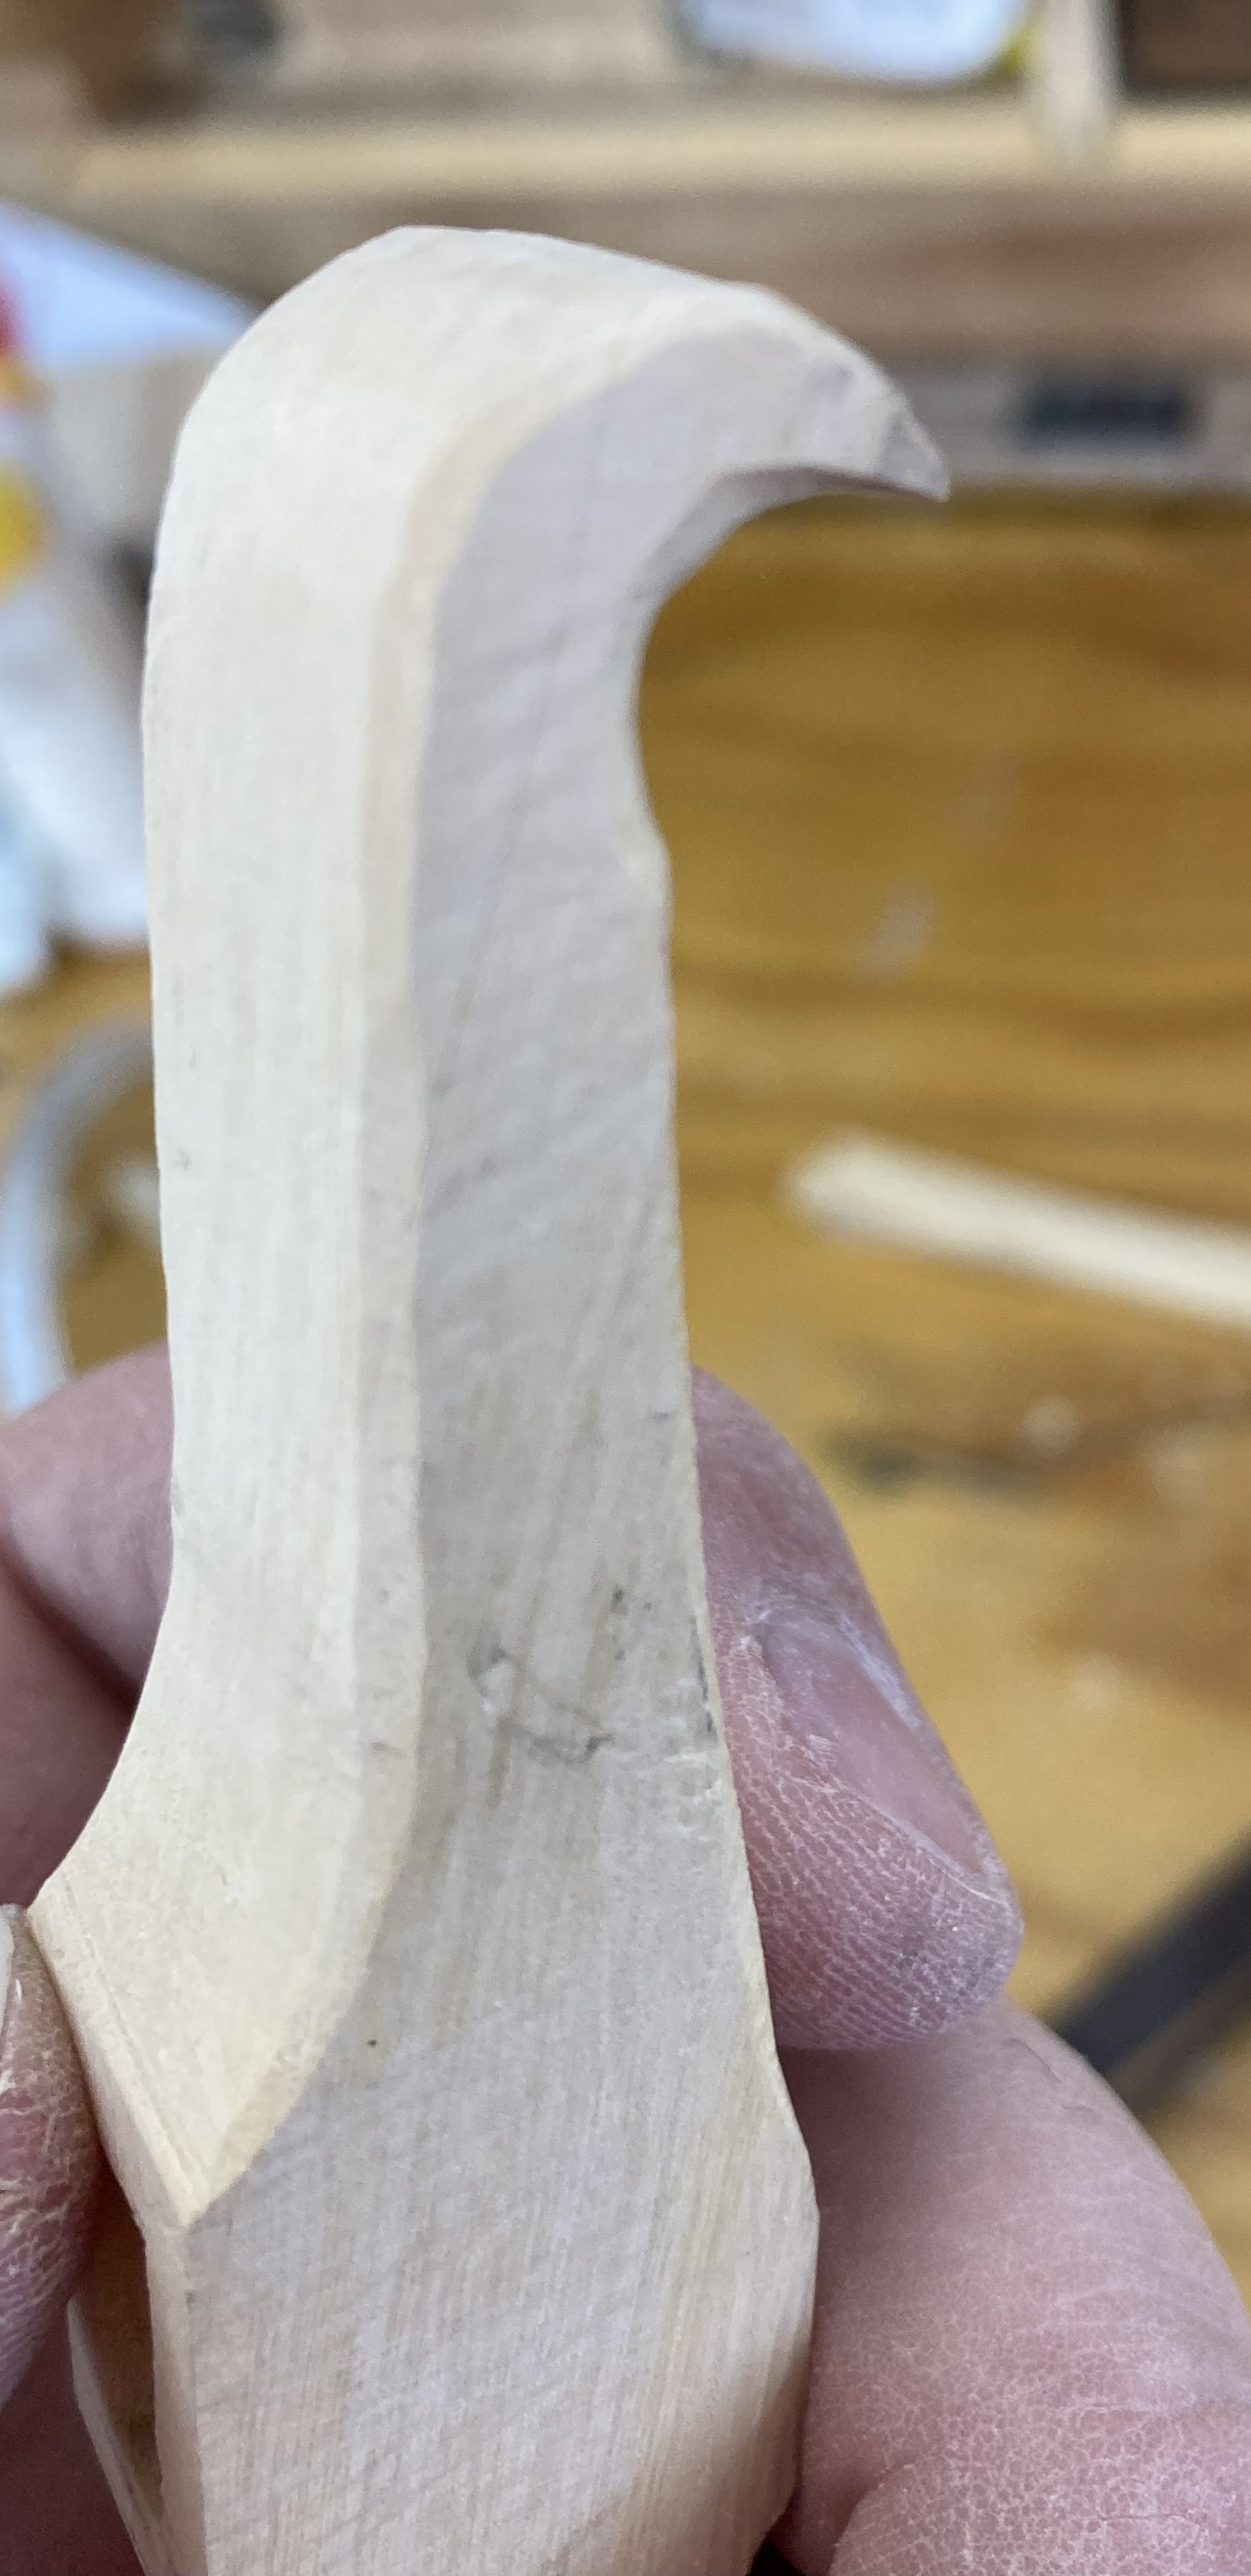
Then I used the spokeshave and a knife to chamfer the corners, giving the piece a slight octagonal shape. Again, lots of grain-reading, as there are some funky reversals in this wood.
Next up were the arms. It's time to round over the ends where the pins for the saw will go. I basically mark an equal amount on the top and side, then use a rasp to round over, removing my pencil marks. If it doesn't look right, I'll add more marks and remove a little more.


Then I took a knife and chamfered the corners on the part of the arms which will hold the string. I didn't want to do too much, as I also need to shape the lower parts of the arms, but that's a job for tomorrow.
And that's it for today. I've got a day and a half in, and other than sharp corners on the lower parts of the arms, the saw is usable and not looking half-bad,
Discuss... Reply to this in the fediverse: @davepolaschek@writing.exchange