Baby Bow Saw – Wrapping It Up
I got the bow saw completed today. I still want to decorate it, but it's together and functional now.
First on today's menu was getting the arms shaped. They don't really need to be thinner, but making them a little thinner will make the saw more comfortable to use. I used a drawknife to get the other dimension thinned down and smoothed.


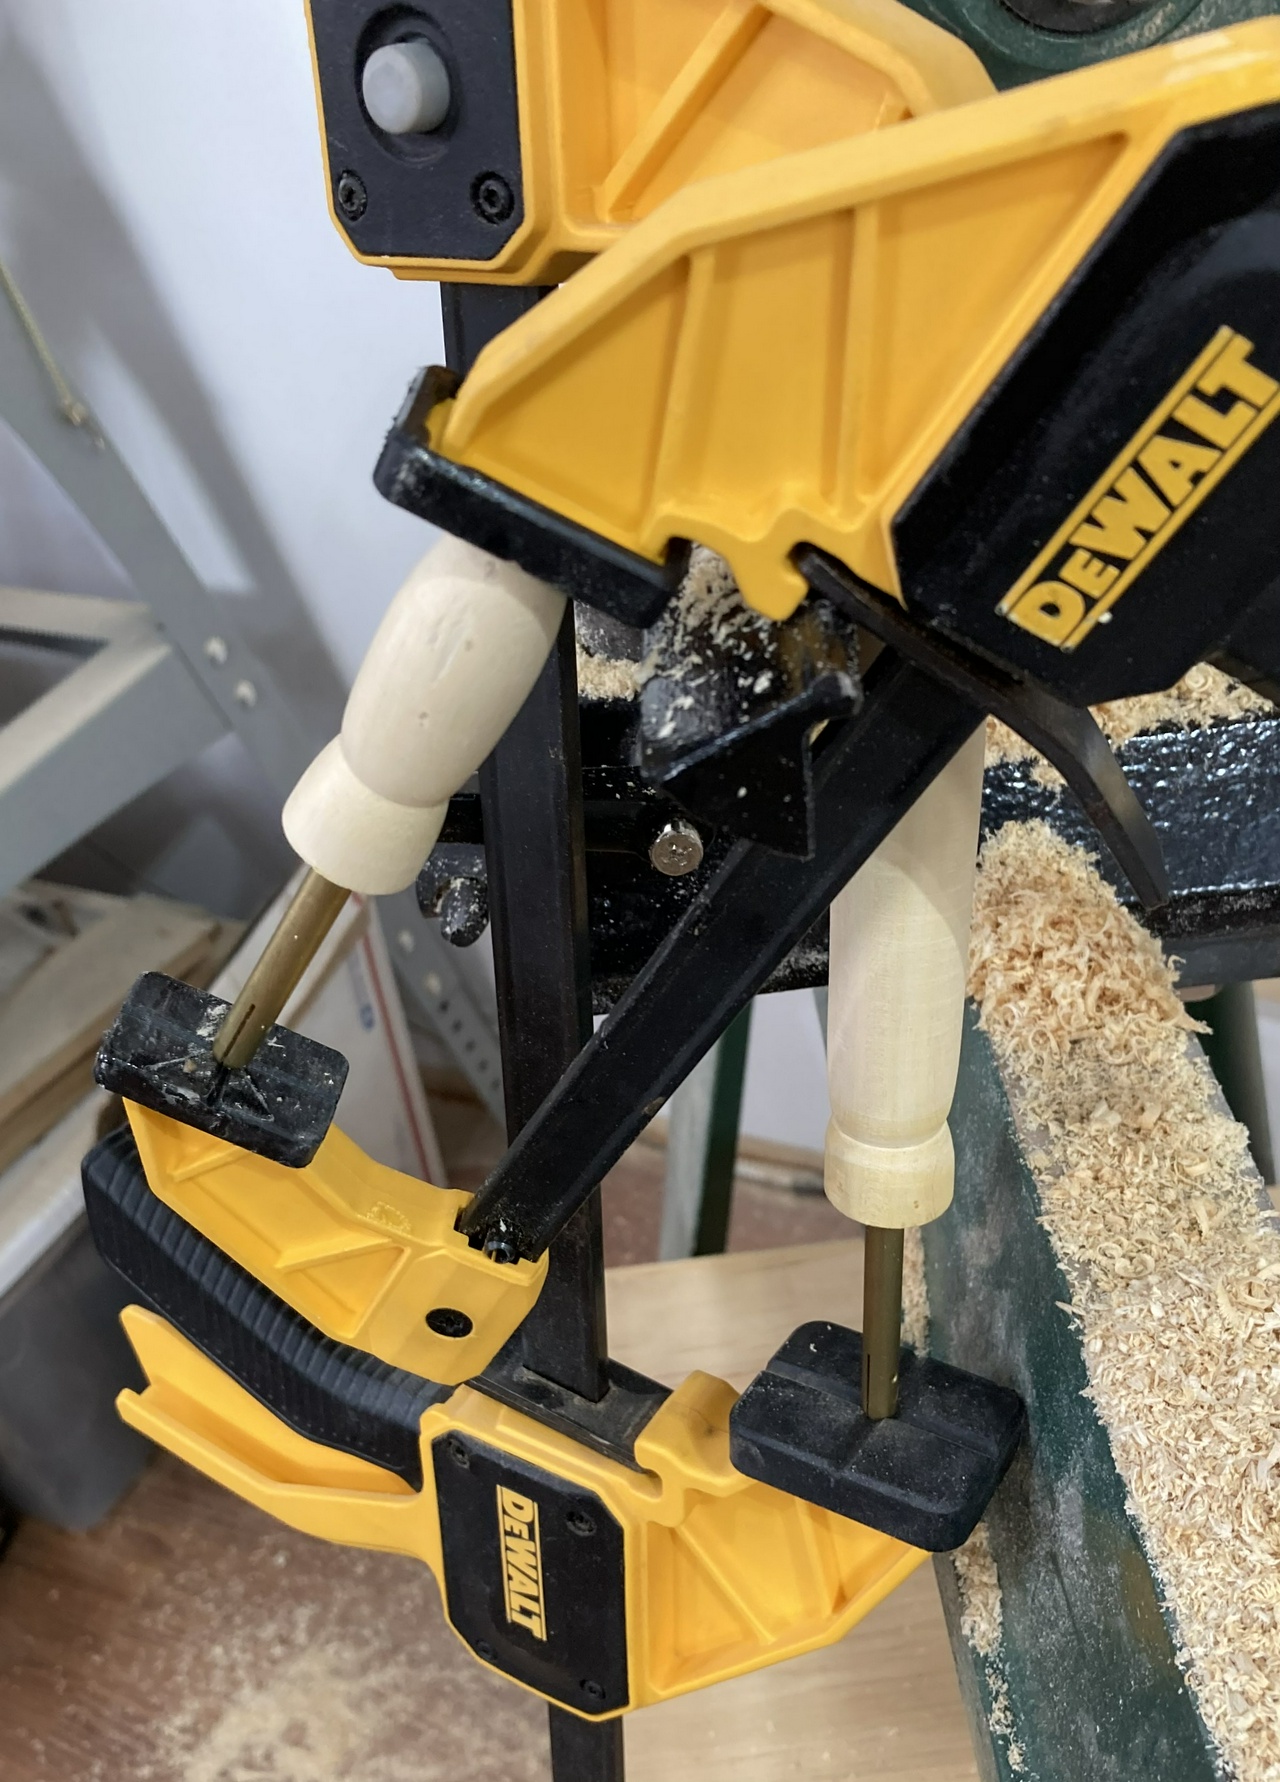
With that done, I mixed up some epoxy and glued the pins into the handles.

Then some quick chamfering on the corners of the arms, mostly for comfort, but also to clean up a couple spots of tear-out where the grain wasn't cooperating with me.

Then a coat of tung oil on the parts I had done.

And I disassembled a paracord boot-lace to get one of the strands of nylon string out of it. That'll be the cord that tensions my bow-saw. And yes, I'll need to tie a knot better than a square knot.

Then I cut a toggle out of one of the citrus offcuts left over from turning the handles, and put a groove in it so the string wouldn't slip off it.

And I tried a little kolrosing on the side of the toggle. It looked pretty good, but my carving skills still need work.

And that sorta finishes the saw. Everything needs to cure, and I want to decorate the arms and cross-piece, but that'll be another day.


Discuss... Reply to this in the fediverse: @davepolaschek@writing.exchange