Forge Table – #3 Cleaning up the top
This morning I decided it was time to get the top of the table a little closer to done. I started by sawing off the excess on the ends.

Next up was scrubbing across the grain to even out the slight undulations where I had clamped the board together. Forgot to take a photo. Oops!
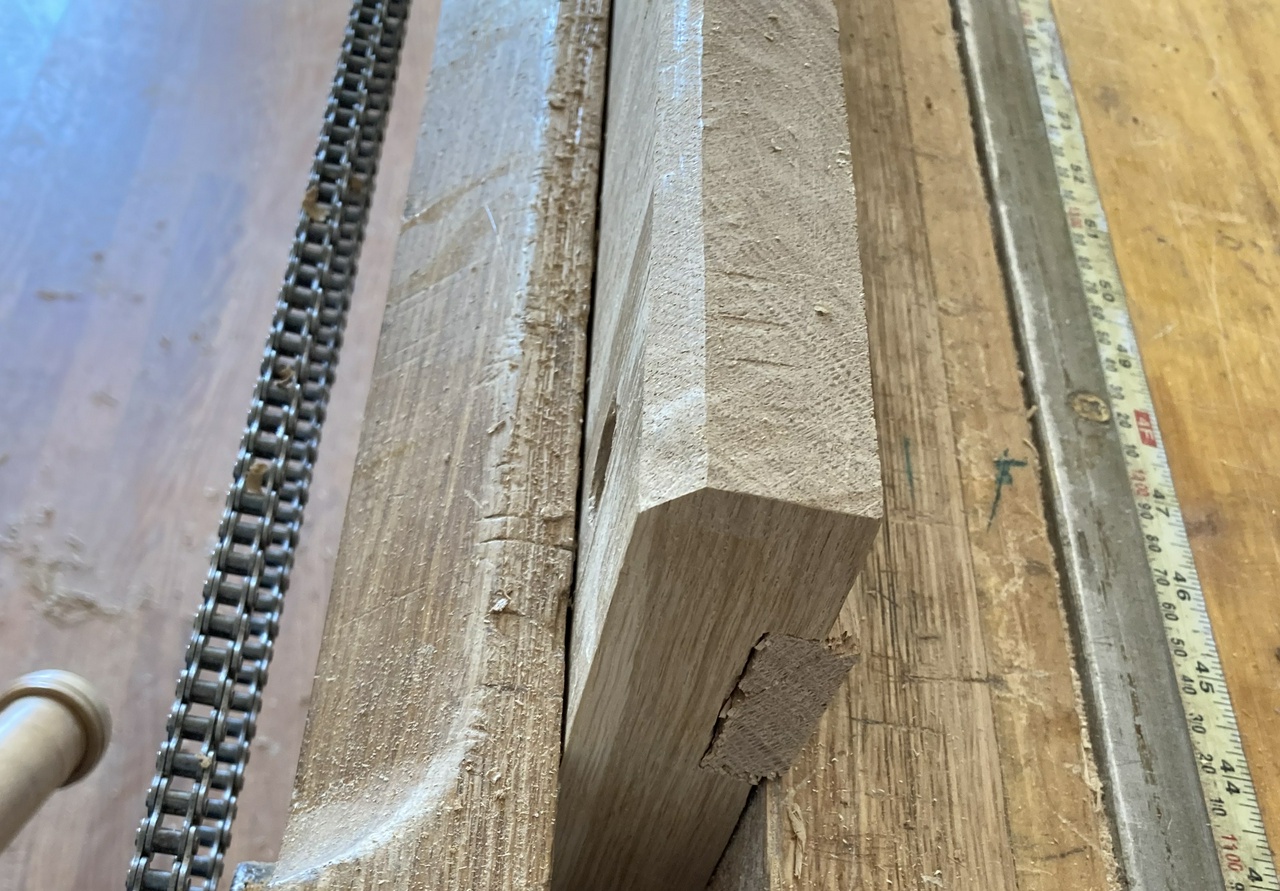
Once that was done, I started drilling the holes for the legs. I want them to go through the center of the battens, about two inches from the edge of the table. They're going to be straight vertical, with some sort of stringers, so the holes were pretty easy, except for the fact that my ¾ inch auger has a soft wood lead screw on it, and will split oak if I don't drill a 3/16 pilot hole first. I got reminded of that the hard way when the batten cracked on the first hole I drilled. Oh well. Squirt a little glue into the crack and it shouldn't affect the strength.


Next was chamfering the top. Low angle jack plane for this, end grain first, then the long grain sides next. That pretty well cleans up the blow outs.

Then a quick pass with the smoothing plane with the grain on the top.

It's looking pretty good, but I've got a little gap in one of the seams. Let's jam it full of the wood filler I've got sitting out from after repairing some of the trim on the house. It's a “light oak” color, so it'll be close enough, right? Plus, as Duck pointed out, I should probably put a piece of plate over the top of the table to protect it from heat. But if I end up using it for something other than holding the forge, I might want it prettier, so let's clean it up now while it's easy to do so.

Contents #woodworking #ForgeTable
Discuss... Reply to this in the fediverse: @davepolaschek@writing.exchange