Jefferson Bookcases – Large Case Pin Boards and Backs
Originally written Aug 7, 2020
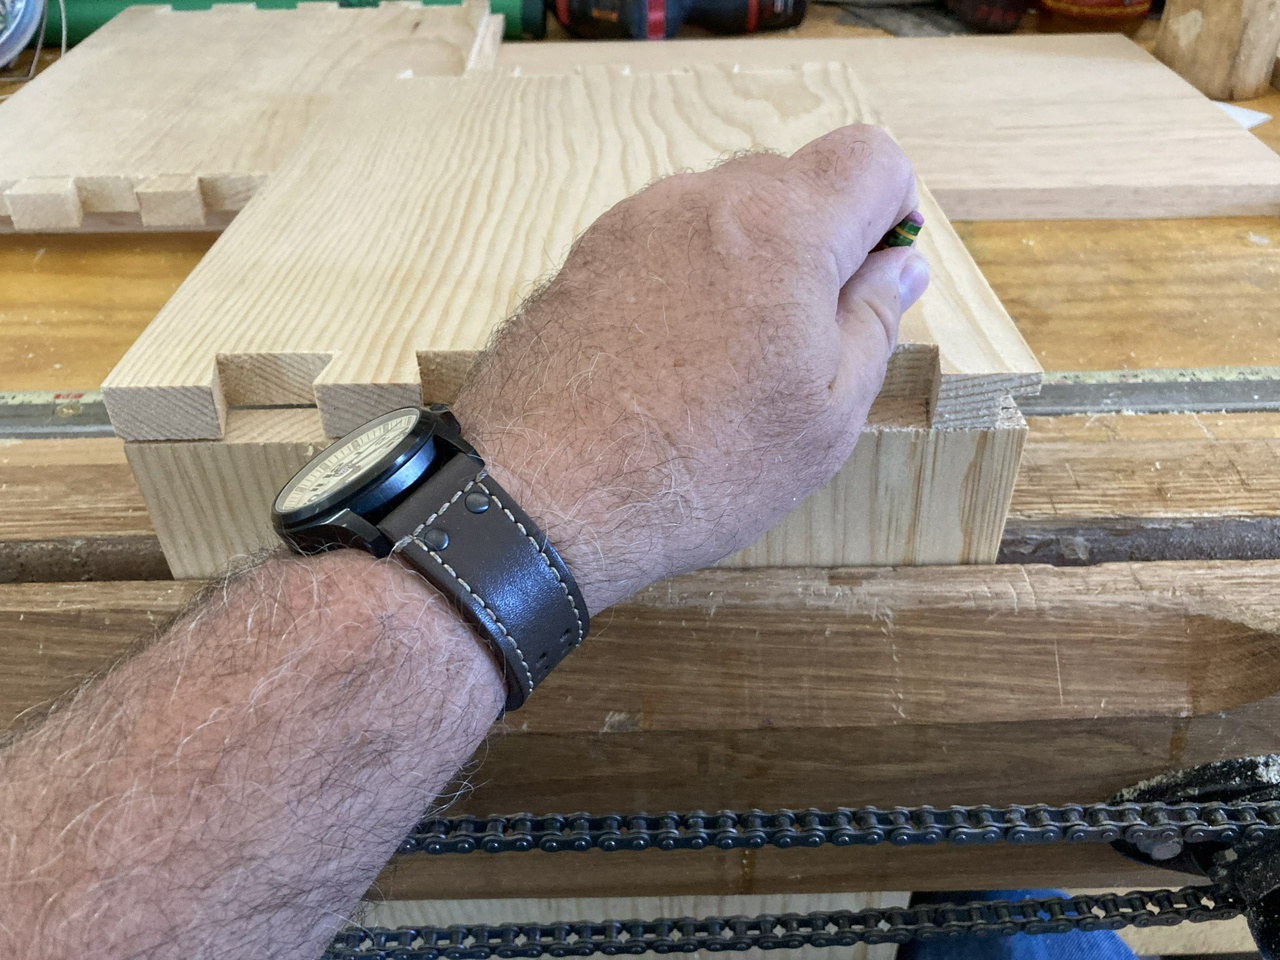
Today it was time to start making boxes. The first step is to cut the pin boards. I start by transferring the tails to them and marking everything out.
On the front, I should draw the baseline to the second to last line I transferred from the tails.

On the back, I only need to mark the outermost two lines, as those will be part of the mitered corner, and I'll be sawing the top and back, but not the front.

After cutting the sides of the pins (the ones I marked on the front), I saw out the waste.

Then I saw down at a 45 degree angle, cutting where the side of the pin meets the miter. Do that on both sides, as these cases will have miters front and back.

After that, I turn the board in the vise so I can saw the miters.

Then I saw the miters on the tail board and test fit the corner. After I have two corners sawed on the pin board, I rabbet the back edge of the board using the kerfing plane (later I would switch to using my circular saw for this).

Then I rabbet the two back boards, and cut rabbets so I can shiplap them together. I actually need about 14 inches, and the boards are 7½ inches or so each, so I'll trim one of them to fit at this point rather than making a huge ship-lap.
There are multiple reasons for doing the backs like this, one of the biggest being that if the back-boards expand due to rising humidity, you want there to be room for them to move without pulling the case apart, so the ship-lap joint should have a small gap so the boards can both expand a bit. The other reason is that 14 inch wide boards are hard to get and expensive, and two 8 inch wide boards are a lot cheaper and easier to move around the shop.


Once everything fits, it's time to glue up the case and tack in the back boards with two finish nails on each side. Only glue the top and bottom of the back boards so they can move with the changing seasons. The sides of them are just tacked with the nails, closer to the edge than the middle (again, so the boards can expand or contract a little due to changing humidity).

Then it's time to let the glue set while I work on the next case. Next up, finishing!
Jefferson Bookcases Contents #woodworking #bookcases #miteredDovetails
Discuss... Reply to this in the fediverse: @davepolaschek@writing.exchange