Jefferson Bookcases – Large Case Tail Boards (sides)
Originally written August 4, 2020
First, some measurements. I spent the tail end of yesterday sawing all the boards for eleven of the largest cases to size. Here's the cut-list:
Two 1×12×30¼ – top & bottom Two 1×12×14½ – left & right Two 1×8×29⅝ – back boards
Today I spent the day making tail boards, which are the left and right sides of the cases.
Here are the steps for them.
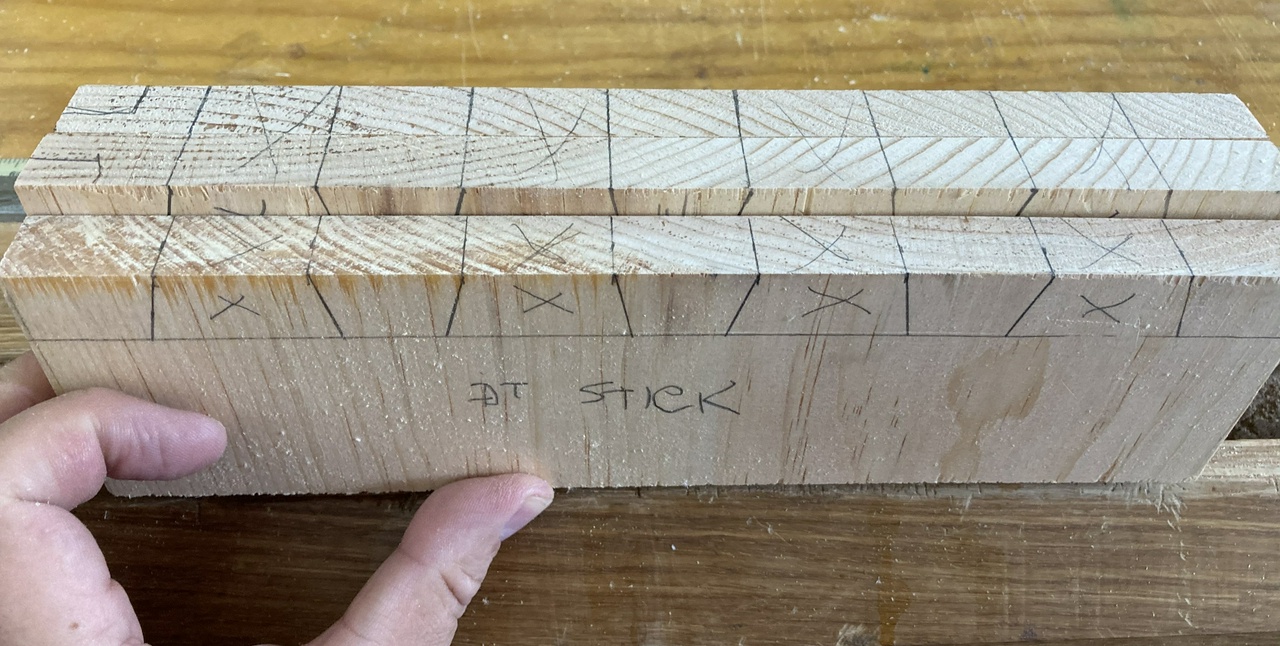
- Mark out a pair of boards on one end. I usually plan to make the outsides of this pair the inside of the case. The main reason this matters is that you probably want to mark the miters and rabbets on the board now so you don't forget what you're doing and miter them the wrong way. It happens.
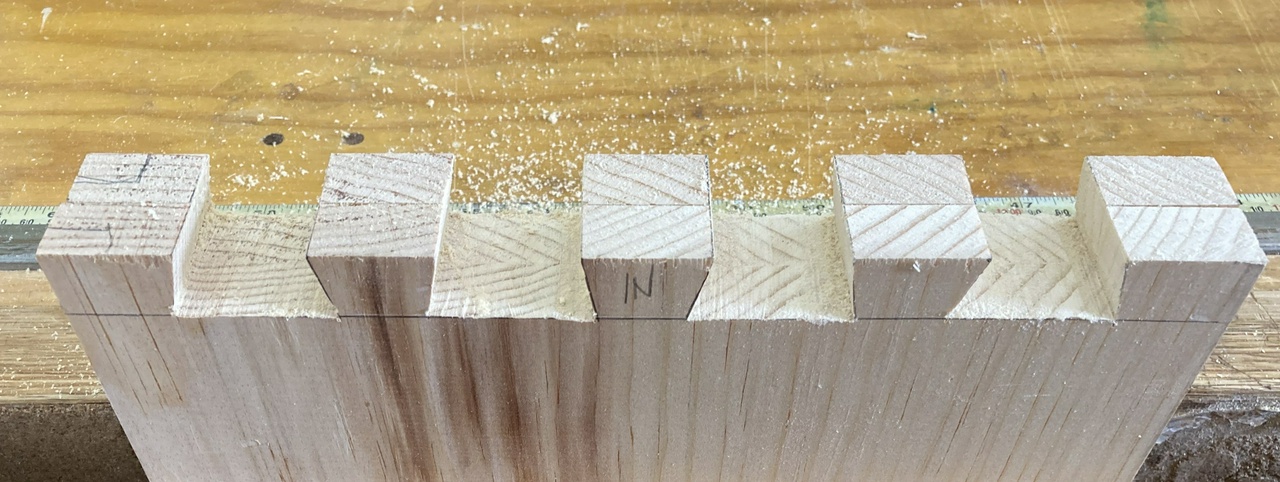
- Cut the tails you've marked. Note that I'm just using pencil lines. They're plenty accurate for sawing dovetails in pine, especially for the first cuts (tails in my case), as I measure the pins from the tails. That's where I need to be more accurate.
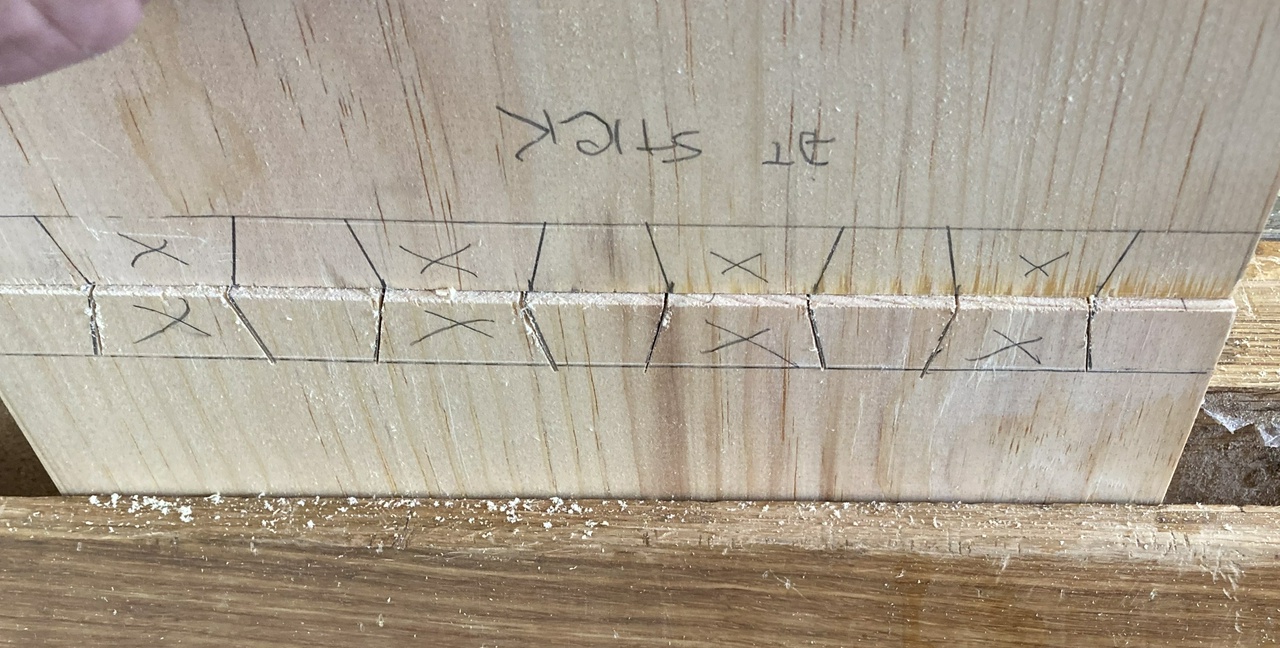
- Mark the other end of the board. If your tails are asymmetrical (mine aren't, but if you're making smaller pins, you might want the rabbeted edge of the board to have a thicker tail on the end), make sure to flip the marks. Note my handy story stick. Using a template like this means I'll have all dozen cases looking fairly uniform.
- Saw those tails.
- Cut the rabbets on the back side of the board for the back boards to fit into.

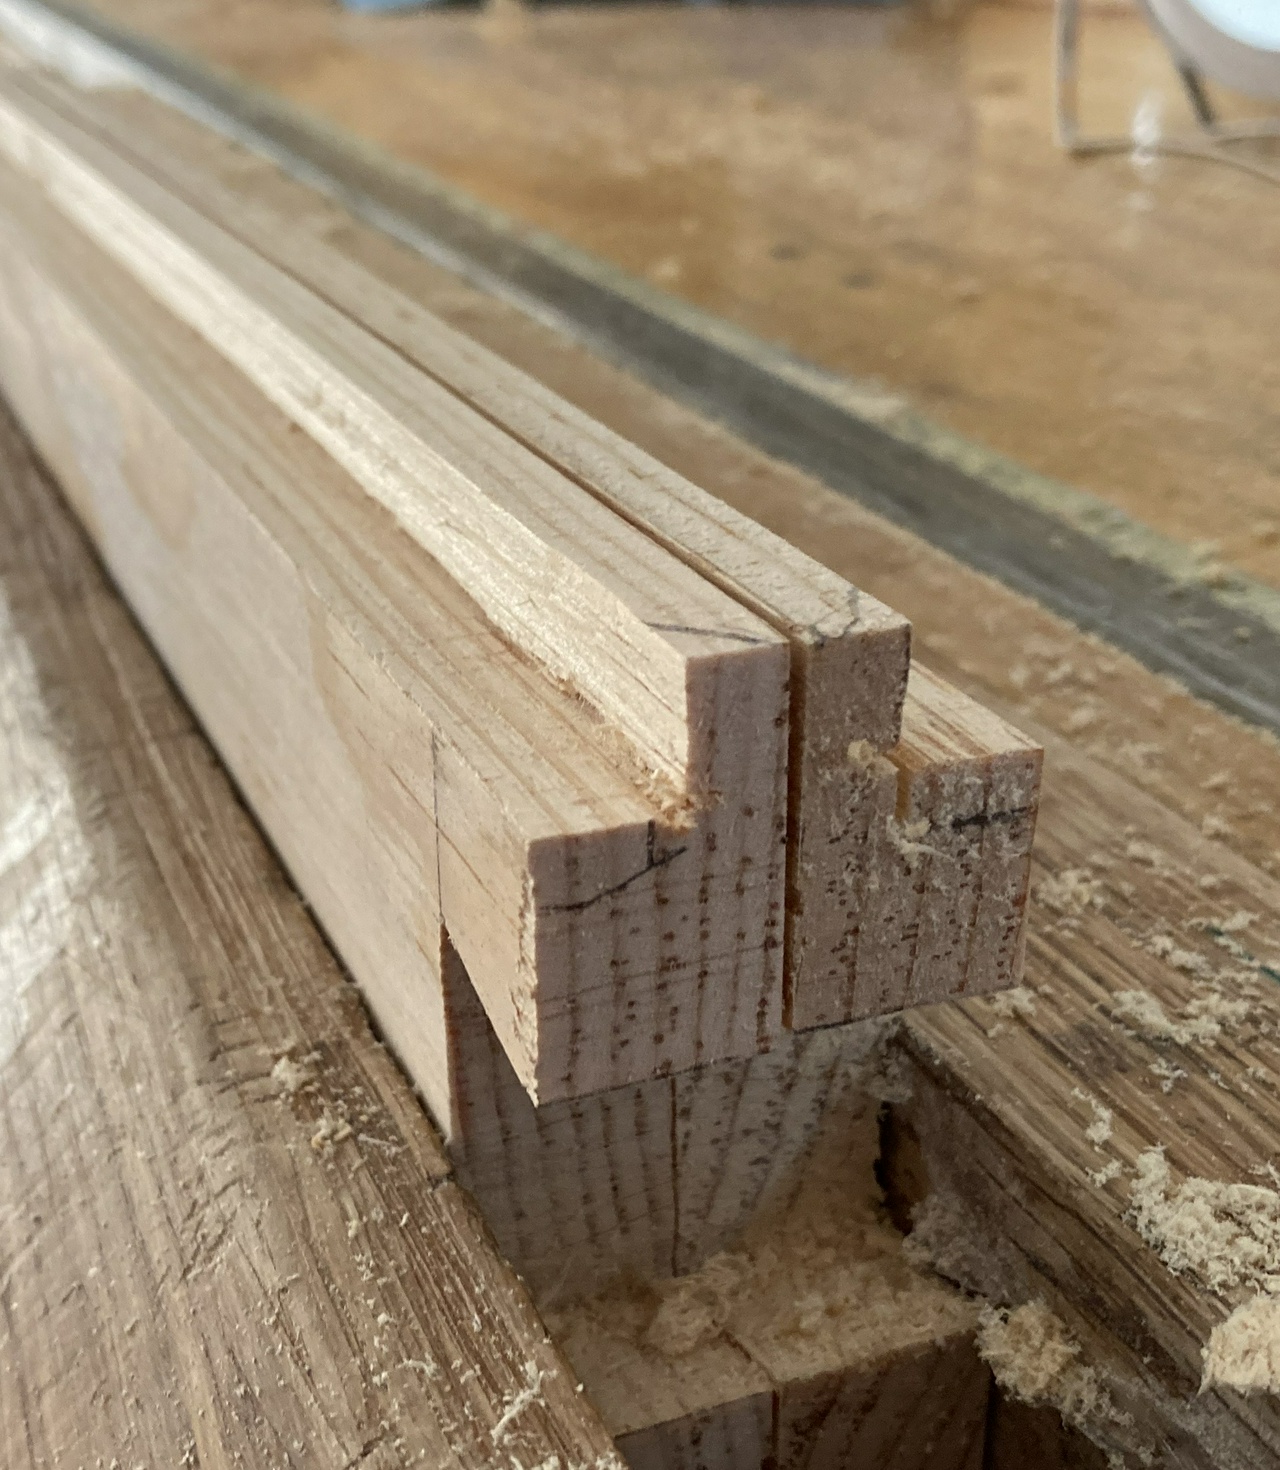
If you're in mass-production mode, like I am, repeat. I've got a total of ten more pairs of tail boards to make. I bundle the pairs together with blue tape.
That's it for the tail boards. In a full day, making ten pairs of them is a pretty good goal for me. Whew!
In response to a few questions, I later added the following:
I cut the ends of the boards using my circular saw track guide with a hybrid saw blade in my little cordless circular saw. They're mostly straight off that, but if the two boards in a pair are slightly different in length, or one is rougher, I'll use a finely set block plane to even things out.
I'm cutting everything using a 1:4 dovetail marker I made. They're getting more uniform, and my most common failure is cutting below the baseline when taking out the waste with the turning saw. But I'm getting better and faster with that. Also, when cutting tails, I do all the cuts that slant to the right first, working left to right, then do the cuts that slant to the left, working right to left. Not sure why that exact pattern, but it works for me. I'm also cutting them while sitting on a rolling mechanics stool so I'm sawing only slightly below eye level.
When gang-cutting the tails in ¾ inch stock, I drop the handle of the saw to get started on the line. Two strokes get the line established all the way across, then I raise the handle and three or four more strokes take me down to the baseline. One final stroke, looking in the mirror behind the work to make sure that I'm to the line on the back side of the board, and it's on to the next cut. I think it was a Rob Cosman video I learned from. The turning saw for waste removal is from Chris Schwarz. And then I use a rasp to clean up the bottom of the tail, which is my own fault. Especially in pine, I have too many tear-out issues with a chisel. A rasp lets me clean things up quickly with the tail board still in the vise.
I'm also happy I have my kerfing plane handy. The ⅜ inch fixed fence is perfect for almost all of the rabbets I'm cutting, plus for the shiplap on the two back boards.
My honey commented the other day that she's happy I finally got started on this project, and I haven't said anything, but I realized that almost half the tools I'm using on this project are ones I made myself, and I don't think things would be going as smoothly as they are without them. I've developed a number of tools that work well for me, and I built the prototype box using them and have added where necessary. Plus I have two block planes sitting on my bench. One set super fine for touching up the end grain before cutting dovetails (if needed), and one set fairly heavy, so eight passes on the edge of the board gives me a 3/16 wide chamfer.
Jefferson Bookcases Contents #woodworking #bookcases
Discuss... Reply to this in the fediverse: @davepolaschek@writing.exchange