Boring Tools Till – Reinforcement Part 2
May 15, 2020
Time to reinforce the other side of the rack that'll carry the braces. As you might remember, the grain in the pine board that makes up the core of the rack runs left to right, which means that the grooves cut to hold the braces weaken the board, leaving tongues which can easily snap off. I reinforced the bottom of these tongues with strips of walnut.
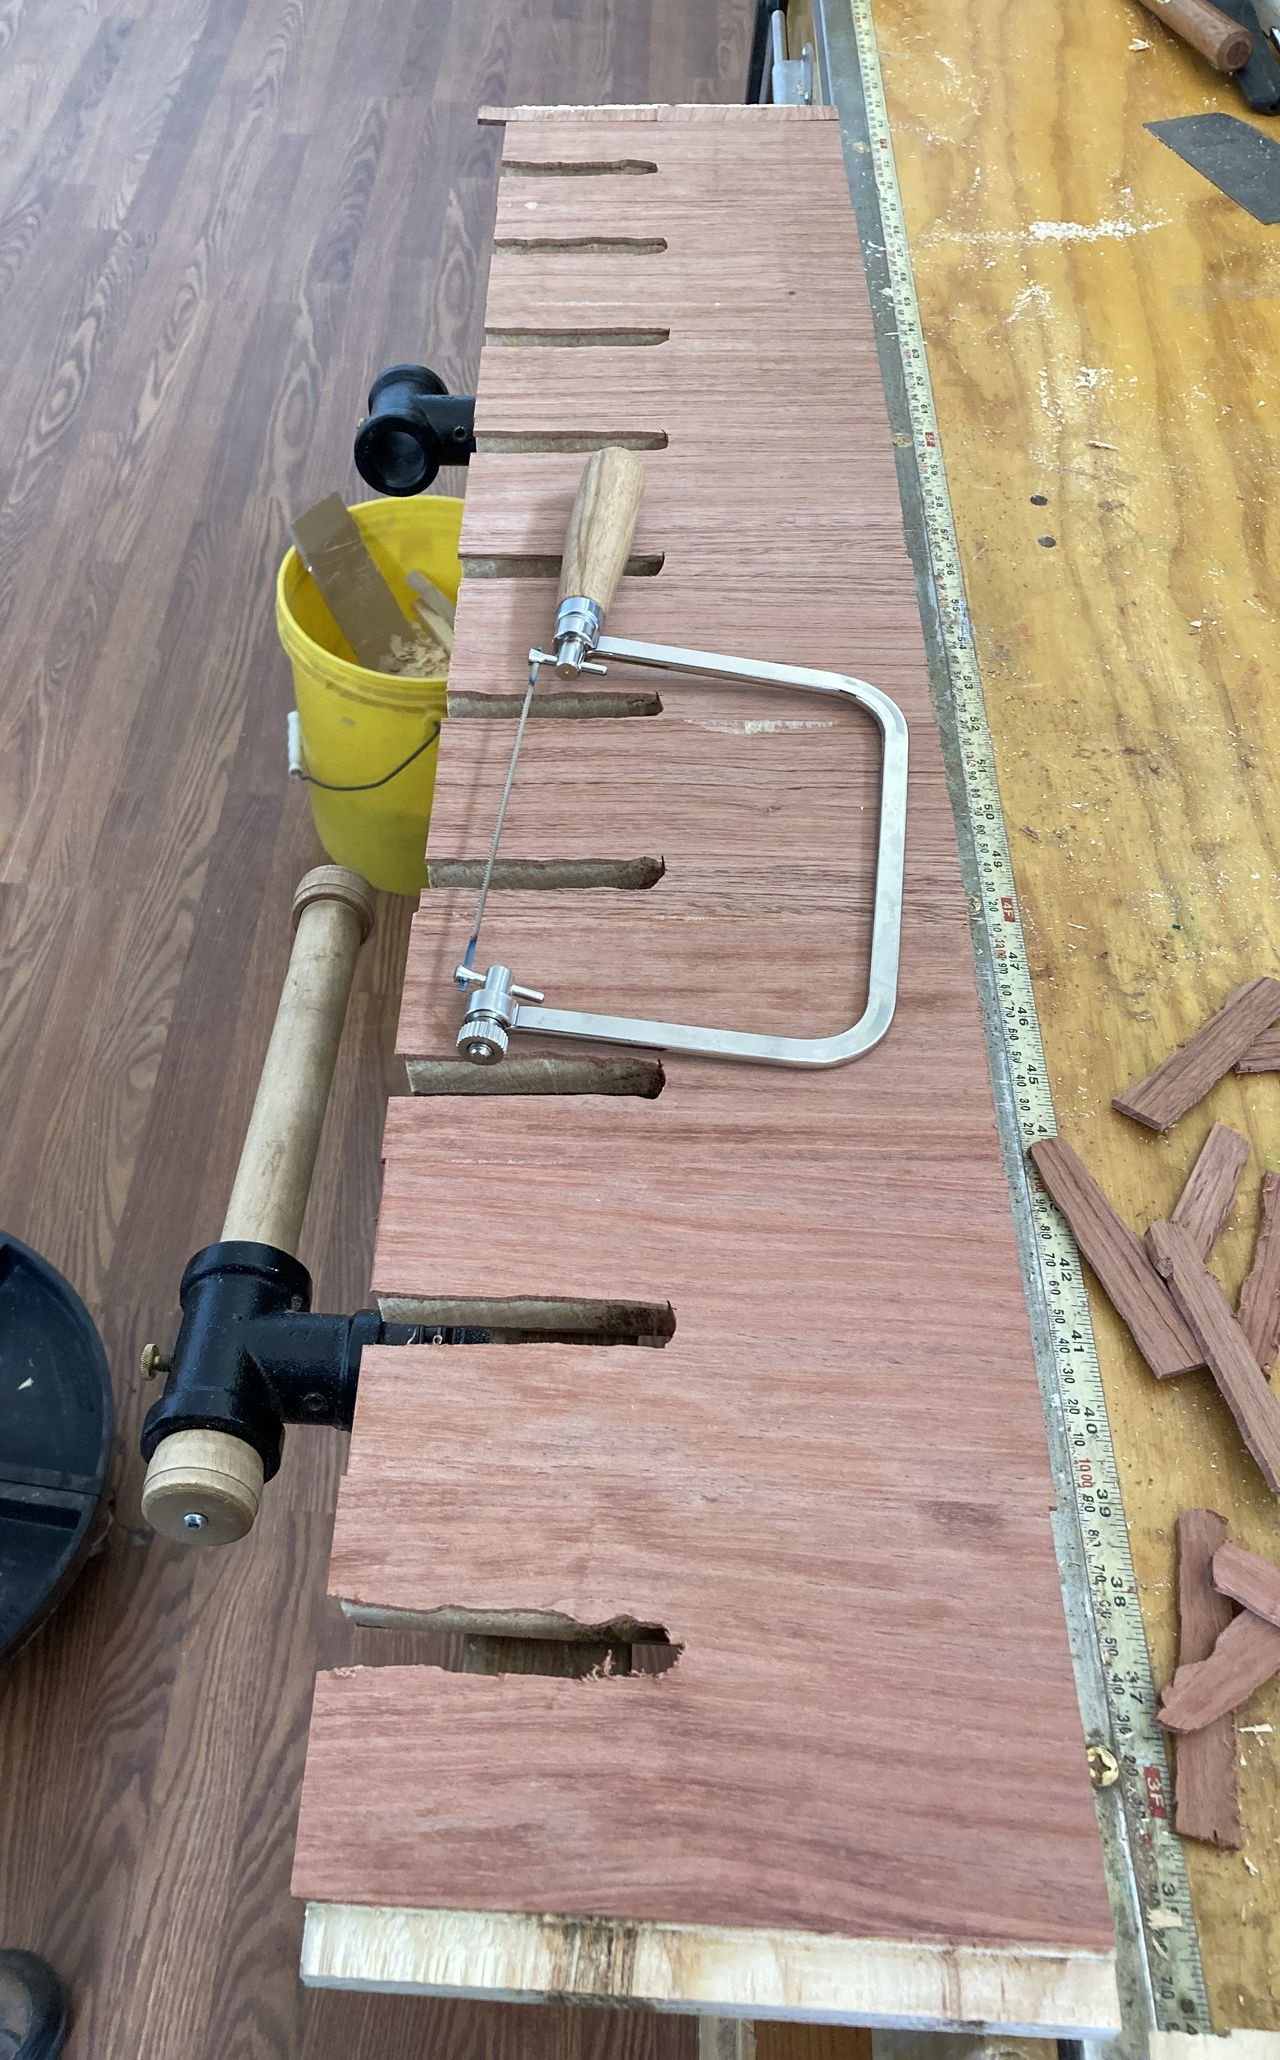
For a more finished look, I'm reinforcing the top with some ⅛” bubinga veneer, with the grain running front to back. Rather than attempt to cut this to size/shape for each four-inch-wide piece, I cut them all to rough length, then glued them on. It's ⅛ inch thick, so no special techniques were needed, just glue it on and clamp it with a long board running the whole length to distribute the force from the clamps.


And now I'm cutting them to match the pine board with a coping saw.
I also trimmed the ends of the pieces with a spokeshave. The low angle makes this relatively easy. The only trick was remembering to skew the blade and to work from both ends to the middle. The spokeshave will ride along the wider pine board, making it pretty easy to stop when the boards are flush.

Next it was time to clean up the edges of the grooves. Knife and rasp took care of that.


Next up is re-cutting the bottom board of the carcass because when I trimmed it shorter, I took from the wrong end, leaving the sockets for the sliding dovetails offset about ¾ inch from the board above it. Easier just to start over on that.
Contents #woodworking #storage #veneer
Discuss... Reply to this in the fediverse: @davepolaschek@writing.exchange