davepolaschek

storage

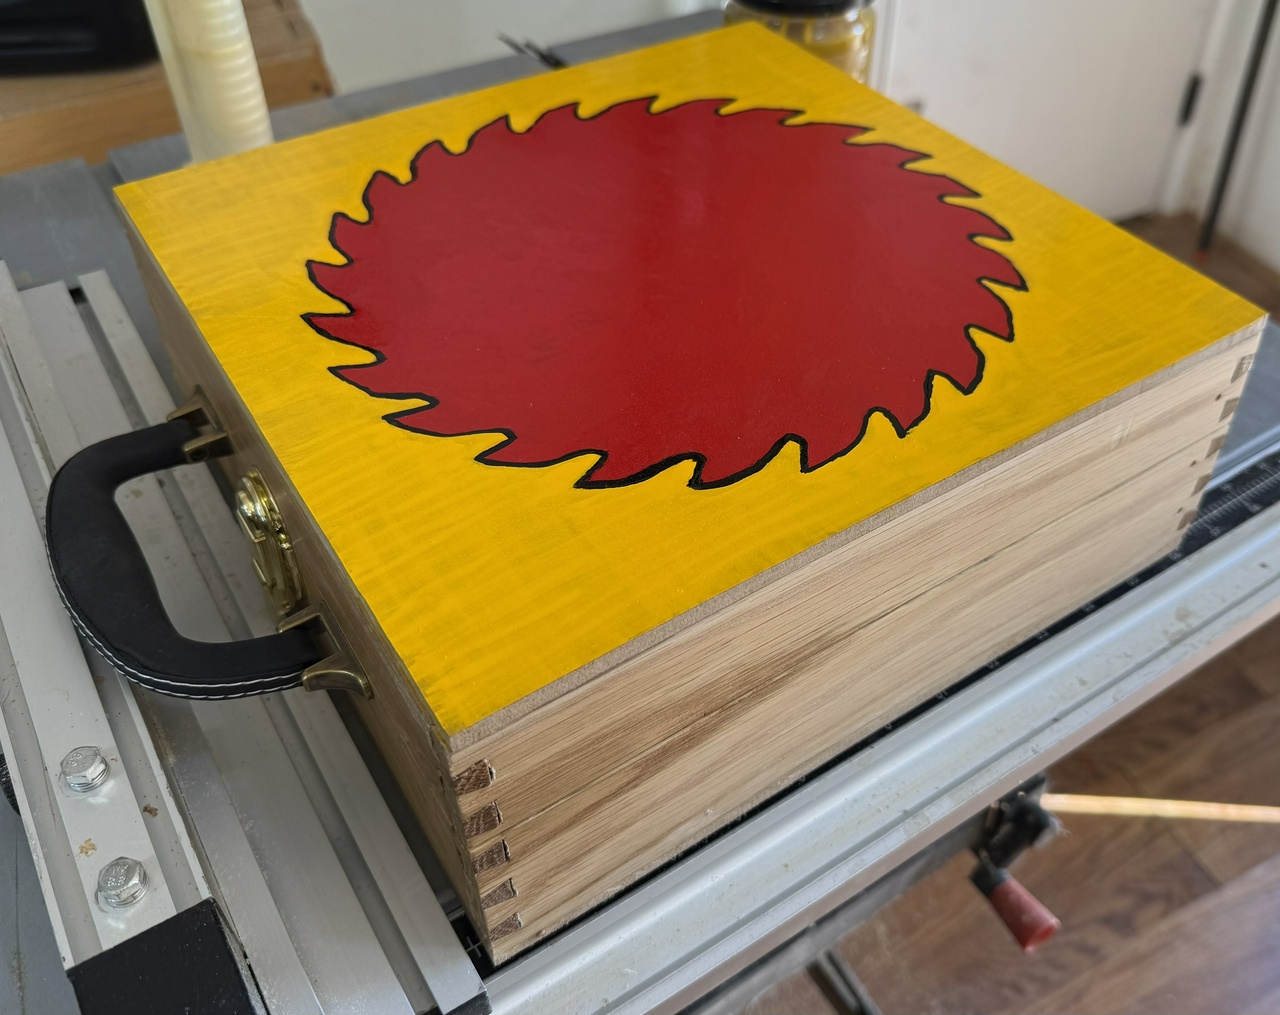
closed box, from front

I recently acquired a set of the large (12 inch or 300mm) cole jaws for a Nova chuck, and as I do with new tools, I built a storage box for the jaws and chuck, as well as the associated accessories.

closed box, corner view

The box is dovetailed pine construction with quarter inch plywood top and bottom and holds the jaws on the chuck, and has places to hold the jaw extensions which I bought with the jaws (allowing it to hold a bowl up to 15 inches in diameter.

open box, showing cole jaws and accessories

The lid is hinged with a piano hinge, and has a small latch to hold it shut, and the box is finished with French Toast milk paint and a coat of tung oil.

open box, showing accessories and cutout for chuck

#woodworking #project #storage #shopFurniture

Discuss... Reply to this in the fediverse: @davepolaschek@writing.exchange

I have a Mujingfang Plough Plane I bought a few years ago, but it was only recently that I found the blades other than the ⅛ inch blade which I had left in it when we moved to NM (three and a half years ago). Having all the pieces in one place again, I decided it was time to build a storage box for it. This is the result.
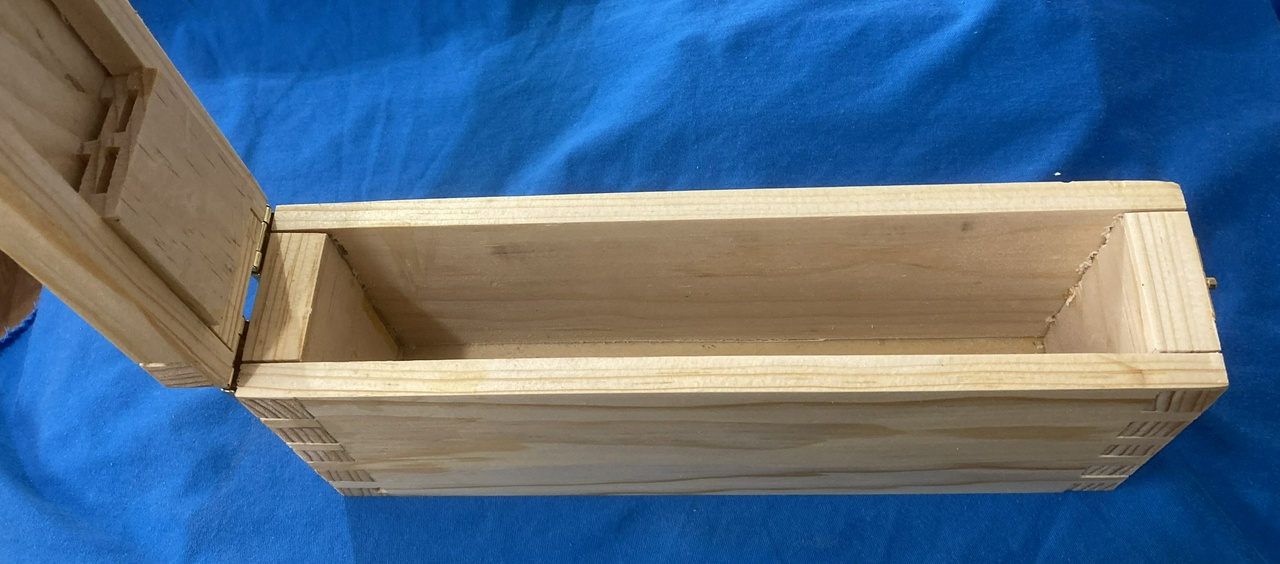
Open and empty storage box

The box is just about the minimum size to store the plane, fence, and blades securely. I'm getting enough storage boxes in my shop that I'm going to need to build more shelves. Plus I've discovered that the arms for the plane are tapered enough that I can slide them into the plane body as far as they go, and they'll stay securely without having the factory screws in place to hold them. This avoids one of my bigger objections to this sort of plane, which is that they take up a lot of room when not in use.
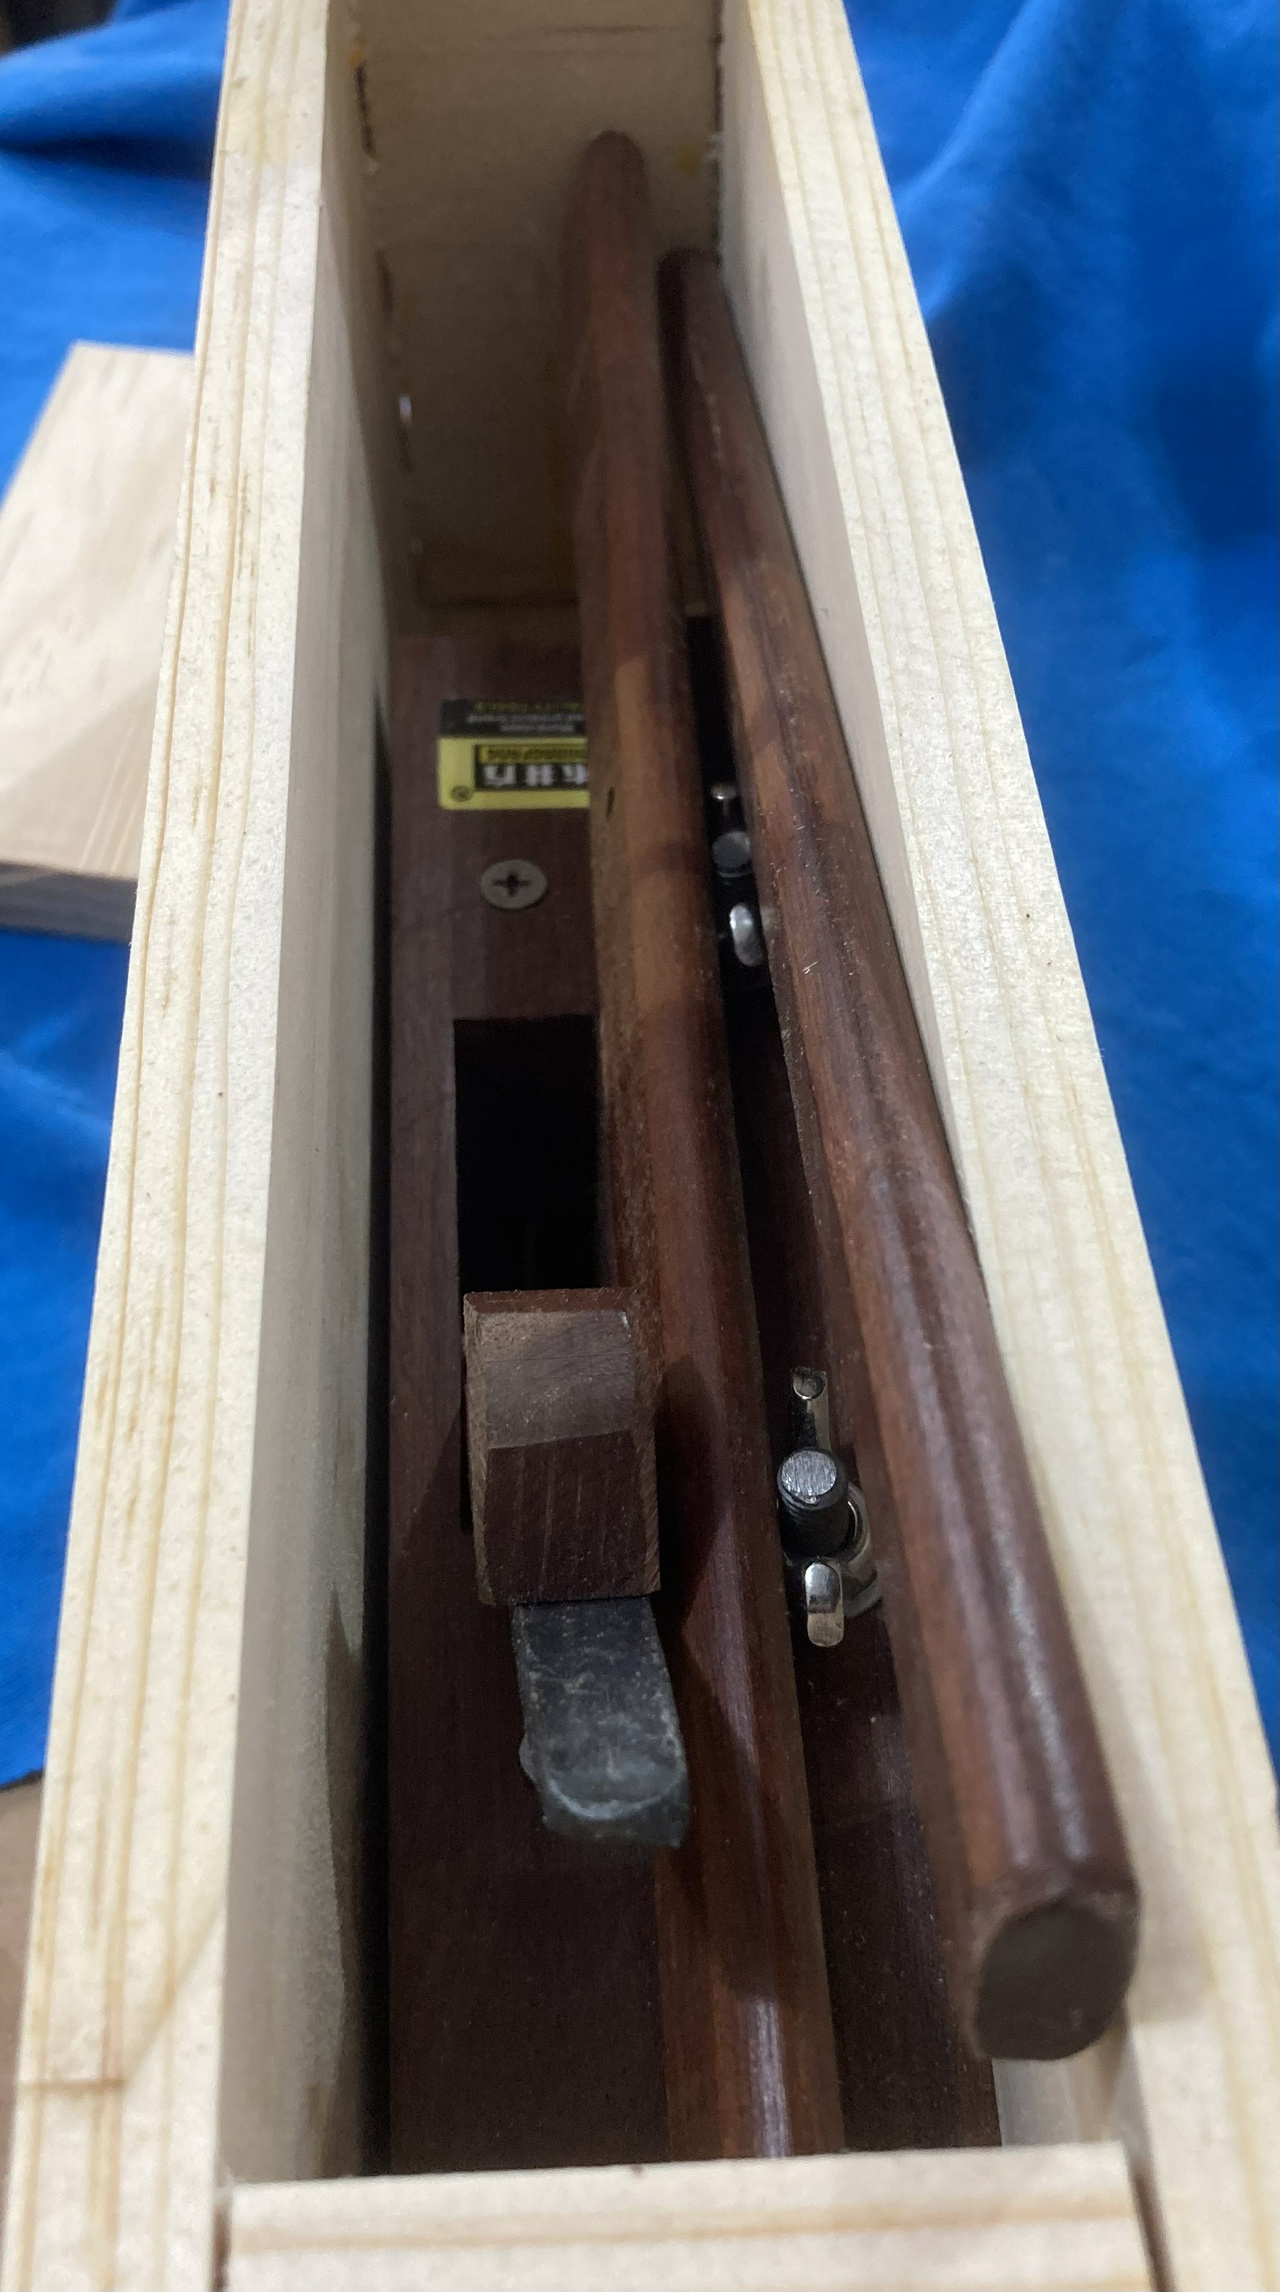
Open storage box, showing the plane, fence and arms in the box

As you can see from the picture, with the arms and fence removed, the plane doesn't take up much space at all. And if I do have problems with the arms not staying wedged in place, I can always replace the factory screws with wooden pegs to hold the arms in place.
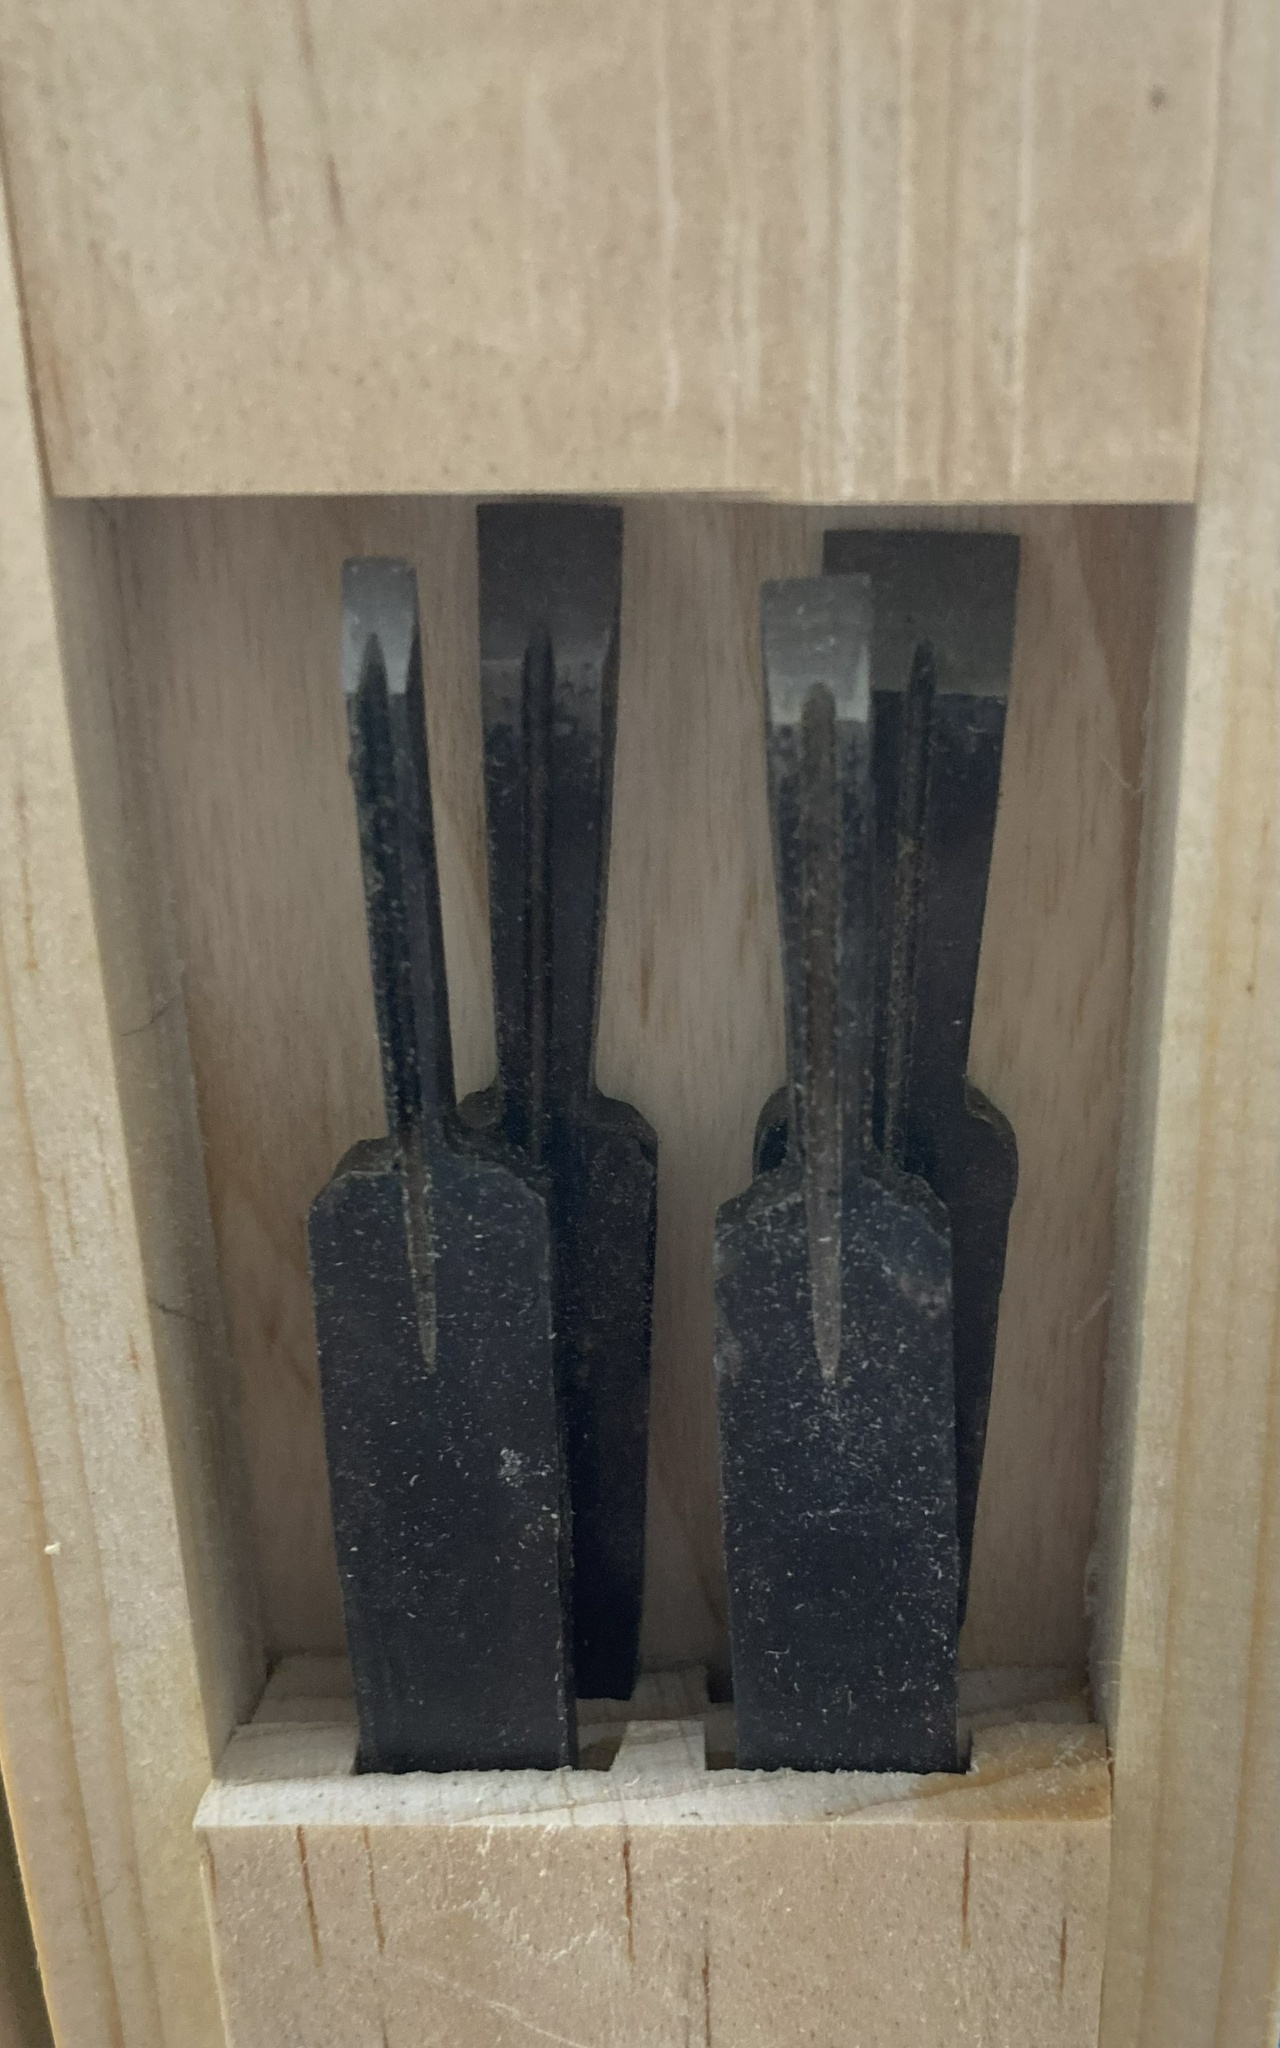
Four of the plane blades in their storage space

The plane came with five blades, but I figure I only need storage slots for four of them, as I can leave one in the plane.
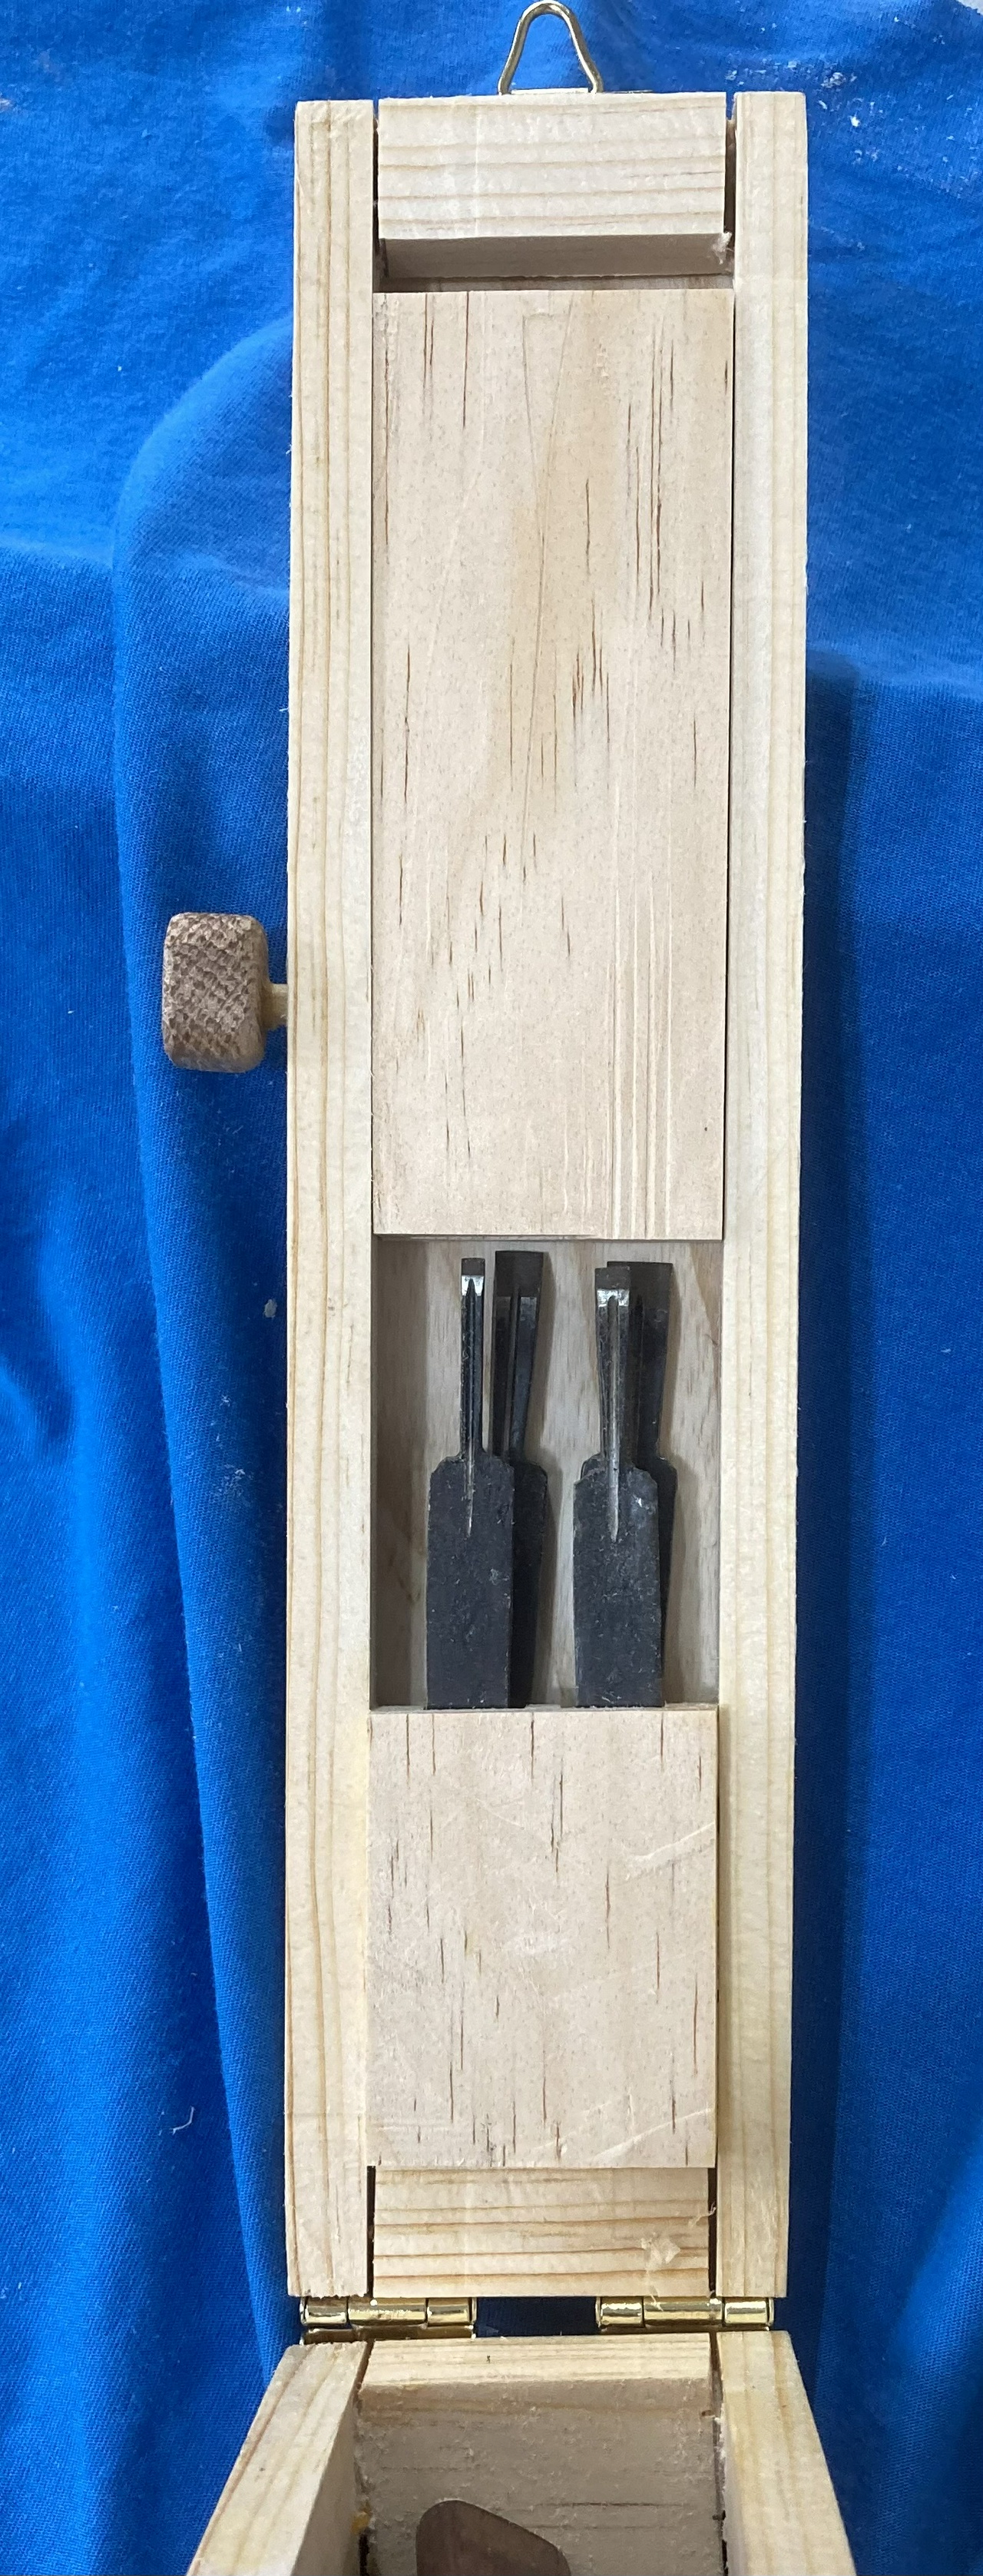
Blades with retaining block and peg holding them in place in the lid of the box

To keep the blades from flopping around in the box (and to keep from needlessly making the box an inch taller to fit them upright), I placed a retaining block in the lid of the box. It's made from pine, so having the blades bump into it is unlikely to dull the blades much. And it's held in place with a wooden peg. If I think of a better solution, I figure I can replace it fairly easily.
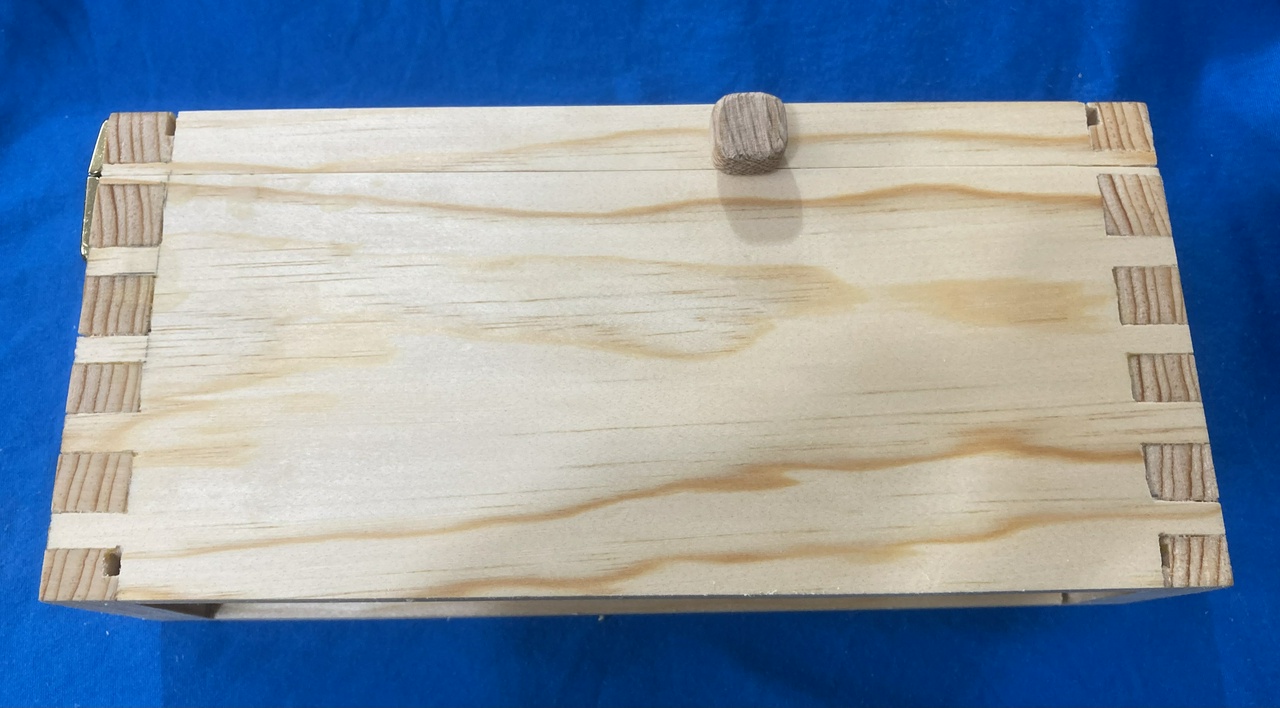
Side view of the closed box, showing the wooden peg

When everything is closed up, the wooden peg does protrude a bit, but only a little, and I can make the knob on it even smaller if I decide I need to. Or I can recess the knob into the side of the lid, so it takes up much less space. But none of that is a project for today.
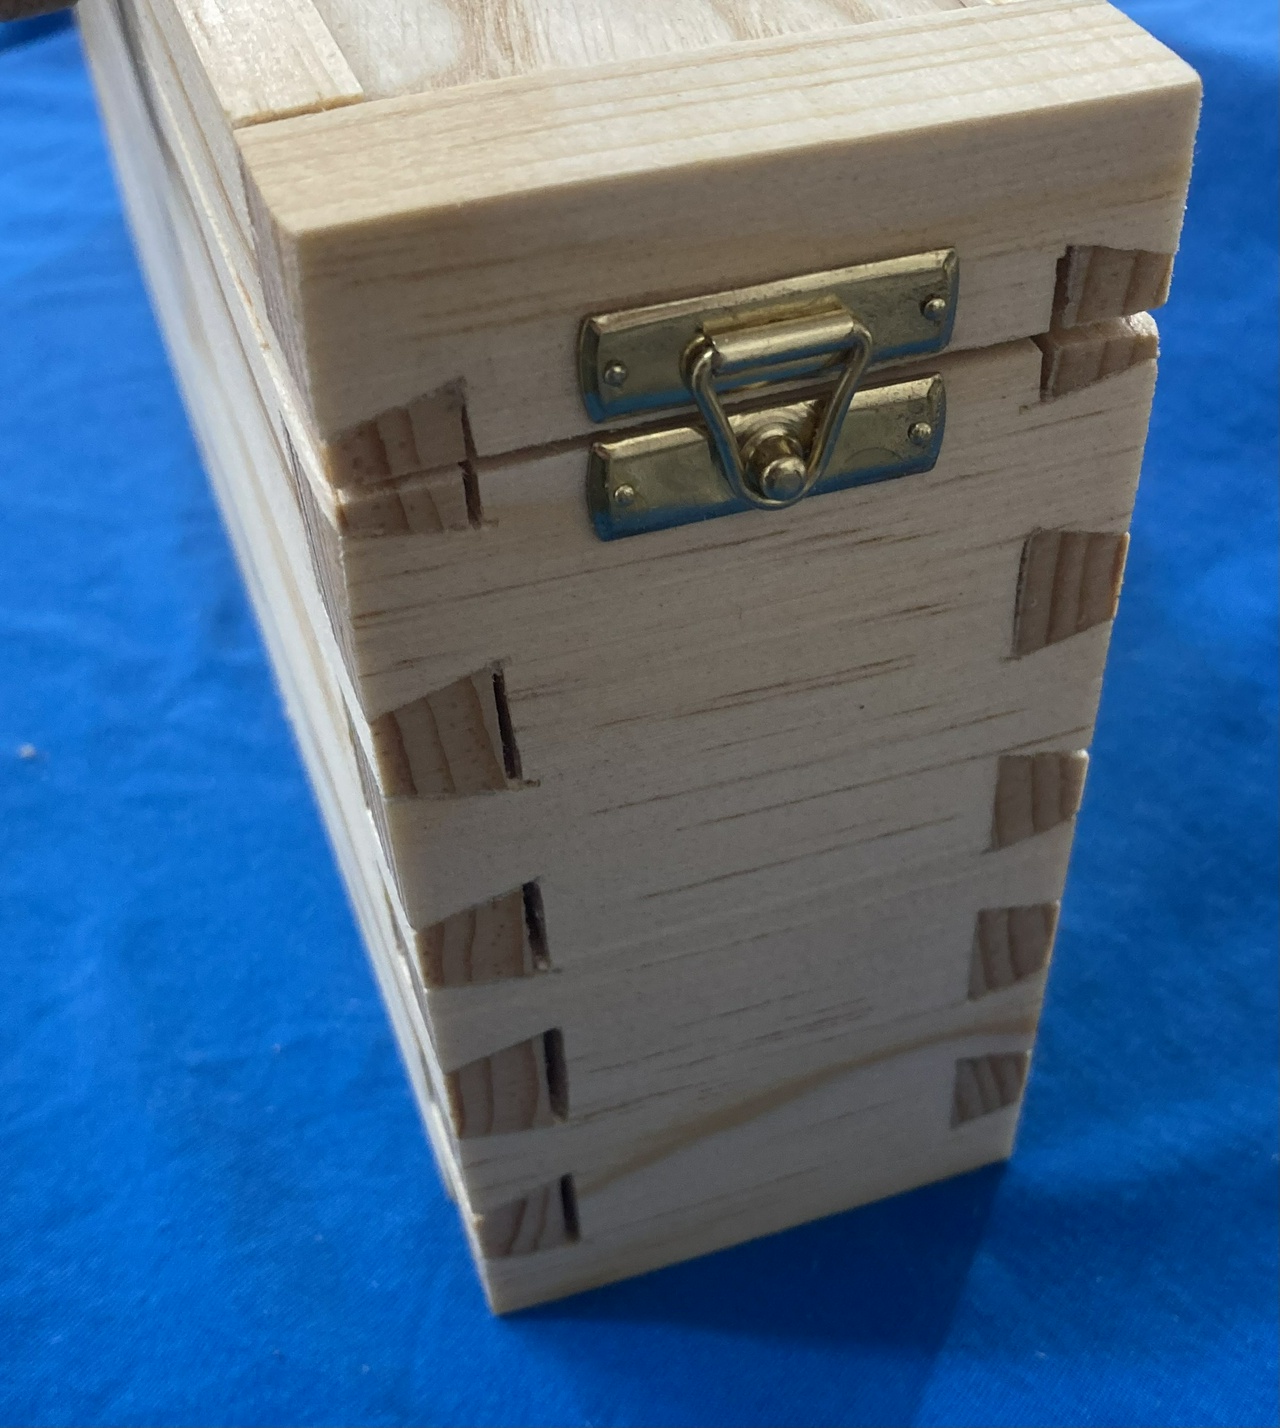
View of the "front" of the box, showing the latch

The box uses some cheap brass hardware I had on hand. The latch and hinges mostly work fine, but the hinges stuck up about 3/64 inch above the top of the box when I aligned them properly with the lid. So I took a little off with the belt sander. They don't look great now, but they still function fine.
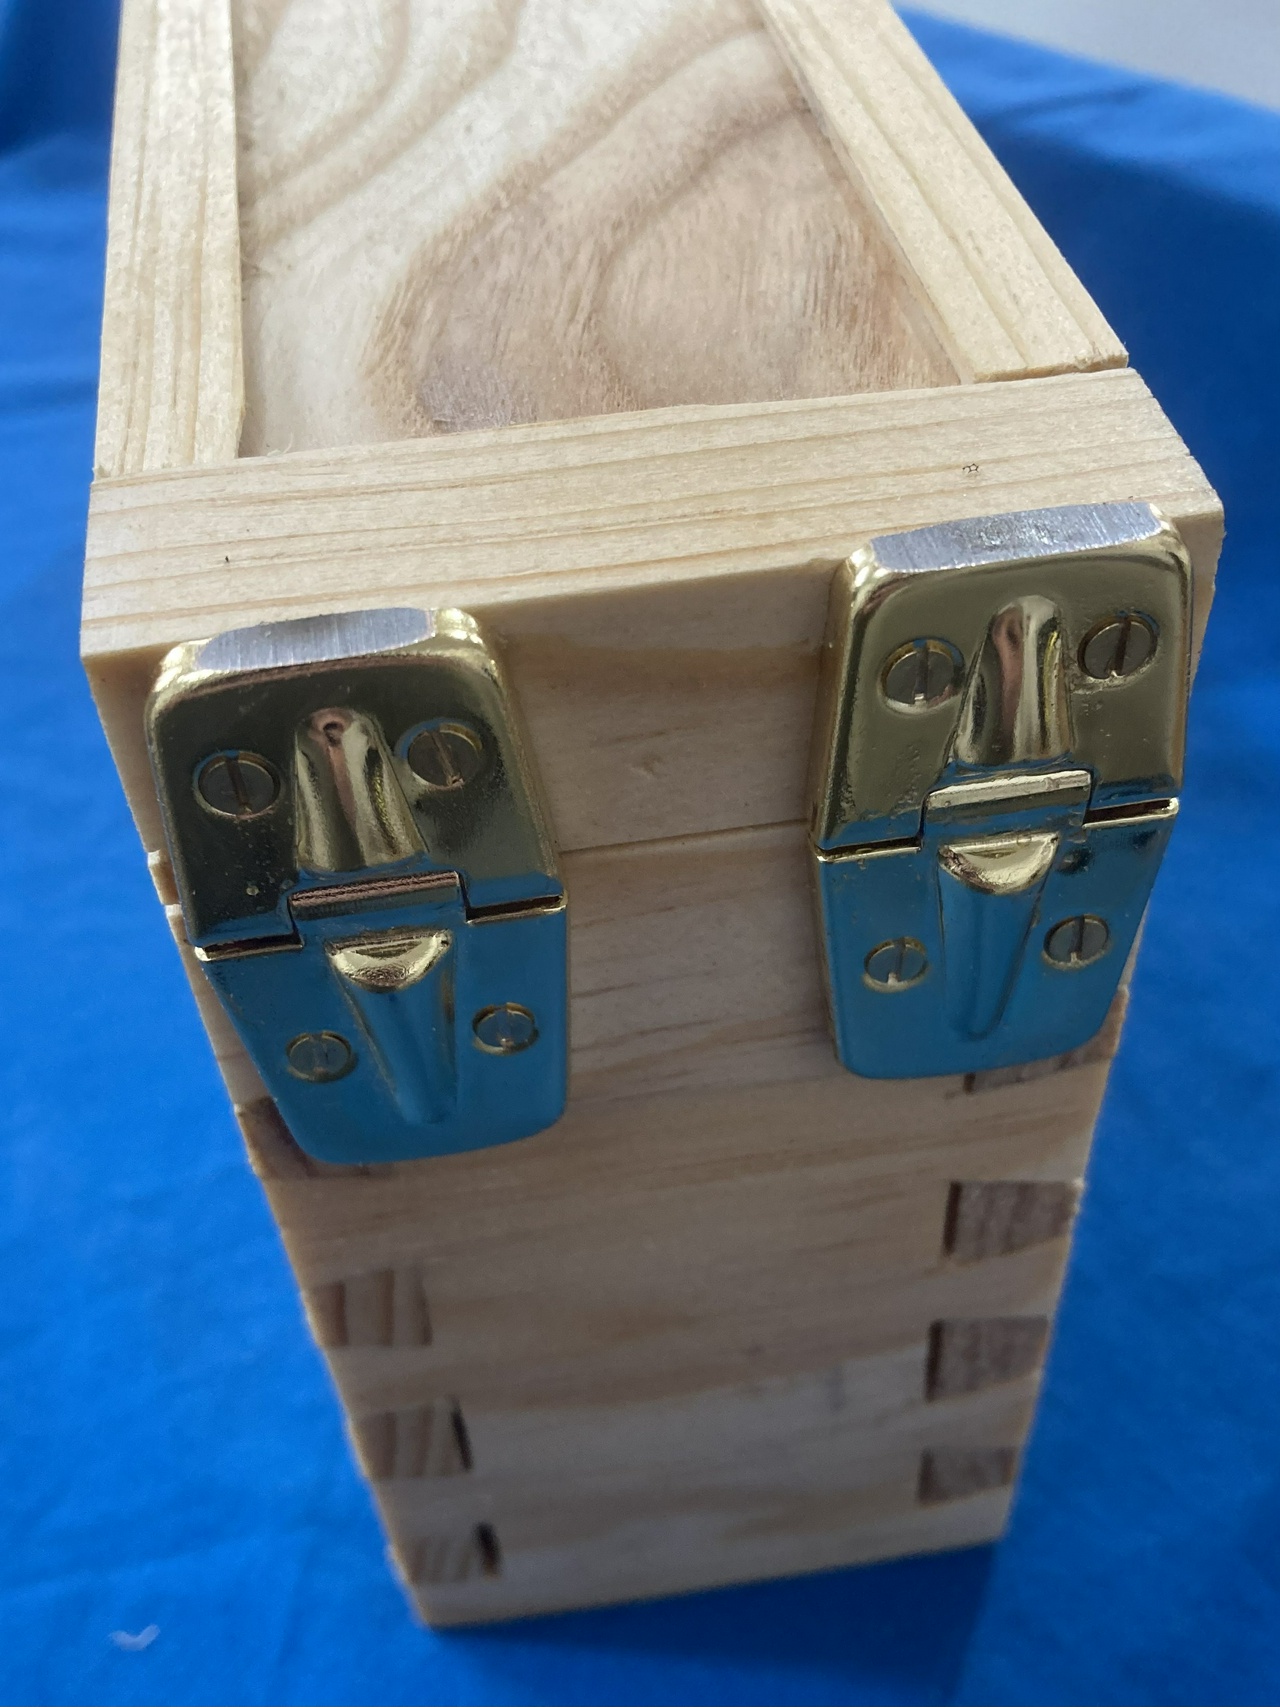
"Back" of the box, showing the hinges with some of the brass plating sanded off

The box is mostly pine. The ends are ¾ inch thick, and the sides are ½ inch thick (it didn't seem worth it to make the ends any thinner given how small they are). The bottom is a piece of aromatic cedar I scavenged from an old cedar chest I got from my mom. Between her cats and her basement which had flooded multiple times, it wasn't worth trying to repair, but I did get a few boards of cedar from it. This was an offcut that had screw-holes spaced just about the right distance apart so I could cut them off and make the box bottom. The top of the box is a piece of thick ash veneer (⅛ inch thick) which I bought to use as splines in boxes with mitered corners, but it's plenty sturdy for this lid.

I think that's about it. Thanks for looking!

#woodworking #storage #shopFurniture

Discuss... Reply to this in the fediverse: @davepolaschek@writing.exchange
May 9, 2022

Getting a little more progress. I made hangers for my most commonly used hammers on the door of my till.

The two doors of the till, now with hammers mounted on the left door

Left to right, the ball-peen hammer I got from my dad, and which I use for nearly everything; the plane hammer I got from Kenny in the turning swap; the dead-blow I got from Kenny in the turning swap, which is proving very useful (autocorrupt wanted to “fix” that to useless -f'in Apple); and my dice mallet from Earl, which gets used pretty hard, and keeps on whacking.


Contents #woodworking #storage #hammers

Discuss... Reply to this in the fediverse: @davepolaschek@writing.exchange

Multiple projects going on in the shop today, so I didn't make a ton of progress on the till. I did get the doors planed (and sanded – pine is almost as fast to shape with 60 grit as with a plane) so they'll both close at once and then I installed the latches. I'll probably need to take a hair more off each of the doors – maybe a 64th or so from each, so that they'll still close once I put a coat of oil on the edges that meet in the middle.

Looking at the two doors from the top, they don't quite close

I put the latches on the top of the till because I can still reach them there just fine, and they'll hold better than latching the two doors to each other.

A few over the top of the till with both doors closed. A steppe landscape is visible out the window behind and above the till

Next up is outfitting the left door with hangers to hold whatever tools I decide need to live there, then it'll be about time to call the till done.


Contents #woodworking #storage #latches

Discuss... Reply to this in the fediverse: @davepolaschek@writing.exchange

May 3, 2022

Before I hung the second door, I spent a few days outfitting it with hangers for additional tools. I wanted to put a bunch of my marking and layout tools on the outside of the door, and a couple eggbeaters on the inside. (The first door will get the balance of the eggbeaters on the inside and more marking tools on the outside, as well)

So, here's a look.

Drills mounted on hangers on the inside of the door

Marking tools mounted on the outside of the door

Both doors visible, along with the drawers beneath them

The doors won't quite both close at the same time, because geometry, but I should be able to fix that fairly quickly with a block plane without having to remove either door. Plus, the left one will probably have to come off at some point so I can hang tools on it. Not going to worry about that today, though.


Contents #woodworking #storage #doors

Discuss... Reply to this in the fediverse: @davepolaschek@writing.exchange

Apr 28, 2022

Another short session in the shop today, but I got the edges of the doors planed flat with a block plane.

Block plane sitting on the edge of a door frame, held in the face vise. The dovetails to the left of the plane have been planed flat

Then I put on a coat of boiled linseed oil with a foam brush.

Foam brush sitting inside one of the doors

Wiped off the excess with a rag.

A rag, with some visible oil spots, sitting inside a door

And set the doors on a scrap of cardboard to dry.

The two doors, sitting on a cardboard box flattened on the shop floor


Contents #woodworking #storage #finishing #linseedOil

Discuss... Reply to this in the fediverse: @davepolaschek@writing.exchange

Apr 27, 2022

This evening I got a little time in the shop to glue up the doors of the brace till. Yesterday I had finished the joinery for the frames, and rough-cut the door panels.

This evening, I measured the door panels more carefully (since I had made the grooves about ⅜ inch deep in ¾ inch boards, I can set the frame on the panel, aligning two outside edges, then make a pencil line on the two opposite inside edges, and be pretty close to right). So I did that and cut the door panels with the circular saw.

Then I test-fit things. The grooves were really tight for the ¼ inch plywood, so with a block plane I took three passes angled along each face of each edge of the panel, raising it just a hair. Now the panels fit into the grooves, but they were about ⅛ inch too big, so I set up the table saw with the fence almost touching the blade and quickly turned a bit of the edges into sawdust. Could've done the same thing with a hand plane, but my low angle jack plane that I normally use for trimming the edges of plywood was not very sharp, so the tailed apprentice got the call.

With things fitting correctly now, I put glue on all the pins, set the door panels in place (no glue on them), and placed on the tail boards. Then on with the clamps and call it a night.

Two door frames with panels, glued and held together with clamps

Tomorrow I think I only have a few minutes in the shop, but that should be enough to plane the dovetails smooth (the pins are protruding just a hair) and put on a quick coat of BLO, and I can hang the doors on Friday. Fingers crossed!


Contents #woodworking #storage #doors

Discuss... Reply to this in the fediverse: @davepolaschek@writing.exchange

Apr 26, 2022

I finally got back to my brace till this morning.

Found a few pine 1×4s in the storage and ran down the edge of them with the combination plane to pretty them up a bit.

Then I cut them to length for the doors I'll need. I'm planning on building doors that are 3 inches deep, with a ¾ inch frame around the edge, using mitered dovetails for joinery, and a piece of ¼ inch Baltic birch plywood for the face.

Four boards for one door frame, with a combination plane set between them

Four boards for the other door frame, with a cordless drill and a couple turnscrews between them

With the frame pieces cut to length, I stopped and thought for a moment. I want the pins extending out through the tail boards which will be the sides, so I grabbed the left and right sides of the left door, put them outside to outside, and cut my first two sets of tails. I used the same layout as the plinths on my Jefferson bookcases, so I already had a story stick on hand.

With the dovetails laid out, I started cutting, and got through all four corners pretty quickly. I ended up having the left and right side of the right door upside down from what I had originally planned, but other than that, everything went well.

Two door frames, put together for a test fit, sitting on the floor

Next was cutting the groove for the door face. I wanted a quarter-inch groove, about a quarter inch from the front face of the door sides (in order to avoid splitting the groove across a pin and tail – putting it this way kept it entirely within the miter), so I set up the combination plane accordingly, and set the depth stop to a hair shy of ⅜ inch. I also rough-cut the door faces from the larger piece of plywood outside with the circular saw, and will trim them to exact size next time I get some time in the shop.


Contents #woodworking #storage #doorFrames #planning

Discuss... Reply to this in the fediverse: @davepolaschek@writing.exchange

Jan 22, 2022

Over the past few days I've finished gluing all the drawer fronts onto the drawer boxes.

Today, I went to put the drawer pulls on, and discovered that I only had 7 of the 10-pack of pulls I bought some time back in Minnesota. And it appears they've been discontinued, but I found three more (I only need two, but if I don't buy a spare, I'll end up needing one) online. Only $5 each, plus $10 shipping. Pretty sure that's more than I paid for the 10-pack originally.

Drawer fronts with drawer pulls installed


Contents #woodworking #storage #hardware #pulls

Discuss... Reply to this in the fediverse: @davepolaschek@writing.exchange

Five of the drawer fronts on the cabinet, four are still being finished, with the jam jar and the squeeze bottle of shellac just visible at the bottom of the frame

Today's finishing started with the four drawer fronts I showed last time. I gave them all a half-dozen quick coats of shellac and oil, with some rottenstone to fill the grain a little quicker, then put them back so I could pull the other five drawer fronts to work on those. I don't think the first batch are done, but they're getting close. One more session should do the trick.

This next batch has the drawer with the crack and the bug tracks. That one got some CA glue drizzled into the crack from the back before I started, and also some CA on the front side. I don't want that crack to open up while I'm finishing the board, and I feel like I've solidified things a little.

The four drawer-fronts I'm currently finishing, with one showing a line where the crack needed fixing

My squeeze bottle of shellac was getting a little low too, so it was time to mix up a new batch. 2 ounces of shellac flakes in the 14 or 15 fluid ounce salsa jar leads to a mix that's just a little bit over a one pound cut. Dissolves fairly quickly with the magnetic stirrer mixing it up. It'll be ready for use tomorrow morning when I'm back in the shop for sure.

A magnetic stirrer with a salsa jar of shellac sitting on top of it

Also, I used some rottenstone in the first bits of finishing on these drawer fronts. It's fine pumice, and will abrade the surface of the wood a bit, creating a slurry in the shellac and oil, and then pushing that slurry into the grain. I decided I'd compare using it first versus using it in the second round of finishing.

The pad I used to apply shellac, worn through in a spot, showing the interior layers of cheesecloth, which are a coarser weave

The downside of using rottenstone is that it wears out the pad fairly quickly. But that's an easy problem to solve; just move the outer layer of t-shirt to a fresh spot after wearing through somewhere.

The pad with a fresh spot on the t-shirt moved to the center

A few more coats of oil and shellac, and the second batch of drawer fronts are looking pretty good.

All five boards in this batch, showing they are partially finished

There are still some spots where the grain hasn't been completely filled yet, but I think I can safely put the rottenstone away and just finish with shellac and oil.

A closer, and lower-angle view of the boards, showing that there are still spots where the grain has not been filled


Contents #woodworking #storage #frenchPolish #shellac

Discuss... Reply to this in the fediverse: @davepolaschek@writing.exchange