Boring Tools Till – Starting to Finish the Drawer Fronts
Jan 9, 2022
This morning I started finishing the drawer fronts. It will probably be at least a two-day process.
First up was trimming the height of the bottom row. Pretty easy to mark, just reach around behind and use the bottom of the carcasse to make pencil marks at each end of a drawer front, and then connect the dots.

After sawing them off, I started on each drawer. For each, as I pulled it, I first marked which side was up on the back.

Then I planed the front as smooth as I could with my small smoother. It needs some tuning for dealing with the interlocked grain of elm, so I couldn't get a surface I liked just from the plane.

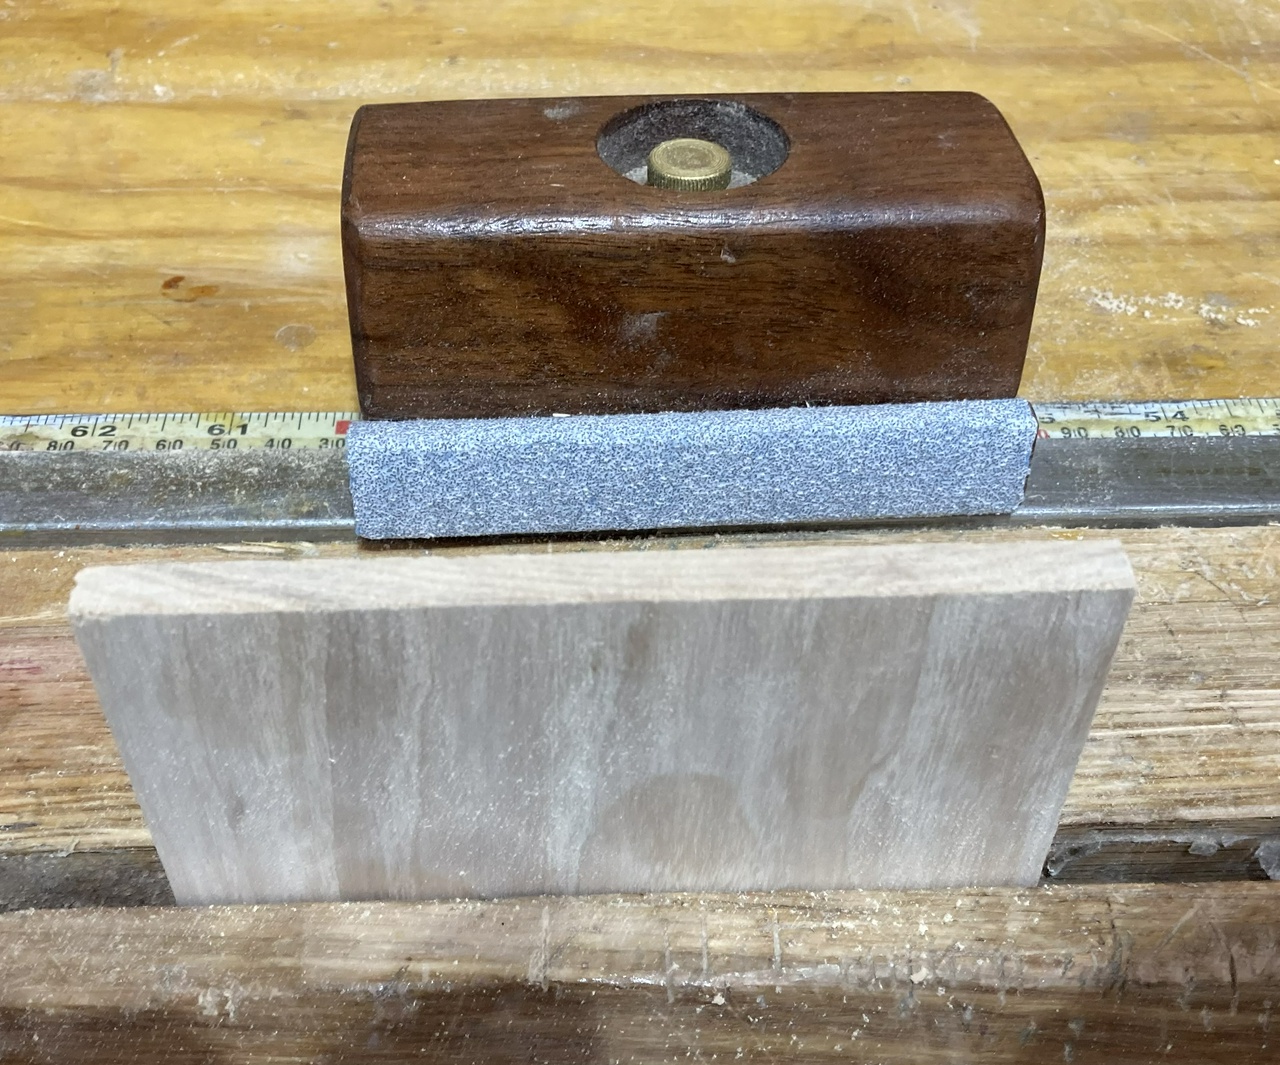
Depending on the board, I used 60, 120 and 220 grit sanding blocks as needed. I also used a block plane and 60 grit on the end grain of a couple pieces where there were nubbins left at the end of the saw cut.


And finally, I fixed any cracks from behind with some CA glue. It's not a strong fix, but these will be glued to the drawer boxes, so there shouldn't be any great need for strength.

Here's one done, finished with a coat of linseed oil.

And completed.

Contents #woodworking #storage
Discuss... Reply to this in the fediverse: @davepolaschek@writing.exchange