Jefferson Bookcases – First Shellac
Originally written Aug 14, 2020
After prepping the case, it's time for shellac. I start by laying the case on its front and putting a coat of shellac on the back.
I mix my shellac with 2oz of shellac flakes to 12oz of alcohol (I use the Kleen Strip denatured alcohol from the hardware store, and measure it by volume). This is near a 1½ pound cut. I use pint salsa jars (which hold about 14 oz), and that gets the jar full enough that I can completely cover a case, but leaves enough headroom in the jar that I can still shake it to dissolve the shellac, though I've moved to a magnetic stirrer more recently, since that allows me to get a new batch of shellac mixed up more quickly.

This isn't going to be seen, so I just put it on pretty quickly and move on. Next, the case goes on its top (or bottom) and a coat goes on. For the outsides of the dovetails, I cover each end first, then come back and fill in the middle. I make sure to get plenty of shellac into the end grain of the dovetails. I want them to look completely wet.

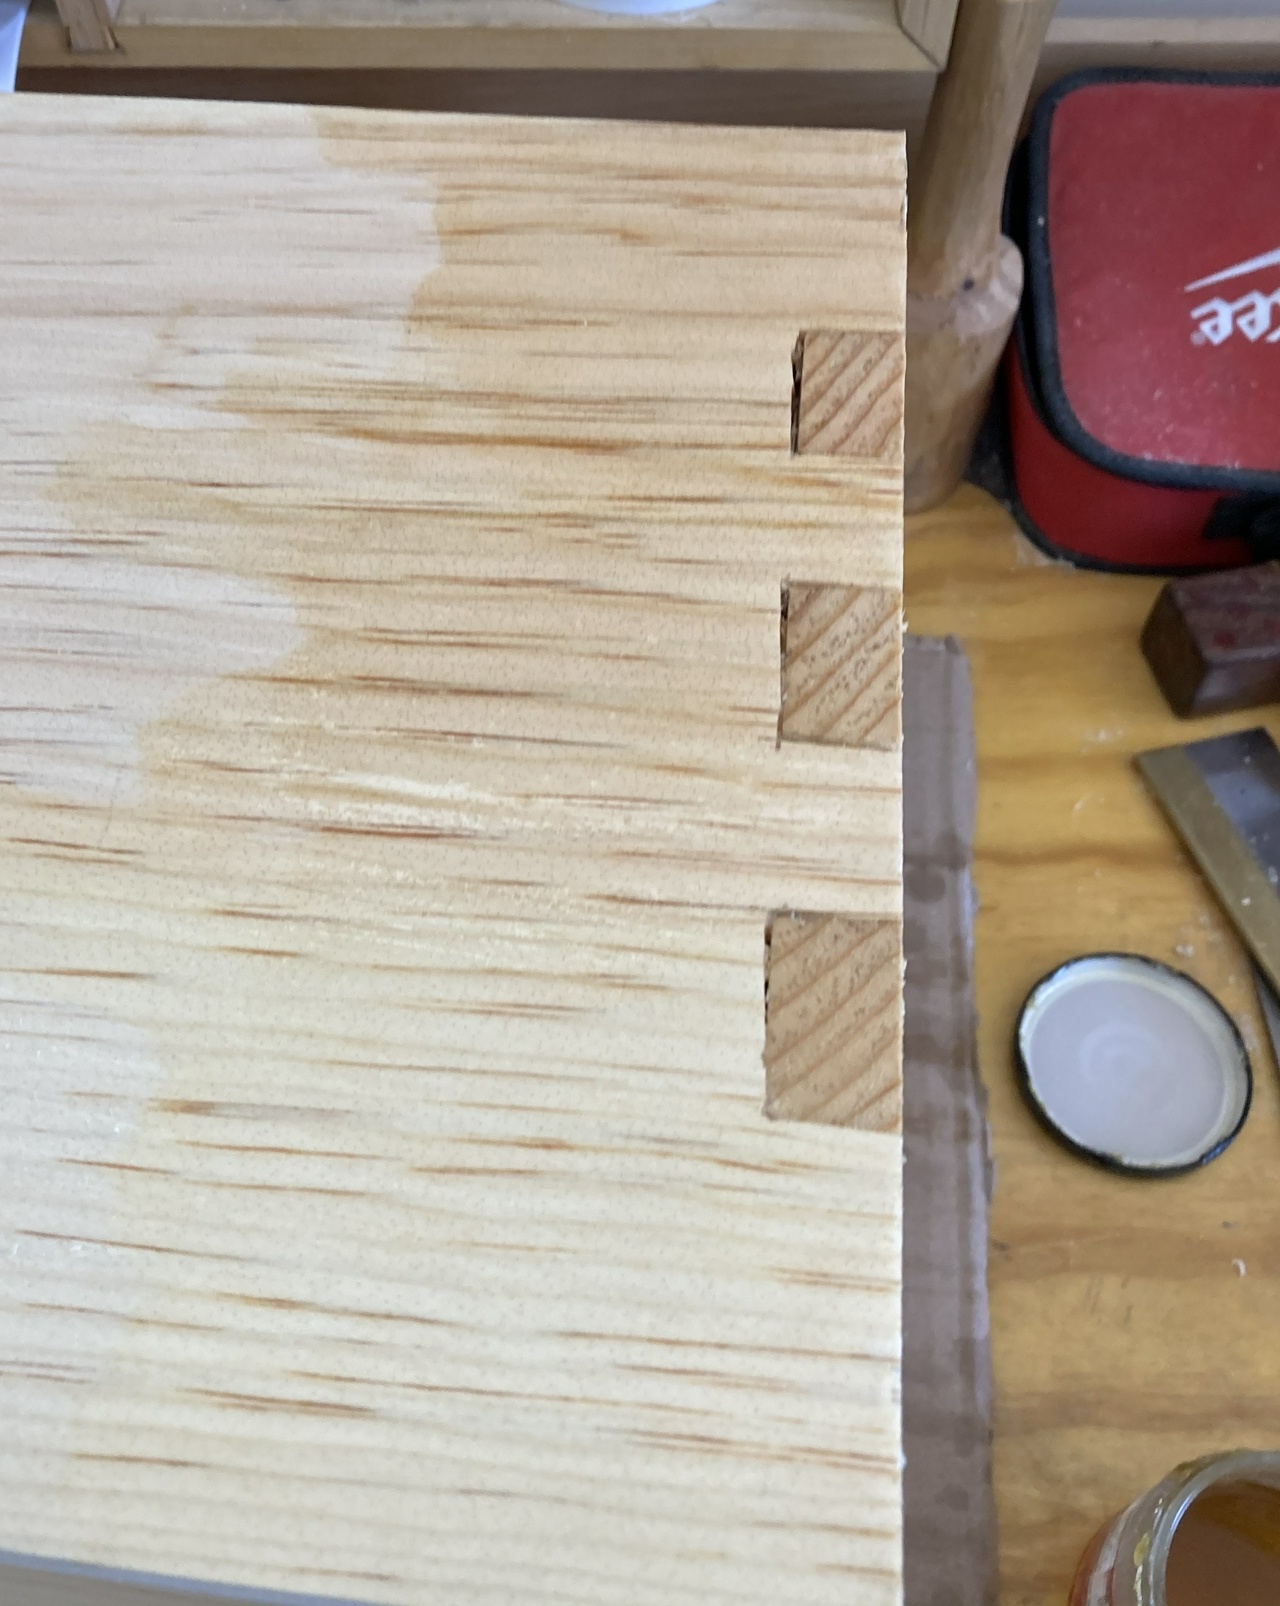
Coming back to fill in the middle:

I'm using a 1” chip brush, and I load it as full as I can without dripping shellac. For a first coat, this will cover about 20 square inches, or half that if it's end grain. I'm putting the shellac on pretty thick at this point, but it'll soak in and still dry before I put the side I just did down so I can finish the opposite side.
After doing the outside, I do the inside of the side that's down. Again, I get the edges first, then do the edge along the back, then I fill in the middle. I'm concentrating on getting complete coverage.


Then I rotate the case 90 degrees clockwise, and do the next pair of outside and inside.

After repeating that for all four sides, I go around a second time, giving those four sides a second coat.
My goal for coverage is that the first coat should get some shellac on every bit of exposed wood. The second time around should build on that. I'm not particularly worried about edges as I move fast enough that I'm almost always applying shellac to a wet edge. But if there's a spot that shows a seam, I can fix that on the second coat, or on the second day.
Then I lay the case on its back, and do the front edges and the inside of the back of the case. The inside and outside of the back only get one coat today instead of two. They're going to see less wear, and I think they'll be fine.
I'm also not super careful about dust at this stage. If I see a piece of sawdust or a shaving in the shellac, I just pull it out (that's one of the reasons for the blue gloves) and put a dab of shellac on the spot where it was. I'm not trying to make a mess, but I will be sanding this lightly and applying more shellac tomorrow, so I can fix any small problems.

Then once I'm done, I set the case on a labeled piece of cardboard so I know how far I've gotten on it.
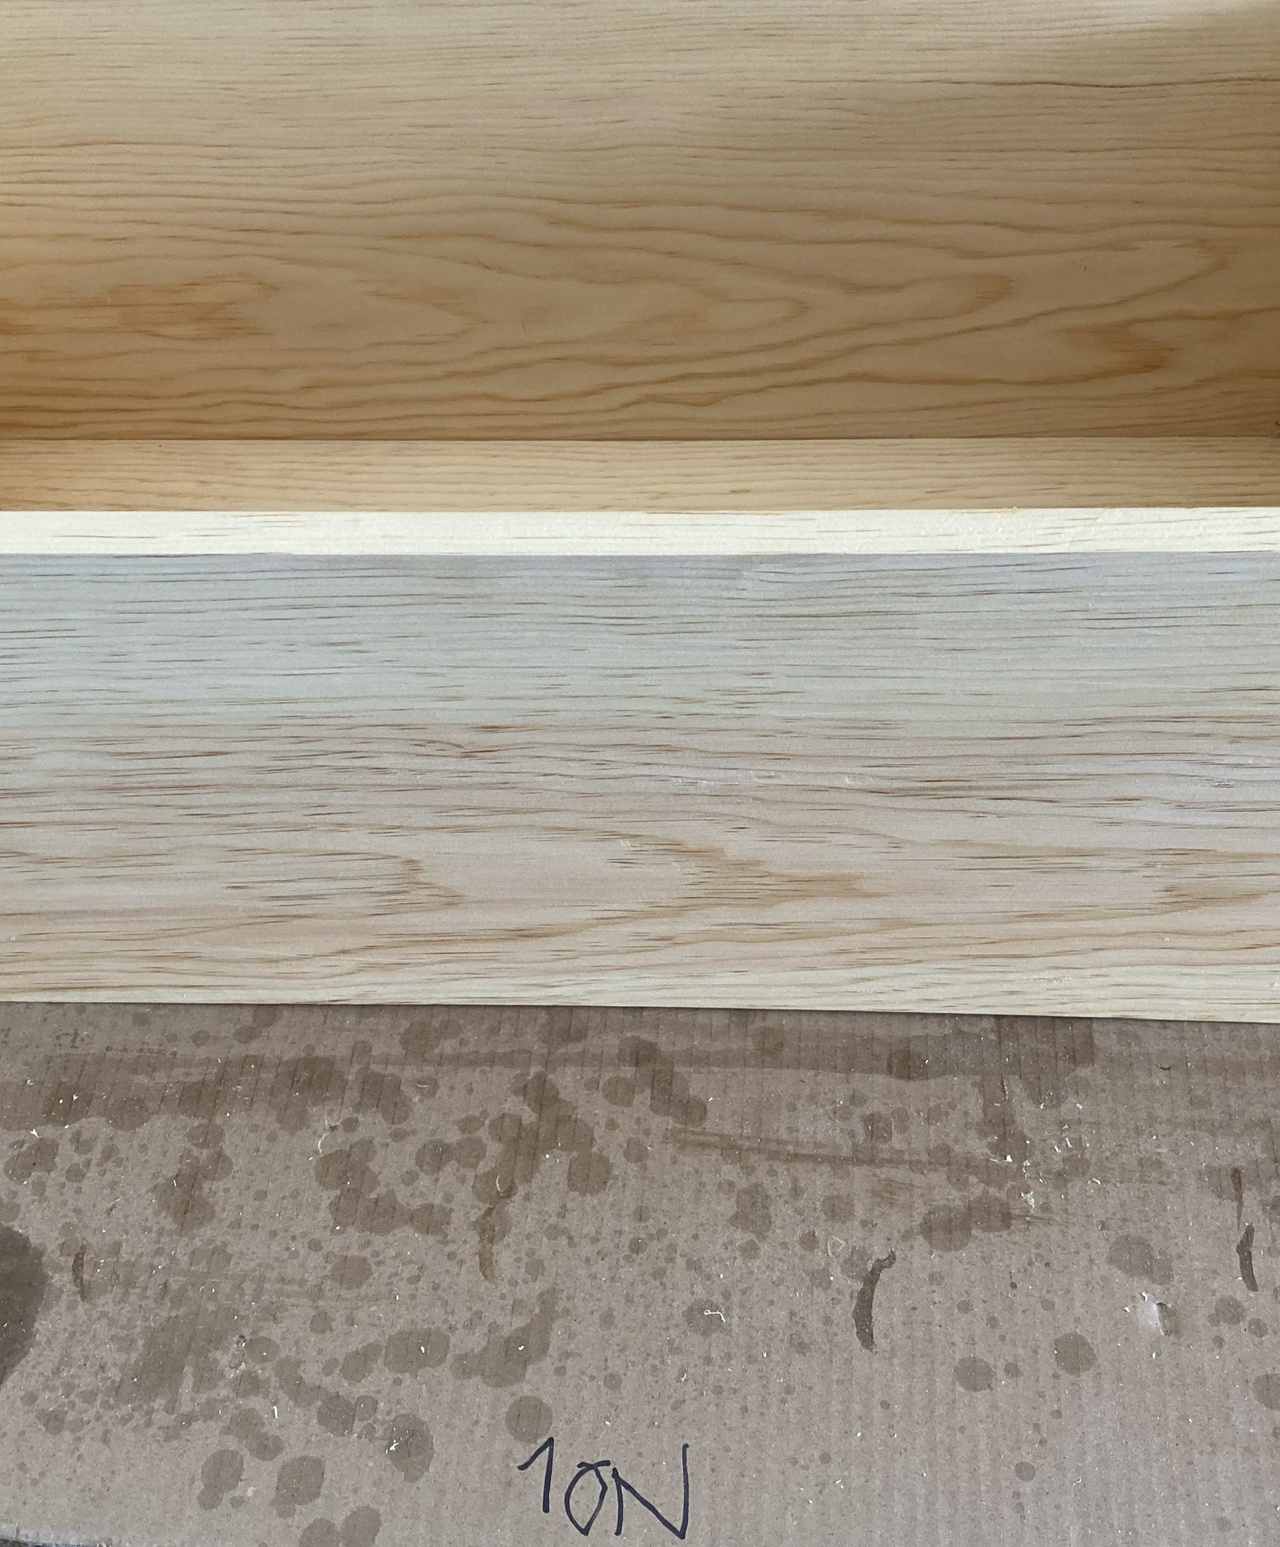
I have three cases in progress most of the time. One glued up, in clamps. One with one coat of shellac, and one with two coats of shellac.
Jefferson Bookcases Contents #woodworking #bookcases #shellac #finishing
Discuss... Reply to this in the fediverse: @davepolaschek@writing.exchange