davepolaschek

shellac

Originally written Aug 15, 2020

The second set of shellac generally goes on the day after the first set of two coats. I put the shellac on thickly enough with those first two coats that it takes a while to dry. Not overnight, but it doesn't hurt it to wait, and letting it dry overnight keeps my production line moving smoothly.

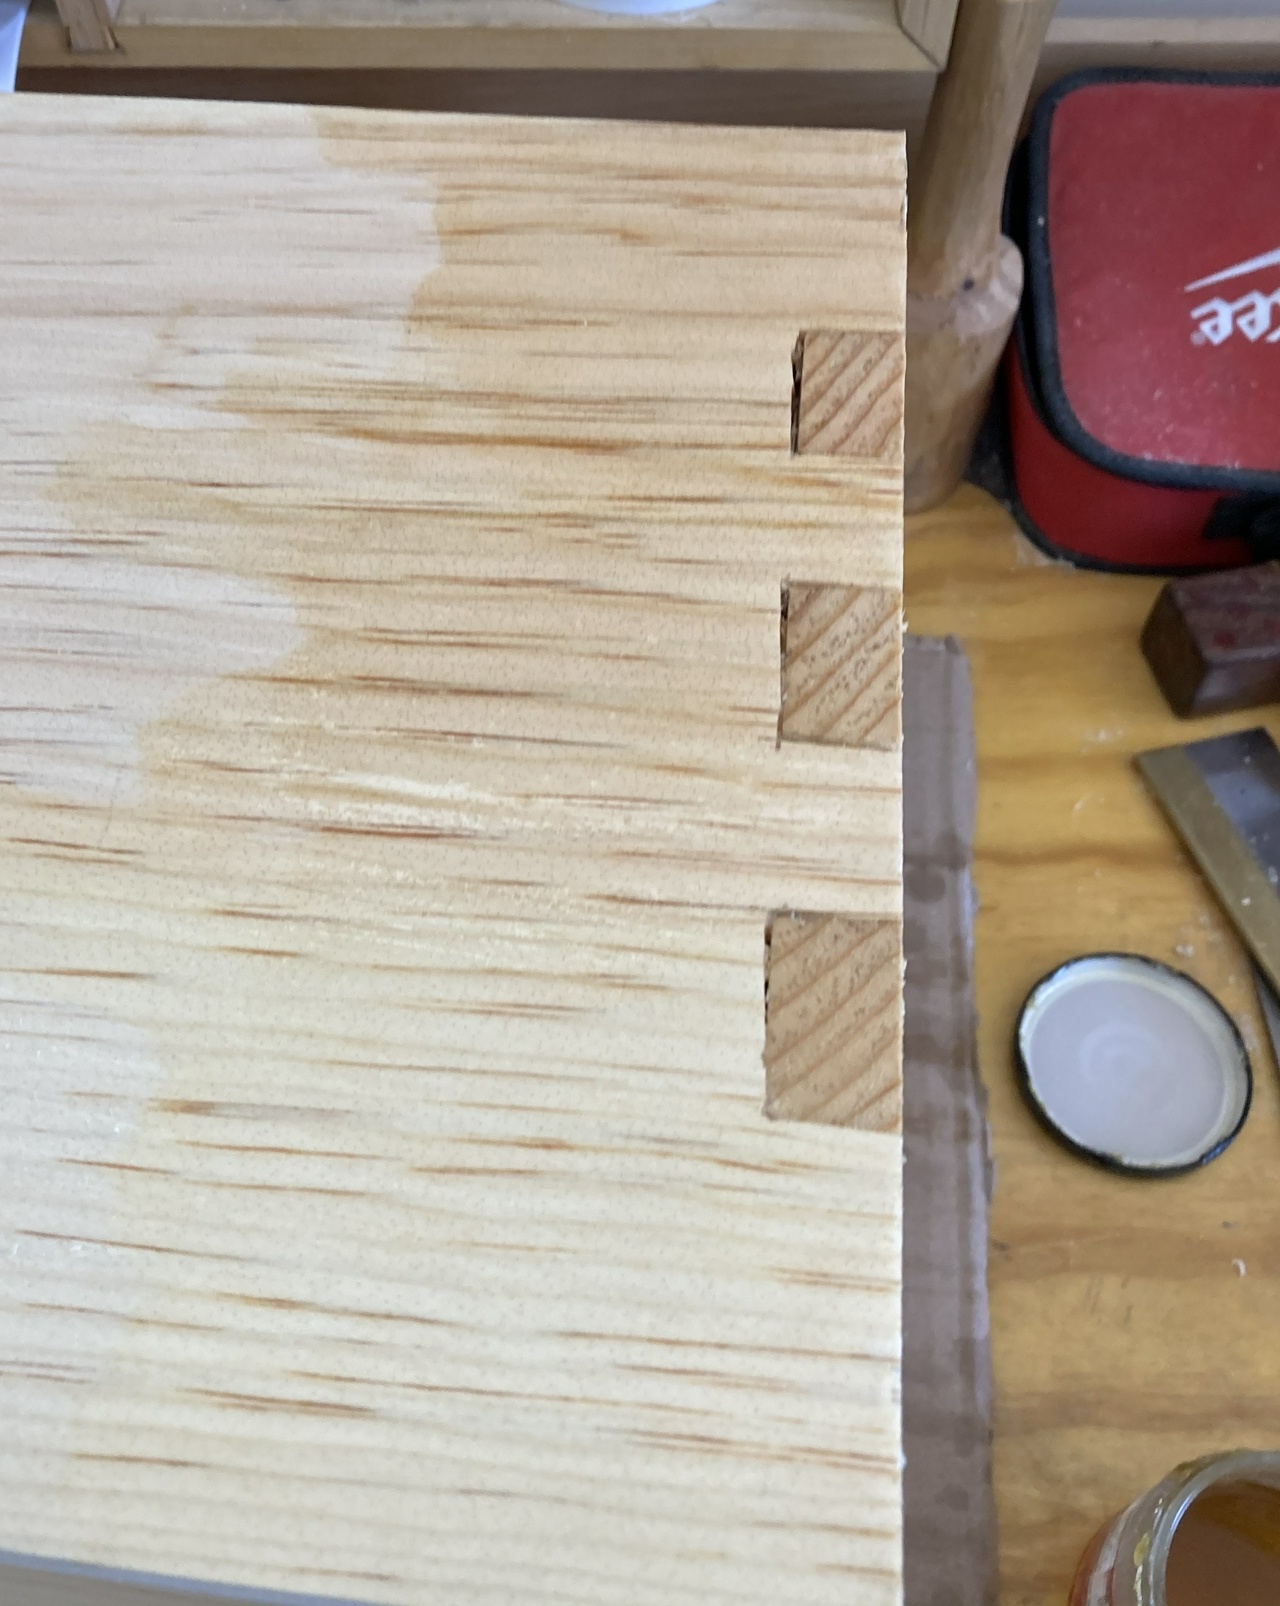
While the goal with the first two coats was coverage, the goal with this one is getting a good finish. So I start by inspecting the case, lightly sanding each side with 320 or 400 grit sandpaper. This turns it from a slightly rough surface (because of dust and raised grain) to something that feels very smooth to the touch. If there are any runs or seams, I'll give them a second swipe with the sanding block and make a mental note to hit them more heavily with the brush so today's coat of shellac will redissolve that area and smooth out the imperfection.

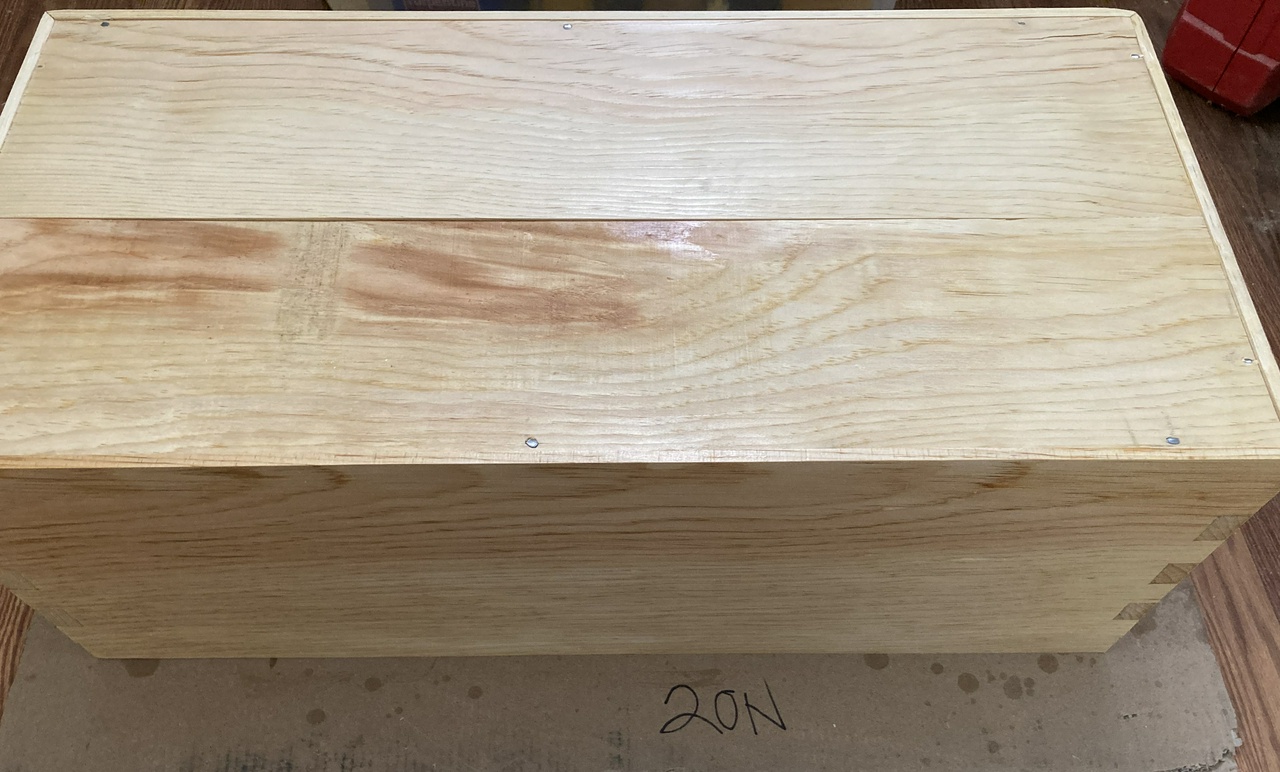
I do the front and inside of the case first, followed by the four outside sides, working clockwise like yesterday, and finishing with the back of the case.

I'm laying on a fairly heavy coat still. I want to make sure any exposed end grain on the dovetails gets good and wet, and the rest of the visible surfaces of the case look good.

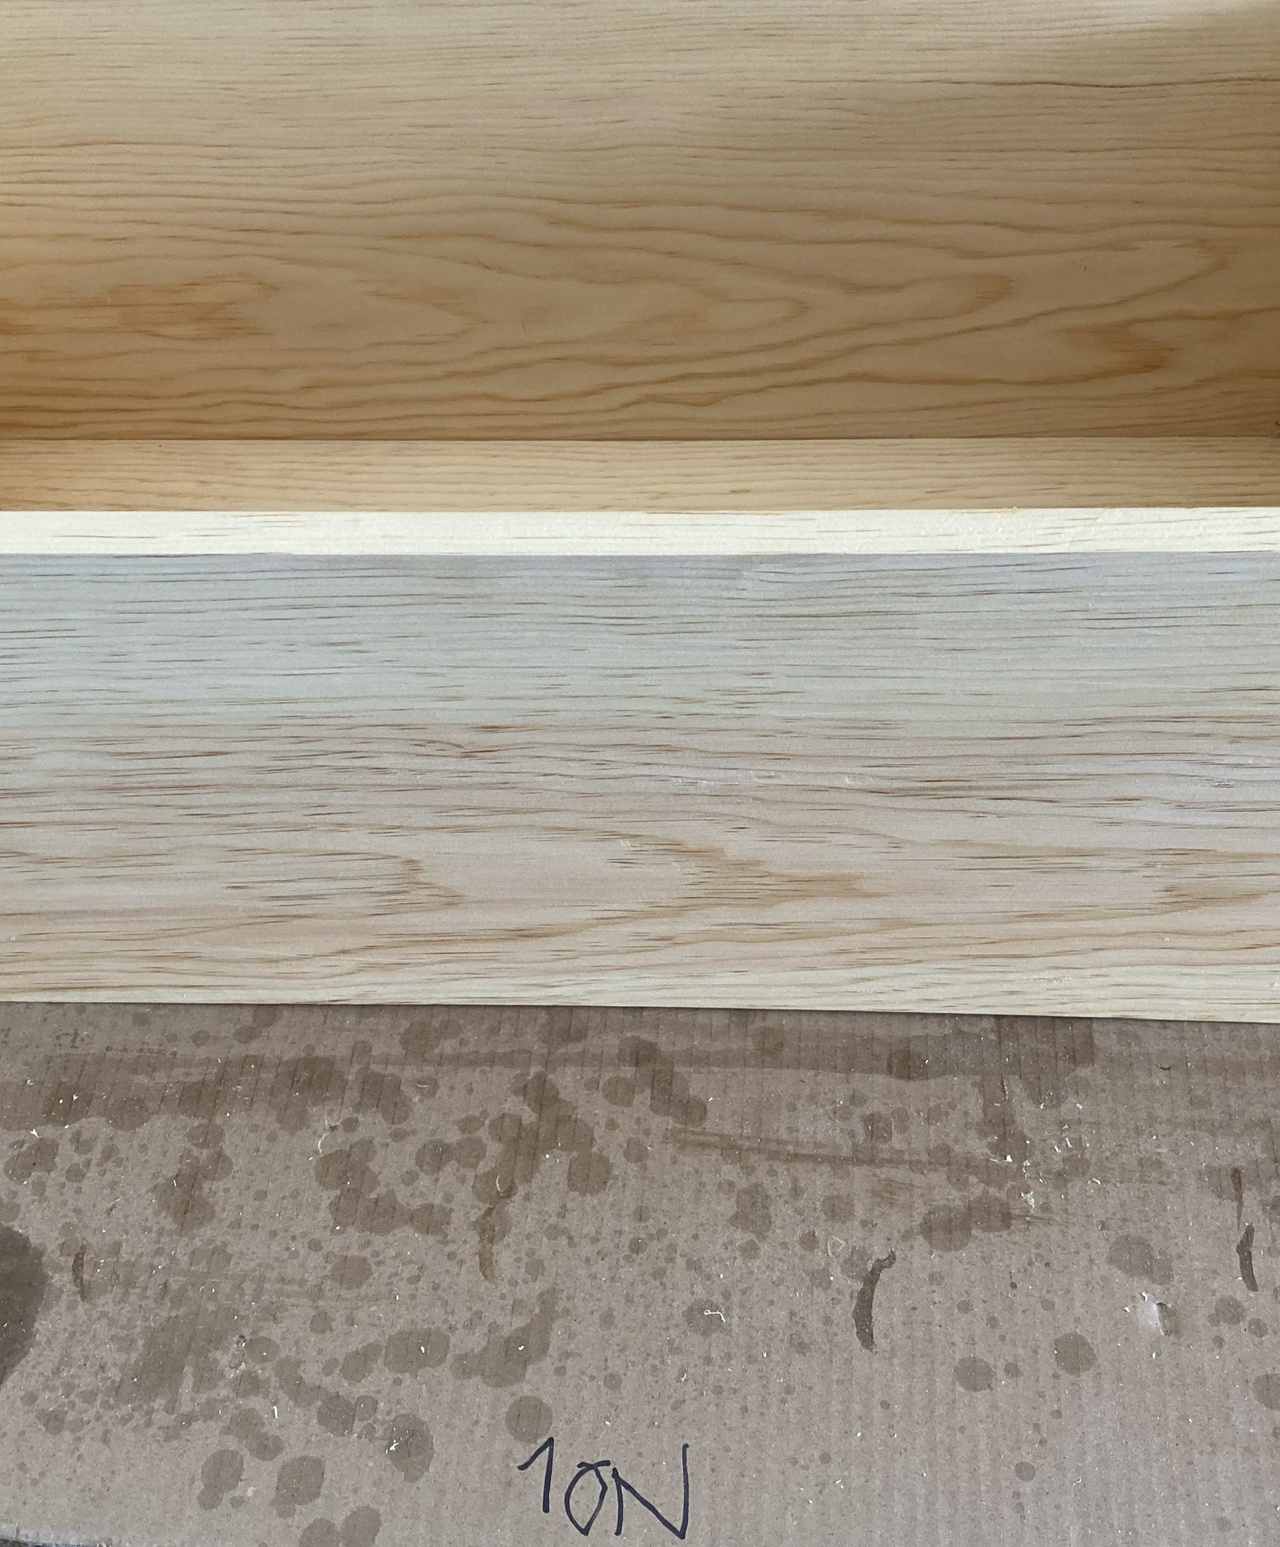
That's about all there is to it. I use the window light to inspect each side of the case as I'm working on it. Looking at the wood from a low angle will show any seams or drips so I can fix them up.

Once the case is done, it goes onto the marked piece of cardboard to dry.

A glossy case on a piece of cardboard labeled "2 ON"

Tomorrow I'll give it a rub with my hands as I carry it into the house, and if there are any rough spots, I'll wipe them with a piece of brown paper bag before stacking the case with the others and filling it with books.


Jefferson Bookcases Contents #woodworking #bookcases #finishing #shellac

Discuss... Reply to this in the fediverse: @davepolaschek@writing.exchange

Originally written Aug 14, 2020

After prepping the case, it's time for shellac. I start by laying the case on its front and putting a coat of shellac on the back.

I mix my shellac with 2oz of shellac flakes to 12oz of alcohol (I use the Kleen Strip denatured alcohol from the hardware store, and measure it by volume). This is near a 1½ pound cut. I use pint salsa jars (which hold about 14 oz), and that gets the jar full enough that I can completely cover a case, but leaves enough headroom in the jar that I can still shake it to dissolve the shellac, though I've moved to a magnetic stirrer more recently, since that allows me to get a new batch of shellac mixed up more quickly.

Back of a case

This isn't going to be seen, so I just put it on pretty quickly and move on. Next, the case goes on its top (or bottom) and a coat goes on. For the outsides of the dovetails, I cover each end first, then come back and fill in the middle. I make sure to get plenty of shellac into the end grain of the dovetails. I want them to look completely wet.

brushing shellac onto the end-grain of the dovetails

end grain of the dovetails, looking wet

Coming back to fill in the middle:

brushing shellac onto the middle of the top or bottom

I'm using a 1” chip brush, and I load it as full as I can without dripping shellac. For a first coat, this will cover about 20 square inches, or half that if it's end grain. I'm putting the shellac on pretty thick at this point, but it'll soak in and still dry before I put the side I just did down so I can finish the opposite side.

After doing the outside, I do the inside of the side that's down. Again, I get the edges first, then do the edge along the back, then I fill in the middle. I'm concentrating on getting complete coverage.

Brushing shellac onto the inside of the case

The ends of the case are wet with shellac, and I'm painting shellac into the middle

Then I rotate the case 90 degrees clockwise, and do the next pair of outside and inside.

Painting the end-grain on the case end

After repeating that for all four sides, I go around a second time, giving those four sides a second coat.

My goal for coverage is that the first coat should get some shellac on every bit of exposed wood. The second time around should build on that. I'm not particularly worried about edges as I move fast enough that I'm almost always applying shellac to a wet edge. But if there's a spot that shows a seam, I can fix that on the second coat, or on the second day.

Then I lay the case on its back, and do the front edges and the inside of the back of the case. The inside and outside of the back only get one coat today instead of two. They're going to see less wear, and I think they'll be fine.

I'm also not super careful about dust at this stage. If I see a piece of sawdust or a shaving in the shellac, I just pull it out (that's one of the reasons for the blue gloves) and put a dab of shellac on the spot where it was. I'm not trying to make a mess, but I will be sanding this lightly and applying more shellac tomorrow, so I can fix any small problems.

the case is on its back, and it's time to coat the inside

Then once I'm done, I set the case on a labeled piece of cardboard so I know how far I've gotten on it.

Case resting on a piece of cardboard with the label "1 ON"

I have three cases in progress most of the time. One glued up, in clamps. One with one coat of shellac, and one with two coats of shellac.


Jefferson Bookcases Contents #woodworking #bookcases #shellac #finishing

Discuss... Reply to this in the fediverse: @davepolaschek@writing.exchange

Five of the drawer fronts on the cabinet, four are still being finished, with the jam jar and the squeeze bottle of shellac just visible at the bottom of the frame

Today's finishing started with the four drawer fronts I showed last time. I gave them all a half-dozen quick coats of shellac and oil, with some rottenstone to fill the grain a little quicker, then put them back so I could pull the other five drawer fronts to work on those. I don't think the first batch are done, but they're getting close. One more session should do the trick.

This next batch has the drawer with the crack and the bug tracks. That one got some CA glue drizzled into the crack from the back before I started, and also some CA on the front side. I don't want that crack to open up while I'm finishing the board, and I feel like I've solidified things a little.

The four drawer-fronts I'm currently finishing, with one showing a line where the crack needed fixing

My squeeze bottle of shellac was getting a little low too, so it was time to mix up a new batch. 2 ounces of shellac flakes in the 14 or 15 fluid ounce salsa jar leads to a mix that's just a little bit over a one pound cut. Dissolves fairly quickly with the magnetic stirrer mixing it up. It'll be ready for use tomorrow morning when I'm back in the shop for sure.

A magnetic stirrer with a salsa jar of shellac sitting on top of it

Also, I used some rottenstone in the first bits of finishing on these drawer fronts. It's fine pumice, and will abrade the surface of the wood a bit, creating a slurry in the shellac and oil, and then pushing that slurry into the grain. I decided I'd compare using it first versus using it in the second round of finishing.

The pad I used to apply shellac, worn through in a spot, showing the interior layers of cheesecloth, which are a coarser weave

The downside of using rottenstone is that it wears out the pad fairly quickly. But that's an easy problem to solve; just move the outer layer of t-shirt to a fresh spot after wearing through somewhere.

The pad with a fresh spot on the t-shirt moved to the center

A few more coats of oil and shellac, and the second batch of drawer fronts are looking pretty good.

All five boards in this batch, showing they are partially finished

There are still some spots where the grain hasn't been completely filled yet, but I think I can safely put the rottenstone away and just finish with shellac and oil.

A closer, and lower-angle view of the boards, showing that there are still spots where the grain has not been filled


Contents #woodworking #storage #frenchPolish #shellac

Discuss... Reply to this in the fediverse: @davepolaschek@writing.exchange

Today I didn't have a lot of time, so I pulled four different sized (so I don't get them mixed up) drawer fronts off and started shellacking them.

Tools are a pad,

A pad for applying shellac

which is stored in a jam jar when not in use,

a jam jar, containing the pad for applying shellac

a squeeze bottle of a 1 pound cut of shellac (1 oz of shellac flakes per cup of denatured alcohol),

A squeeze bottle with four drawer-fronts, all resting on a piece of cardboard

and a smaller squeeze bottle of linseed oil.

A smaller squeeze bottle containing a darker-colored liquid

I started with two coats of shellac, padded on. It takes two drops of shellac for the smaller drawer fronts, and four or five for the larger. I alternate between figure-eights across the grain and swooping passes with the grain.

When just shellac starts feeling a little “draggy,” I will start adding a drop of linseed oil to the pad for every three or four drops of shellac.

After six more sets of applications of oil and shellac, the pad started to drag again. You can often see wrinkles in the face of the pad at this point. That's a signal that it's time to take a break for at least 10 or 15 minutes. Longer won't hurt. I'll be coming back to these tomorrow.

A close-up of one of the drawer fronts, showing how the shellac has just started to fill the grain and give a glossy finish

Looking at the surface, I'm starting to get some nice gloss on the high-points of the surface, but I haven't really started filling the grain at all. I guesstimate it'll take two or three more sets of 6-8 coats before I'm happy with the surface.

a lower-angle view of a different drawer-front, showing spots where the shellac has clearly not finished filling the grain


Contents #woodworking #storage #frenchPolish #shellac

Discuss... Reply to this in the fediverse: @davepolaschek@writing.exchange