davepolaschek

finishing

A while ago I read about kakishibu, a traditional Japanese finish mostly used on softwoods.

Since the one English-language book on kakishibu is out of print, and the author doesn't have any more copies, I decided to order a bit of the fermented persimmon juice and see what I could see.

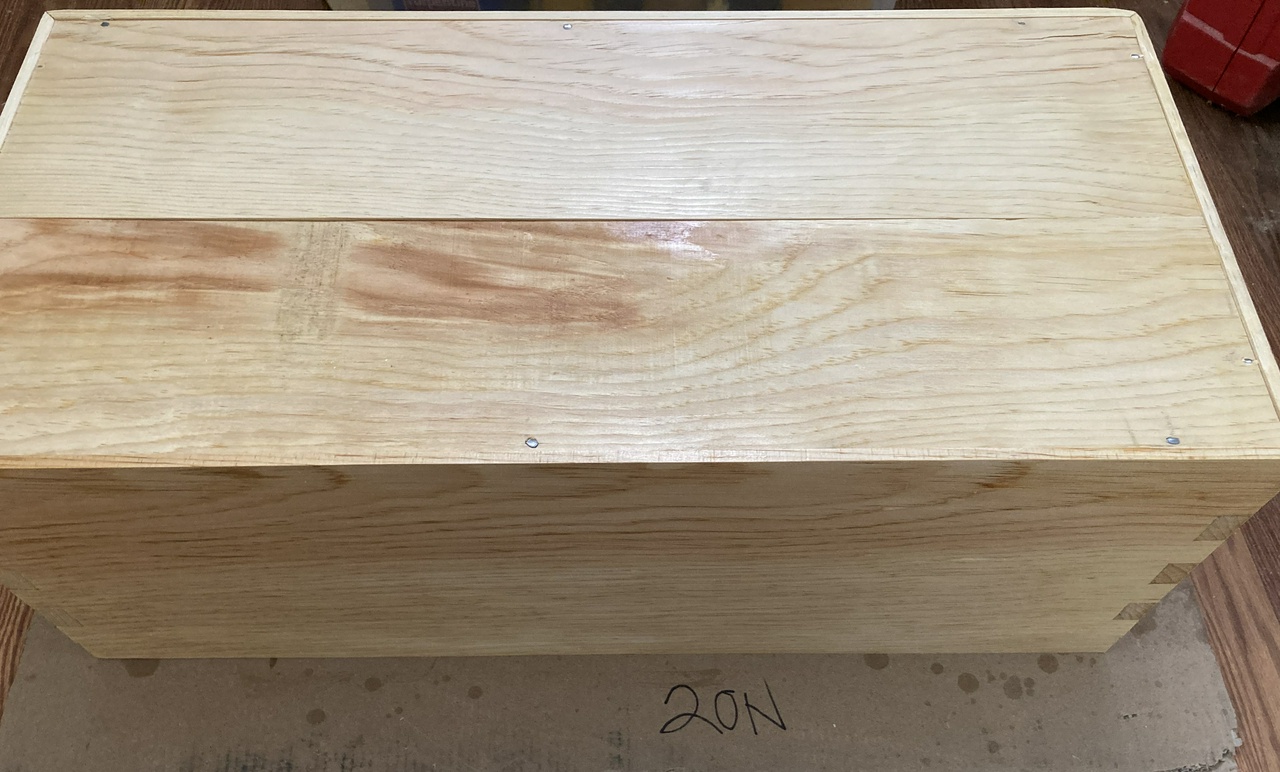
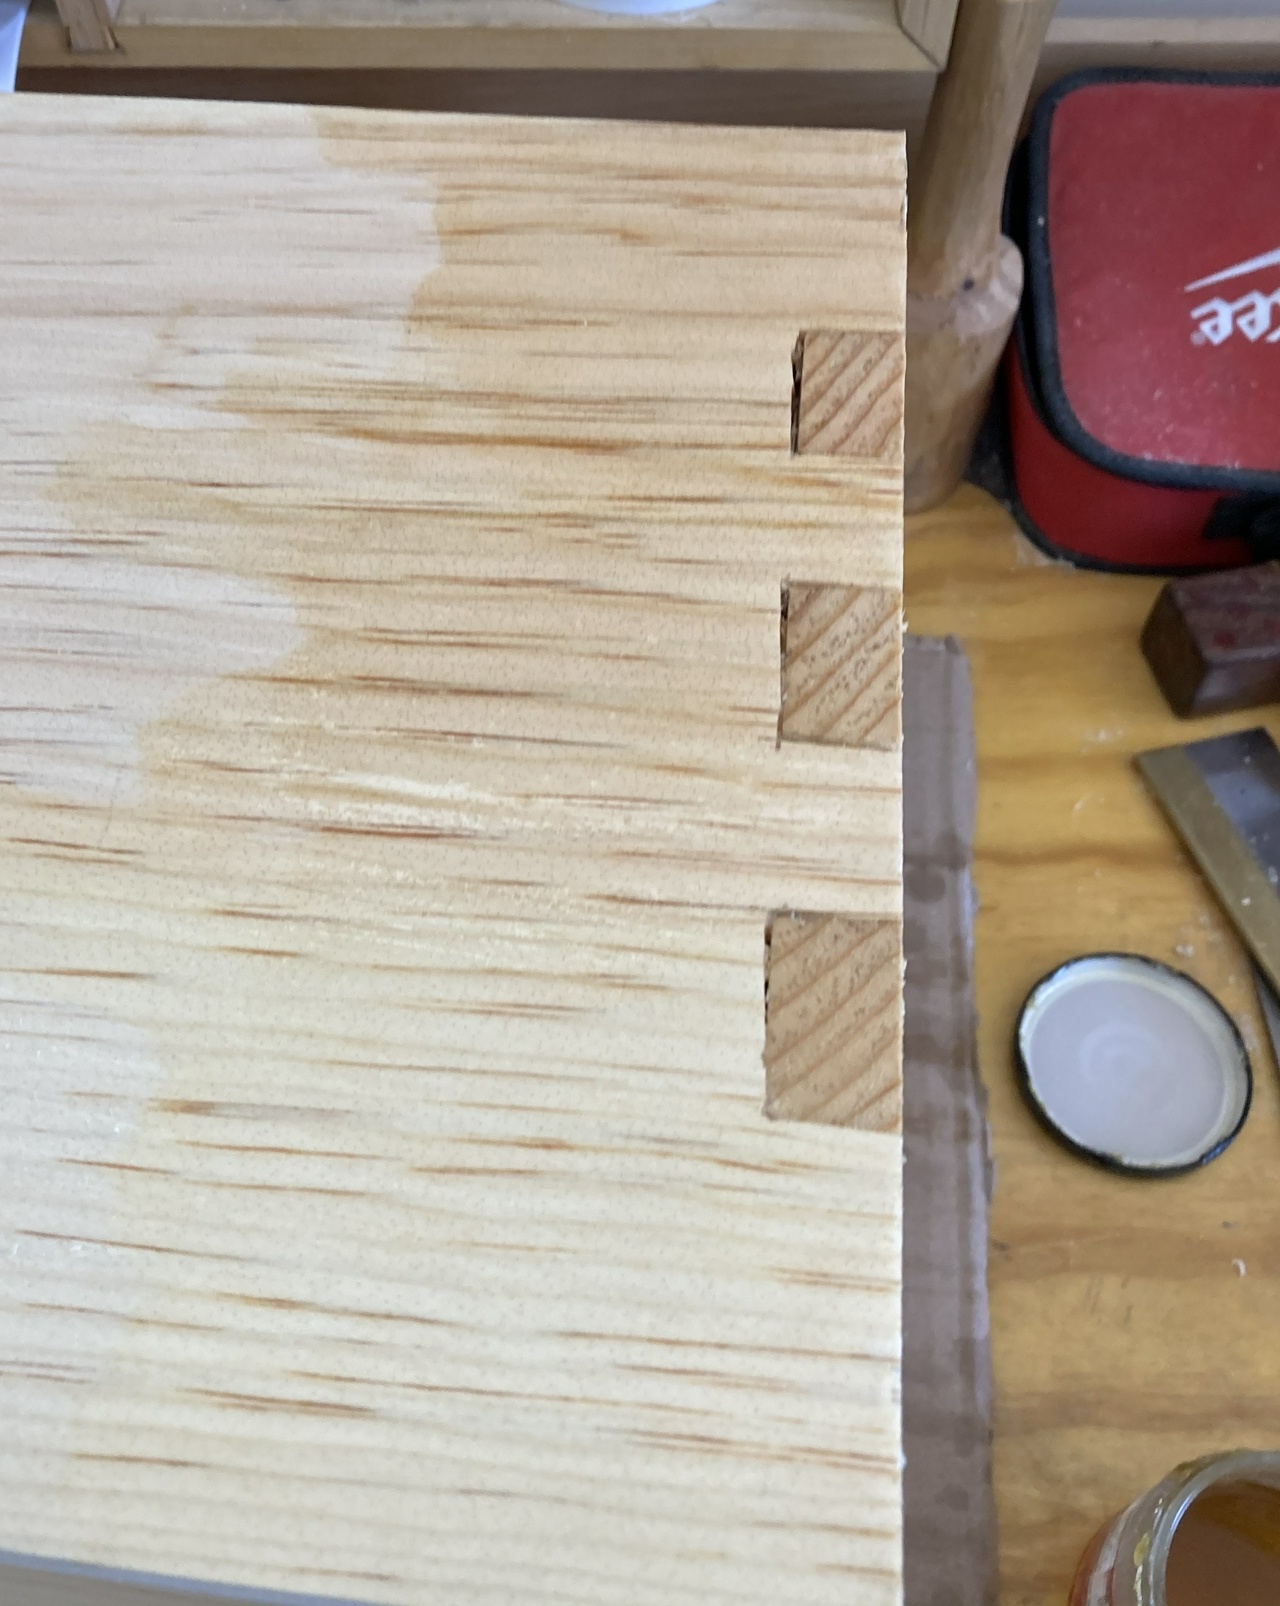
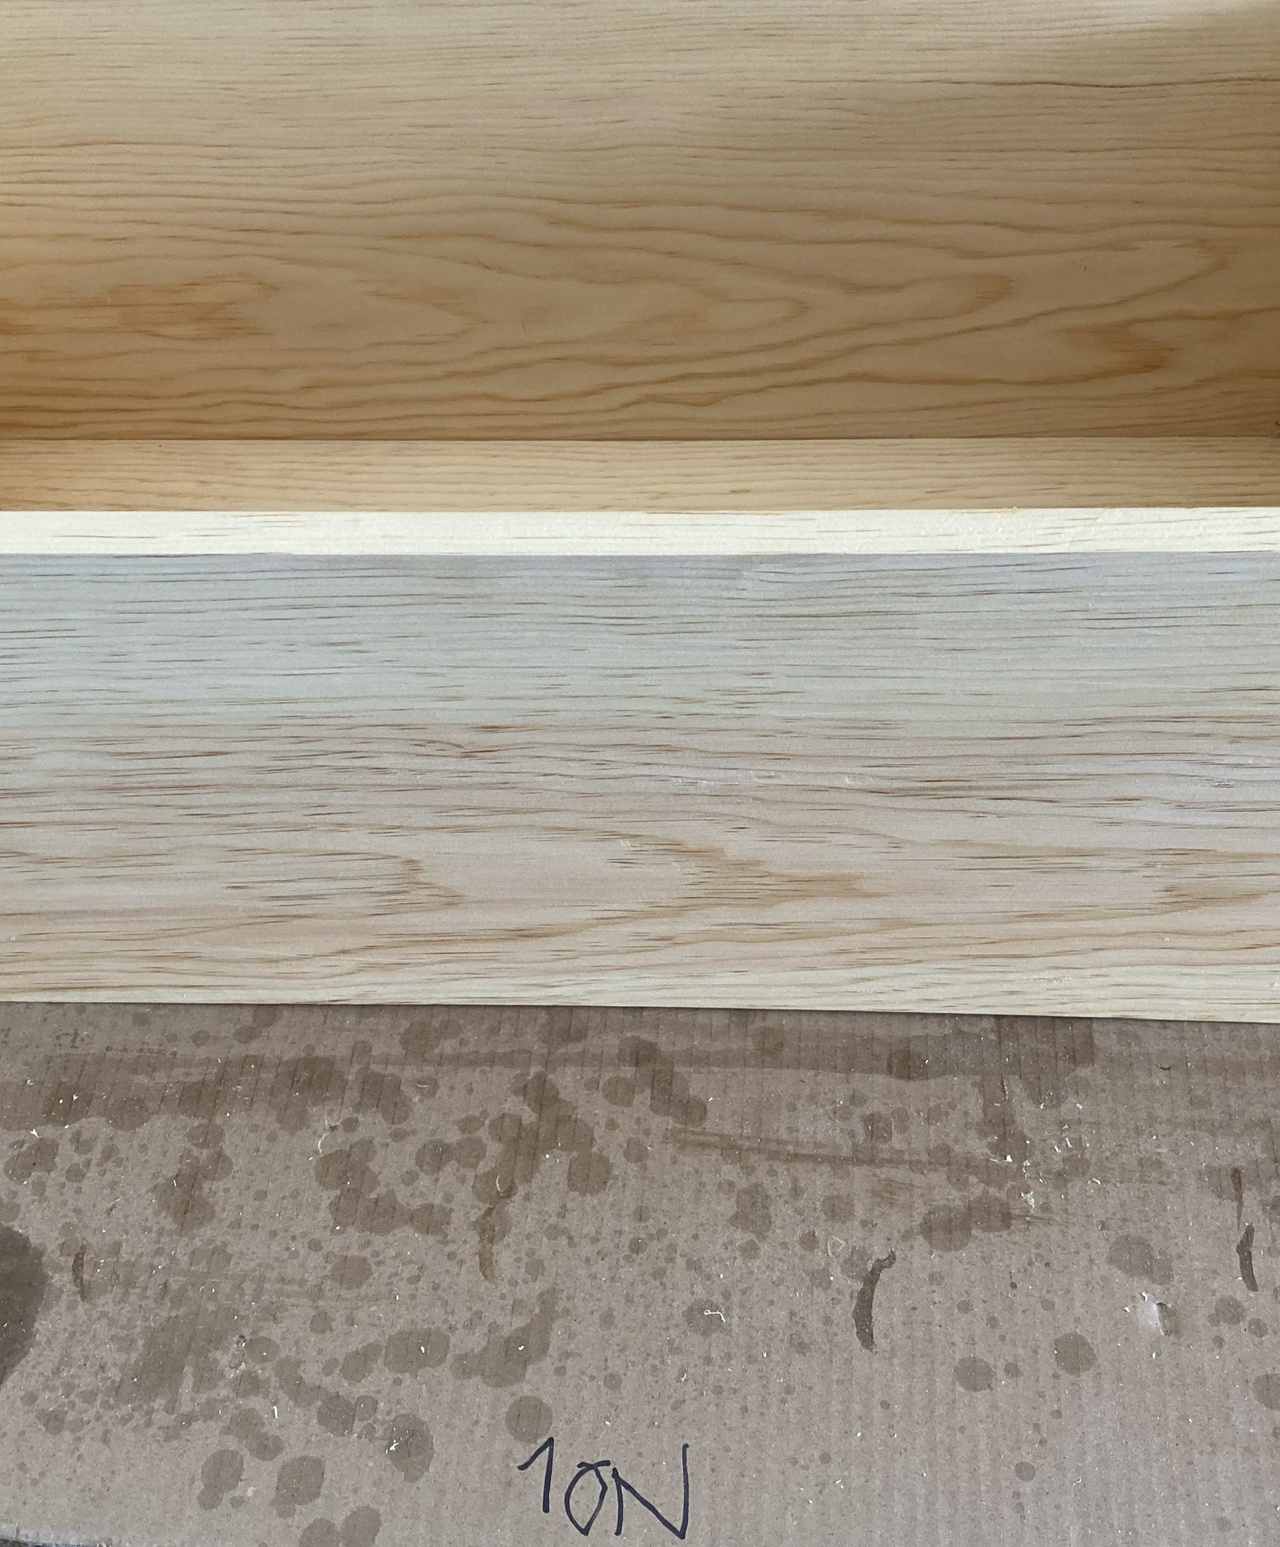
I had a small box I had built to hold some clamps. The box was made with poplar sides and a birch top, and the poplar had an unappealing shade of green that I wanted to modify. I left the bottom of the box untreated, so I could look back to compare that with the sides that I treated.

untreated poplar bottom of the box, showing the greenish cast of the poplar

Immediately after painting the box with a layer of the kakishibu, I noticed two things. One was that the reddish tint did a great job of modifying the greenish cast. I like it! The other thing is that, being water-based, it raised the grain of the box.

box immediately after treatment with kakishibu

So I sanded the box lightly with 400 grit sandpaper, then applied another coat of the kakishibu, and set the box outside in the New Mexico sun for a couple mornings while I worked on other things in the shop.

box after two mornings of sunshine

That was quite a difference! They say that kakishibu will continue to darken for a month, but after just two mornings (about 6 hours) it looks a lot more appealing than the plain poplar (scroll back to that first image...)

box after four mornings of sunshine

And after two more mornings of sunshine, the color of the box has darkened a bit more, but it seems to be slowing down. I'll keep an eye on it for a couple more weeks, and maybe add another photo, but I'm sold on kakishibu, at least for covering up the green that poplar shows. And it looks pretty good on the birch top of the box, as well.

#woodworking #finishing #techniques

Discuss... Reply to this in the fediverse: @davepolaschek@writing.exchange

Periodically, I’ll make a piece and decide I want to fiddle with milk paint a bit, working with colors and how they change between wet, dry, and then oiled, which is close to the final color the piece will be (I typically add either a finishing cream or shellac over the oil).

I started by painting some drawer boxes with persimmon milk paint, and the carcasse that will hold them with a wash of black iron milk paint.

drawer boxes with persimmon milk paint

carcasse with wash of black iron milk paint

I then put two thin wash coats of persimmon over the black on the carcasse.

carcasse with persimmon washes over black wash

Then I put tung oil on everything.

carcasse and drawer box with tung oil over the milk paint

I’m very happy with the way the grain of the wood is still pretty obvious in both cases. I was worried even a single coat of full strength paint would hide the grain more than I wanted, but I forgot how adding oil afterwards (and rubbing off the excess oil) makes the milk paint more translucent.

After assembly, this is what it looks like. Note that I forgot to paint the end of the runners that keep the drawers from tipping forward, so I’ll do that next time I get a little milk paint mixed up. I also had to trim the pieces that sit between the drawers, which left them paint-free, so I “finished” them with a Sharpie.

assembled box of drawers

#woodworking #finishing #milkpaint #project #shopFurniture

Discuss... Reply to this in the fediverse: @davepolaschek@writing.exchange

Originally written Aug 15, 2020

The second set of shellac generally goes on the day after the first set of two coats. I put the shellac on thickly enough with those first two coats that it takes a while to dry. Not overnight, but it doesn't hurt it to wait, and letting it dry overnight keeps my production line moving smoothly.

While the goal with the first two coats was coverage, the goal with this one is getting a good finish. So I start by inspecting the case, lightly sanding each side with 320 or 400 grit sandpaper. This turns it from a slightly rough surface (because of dust and raised grain) to something that feels very smooth to the touch. If there are any runs or seams, I'll give them a second swipe with the sanding block and make a mental note to hit them more heavily with the brush so today's coat of shellac will redissolve that area and smooth out the imperfection.

I do the front and inside of the case first, followed by the four outside sides, working clockwise like yesterday, and finishing with the back of the case.

I'm laying on a fairly heavy coat still. I want to make sure any exposed end grain on the dovetails gets good and wet, and the rest of the visible surfaces of the case look good.

That's about all there is to it. I use the window light to inspect each side of the case as I'm working on it. Looking at the wood from a low angle will show any seams or drips so I can fix them up.

Once the case is done, it goes onto the marked piece of cardboard to dry.

A glossy case on a piece of cardboard labeled "2 ON"

Tomorrow I'll give it a rub with my hands as I carry it into the house, and if there are any rough spots, I'll wipe them with a piece of brown paper bag before stacking the case with the others and filling it with books.


Jefferson Bookcases Contents #woodworking #bookcases #finishing #shellac

Discuss... Reply to this in the fediverse: @davepolaschek@writing.exchange

Originally written Aug 14, 2020

After prepping the case, it's time for shellac. I start by laying the case on its front and putting a coat of shellac on the back.

I mix my shellac with 2oz of shellac flakes to 12oz of alcohol (I use the Kleen Strip denatured alcohol from the hardware store, and measure it by volume). This is near a 1½ pound cut. I use pint salsa jars (which hold about 14 oz), and that gets the jar full enough that I can completely cover a case, but leaves enough headroom in the jar that I can still shake it to dissolve the shellac, though I've moved to a magnetic stirrer more recently, since that allows me to get a new batch of shellac mixed up more quickly.

Back of a case

This isn't going to be seen, so I just put it on pretty quickly and move on. Next, the case goes on its top (or bottom) and a coat goes on. For the outsides of the dovetails, I cover each end first, then come back and fill in the middle. I make sure to get plenty of shellac into the end grain of the dovetails. I want them to look completely wet.

brushing shellac onto the end-grain of the dovetails

end grain of the dovetails, looking wet

Coming back to fill in the middle:

brushing shellac onto the middle of the top or bottom

I'm using a 1” chip brush, and I load it as full as I can without dripping shellac. For a first coat, this will cover about 20 square inches, or half that if it's end grain. I'm putting the shellac on pretty thick at this point, but it'll soak in and still dry before I put the side I just did down so I can finish the opposite side.

After doing the outside, I do the inside of the side that's down. Again, I get the edges first, then do the edge along the back, then I fill in the middle. I'm concentrating on getting complete coverage.

Brushing shellac onto the inside of the case

The ends of the case are wet with shellac, and I'm painting shellac into the middle

Then I rotate the case 90 degrees clockwise, and do the next pair of outside and inside.

Painting the end-grain on the case end

After repeating that for all four sides, I go around a second time, giving those four sides a second coat.

My goal for coverage is that the first coat should get some shellac on every bit of exposed wood. The second time around should build on that. I'm not particularly worried about edges as I move fast enough that I'm almost always applying shellac to a wet edge. But if there's a spot that shows a seam, I can fix that on the second coat, or on the second day.

Then I lay the case on its back, and do the front edges and the inside of the back of the case. The inside and outside of the back only get one coat today instead of two. They're going to see less wear, and I think they'll be fine.

I'm also not super careful about dust at this stage. If I see a piece of sawdust or a shaving in the shellac, I just pull it out (that's one of the reasons for the blue gloves) and put a dab of shellac on the spot where it was. I'm not trying to make a mess, but I will be sanding this lightly and applying more shellac tomorrow, so I can fix any small problems.

the case is on its back, and it's time to coat the inside

Then once I'm done, I set the case on a labeled piece of cardboard so I know how far I've gotten on it.

Case resting on a piece of cardboard with the label "1 ON"

I have three cases in progress most of the time. One glued up, in clamps. One with one coat of shellac, and one with two coats of shellac.


Jefferson Bookcases Contents #woodworking #bookcases #shellac #finishing

Discuss... Reply to this in the fediverse: @davepolaschek@writing.exchange

Apr 28, 2022

Another short session in the shop today, but I got the edges of the doors planed flat with a block plane.

Block plane sitting on the edge of a door frame, held in the face vise. The dovetails to the left of the plane have been planed flat

Then I put on a coat of boiled linseed oil with a foam brush.

Foam brush sitting inside one of the doors

Wiped off the excess with a rag.

A rag, with some visible oil spots, sitting inside a door

And set the doors on a scrap of cardboard to dry.

The two doors, sitting on a cardboard box flattened on the shop floor


Contents #woodworking #storage #finishing #linseedOil

Discuss... Reply to this in the fediverse: @davepolaschek@writing.exchange

This is a collection of notes – I haven't done a lot of kolrosing other than on my baby bowsaw but I've collected a bunch of references I don't want to lose.

  • Basics of Kolrosing from Del at Pinewood Forge
  • Color Kolrosing
  • White on brown kolrosing
  • Chinkin-bori and with other materials than gold – the Japanese is 沈金彫り
  • Martin Adburg actually tried Chinkin in Japan. He says polyurethane is tricky, since any blemishes or minute scratches will hold the gold dust, messing up the design (similar to what I saw with TiO2 on walnut). Traditional Japanese is red or black lacquer, and there are a number of scribers that are used to scratch the surface, but just a simple point will do the trick. Similar to engraving boulle marquetry, but it's definitely scratching the lacquer surface rather than cutting.
  • Martin also suggests that an epoxy finish might work. Nitrocellulose lacquer might work too, or a harder varnish.
  • Another link from Martin: chinkin technique
  • And the Echizen Lacquerware Cooperative (where Martin and his wife did their workshop when they visited Japan).
  • urushi / lacquer techniques

I expect next time I try, I'll try a shellac or lacquer surface, rather than naked wood as one does with kolrosing, but I might also try some tighter-grained woods with coarser pigments. I think there's a lot of decorative possibilities here.

#woodworking #finishing

Discuss... Reply to this in the fediverse: @davepolaschek@writing.exchange

This is a small box I made to resemble a Dutch Tool Chest. It was designed to hold a smoothing plane I had refurbished and was sending to another guy on Lumberjocks as part of our Hand Planes of Your Dreams Secret Santa exchange for 2022.

Nothing too special about the box. It’s a dovetailed box with a slanted top. The top has two small strap hinges and a black latch. It’s hard to find black iron screws in the small sizes.

The box is about 4 x 6 x 9 inches. The box is made of ½ inch pine, with some ¼ inch sapele for the lid. The battens on the lid are ash, and the skirt on the bottom of the box is white oak.

The box was painted with three colors of Real Milk Paint. Black Iron first (three coats if I remember right), followed by two coats of Terra Cotta, and finishing with a coat of Persimmon. Then I brushed the paint with a brass brush, selectively removing some of the paint and letting the colors underneath show through.

Once I had that done, I coated it with a few (four or five, maybe?) coats of tung oil. This should waterproof it and lock in the paint.

Overall, it was a fun project, and I learned about distressing milk paint to get an aged look. I need to work on burnishing a piece next to apply more lessons from The Belligerent Finisher but it’s fun trying out new techniques.

#woodworking #milkpaint #finishing #project

Discuss... Reply to this in the fediverse: @davepolaschek@writing.exchange