Storage Box for Mujingfang Plough Plane
I have a Mujingfang Plough Plane I bought a few years ago, but it was only recently that I found the blades other than the ⅛ inch blade which I had left in it when we moved to NM (three and a half years ago). Having all the pieces in one place again, I decided it was time to build a storage box for it. This is the result.

The box is just about the minimum size to store the plane, fence, and blades securely. I'm getting enough storage boxes in my shop that I'm going to need to build more shelves. Plus I've discovered that the arms for the plane are tapered enough that I can slide them into the plane body as far as they go, and they'll stay securely without having the factory screws in place to hold them. This avoids one of my bigger objections to this sort of plane, which is that they take up a lot of room when not in use.
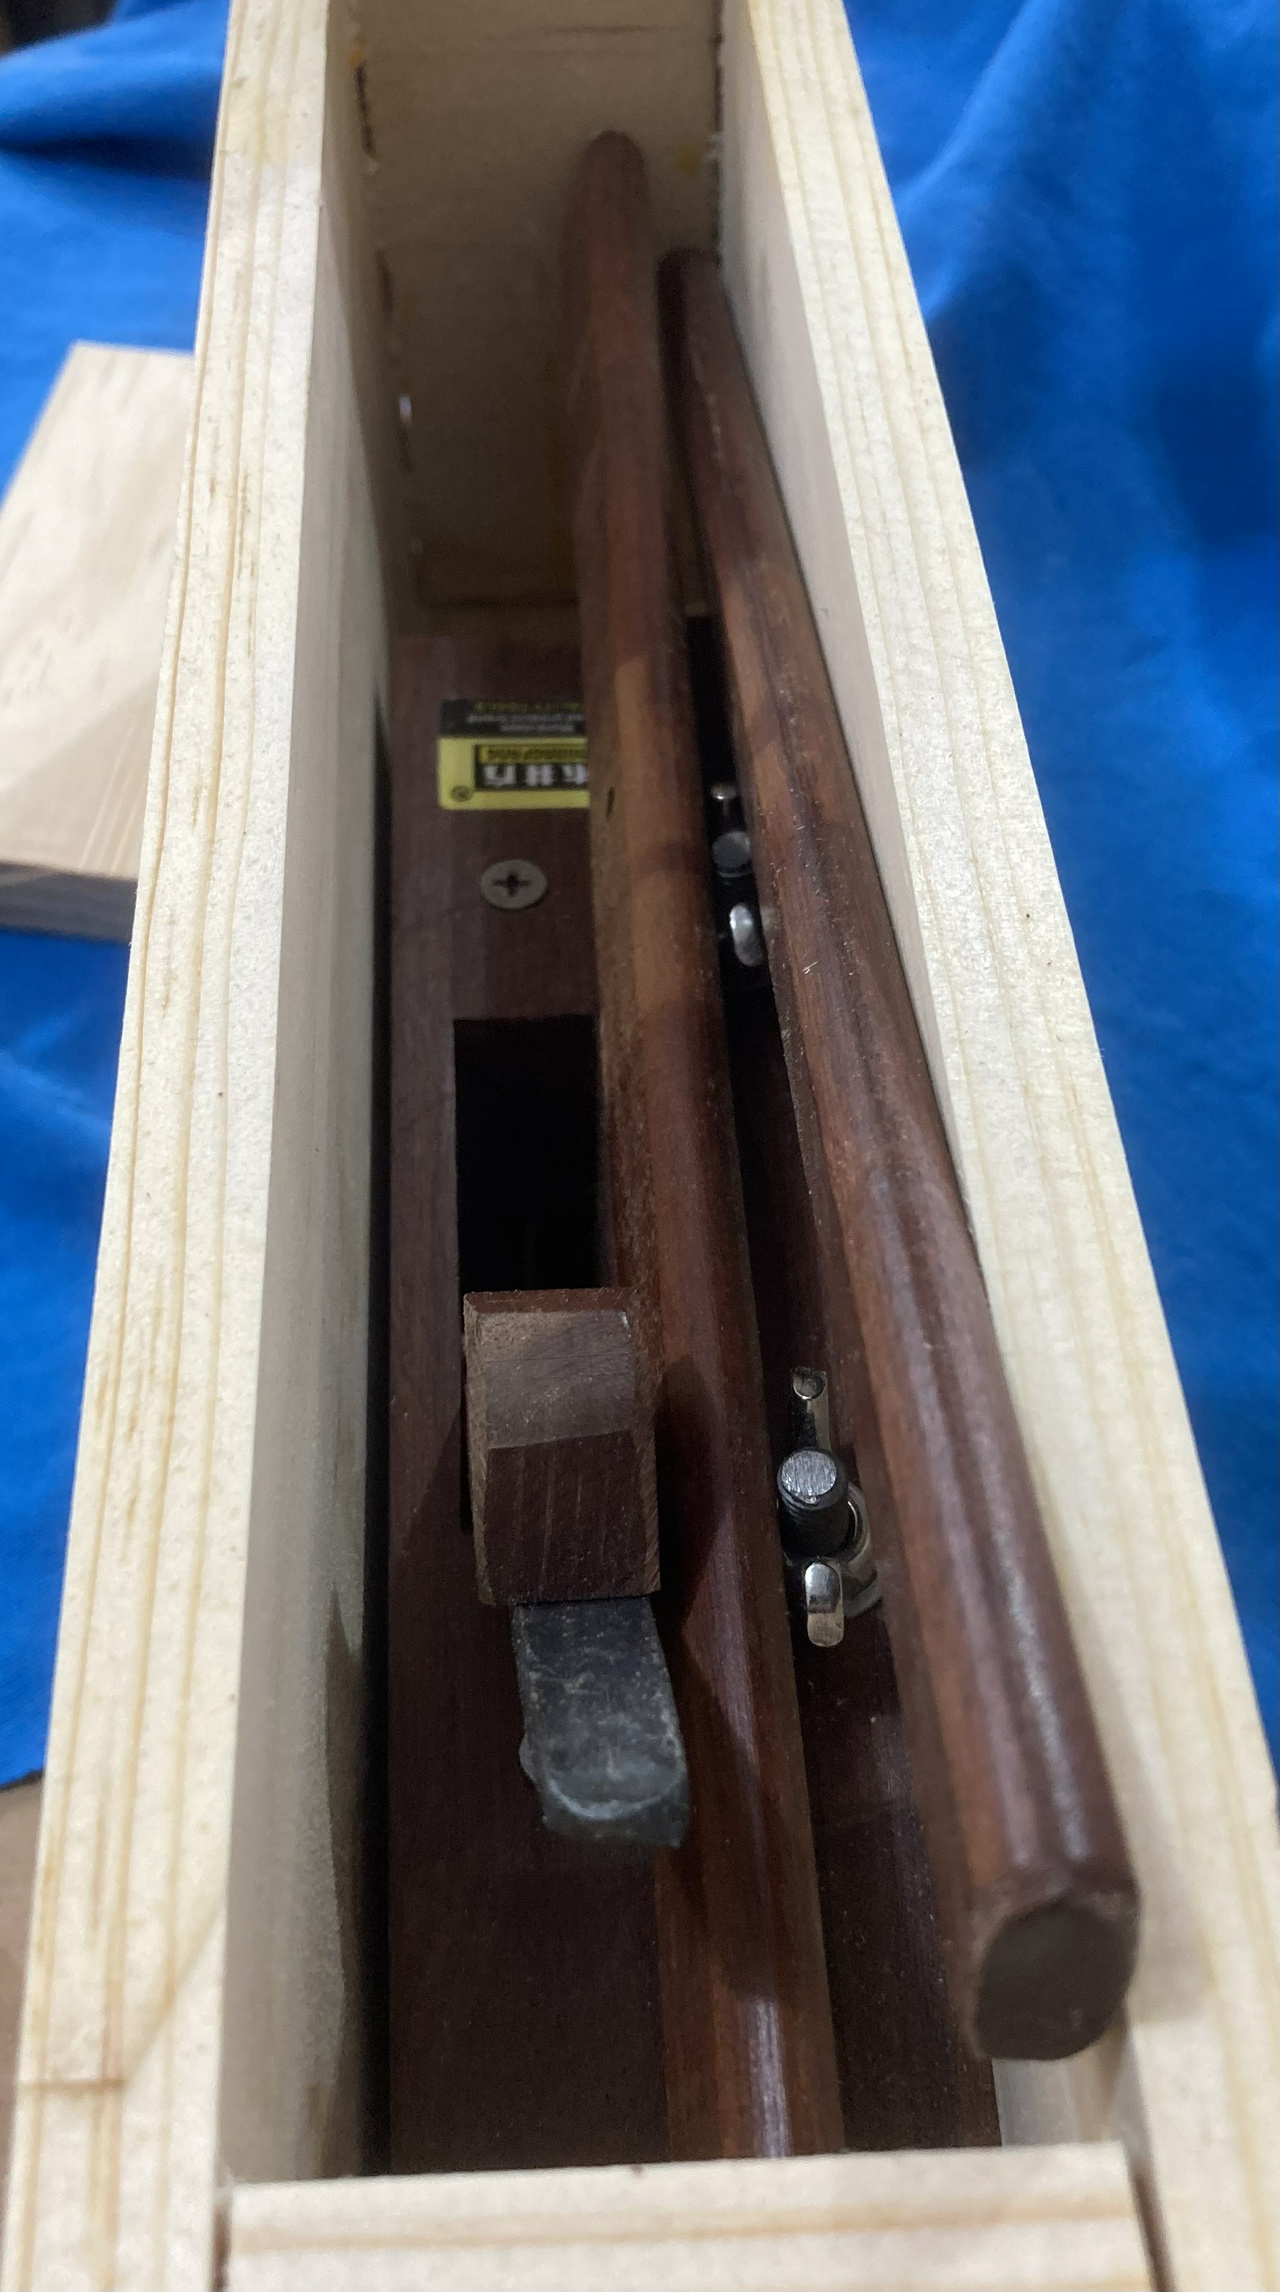
As you can see from the picture, with the arms and fence removed, the plane doesn't take up much space at all. And if I do have problems with the arms not staying wedged in place, I can always replace the factory screws with wooden pegs to hold the arms in place.
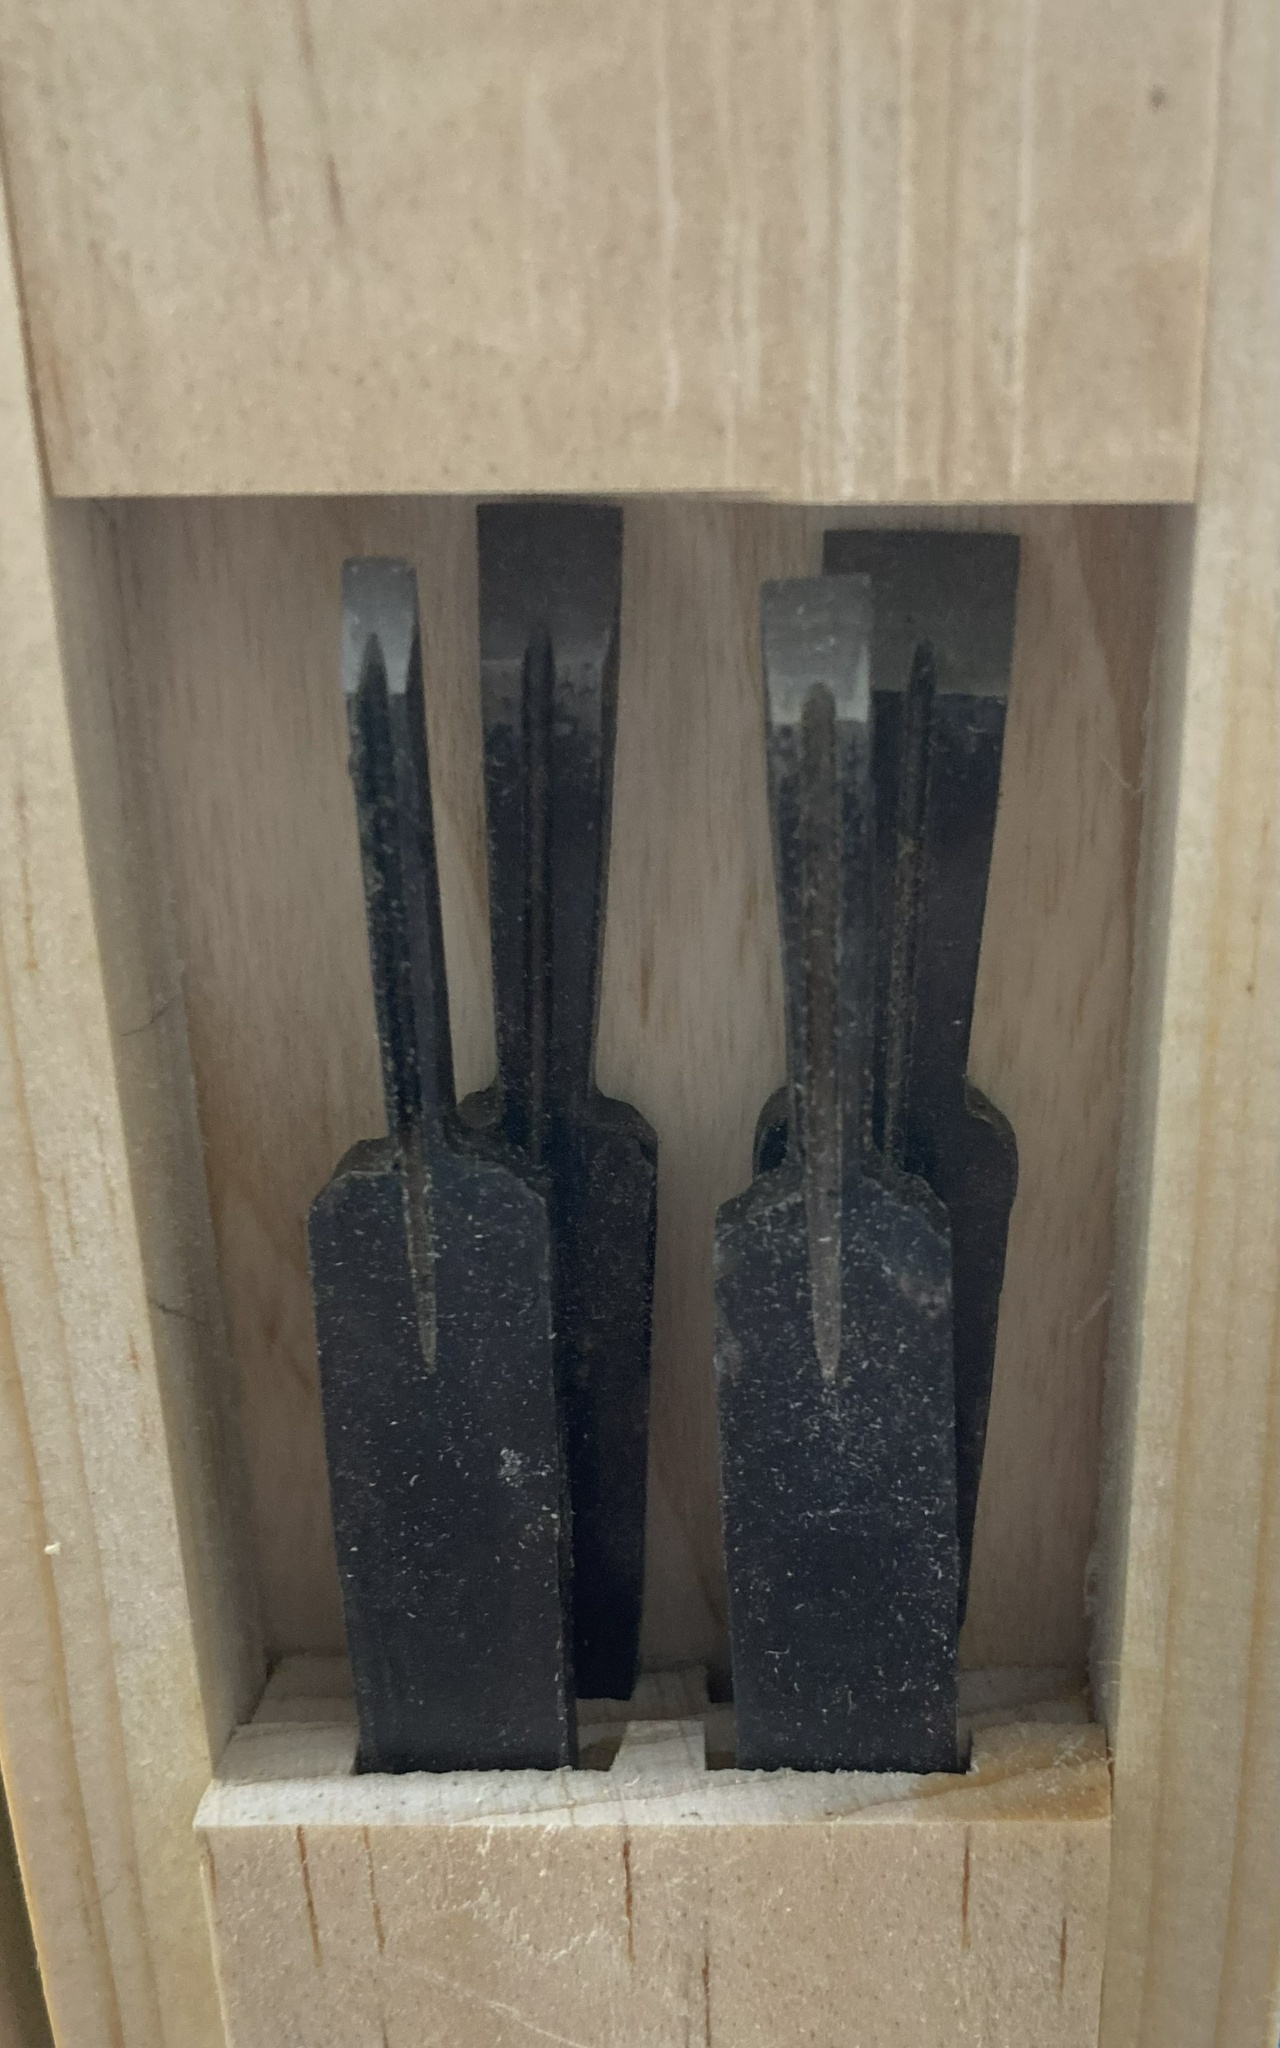
The plane came with five blades, but I figure I only need storage slots for four of them, as I can leave one in the plane.
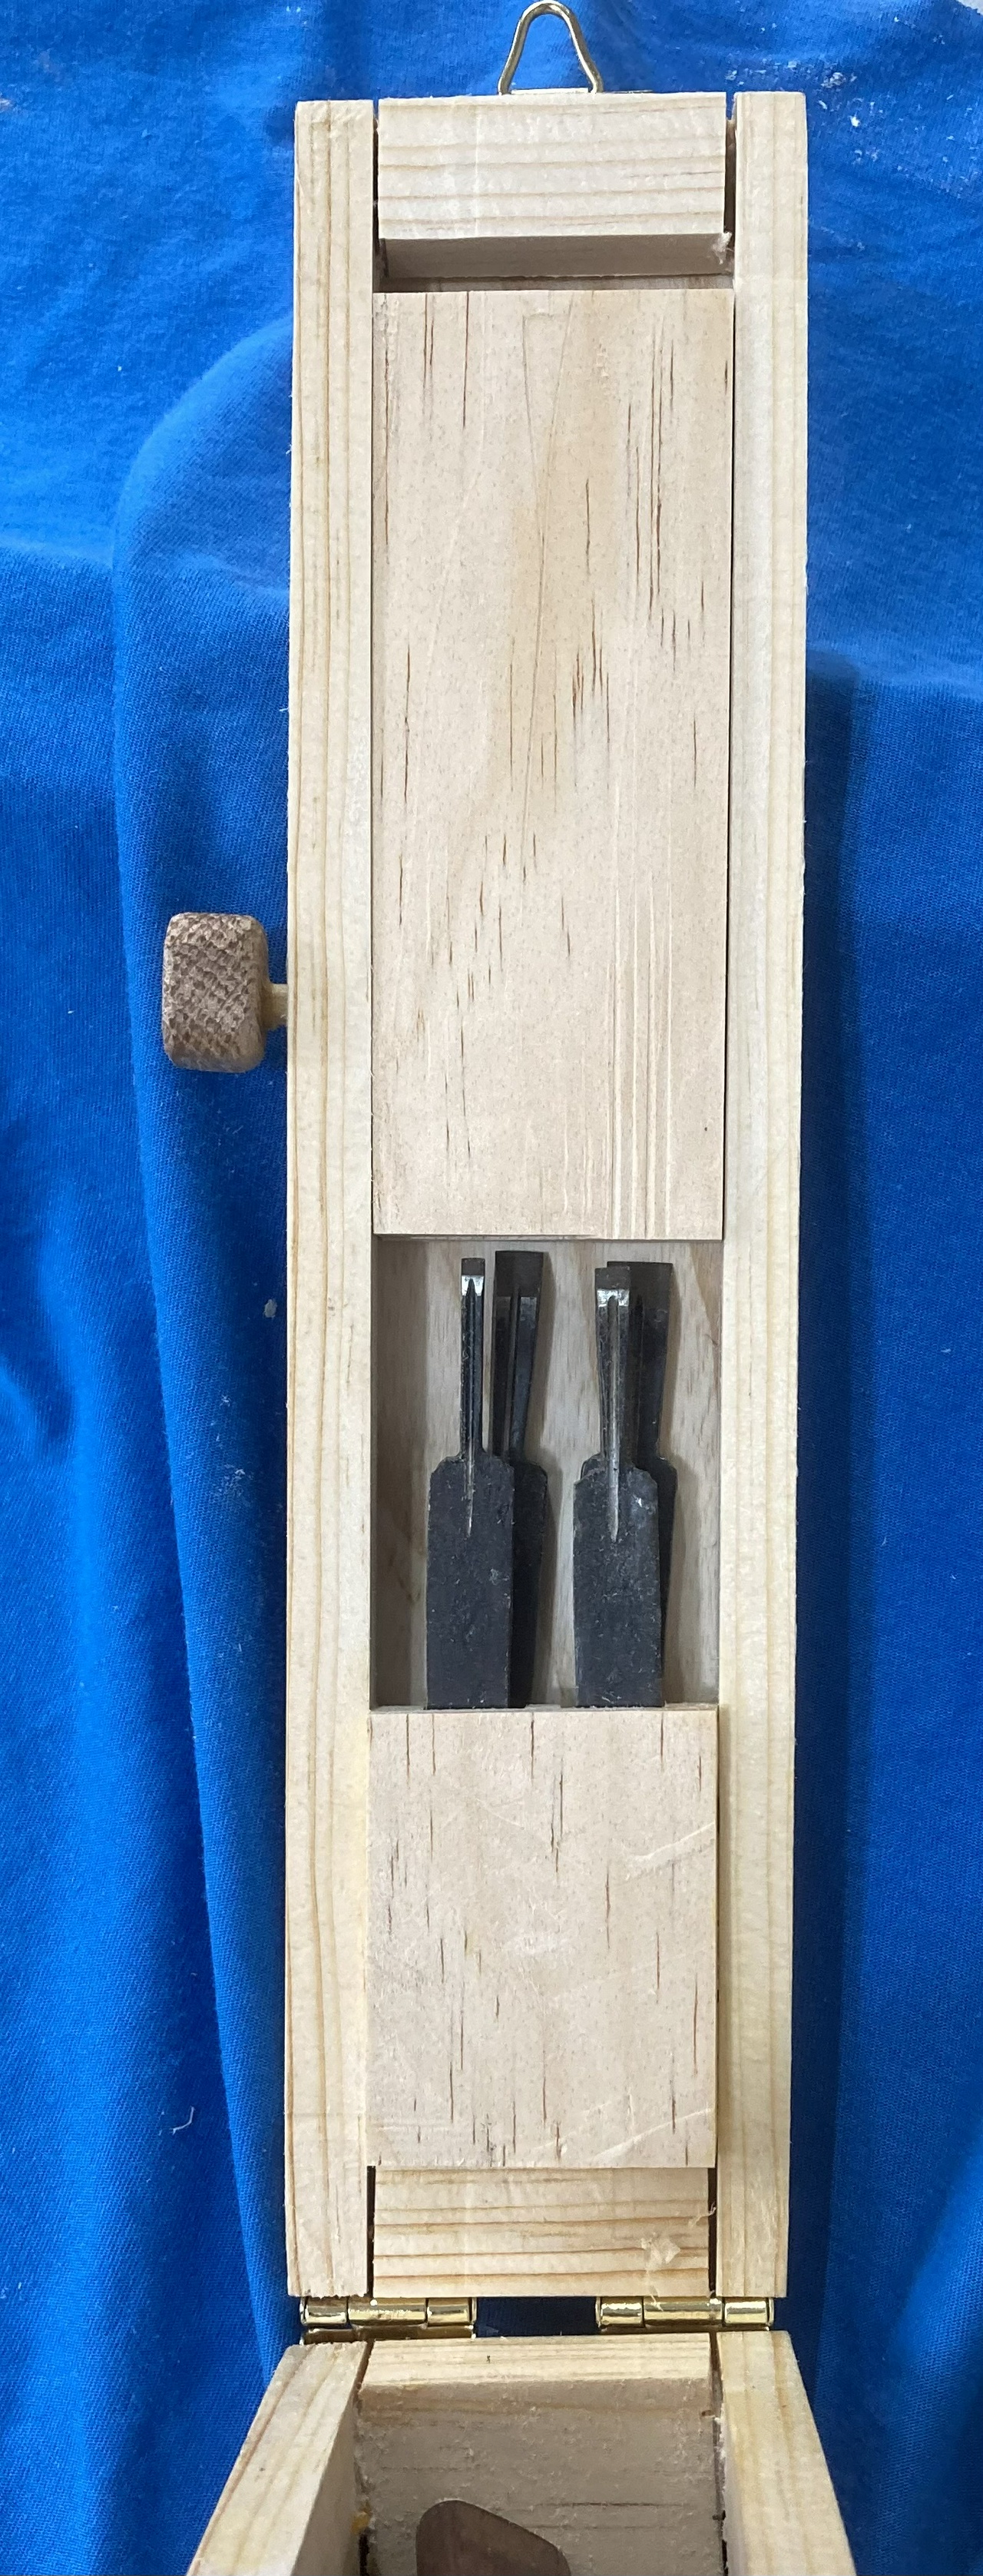
To keep the blades from flopping around in the box (and to keep from needlessly making the box an inch taller to fit them upright), I placed a retaining block in the lid of the box. It's made from pine, so having the blades bump into it is unlikely to dull the blades much. And it's held in place with a wooden peg. If I think of a better solution, I figure I can replace it fairly easily.
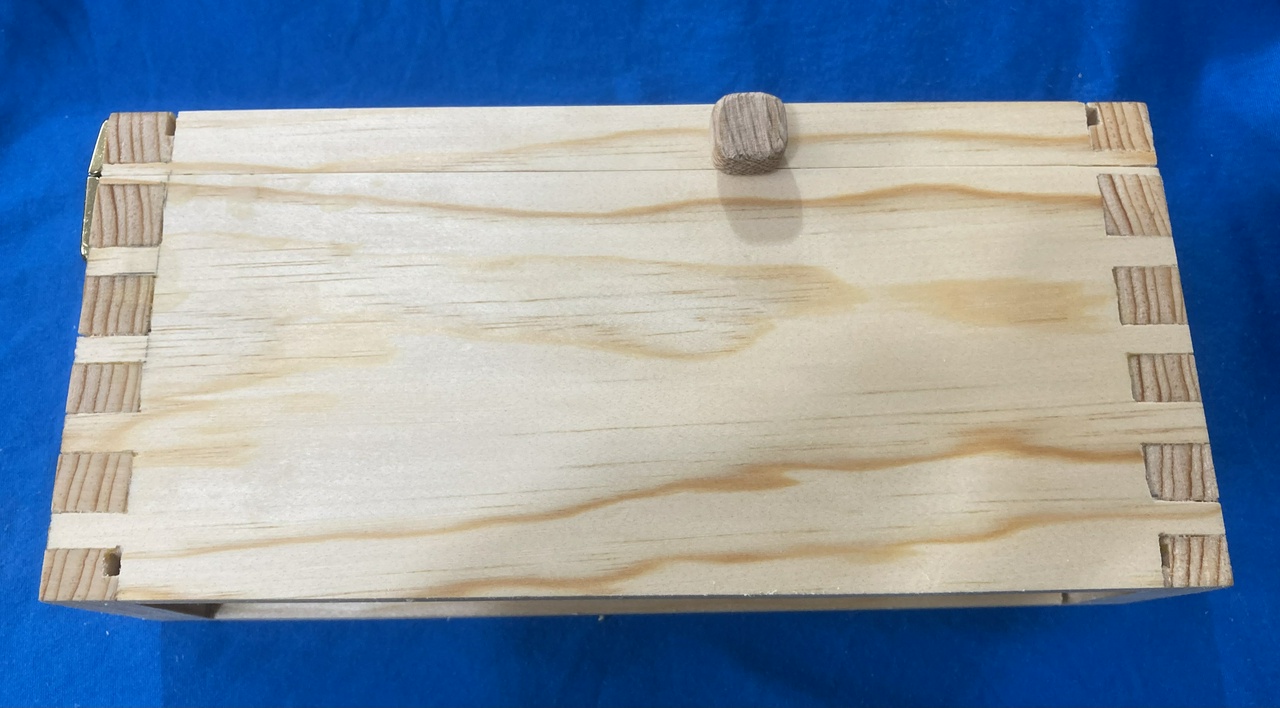
When everything is closed up, the wooden peg does protrude a bit, but only a little, and I can make the knob on it even smaller if I decide I need to. Or I can recess the knob into the side of the lid, so it takes up much less space. But none of that is a project for today.
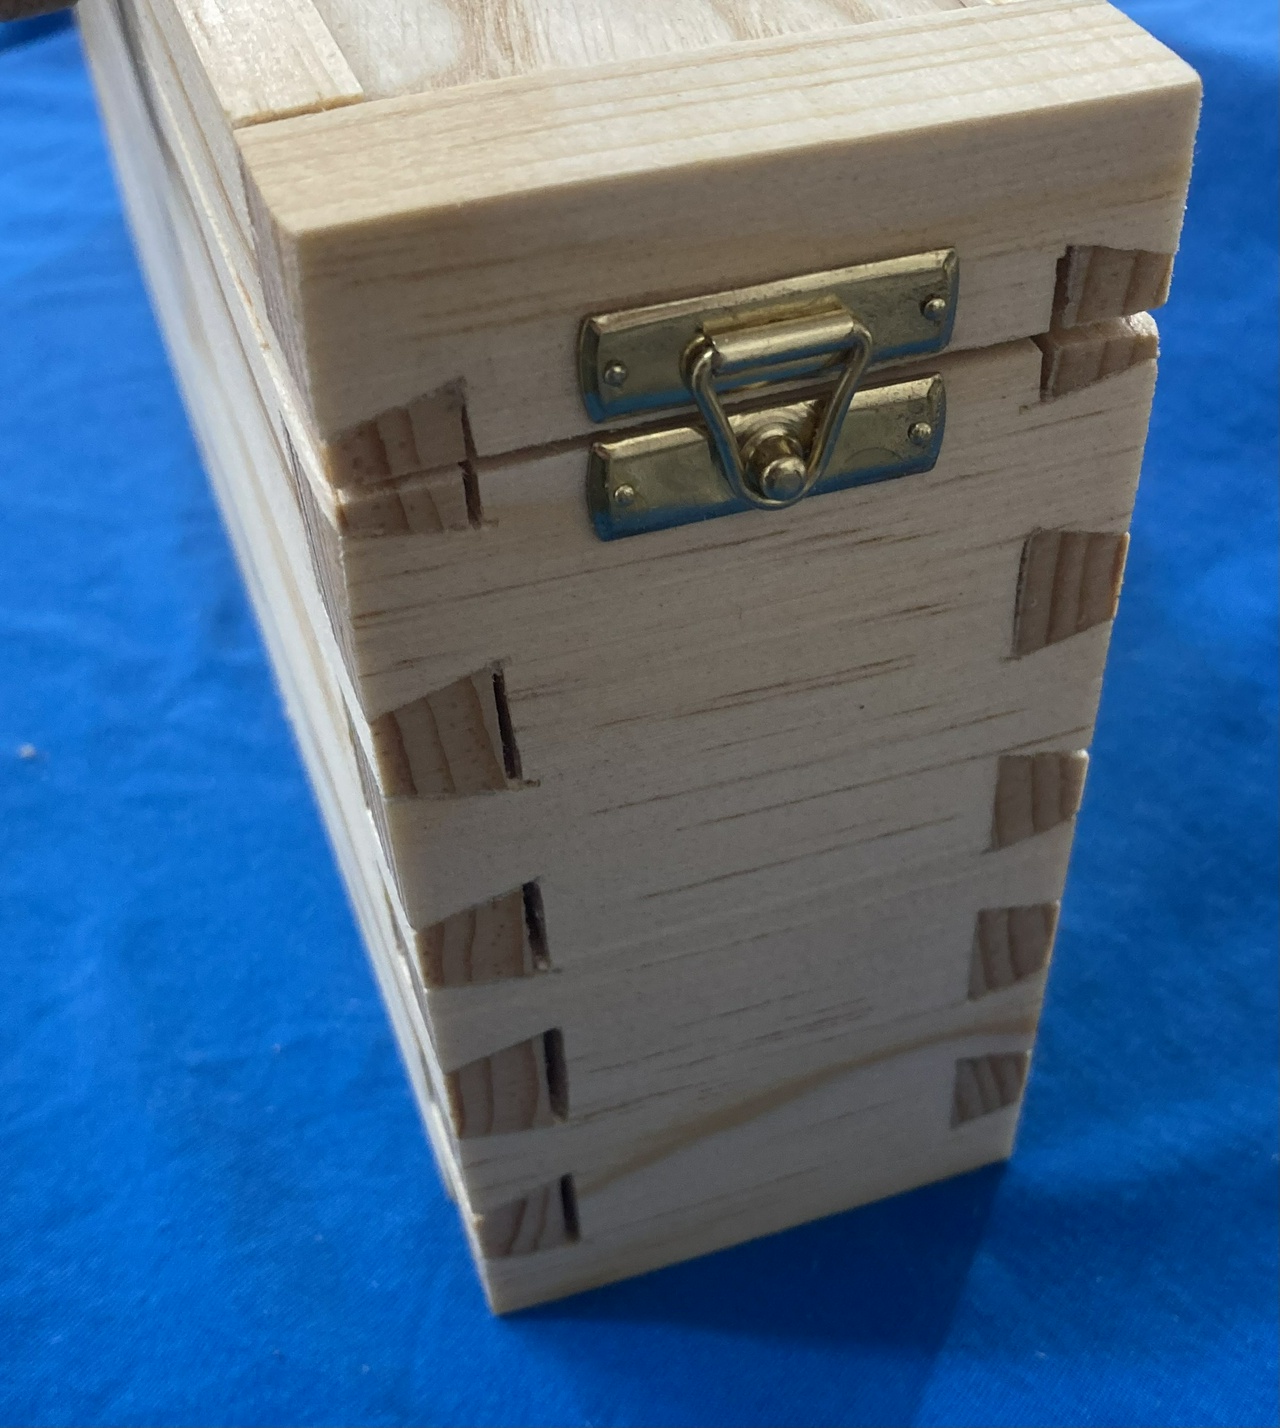
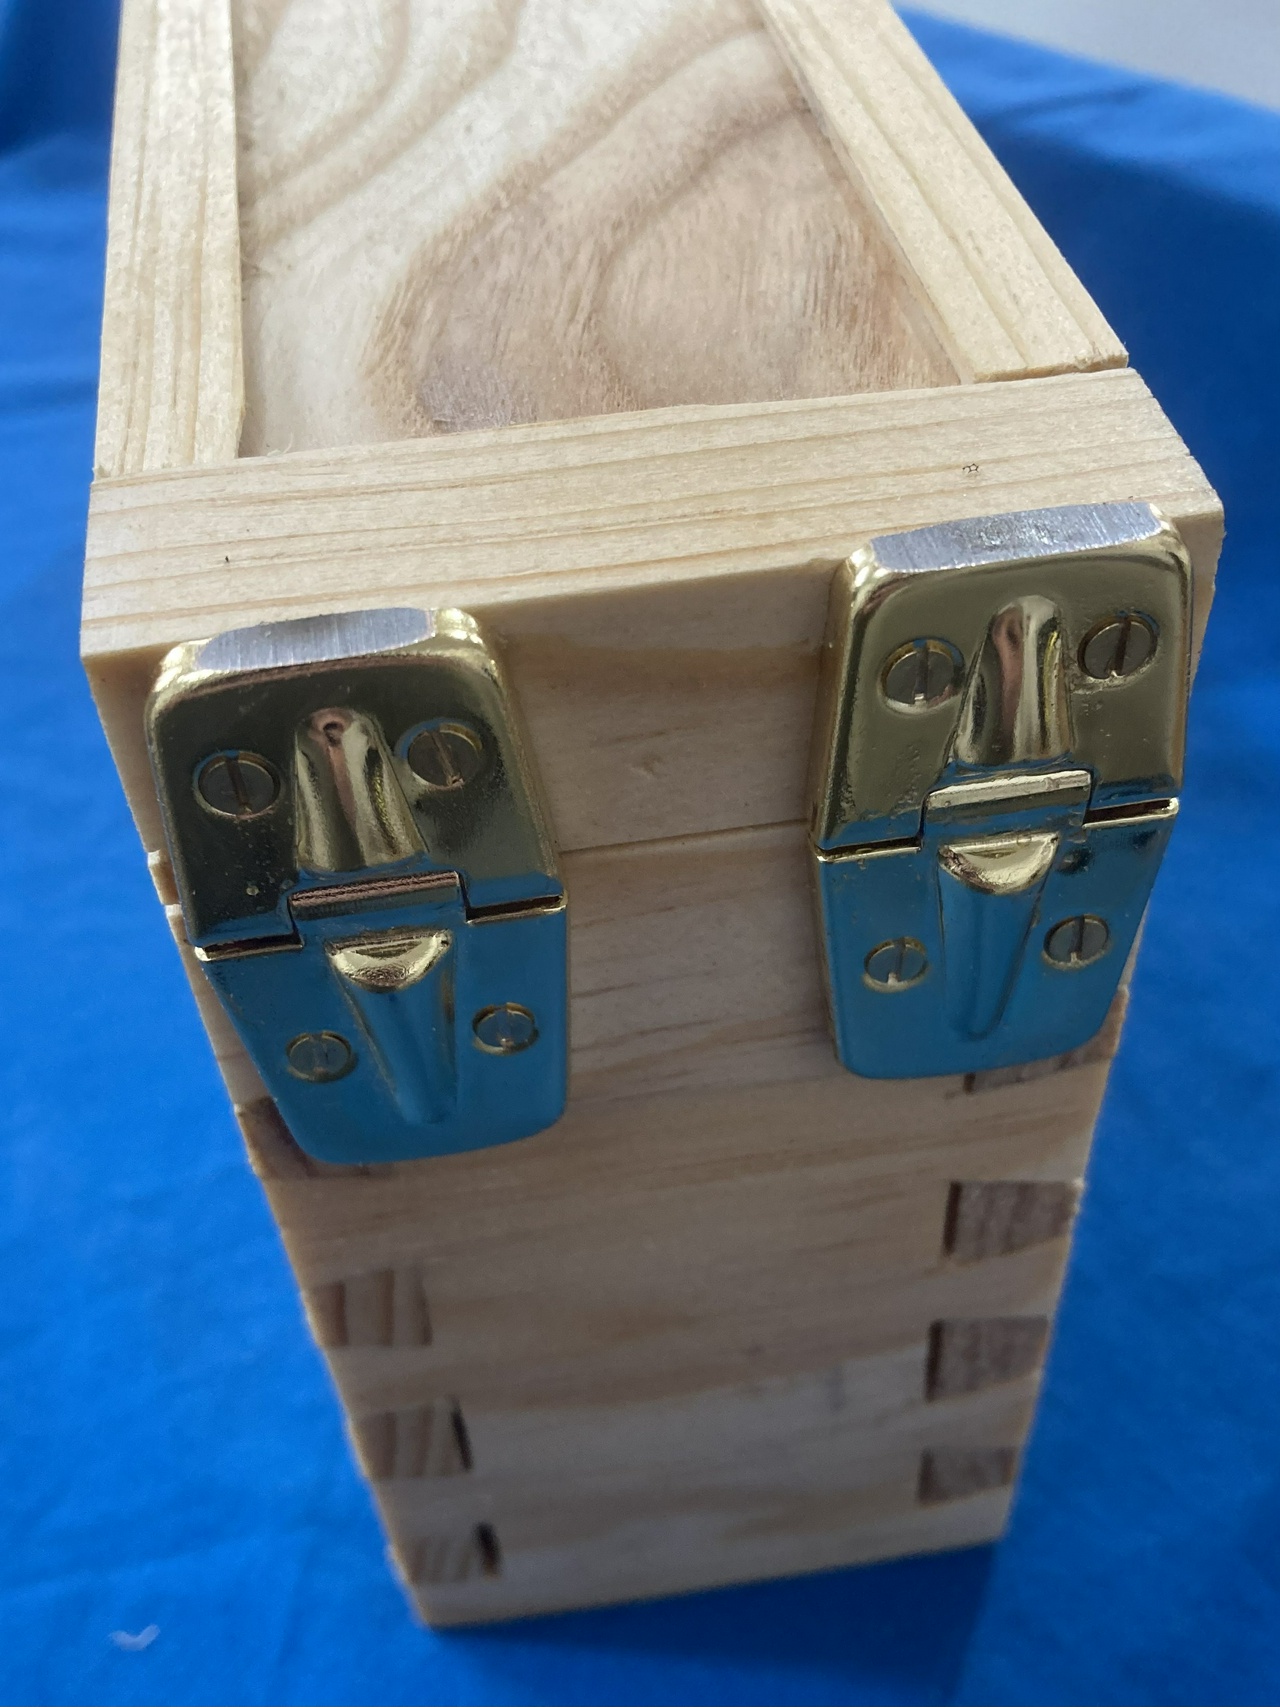
The box uses some cheap brass hardware I had on hand. The latch and hinges mostly work fine, but the hinges stuck up about 3/64 inch above the top of the box when I aligned them properly with the lid. So I took a little off with the belt sander. They don't look great now, but they still function fine.
The box is mostly pine. The ends are ¾ inch thick, and the sides are ½ inch thick (it didn't seem worth it to make the ends any thinner given how small they are). The bottom is a piece of aromatic cedar I scavenged from an old cedar chest I got from my mom. Between her cats and her basement which had flooded multiple times, it wasn't worth trying to repair, but I did get a few boards of cedar from it. This was an offcut that had screw-holes spaced just about the right distance apart so I could cut them off and make the box bottom. The top of the box is a piece of thick ash veneer (⅛ inch thick) which I bought to use as splines in boxes with mitered corners, but it's plenty sturdy for this lid.
I think that's about it. Thanks for looking!
#woodworking #storage #shopFurniture
Discuss... Reply to this in the fediverse: @davepolaschek@writing.exchange