davepolaschek

Wood. Food. More.

Today got the forge table across the finish line. I had a piece of aluminum diamond plate cut to roughly the right size, and today was the day it got attached to the table-top.

First up was figuring out how to bend it. I settled on clamping the bent edge in my twin-screw vise, then using a little 2-pound maul to hammer the main part of the plate flat onto my bench. It went pretty smoothly, except on the first corner, I couldn't figure out which way to cut off the metal for the corner, so I did both. The other corners got cut correctly and folded over the edge, and then I got out a drill and a handful of brass screws and screwed the metal onto the table-top.

diamond-plate bent into a corner and screwed to the table-top

Once things were screwed down, I used my hammer to round the corners, then filed off any stabby bits, cleaning the edges up so I won't hurt myself when I try to move the table.

Table, inverted, with the sharp bottom edge of the metal partially rounded over

And with that, the table is done, I think.

Table, right-side-up, finished

As one of my buddies commented, Kind of a 19th Century/modern fusion, truck-box chic!


Contents #woodworking #ForgeTable

Discuss... Reply to this in the fediverse: @davepolaschek@writing.exchange

Today was a fairly light day on the table. Sawed off the protruding wedges and tenons, sanded them smooth, filled a few holes with sawdust and CA, and then hit the table with a coat of BLO.

Before:

Assembled table

After:

Assembled table with the wedges trimmed flush and a coat of oil on the table

Tomorrow I'll see if I can bend the diamond plate so it'll fit over the top and figure out how to address the corners of it. Mostly a metal-working day tomorrow, rather than woodworking.


Contents #woodworking #ForgeTable

Discuss... Reply to this in the fediverse: @davepolaschek@writing.exchange

I started the day making four new stretchers for the undercarriage. Where these would've taken me all day if I had done them last week, I've gotten more confident at the lathe and take bigger cuts and I finished roughing all four in an hour.

four stretchers, rough-turned

For each of the stretchers, I used the hollow auger to make one end a half inch. This end will go into the leg.

a hollow auger on the end of a stretcher

Then I trimmed the other end to the right length and used the tapered tenon cutter to make it taper. I used the matching reamer to widen the holes in the hub I turned yesterday, and to correct them to closer to the correct angle (not shown).

a tapered tenon cutter, putting a taper on the end of the stretcher

Then I sawed slots in the leg end of each stretcher for a wedge. It turned out that my offcuts from yesterday's wedges were nearly the right size and just needed a little bit trimmed off to make them perfect.

Then it was glue-up time. Glue on stretcher, stretcher into leg, align the slot horizontally, glue on wedge, pound in the wedge.

Stretcher in the leg, wedge in the stretcher

With all four in, put glue on all four hub ends, wiggle the hub in, and then put one glued wedge into the loosest of the four hub holes to tighten everything up.

The four stretchers all meeting in the hub

Once the glue has dried overnight, I'll trim the legs so they're all the same length and the table sits level, pare off the wedges and the ends of the stretchers, and sand and oil the table. Should have it done in a couple days.

Table standing upright, showing the completed undercarriage


Contents #woodworking #ForgeTable

Discuss... Reply to this in the fediverse: @davepolaschek@writing.exchange

I did some work to build the undercarriage. I couldn't decide whether I wanted the stretchers to cross over or meet in a hub, but when I test fit things, it became clear I couldn't have them cross without bending them.

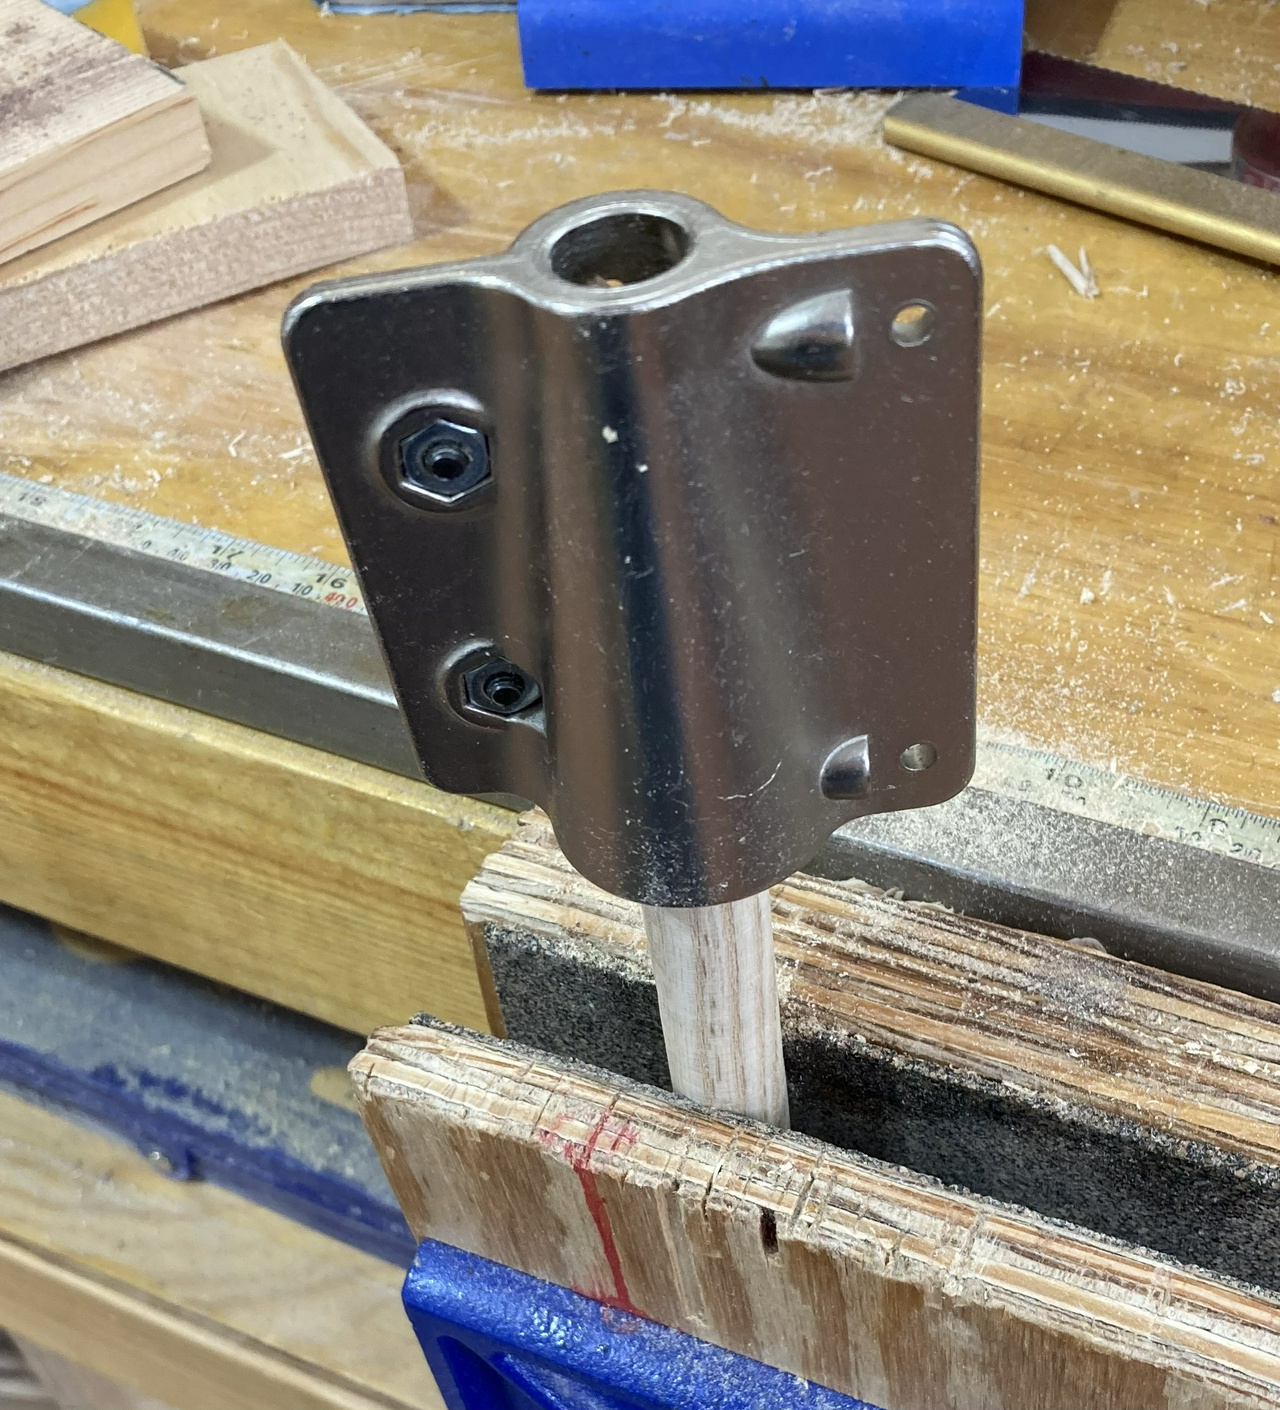
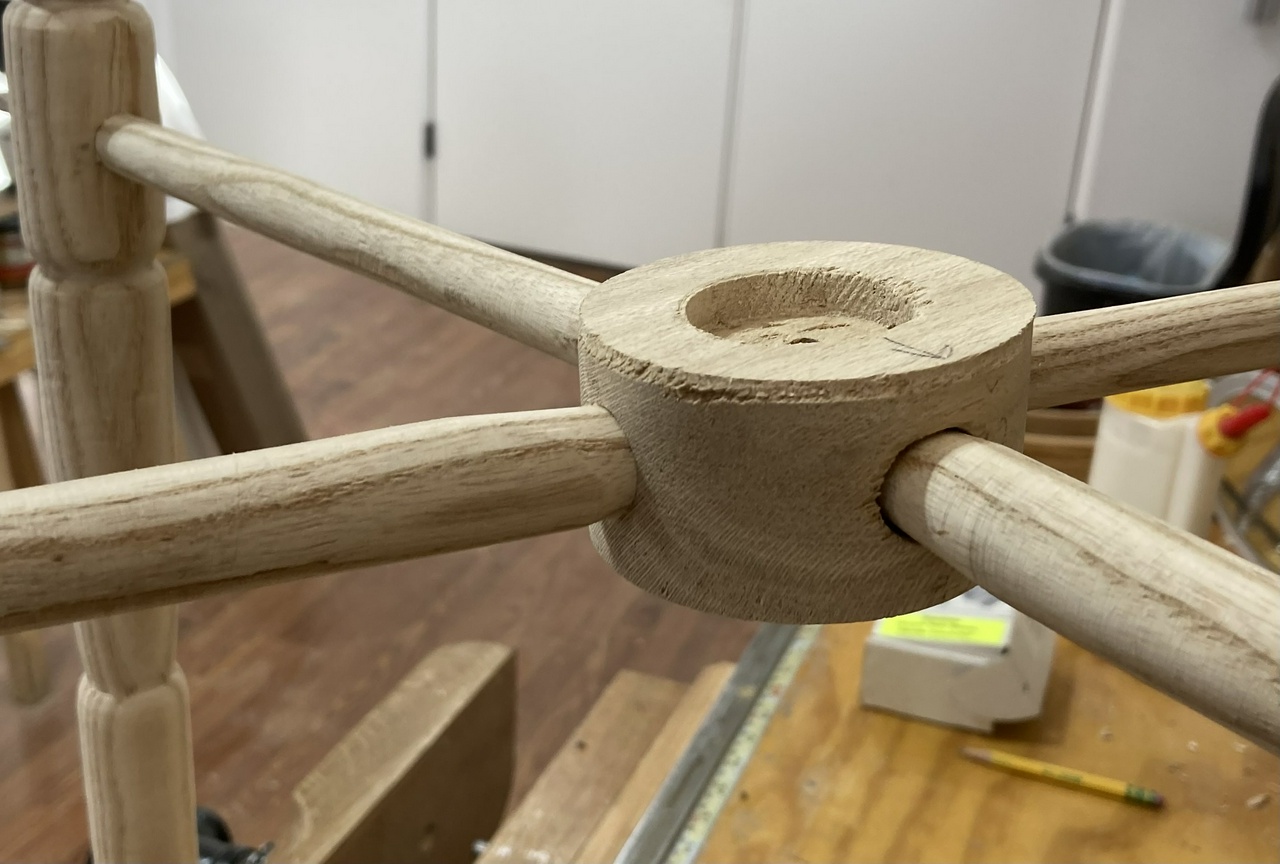
So I turned a hub (from a scrap of salt cedar) for the four stretchers to meet in and bored a couple holes through it.

Test fit of legs and undercarriage

Unfortunately, I didn't think that the holes wouldn't meet at right angles, but since the table-top is a rectangle, they don't. Oh well. As Bandit says, we have ways.

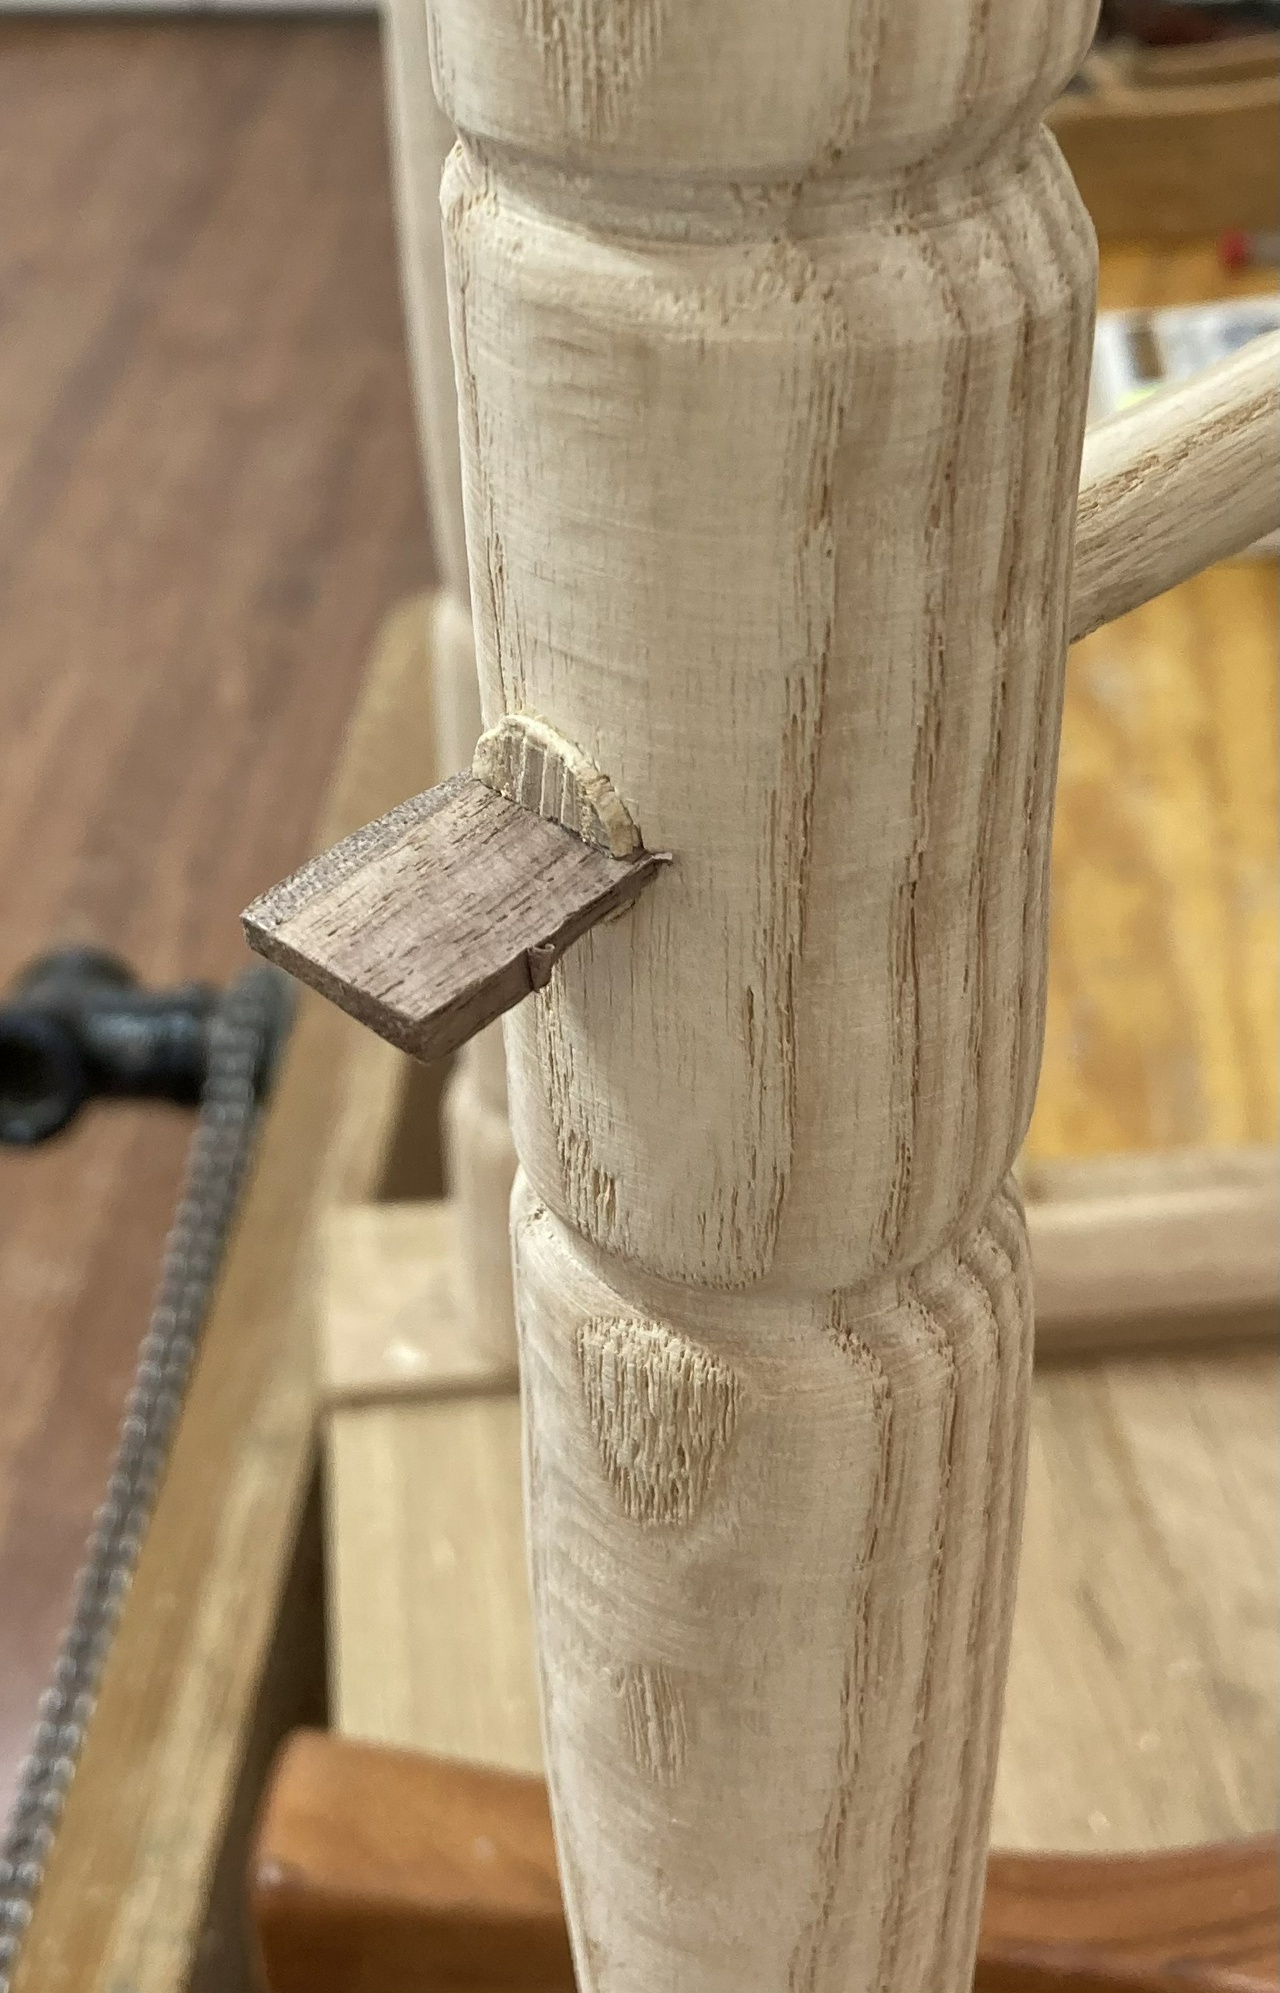
I found a half-inch dowel in the scrap pile, and used that for alignment. I'll worry about the actual stretcher later. For now I just need something so I can get the leg rotated correctly before gluing it into place.

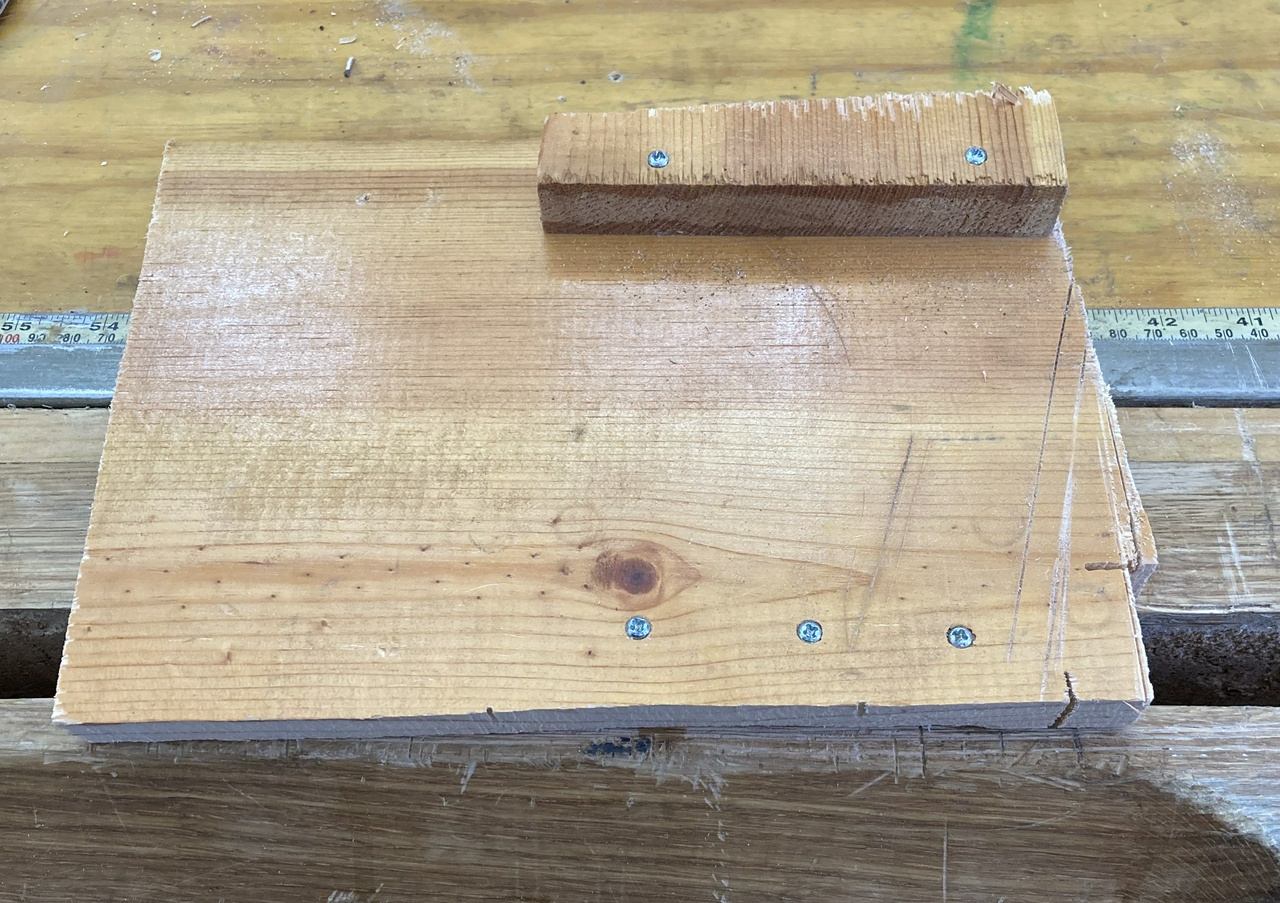
So, test fit time again. And with the legs in place, I drew lines on the ends of their tenons, perpendicular to the grain of the tabletop, so the wedges won't split that, and sawed in slots for the wedges.

Sawing a slot in the end of a tenon on a leg

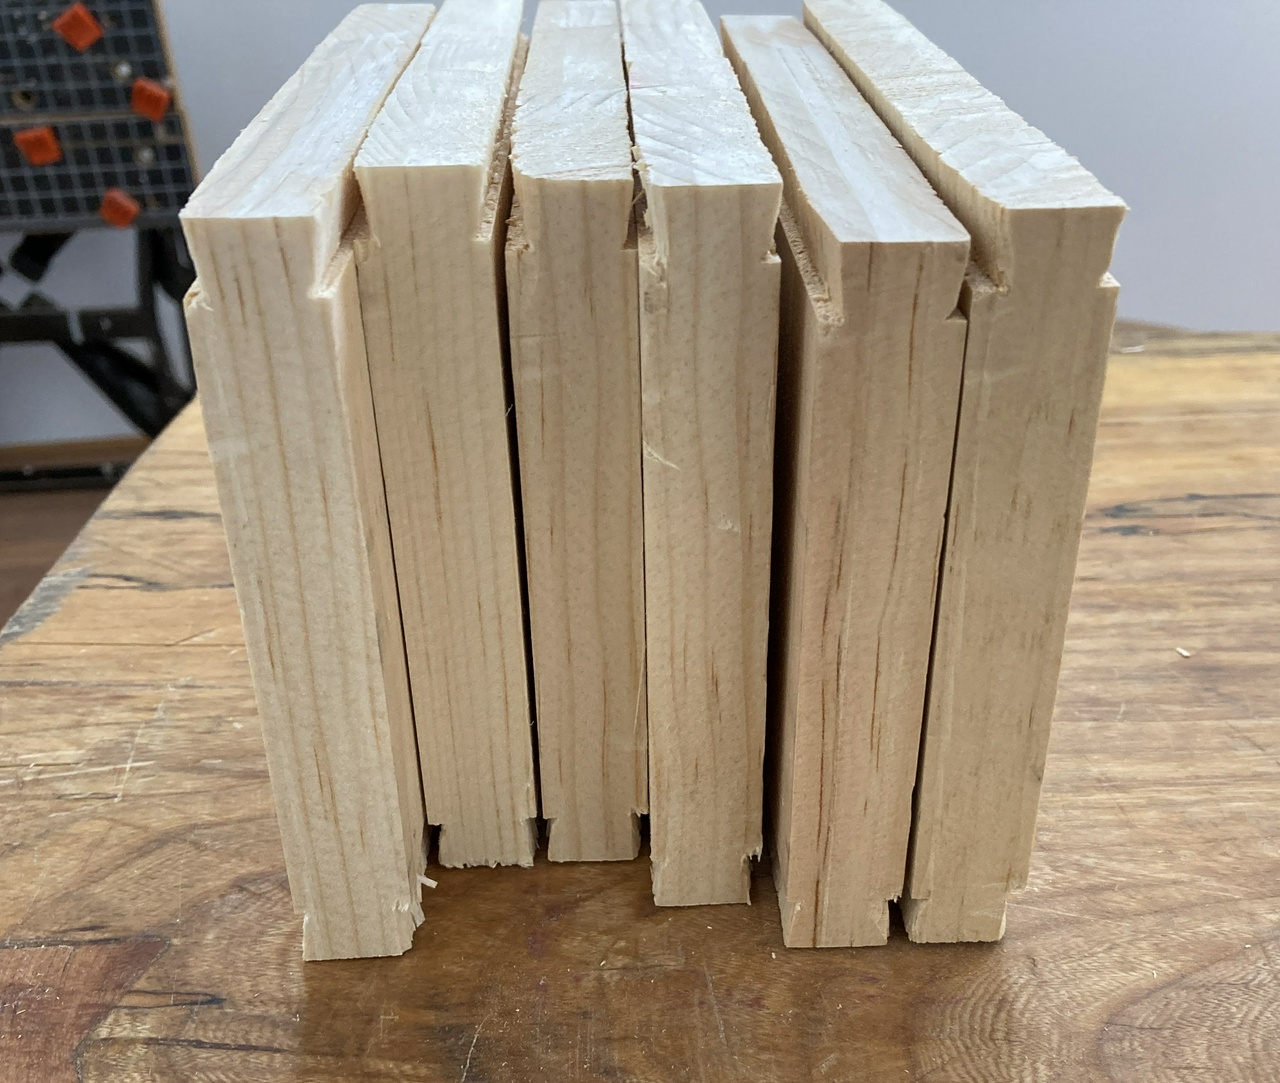
And then it was time to prep some wedges. Cut them on the bandsaw and plane the faces smooth.

planing the face of a wedge smooth

Then show them to the holes and trim roughly to size.

showing a wedge to the hole (that is, comparing their sizes) to see how large to cut its width

a trimmed wedge next to a hole into which it will now fit

Then plane the edge smooth. They don't need to be perfect, but they need to fit, and not be so rough that they'll get hung up halfway in.

planing the edge of a wedge straight

Then the glue bottle gets opened, and I'm not smart enough to take pictures while gluing things up, but the process is: glue on the tenon and in the mortise; seat the leg in the tabletop, splaying it as much to the outside as it will go; glue on the wedge, and pound the wedge home (using Earl's dice mallet – thanks again, buddy!). Repeat four times, rinse out the glue brush, double check everything, and then write this up.

I'll get the undercarriage glued up either after lunch or tomorrow. The stretchers will be glued and wedged at the leg ends, and probably just glued at the hub in the middle.

legs being wedged into the table


Contents #woodworking #ForgeTable

Discuss... Reply to this in the fediverse: @davepolaschek@writing.exchange

Got some time at the lathe today and here's what happened:

Four turned legs

Took me almost an hour per leg, but the last one went quicker than the first couple, so there was progress. Most of the work was done with the skew, but a little with a thumbnail gouge and some with a domed scraper.

Then it was time to bore holes for the stretchers. I marked a center in the worst side of each leg, and drilled with a brace and a half-inch auger bit until I heard the little tschick of the lead screw popping out the back side, then I finished off with a spoon bit, which leaves a much cleaner exit hole. Quicker than unclamping the piece, flipping it over, and boring in from the other side.

Auger bit drilling into a leg, with another brace with a spoon bit laying close at hand

I also started to round off a couple stretchers from some pine I had leftover from a bookcase. Had two pieces that were long enough and about ¾ inch square. I got as far as rounding them off a pretty even 11/16. Tomorrow I'll taper the ends down to a half and test fit everything. There's a little slop where the legs go into the table-top so I can use the stretchers to splay them just a little, making the table more stable and look a little better.

Discuss... Reply to this in the fediverse: @davepolaschek@writing.exchange

Short day today. Many other errands around the house.

I did find time to put tenons on the legs that match the holes I drilled in the table-top months ago.

The first two went well

two round legs with round tenons turned on them

And then on the third one, I had a little oopsie.

round leg with the tenon at the end split nearly in half

I guess the new plan is that the legs will all be two inches shorter than I had initially planned (I'll saw the extra off the bottoms, which means no carved feet, either). Ah well. It was a good day otherwise.


Contents #woodworking #ForgeTable

Discuss... Reply to this in the fediverse: @davepolaschek@writing.exchange

Finally got back to working on the table again today (after almost three months off). All my clamps are busy holding bookcases that got glued up this morning, and it was time to move this forward a bit.

I had made some roughly rectangular pieces of ash for the legs last time. Today I felt good enough about my lathe skills to make them round. At 32” long, they're about the longest piece I can work in my lathe.

I put on the Nova chuck with the 2” jaws. That can reliably hold pieces this size. And I put the live center on the other end of the lathe.

Then I found centers on the four legs. This one was the worst, so I left it for last.

A rectangular leg with the center marked

I guess I should probably do a better job of getting square legs (or octagons) and I would if I was using the bungie lathe, but electricity makes me lazy.

Took me about a half-hour per leg, including futzing-around-time, but I've got four round legs now.

Four legs, roughly turned

I still have a fair amount of work to do. The all need ¾” tenons turned on one end, and they're currently 1⅝” – I'll do some sort of spindle turning to make them pretty and to practice. Plus I'll need two stretchers with a central piece to hold them in an X, and I'll need to drill holes in the legs for the stretchers. But today's Sunday, and I've done enough for today.

Plus I need to sweep up and take out the trash. I've got more than a 5 gallon bucket of little ash chips that came off with the roughing gouge.


Contents #woodworking #ForgeTable

Discuss... Reply to this in the fediverse: @davepolaschek@writing.exchange

This morning I decided it was time to get the top of the table a little closer to done. I started by sawing off the excess on the ends.

Trimming the end of the table-top with a hand-saw

Next up was scrubbing across the grain to even out the slight undulations where I had clamped the board together. Forgot to take a photo. Oops!

Once that was done, I started drilling the holes for the legs. I want them to go through the center of the battens, about two inches from the edge of the table. They're going to be straight vertical, with some sort of stringers, so the holes were pretty easy, except for the fact that my ¾ inch auger has a soft wood lead screw on it, and will split oak if I don't drill a 3/16 pilot hole first. I got reminded of that the hard way when the batten cracked on the first hole I drilled. Oh well. Squirt a little glue into the crack and it shouldn't affect the strength.

Bit and brace sitting on the upside-down table-top with two large holes drilled through the battens and the top, and two smaller pilot holes drilled in the other end of the battens

Top of the table, with all four leg-holes drilled

Next was chamfering the top. Low angle jack plane for this, end grain first, then the long grain sides next. That pretty well cleans up the blow outs.

End-grain of the table-top, with the top of the table chamfered

Then a quick pass with the smoothing plane with the grain on the top.

Table-top right-side-up, with a smoothing plane sitting on it

It's looking pretty good, but I've got a little gap in one of the seams. Let's jam it full of the wood filler I've got sitting out from after repairing some of the trim on the house. It's a “light oak” color, so it'll be close enough, right? Plus, as Duck pointed out, I should probably put a piece of plate over the top of the table to protect it from heat. But if I end up using it for something other than holding the forge, I might want it prettier, so let's clean it up now while it's easy to do so.

top of the table with some wood-filler in one of the seams


Contents #woodworking #ForgeTable

Discuss... Reply to this in the fediverse: @davepolaschek@writing.exchange

Today was (the first) leg day. I started with a 5 foot long piece of 8/4 ash that was about 7 inches wide.

First up was getting a square edge or two to work from, so I started by planing the straighter of the two narrow edges down using my #7 jointer. It doesn't get a lot of use, but it's sure handy for making things flat.

Ash board held in a face vise with a jointer plane sitting on it

Using that edge as a reference, I cut the end of the board square (it wasn't).

Board with a line marked on it to make a square end, and a saw

And then I measured 40 inches from that end, and struck another line across. I'm not sure if the legs will be the full 40 inches long, but that felt like a good height when I was playing around with things. There's a knot or two in the board that might convince me to make the legs 35 or 36 inches long, though.

board with a square sitting on it

With that done, I measured the width and planed the side opposite my reference face flat with the jointer, then I marked three lines dividing the board roughly into quarters. These would be just a bit under 1¾ inches wide, so with the 2 inch thick board, they'll be pretty close to square.

Some ripping and planing later (I used the circular saw to rip, but the blade won't quite cut all the way through the 2 inch thick board, so I had to finish with a handsaw), I had four roughly square and fairly straight pieces of ash which will become the legs for my table.

Four pieces of ash, roughly 2 inches square, and 40 inches long


Contents #woodworking #ForgeTable

Discuss... Reply to this in the fediverse: @davepolaschek@writing.exchange

Enter your email to subscribe to updates.