Boring Tools Till – Last Drawer Insides
Jan 7, 2022
Step zero for the morning was to get the hot hide glue going. Figured I was going to need it today.

When I left off yesterday, the short drawer I was working on looked like the photo above. When I came back to the shop, I realized I have 3 VIX bits I need to have a home for, so I got another piece of pine and started carving.

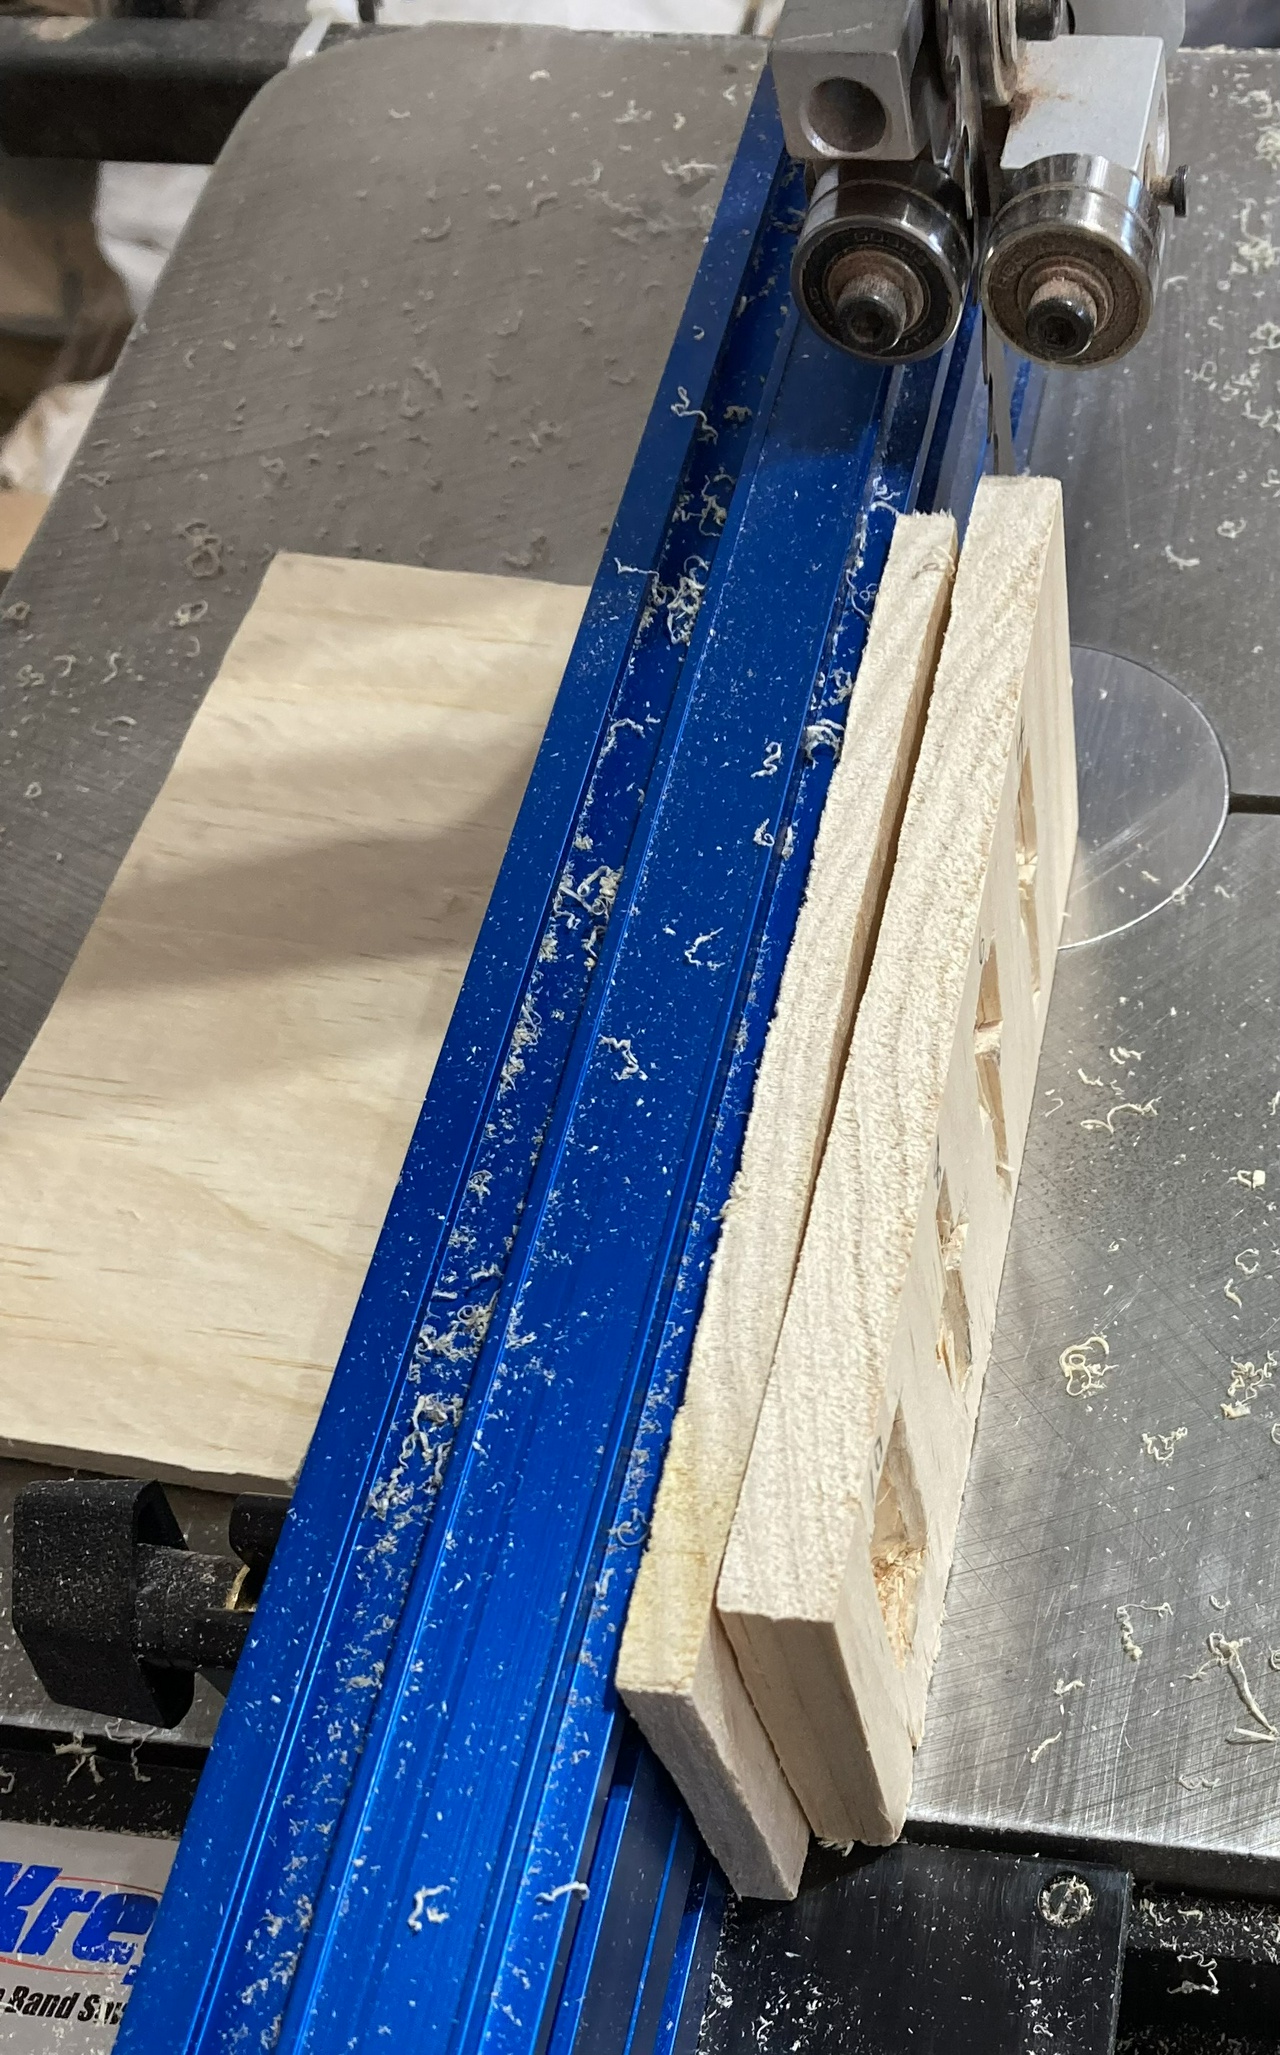
I also wanted the drawer to be a bit shorter. There's no good reason for the trays to be a full ¾ thick, so I set the fence in the bandsaw to about ⅜ inch and resawed them.

I also took ⅜ inch off the top of the drawer box with one of my larger backsaws.

And then I set the two drawers in their cubby to make sure they'd fit with the runners in place, and got ready to glue the runners in. By this point, the glue was up to temperature. [brief break in the narrative while I run out to the shop and unplug the crock pot for the day, and put the glue back in the fridge]

I set the lower drawer in place with some spacers, then did a rub-joint with the runners until the glue grabbed.

That's that pair of drawer boxes complete. I looked through the bits I have remaining, and it looks like the rest are just getting tossed into various drawers for now.


And with the drawer boxes done, I started laying out the drawer fronts. I took my piece of resawed elm that's going to be the fronts, and decided which way it'll be oriented, then planed one of the edges square as a reference surface.

Then I cut both boards to width and cut off the last ¾ inch from the end so I'd have a square surface there to measure from.

Then I laid out the drawers on each of the boards, and called it a day. I'll double-check my work tomorrow before making any of these cuts, as once I start cutting, I'm committed to this plan. I think you'll be able to see the marks on the boards. The plan is that the drawer fronts will butt up against each other, leaving bookmatched grain on the two rows of drawers, and continuous grain from left to right along the row. The wood lost to kerfs should be just enough that the drawers won't rub against each other.

Contents #woodworking #storage #drawer #drawerFronts
Discuss... Reply to this in the fediverse: @davepolaschek@writing.exchange