Dovetail Saw Handle
Originally written May 9, 2021
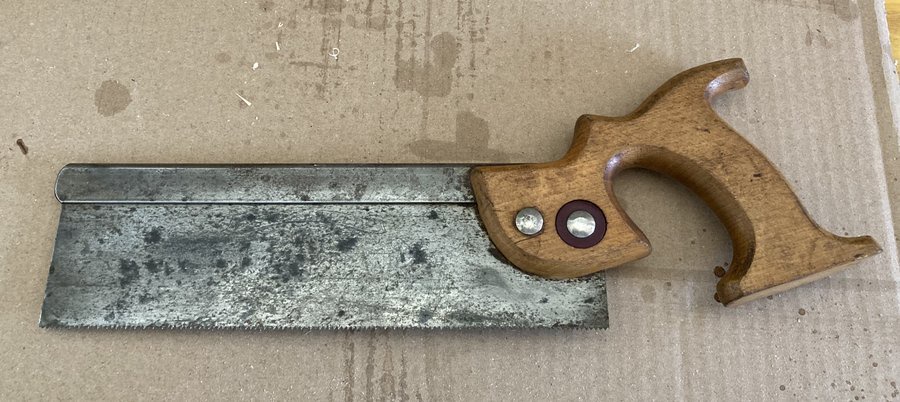
I bought a beat up dovetail saw on eBay. Put a fairly minimal bid on it (it was $25 with free shipping) and won. It's shown below. My goal was to have a saw I could practice sharpening and other saw maintenance tasks on, and not feel too bad if I screwed it up.
When it arrived, almost a year ago, the handle was even worse than it had looked in the photos, and was just too small for my hands, so I set the saw aside for a while and got on with other projects. Recently, I got “stuck” during my build for the plane swap and needed to work on something else while I thought about how to get past the problem I had created for myself.
I sat down and tried to unscrew the saw nuts on the saw I'd bought. Turned out they were rivets. I ended up destroying the handle I order to get it off, and the holes in the plate were pretty nasty looking. I filed the holes flat (they looked like they'd been punched through the metal, rather than drilled) and started shaping a new handle.
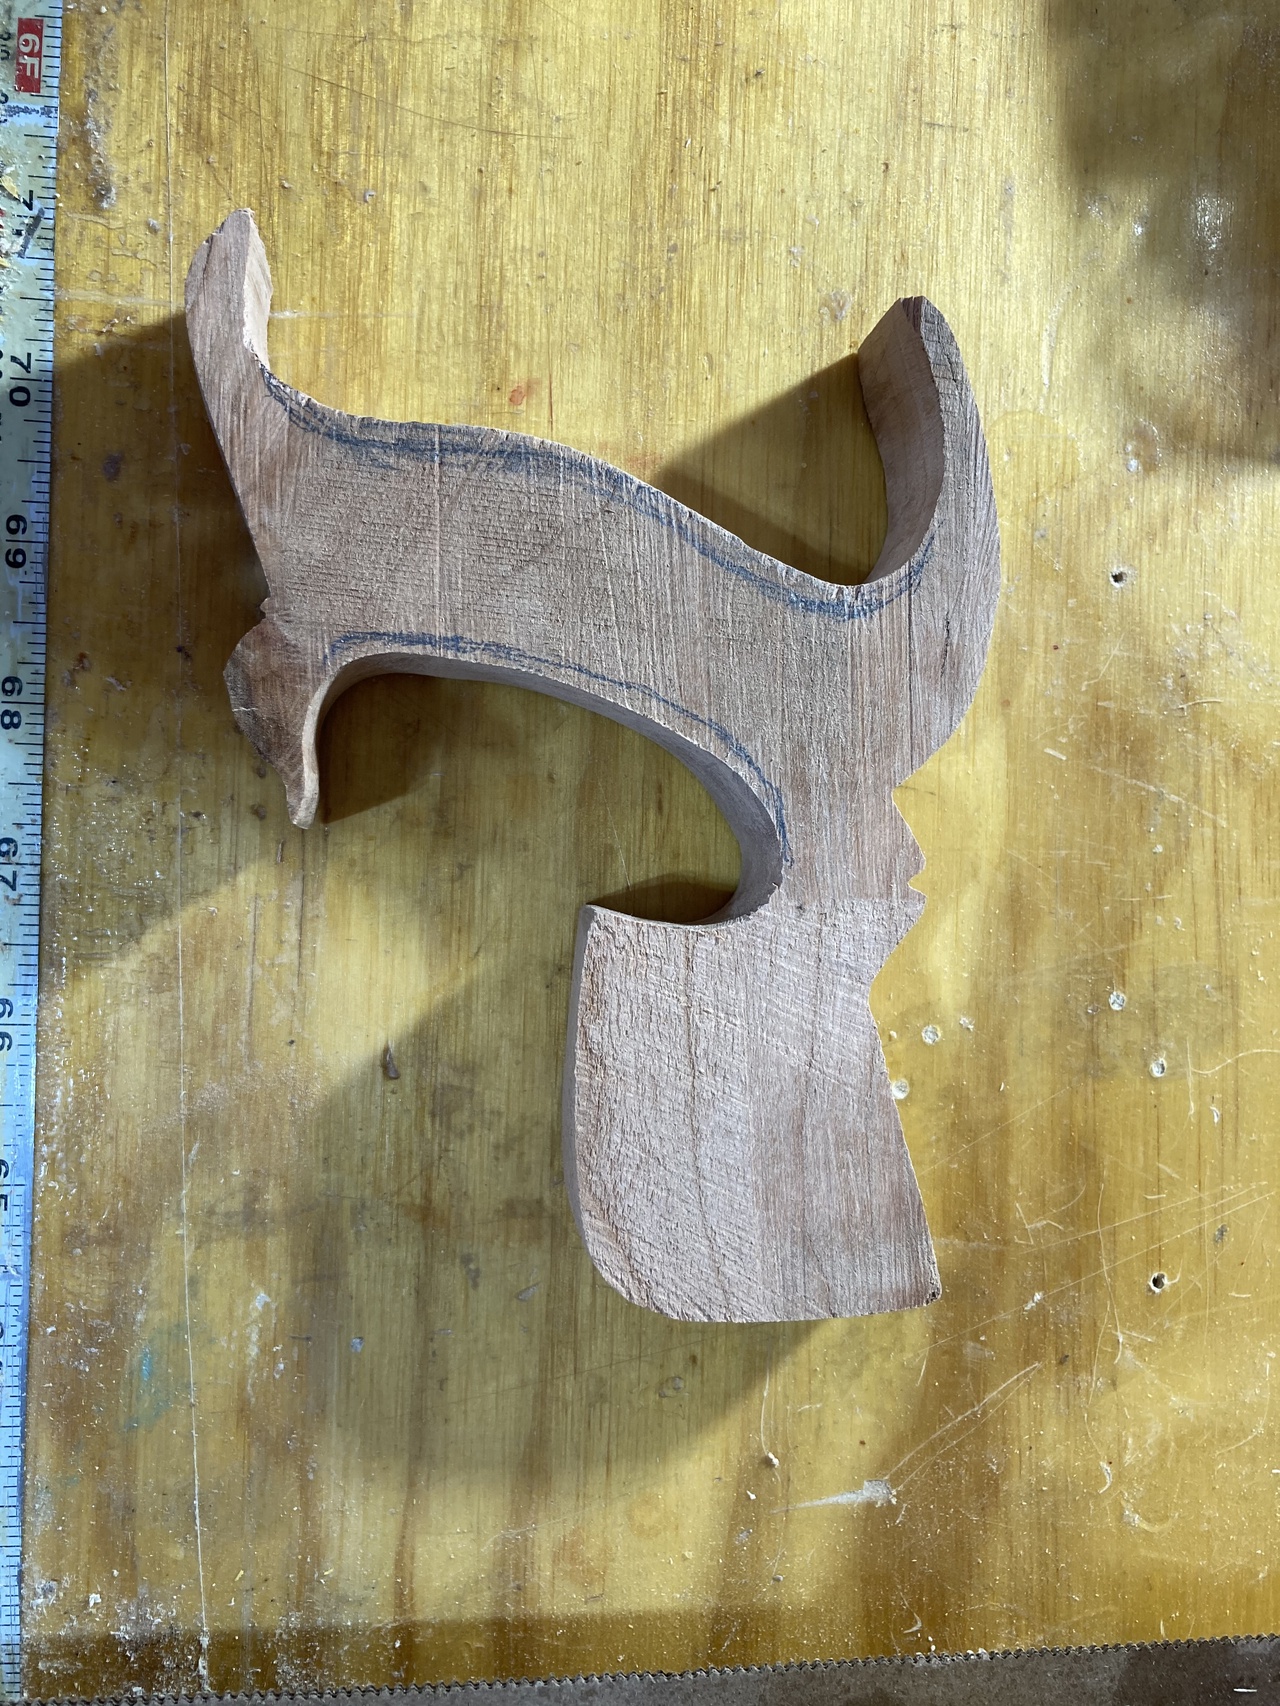
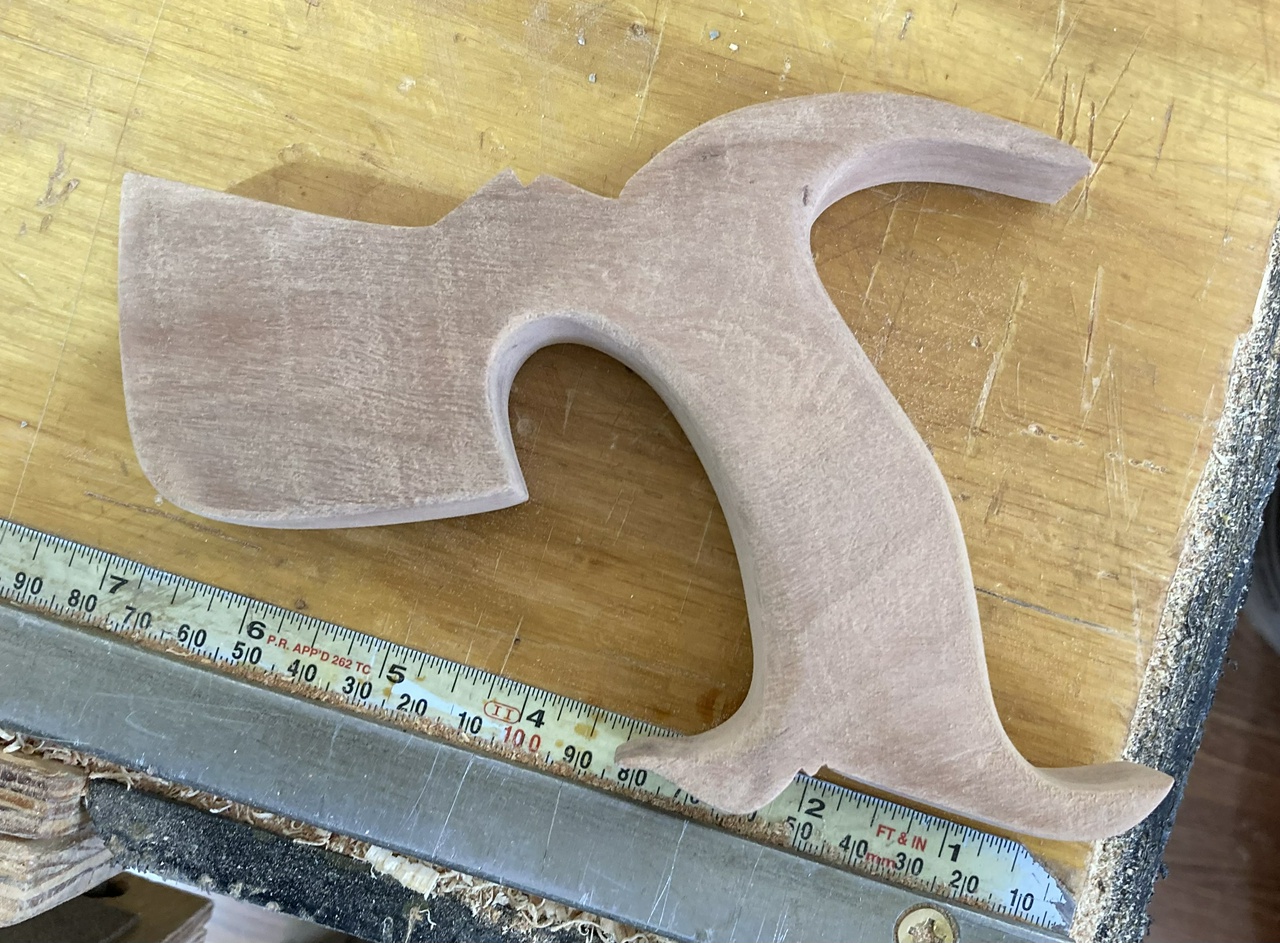
I traced the handle on a Bad Axe saw I bought, which fits me pretty well, onto a piece of 5/4 curly cherry I had. There was a knot in it, but I put that in the section that would end up “inside” the handle.
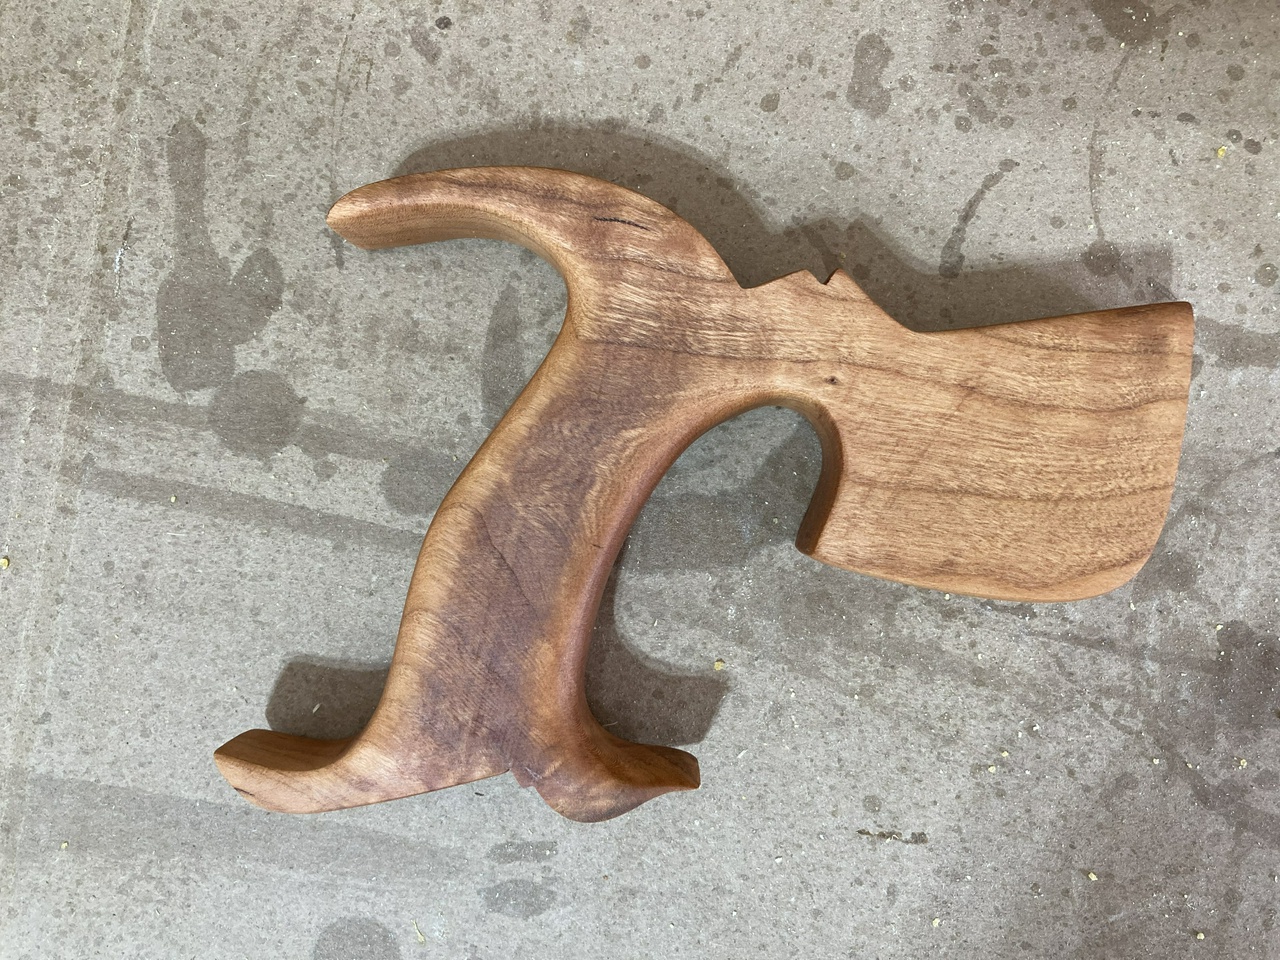
Then I did some shaping with files and such while I waited for new steel saw nuts to arrive in the mail, and then again while I waited for a 3/16 carbide drill bit to arrive after I'd mistakenly ordered a 3/32 bit.
I also pulled the back off the saw plate and cleaned up both the back and the plate. There was a fairly generic “Warranted Superior, Sheffield” etch that was almost gone (or had been etched lightly to begin with). I sanded it away, rather than trying to preserve it. I'm pretty sure this was a post-WWII saw, and nothing special, given the red plastic washer in place of a medallion and the riveted saw nuts.
I got the handle mostly shaped by the time the new saw nuts and drill bit arrived, so I was excited to get things put together. But I'd finished the handle at about an inch thick, which fits my big hands pretty well, but didn't fit the ⅞” long saw nuts I'd bought. D'Ohh!
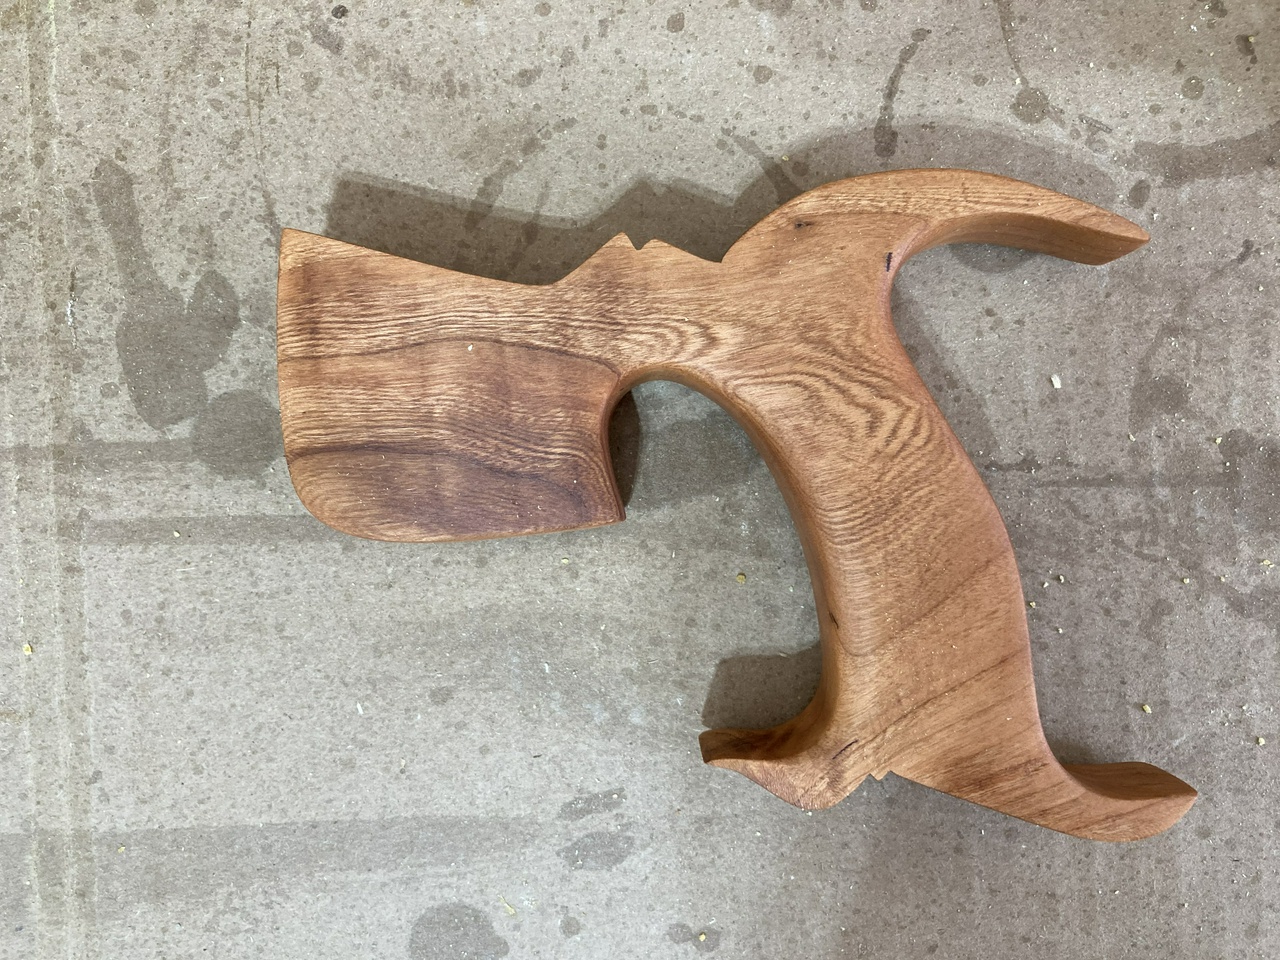
So I took the handle to the belt sander and thinned it up a little. Which turned out to be good, since when I sawed the slot in it, I'd gotten it a little bit off, and it was off-center and aimed the blade a little to the right. Sanding the handle down let me fix that.

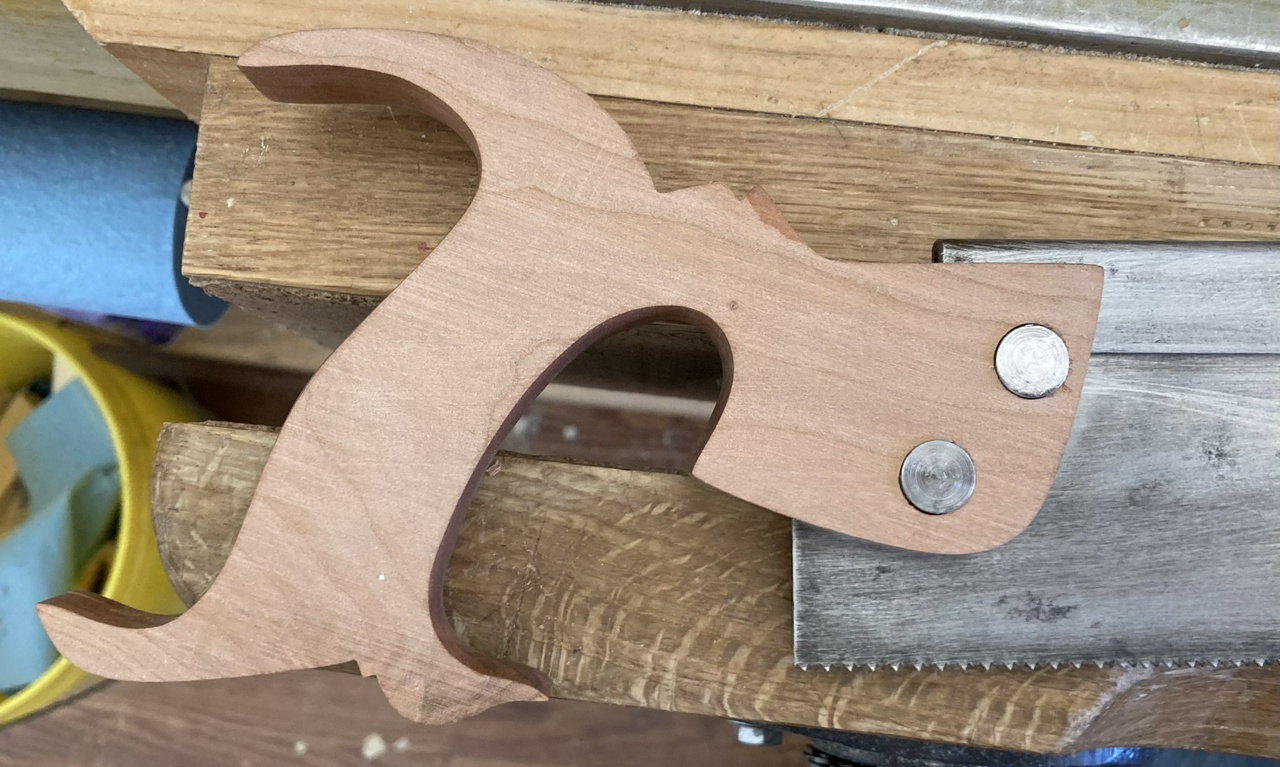
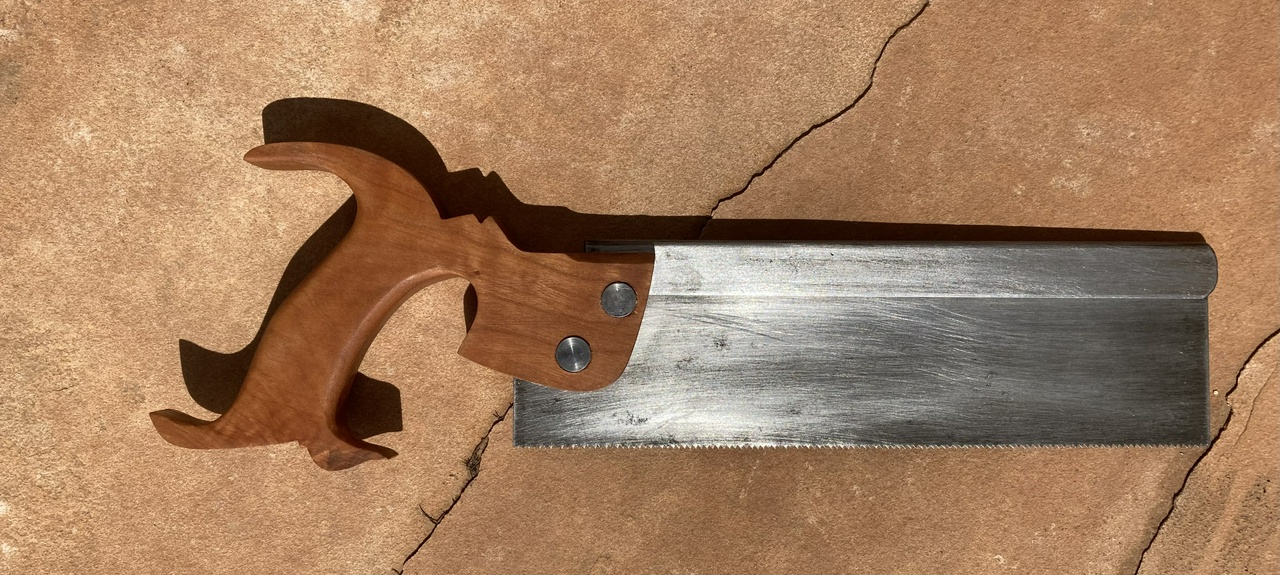
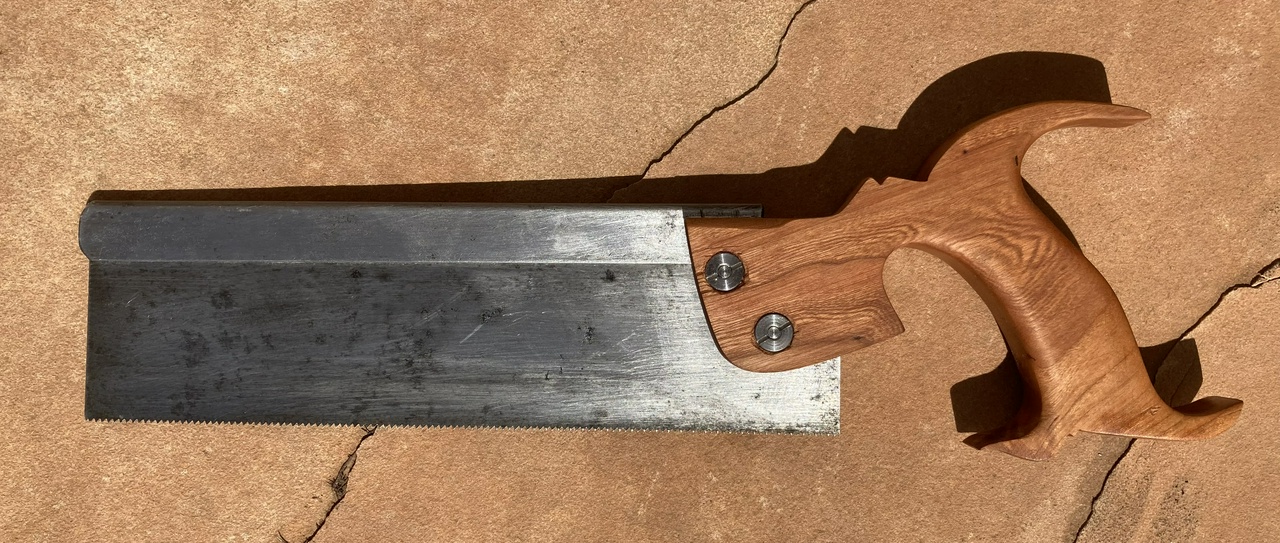
Then I had to reshape and re-oil the handle, but I did that with it on the saw. That let me test it as I went, making sure that it pointed straight and felt right. Last step was cutting chamfers at the top of the handle where the back went into the wood.
A couple coats of BLO later, and the saw is in use in my collection. And I learned quite a bit along the way, and have a saw I can practice sharpening on without worrying about destroying an expensive saw.
Handy Tools #woodworking #saw #handyTools #tools
Discuss... Reply to this in the fediverse: @davepolaschek@writing.exchange