Sharpening Shelf
A while ago, I read Dave Fisher’s post on his Souped-up Sharpening Shelf and thought that sounded like a great idea to get some consistency in my gouge-sharpening. It’s not that all of my carving gouges are dull, but I’ve been hand-sharpening them, and I don’t always get the angle the same, so over time, that leads to a dubbed edge, which may be beneficial or not (do some searching and reading if you want a lot of different opinions). In any case, a badly dubbed edge is not good, and consistency will get me to a happier place.

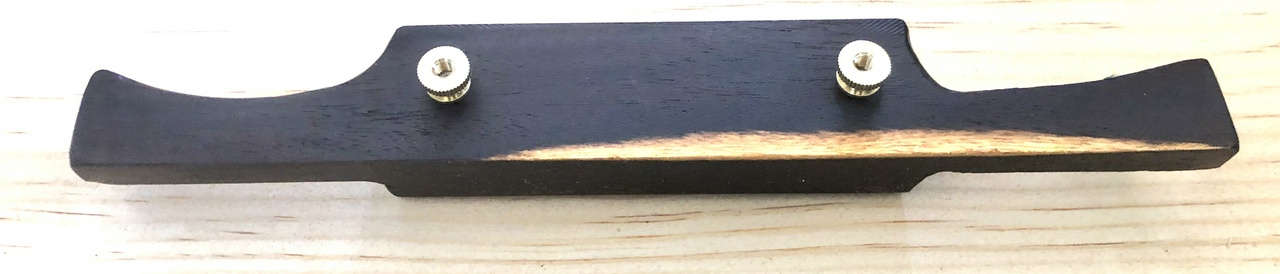
I also got a Tormek SVS-38 Short Tool Jig to use with it, and since that wants a ⅜” rod to ride on, I bought a stainless rod, as well.
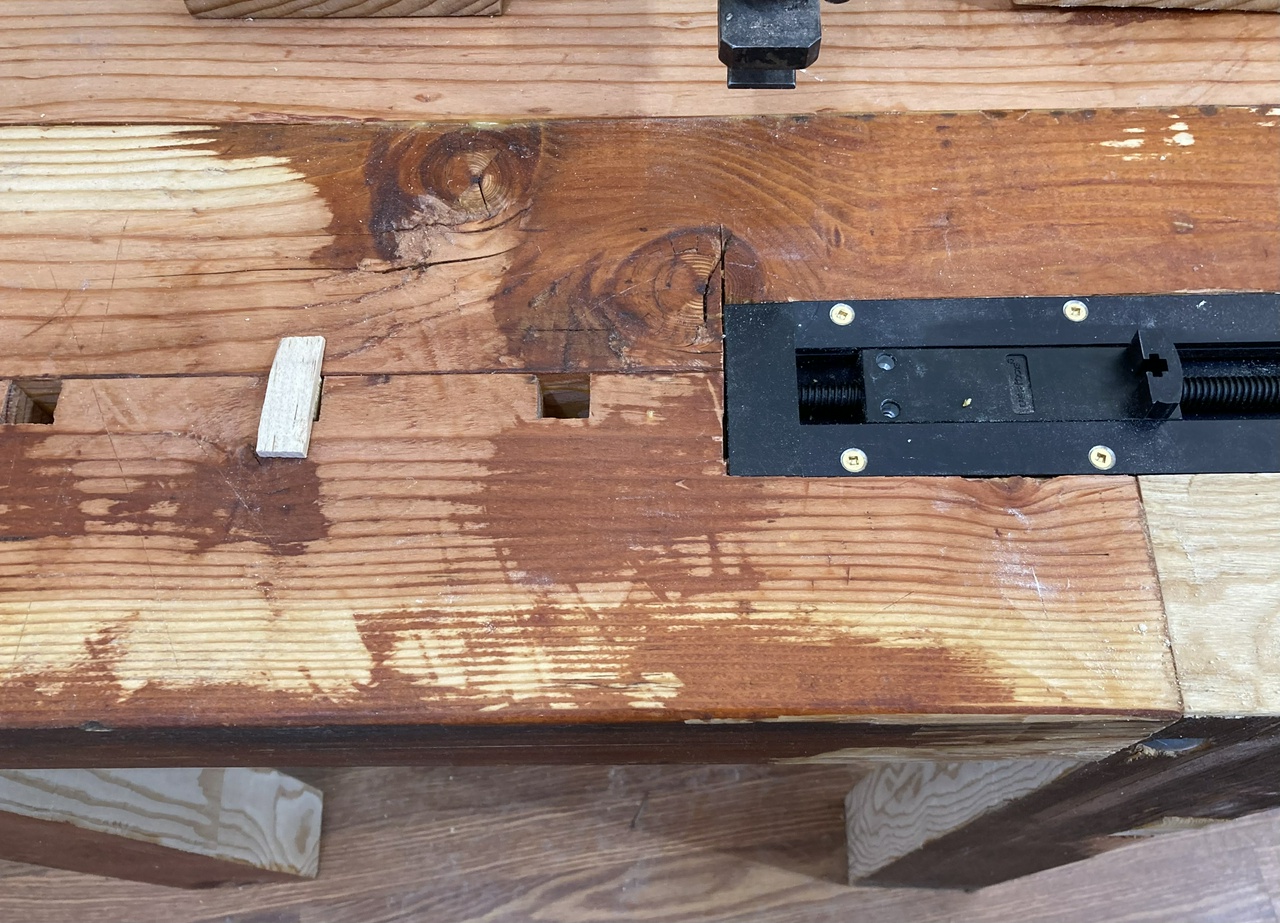
With all the pieces put together (the pieces of wood at the ends were quickly half-lapped onto the main board, and the metal rod is friction-fit into holes in those pieces), here’s how the jig looks in use.

The one other modification I needed was to put a couple strips on the bottom of the box holding one of my sharpening stones. These allow it to rise above the metal edge on my bench (which is definitely not traditional on a woodworking bench, but I find it useful) and get the gouge at the proper angle with minimal fuss.

Putting these together gets the gouge on the stone as shown below. The angle is a bit steeper than the gouge was originally sharpened at, and I’ll probably lower it in the future, but sharpening at a steeper angle like this allowed me to see the results quickly. I put a line on the side of the board so I can recreate this if needed, and I expect I’ll add more lines over time. And of course, as the gouges get shorter with repeated sharpening, I’ll need to adjust the angle by putting the board lower in the vise, which will mean even more lines on the board. But the lines on the front of the board will help me keep the board level.

After a dozen passes of the gouge back and forth, rolling it to try to sharpen the entire length of the edge, I got this:

And this:

As you can see in the second photo, I didn’t quite get the gouge rolled far enough to sharpen all the way to the edge of the bevel, but very quickly I got a mirror surface on the gouge. This was with a hard Arkansas oil stone, which is quite a bit finer than the grit the gouge was originally ground with at the factory, as you can see in the photos.
Overall, I’m pleased with this setup. It took me a couple hours to knock this jig together, plus $40 in materials, and I now have a jig which will help me sharpen my gouges in a more repeatable manner. The Tormek jig isn’t ideal for a large veiner like this gouge, as it’s difficult to roll the tool over far enough, but for 90% of my gouges, this should do a good job and help me keep them sharp, rather than waiting until they’re dull before I decide I have to sharpen.
#handyTools #sharpening #woodworking
Discuss... Reply to this in the fediverse: @davepolaschek@writing.exchange