Storage Box for Pen Squaring Sander
A while back, I bought a sander designed to square pen blanks from Penn State Industries. It’s a nice little unit, but there are small pieces included and it’s not a nice shape to store, so I built a box to hold it.

Construction is pretty simple, but I tried a few things to practice them. The sides and ends of the box are angled in at a 7.5°︎ angle. The dovetails were otherwise cut as normal, which worked fine, though I appreciated having made the sides from pine when it came time to fit things together, as pine will compress a little which makes inaccuracies less of a pain.

The bottom of the box is some poplar I had on hand. Had to glue up some boards to get the right shape, and then I added cleats to hold the sander in place.
The top of the box sits over the base and the sander, and I will be attaching the sander to the base once I’m certain that’ll work. I’ll also be building storage pockets into the cover of the box to hold things like spare sanding discs and the adapter so I can connect the sander to the dust collector.

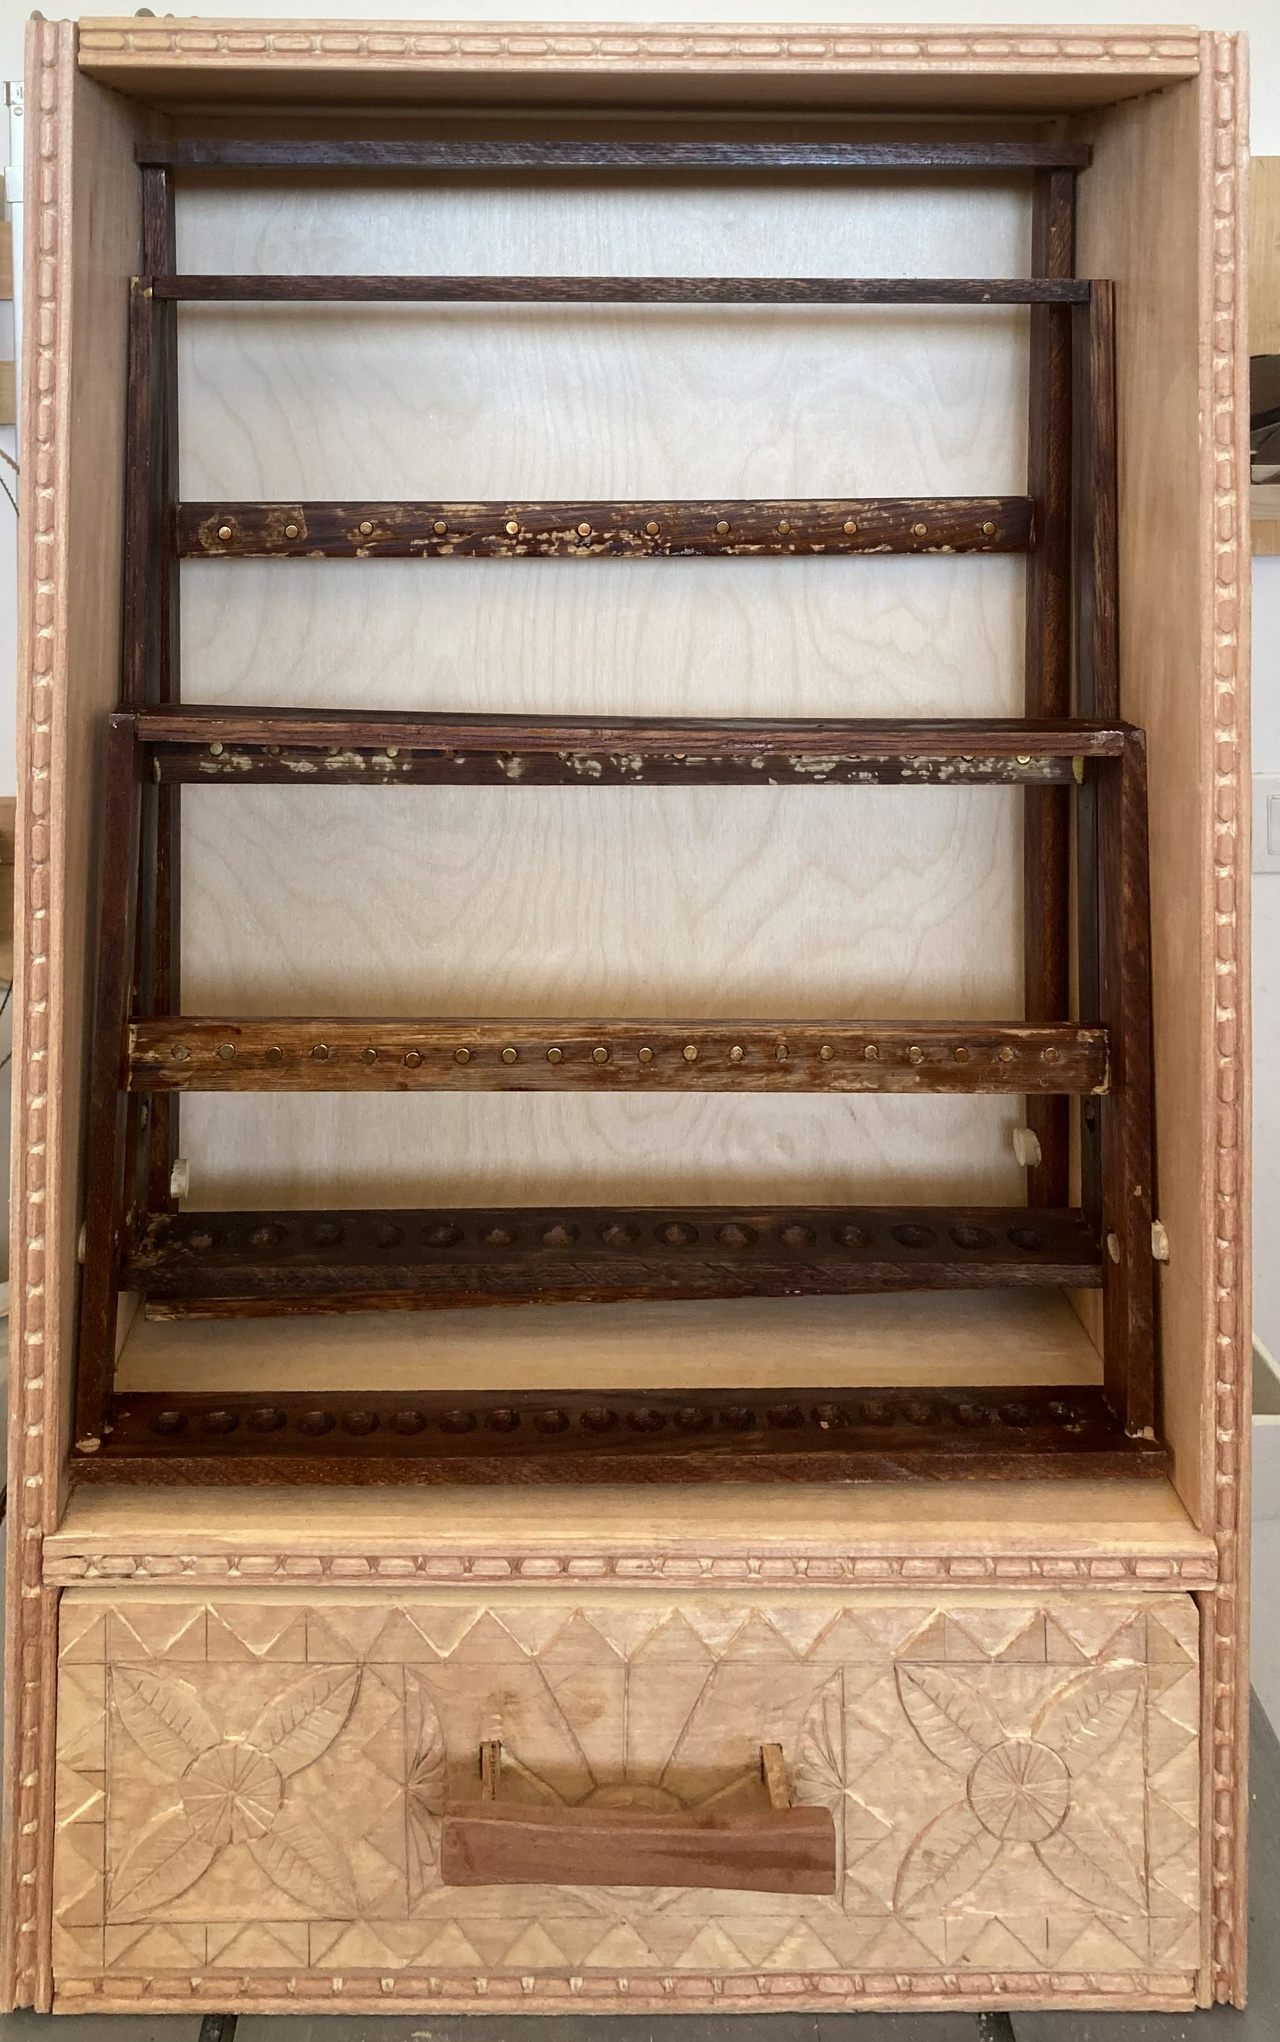
Finally, I did some practice carving on the sides of the box. Nothing super-fancy, but it felt like I needed some practice, and I know I found a half-dozen gouges that needed sharpening along the way, so it was a good time to do some carving.

That’s it.
Of course, that isn’t it. A friend on mastodon asked about the style of the carving. I replied:
I learned mostly from Ron Aylor, who was heavily inspired by Peter Follansbee, so yes, it’s in the style of Peter Follansbee, but at a remove. I bought Ron’s Categories of 17th-Century Mannerist Carving years ago, and mostly refer to that, but I also have been reading through Mary May’s Carving the Acanthus Leaf and some of the details are things from her book.
Of course, that isn’t it, either. Since I’m reading about carving the acanthus leaf, I decided to get some practice. I sketched a leaf on the uncarved side of the box a while ago, and started lowering the background around it this morning. More to come, I’m sure.

Another three hours working on the leaf this morning, and the leaf is farther along. I had problems with the central rib / stem of the leaf, and there are a number of finer ribs I still need to carve, but I’m also thinking that maybe I’ve had enough for this practice.

No time yesterday, and only about 90 minutes this morning, but I cleaned up the leaf a bit, and may do a little more on it tomorrow, plus I started lowering the background around a circular hex (maybe). I think the border is going to be a barrel and bead pattern.

I worked this morning with a relatively strong sidelight. I keep being surprised at just how much better I can see what I’m doing with just small changes to the light.
Two more sessions, one short (almost exactly an hour) and one longer (three hours and a bit) and I think I have finished. At a minimum, I got close enough to put a coat of oil on the wood and step away from it. I’ll see what I think once the oil has had a chance to cure.


#woodworking #shopStorage #woodCarving
Discuss... Reply to this in the fediverse: @davepolaschek@writing.exchange


