This is the story of the pair of knives I made to send to MaFe, with the plan that he would pick one of the knives for himself, and then send me a sheath for the other knife in return. As I wasn't sure of the size of his hands, I made the knives similar in size, sized more for my large hands than his, but figuring he could always remove some of the bark to make a smaller handle, which he did.
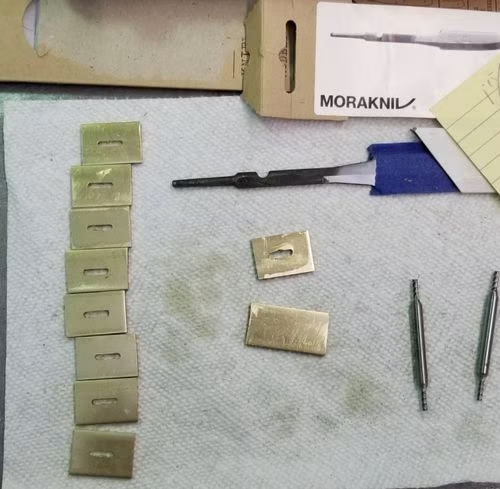
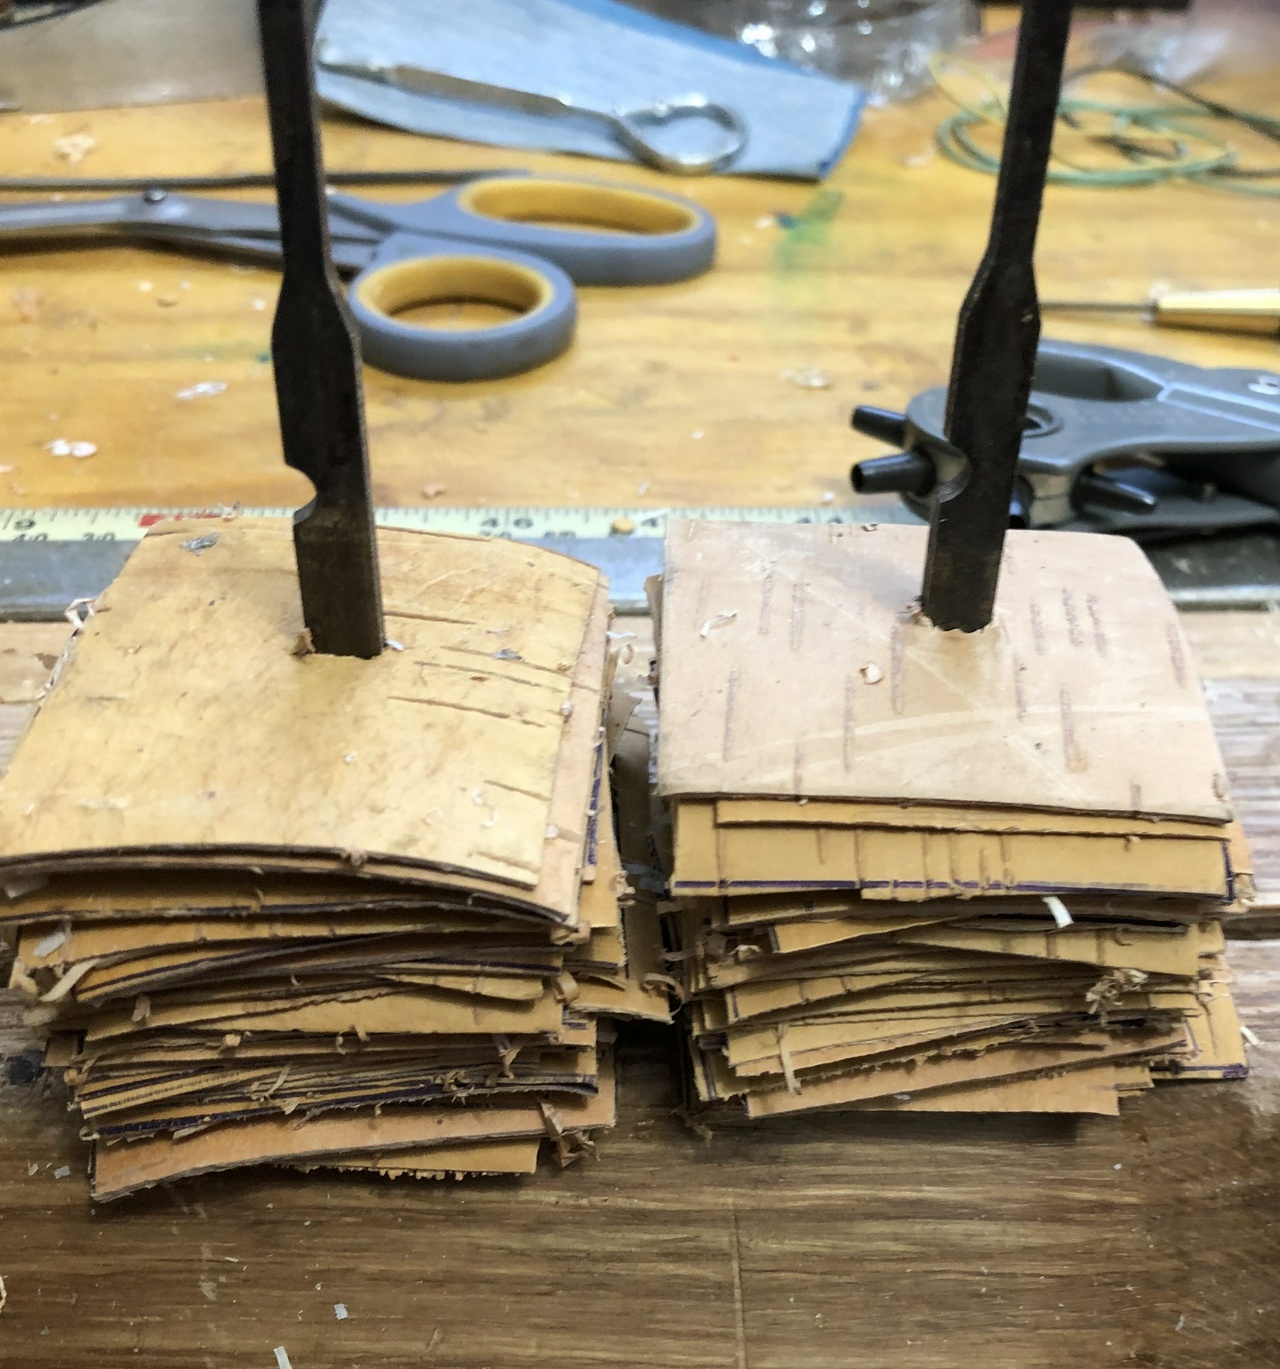
The knives start, as in the pictures above, stacking birch bark on the tang of the knife, plus a brass bolster I set on the tang. The knife blank comes from Morakniv and I like their 106 and 120 blanks. The birch bark comes from Russia, and there are a number of vendors on eBay who sell stacks of birch bark. I've found that the Russian vendors tend to have the best price (even including shipping) for prepared bark. Buying birch bark stacks from the US, I end up with a lot more waste, because the bark hasn't been scraped as well.
SPRAD comes from Mads reading my description, and noticing that the blades came from Sweden, me, from Poland, the birch-bark from Russia, and the knives moved from America to Denmark. Truly international!
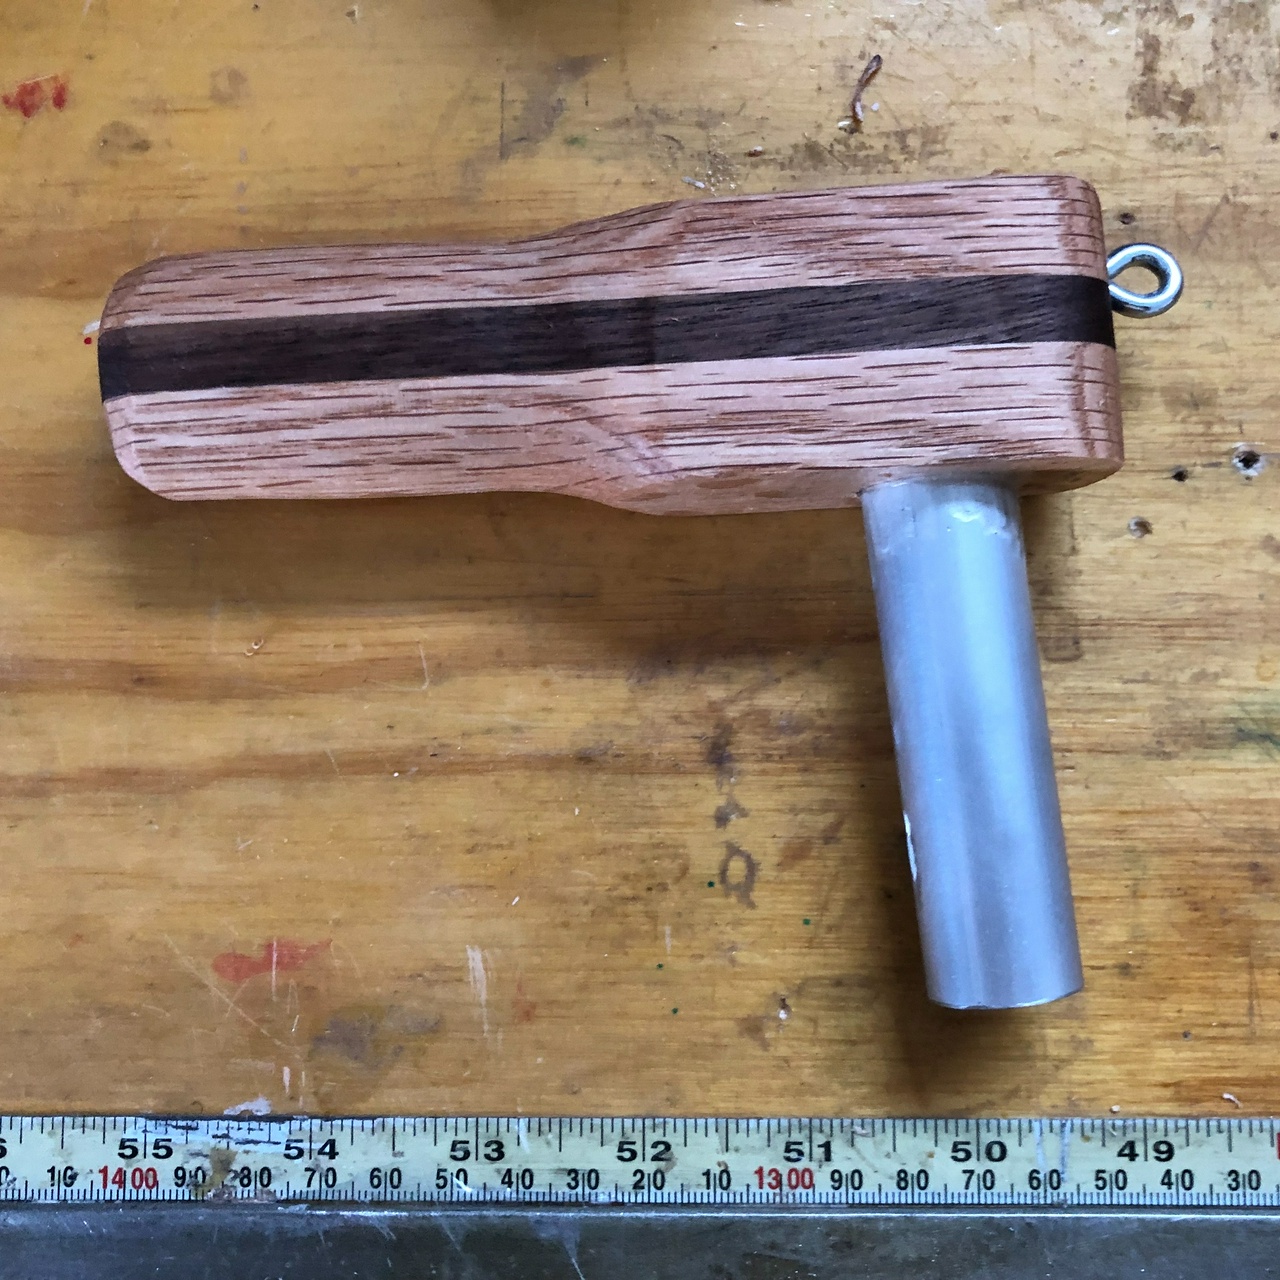
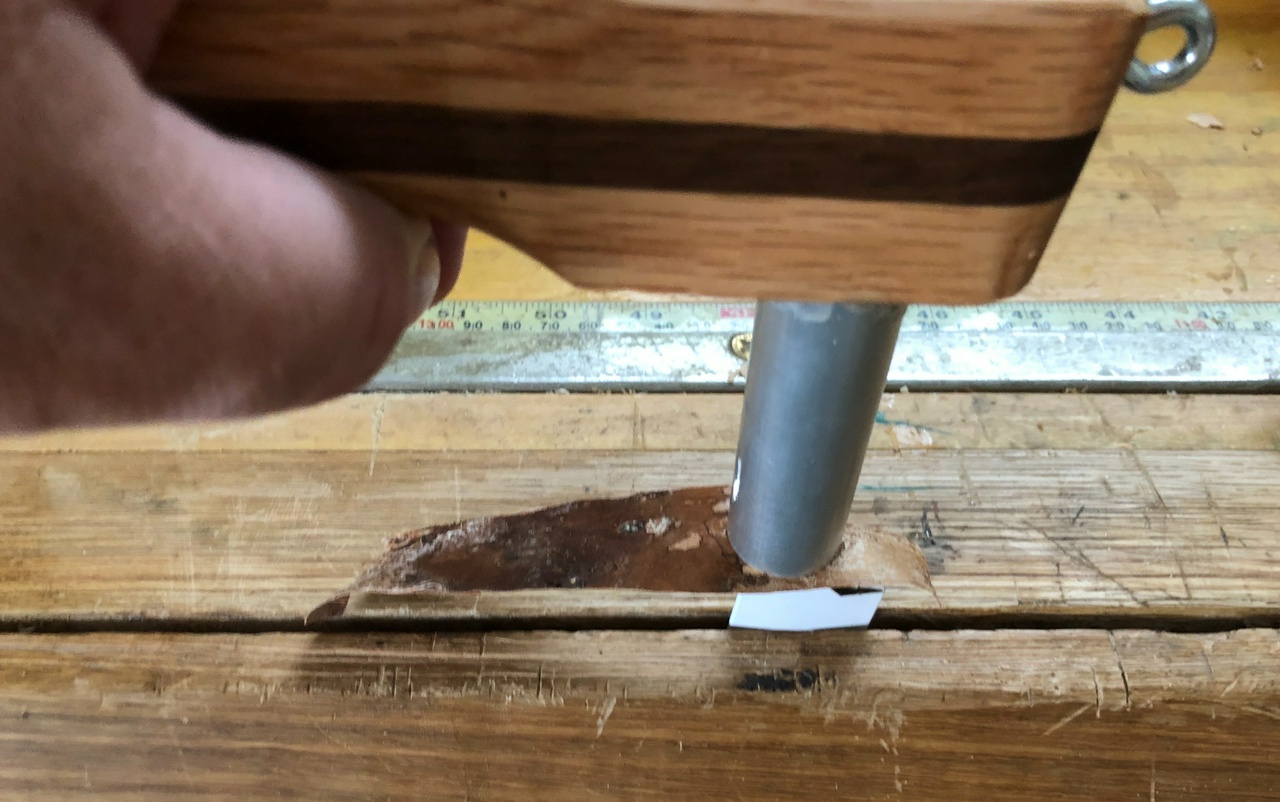
I punch the holes in the bark using a leather punch, making a line of one, two, or three holes, depending on which portion of the tang the piece of bark is going on. I also use a shop made tool to compress the bark as I work, making sure the layers are stacked as tightly as I can. I also thread the tail end of the tang at this point. Due to the square tang, what I usually do is thread it first with a 10-32 die, then thread it again with an 8-32. I want about a quarter inch of threads to work with. I'm sure there are metric sizes that will work well, but having the pair of dies with the same threads means I can do this as a two-step process, rather than having to anneal the last bit of tang so I could thread it in one step.
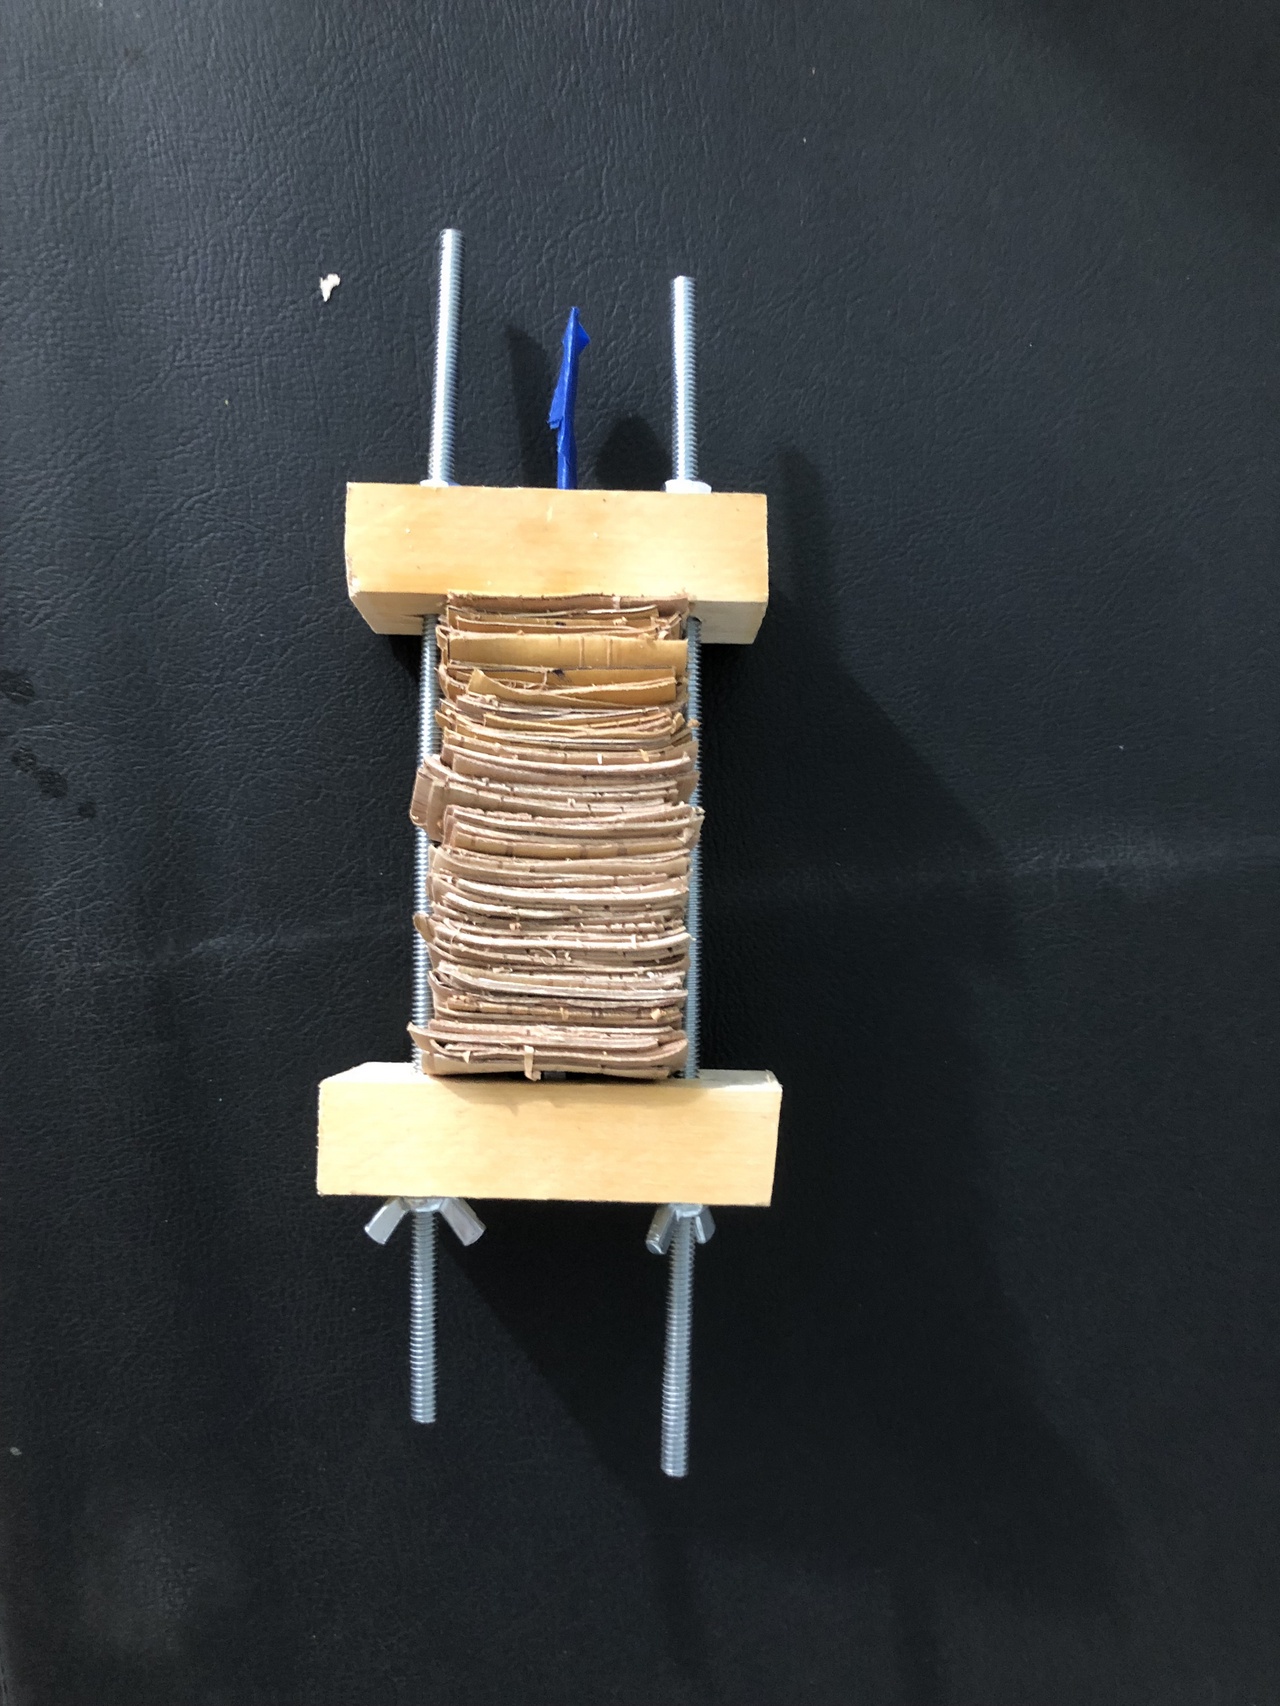
Once I have nearly enough layers on, I compress the handle further using a shop-made vise, and I put the handles into the toaster oven at 225F (105C) for a few hours. This will soften the pitch in the bark, and will somewhat “weld” the handle together. This step isn't absolutely necessary, but I've found that I get a better handle by doing it. I can also tighten the vise down a little more after the handle has been baked, further compressing the bark.
Some will put the handles into boiling water at this point, but I think that's hard on the steel. Others will compress the bark in a stack, boil it, and then drill a hole for the tang of the knife. But as with most woodworking, there's more than one way to do it.
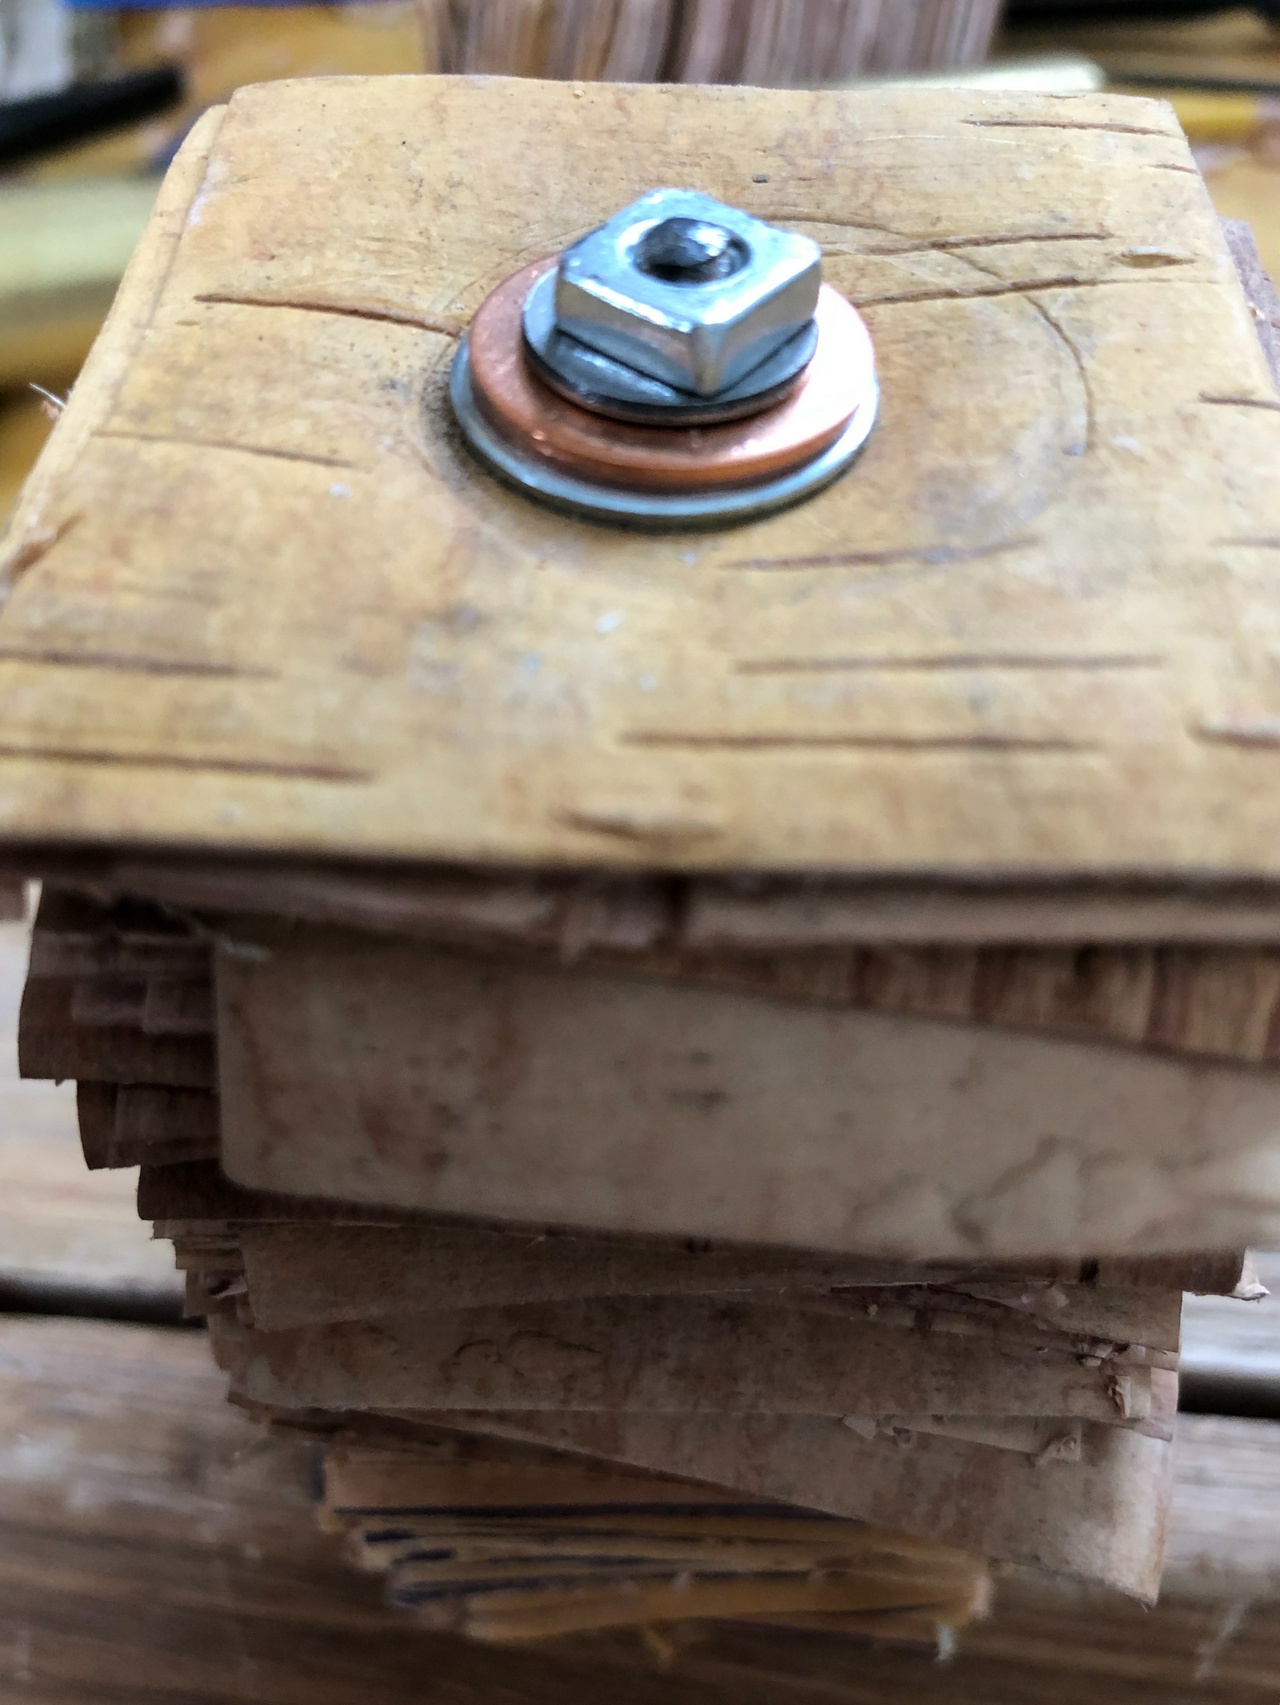
After the handles have been baked, I'll add a few more layers of bark, then cap that off with a few washers, then an 8-32 nut. I try not to crank this down too tightly, and if there's room, I'll add more layers of bark to fill the space so the end of the tang barely protrudes from the nut as in the picture above. I've also used a piece of brass for a bolster, but the stack of washers is quick and easy, and looks good to my eye.
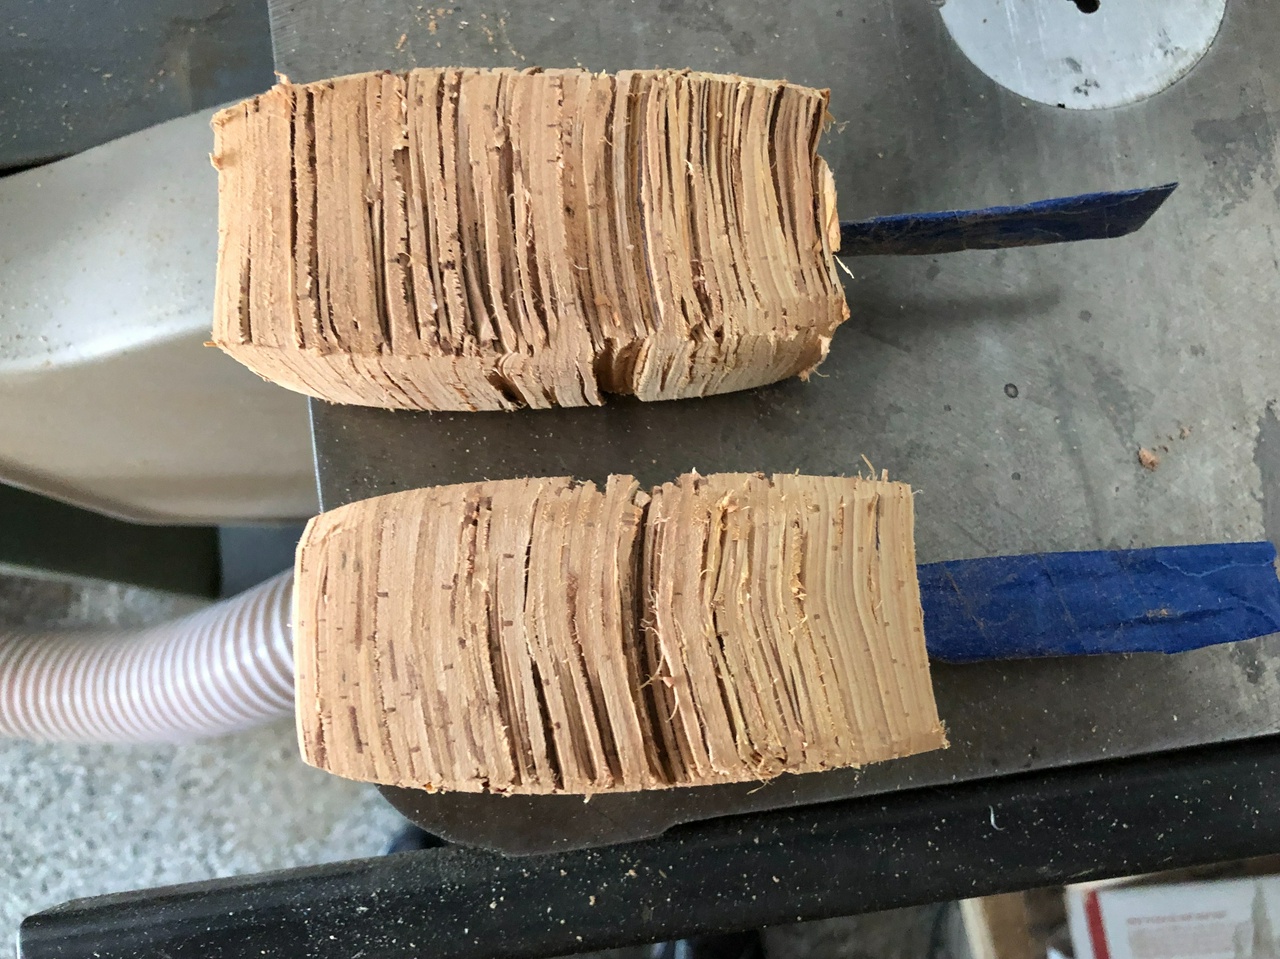
That will leave me with the very rough handle. I will rough that in using the bandsaw (very messy) or a carving knife (less messy, but slower)
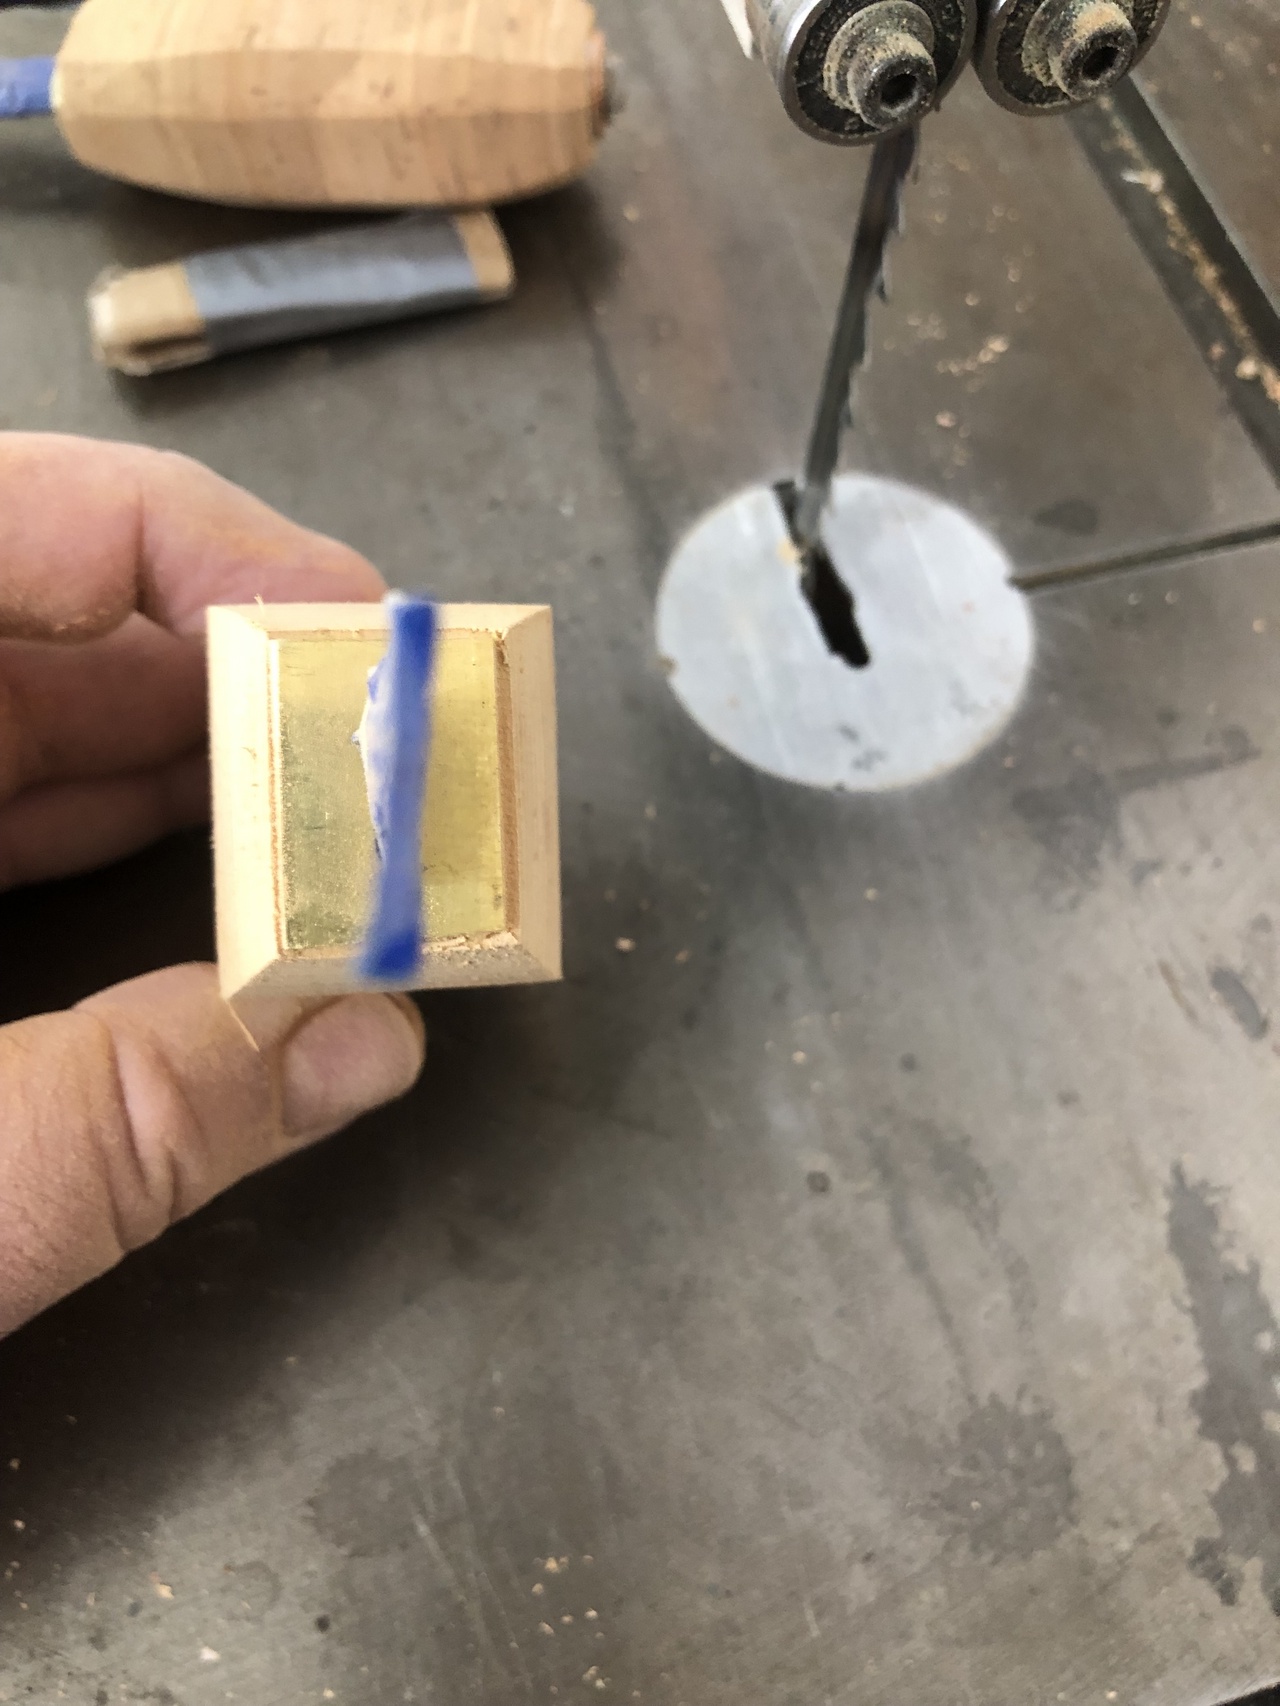
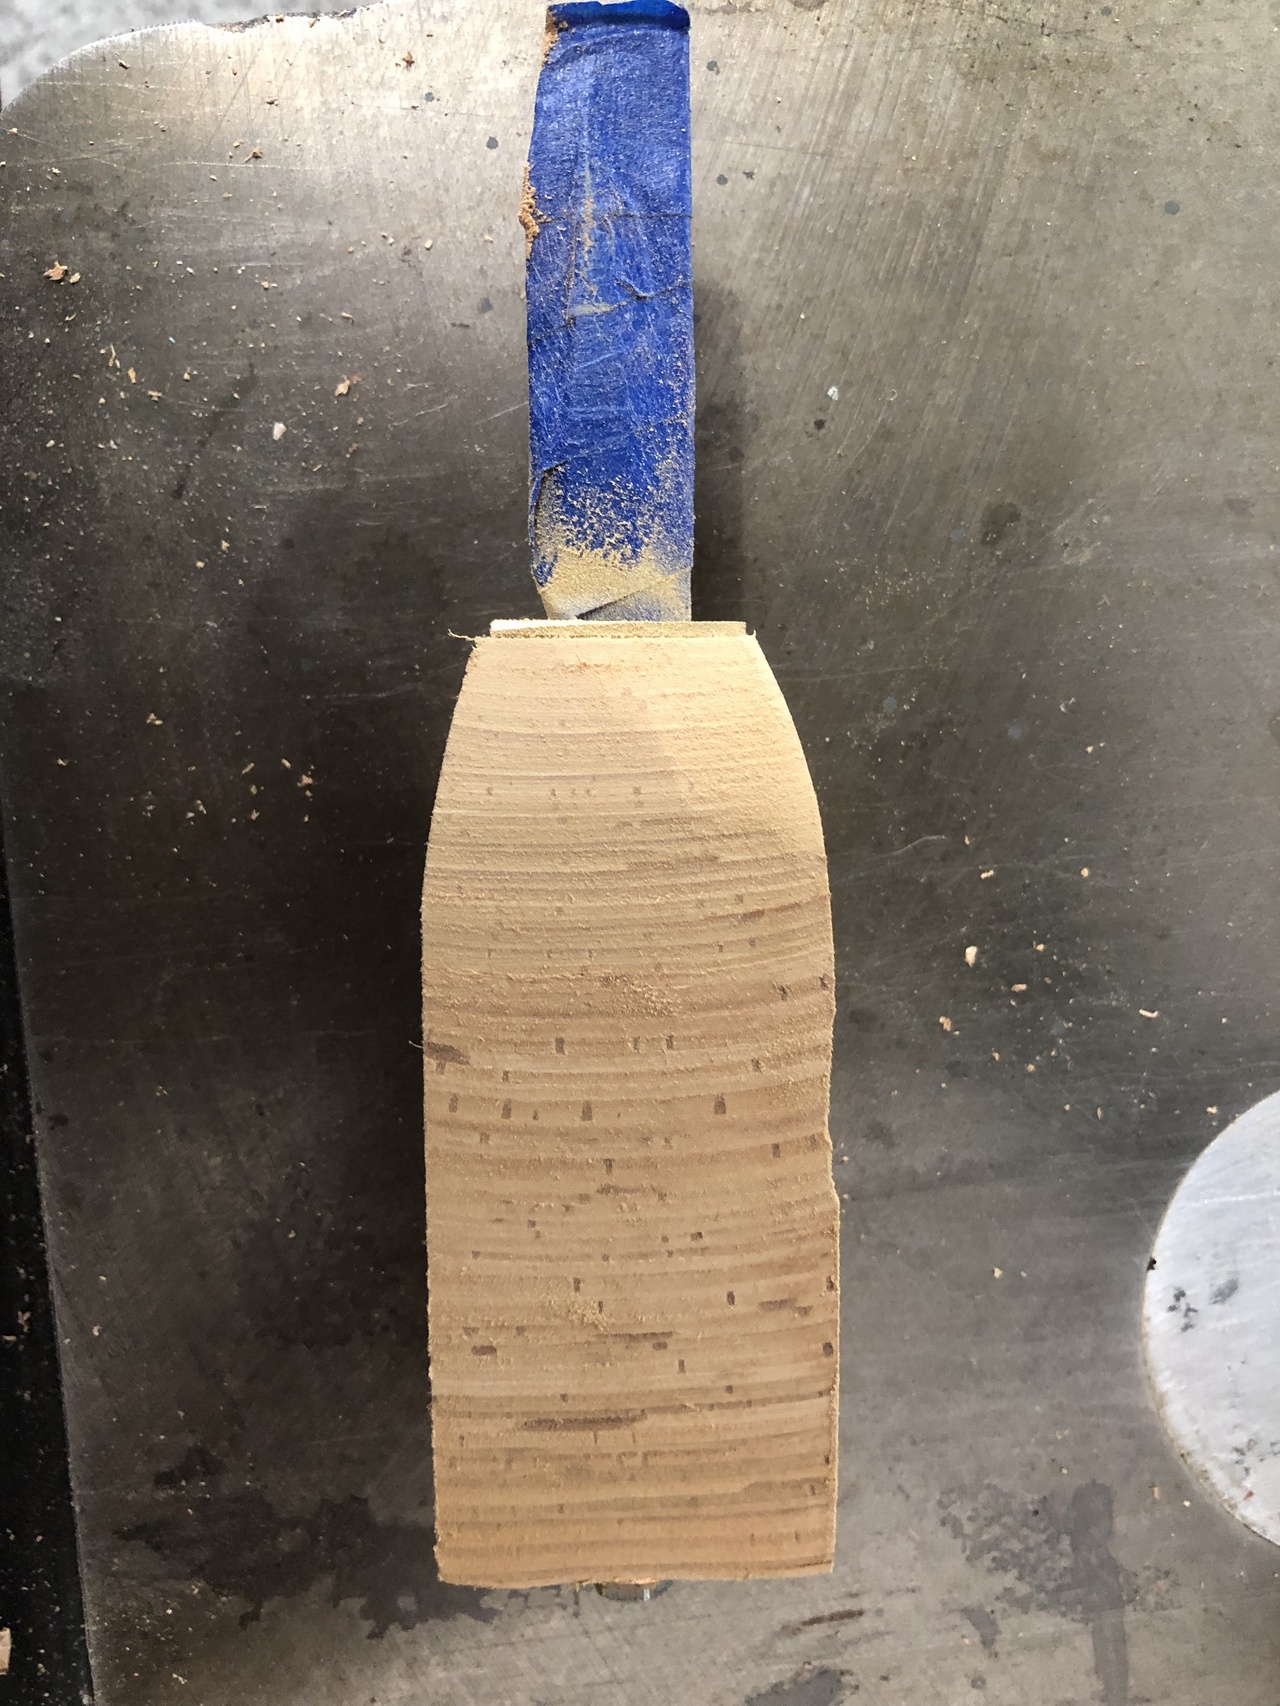
Then I move to the belt sander. Make sure to wear a dust mask at this point, as the birch bark may contain fungi or other things that will be bad for your lungs. I work to a square first, then add a taper as in the picture above. The rectangular bolster serves as a reference for me at this point.
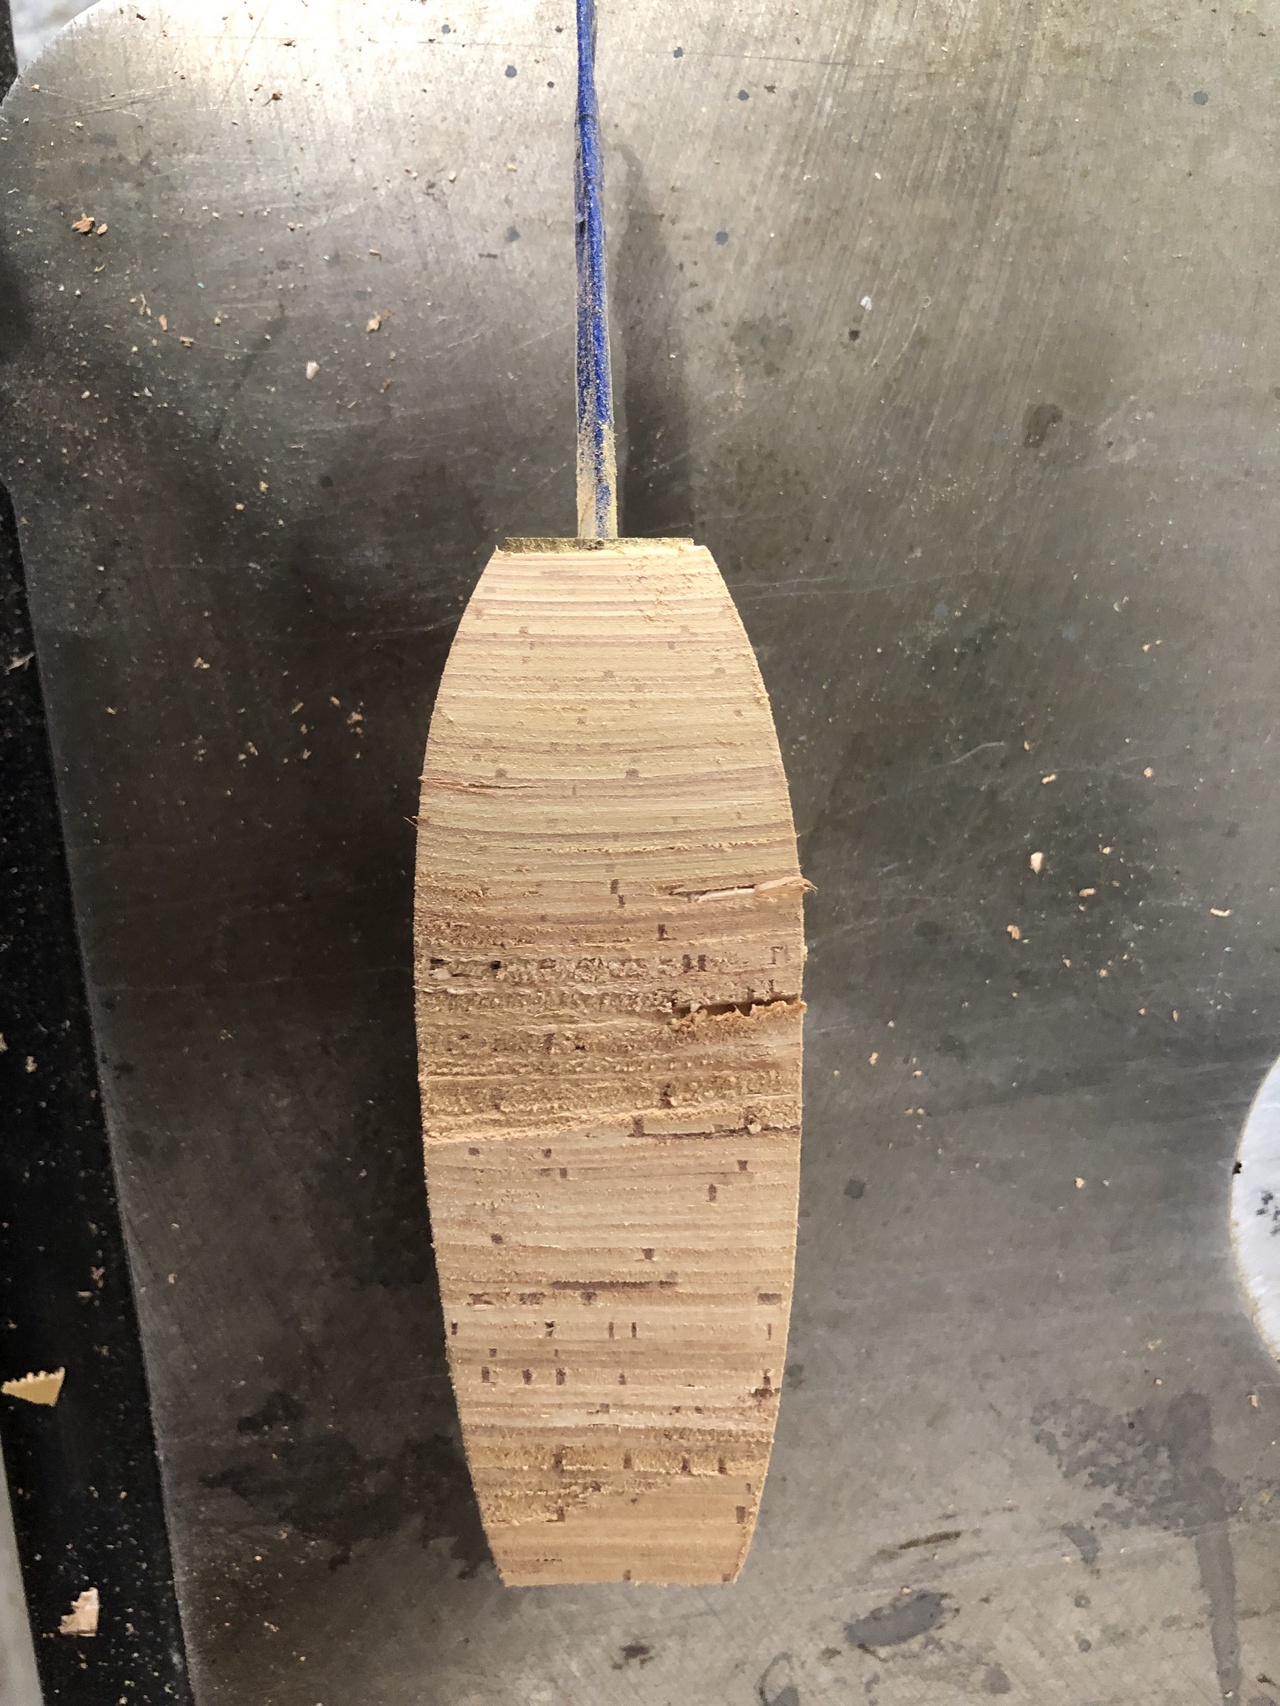
Then I octagonalize the handle, maintaining the taper. This is when I will sand down the nut and washers if I want to make them look less like they came from a hardware store. My “look” is still evolving, and I'm not sure what I like best. Then work to round the handle last. This is a fairly slow process, with lots of pauses to check my work along the way. In the case of these knives, Mads had said he preferred an octagonal handle, so I stopped without making his handle round.
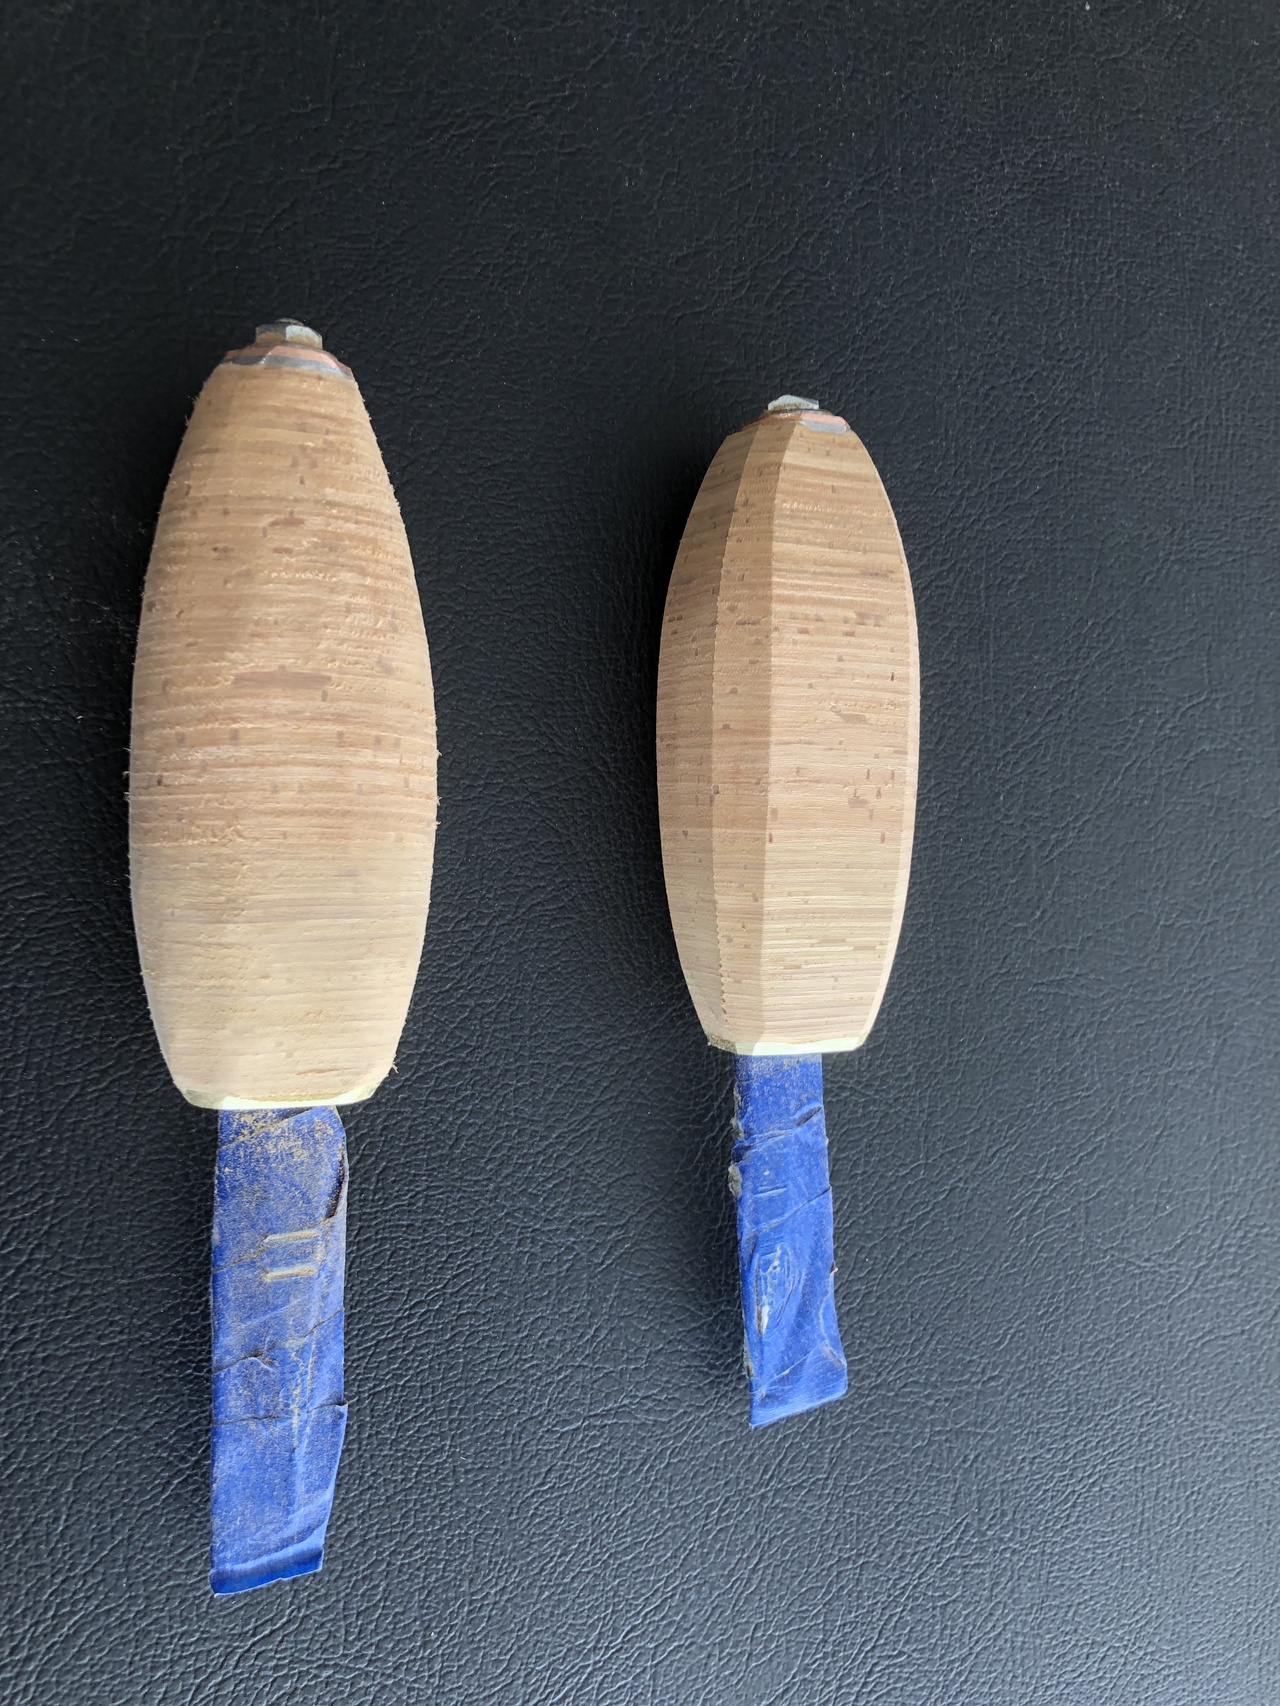
And that gets us to picture 1 which is the pair of knives that I sent from America to Denmark to put the AD on the knives. There, Mads shaped the handle on his knife to suit his hands, and then made sheaths for both knives and sent my knife back to me.
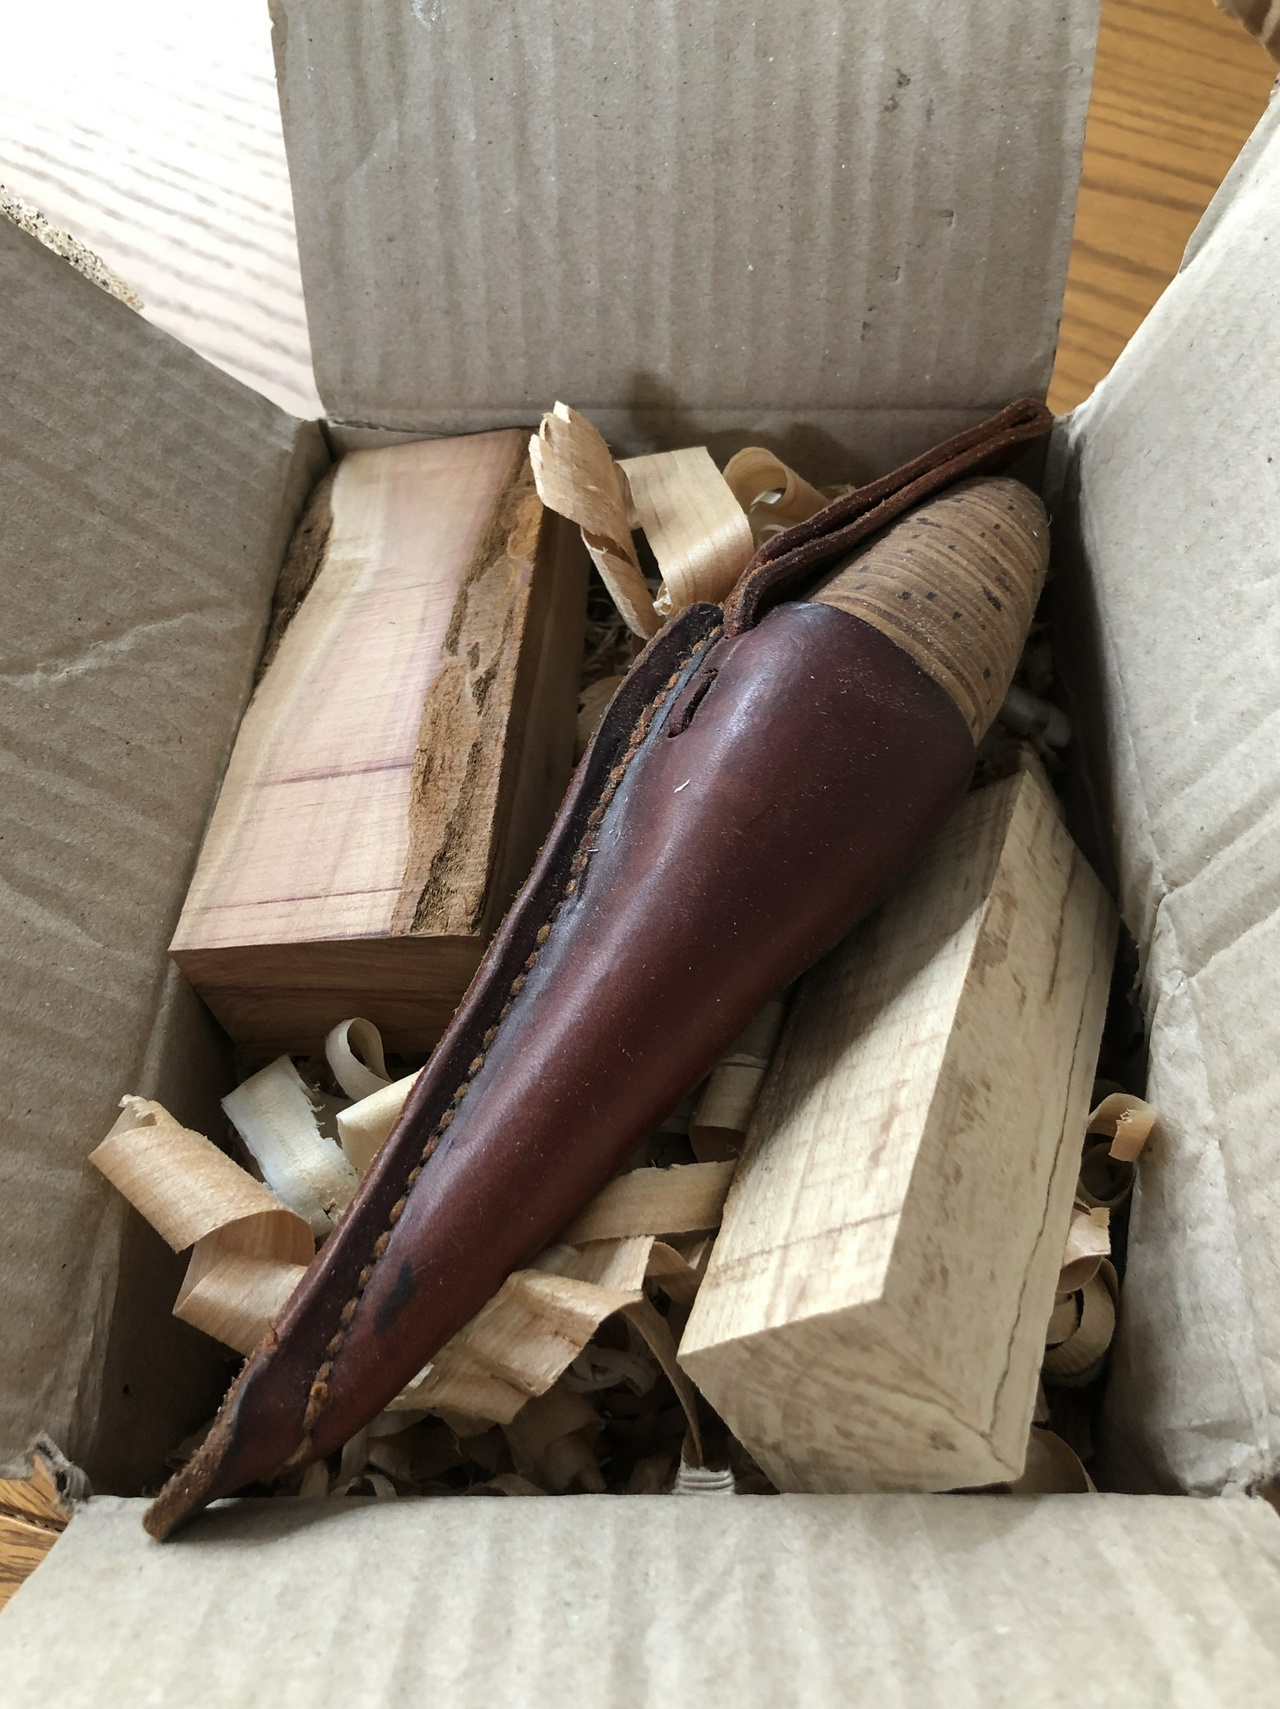
I received the knife before we moved to Santa Fe, but after most of out stuff had been taken by the movers, so the knife became part of my “truck kit” of woodworking tools, which I used to make small repairs around the house before selling it.
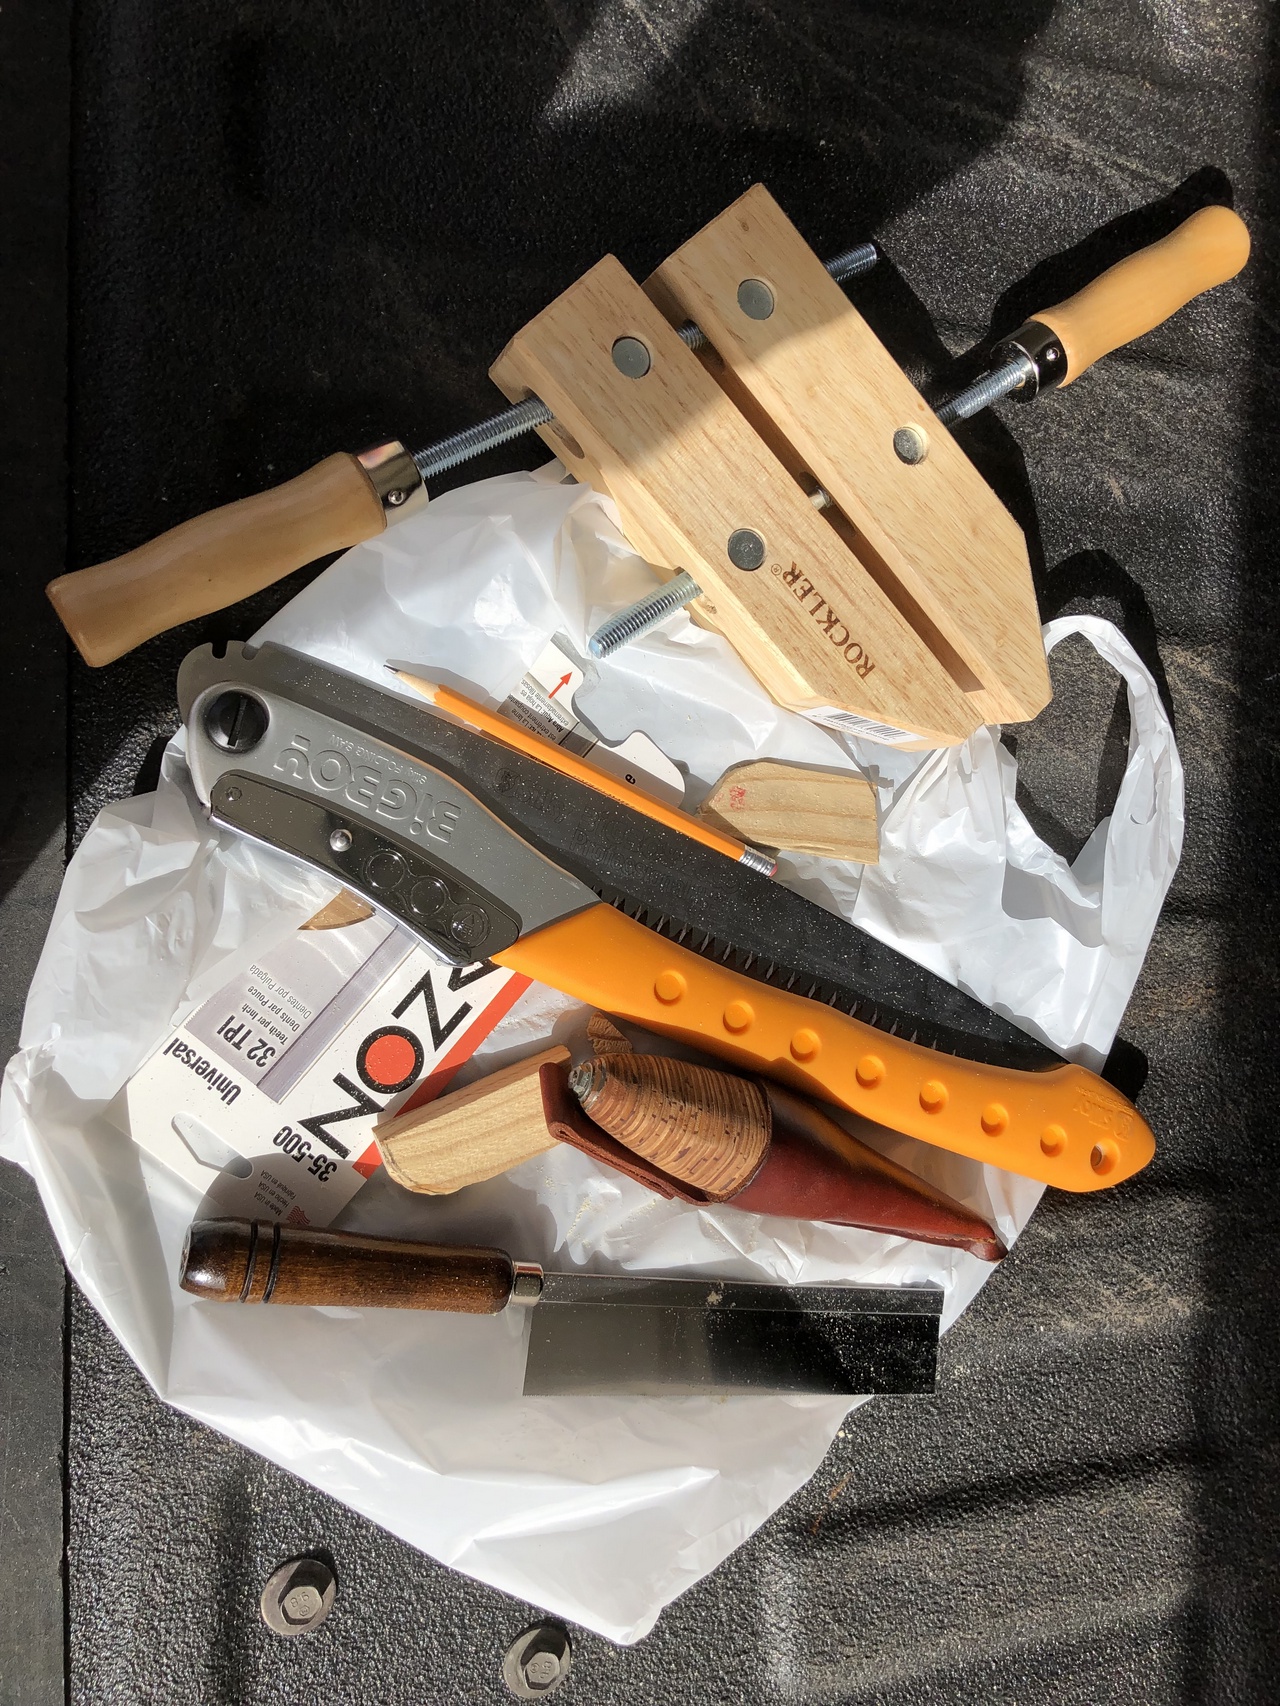
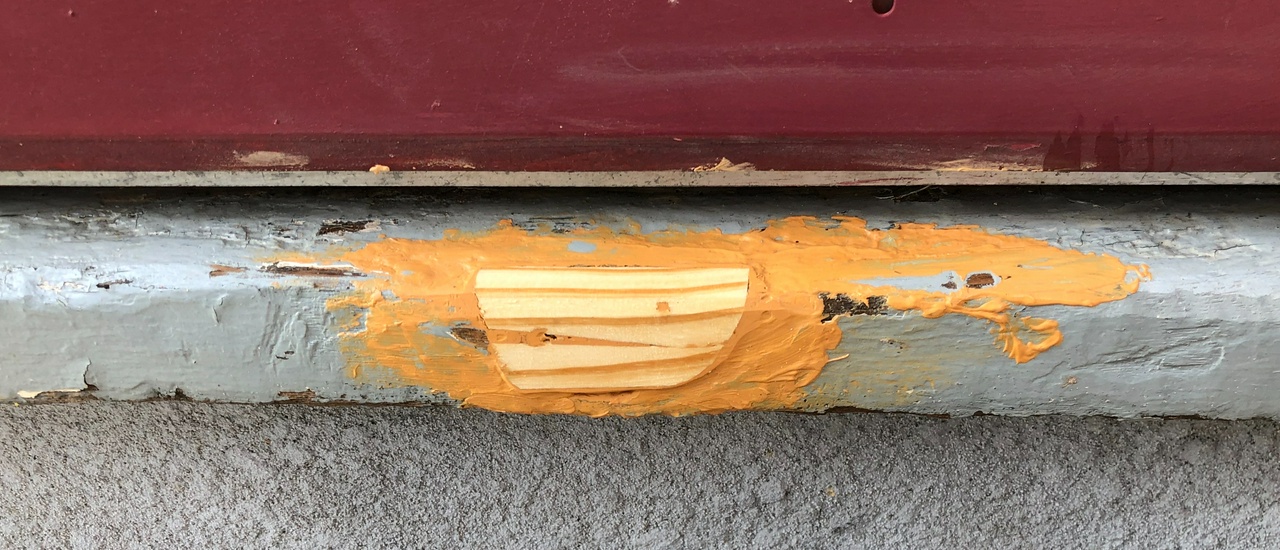
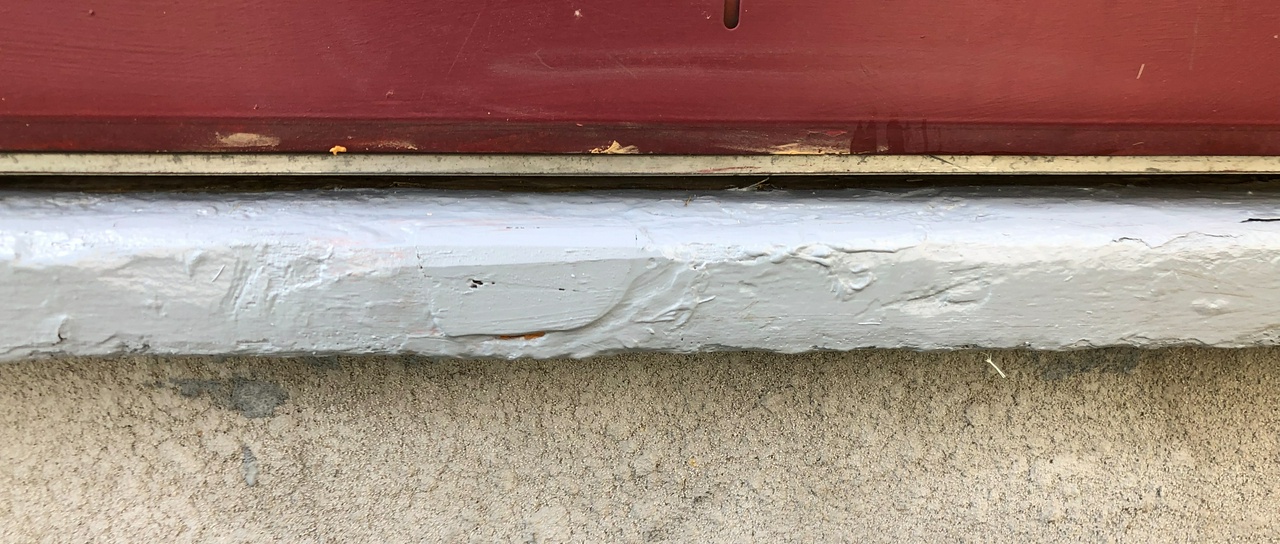
The most notable was the back entrance of the house, where the threshold had a spot worn in it from years of people going in and out of the door, which I patched one afternoon with the truck kit of tools and a scrap of wood.
#woodworking #toolmaking #project
Discuss...
Reply to this in the fediverse: @davepolaschek@writing.exchange


