davepolaschek

woodworking

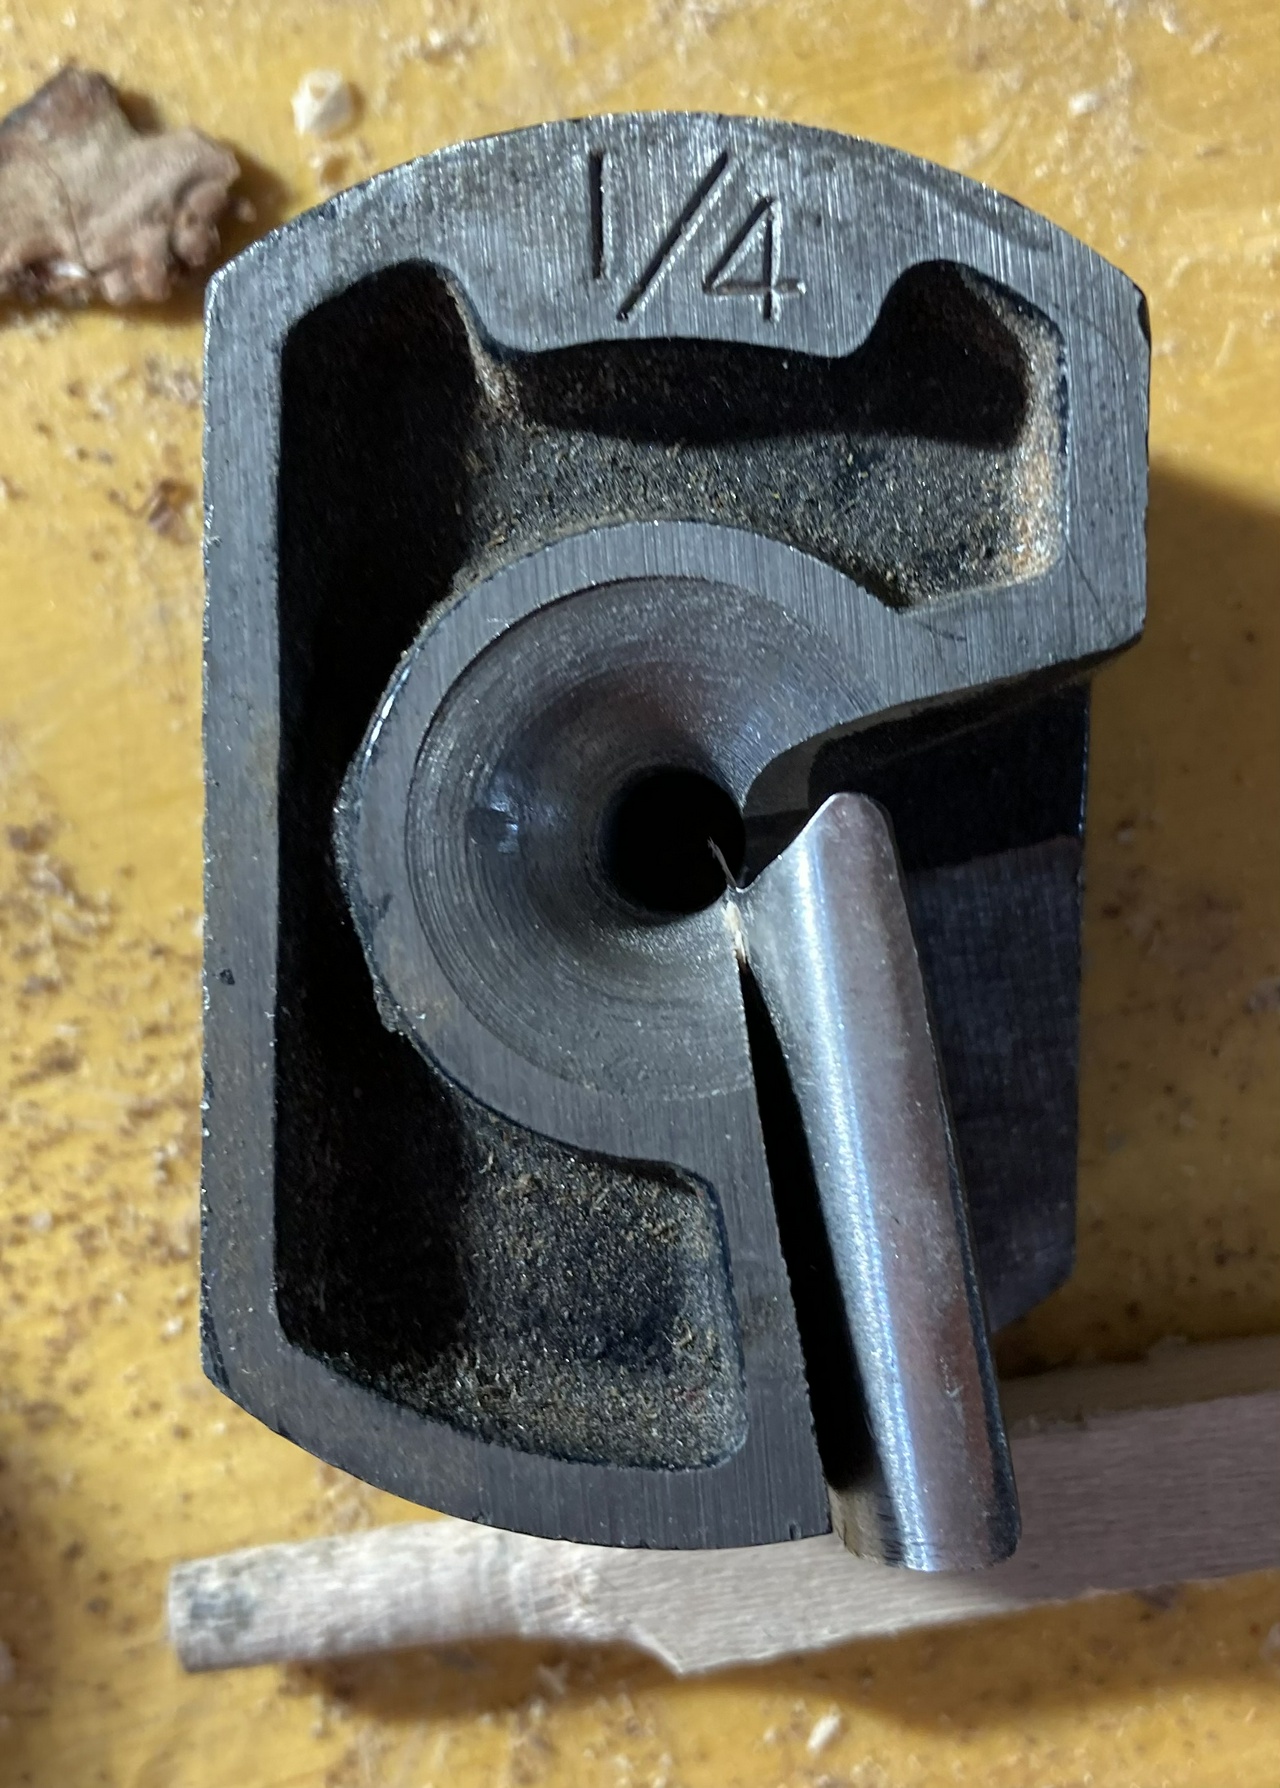
A while ago I picked up a bedan to add to my set of turning tools, and it's rapidly become one of my favorites, due to its versatility and ease of sharpening (I touch it up on the same stones I use for my smaller chisels, which aren't as flat as the ones for the big chisels and plane-blades – that's probably another blog at some point).

Anyway, back to the bedan. I've mostly been using it as a heavy scraper, which it does pretty well. But that sharp edge doesn't have to be presented as a scraper. It can also be used in a peeling cut to rough a spindle in a big hurry, or, as I practiced today, to do planing cuts like a skew on steroids. (If you don't know what the various cuts are, go read Simplifying the Skew now. It'll clear things up.

So, I started practicing planing cuts. The huge bevel of a bedan means that riding the bevel is pretty idiot-proof. Even I can see and feel that big bevel rubbing on the piece I'm turning. The only trick is not catching the side and inadvertently using it as a scraper, which will push the bedan into the piece, causing a bigger catch with the edge… bad juju. But the tool is so heavy, it'll just plow through the wood and remove a giant divot. No real worry about breaking a 3/8” square piece of tool steel with mere wood.

I ripped a chunk of SPF (spruce pine fir) construction tubafor into two squarish two-by-twos, and chucked it up. Put a live center in the tailstock to hold it straight. I've found when I'm trying a new technique, using a chuck on the headstock and a live center on the tailstock makes it almost impossible to have a catch that heaves the piece of wood around the room. Not totally impossible, but almost. Safety first, kids!

First ball turned with the bedan

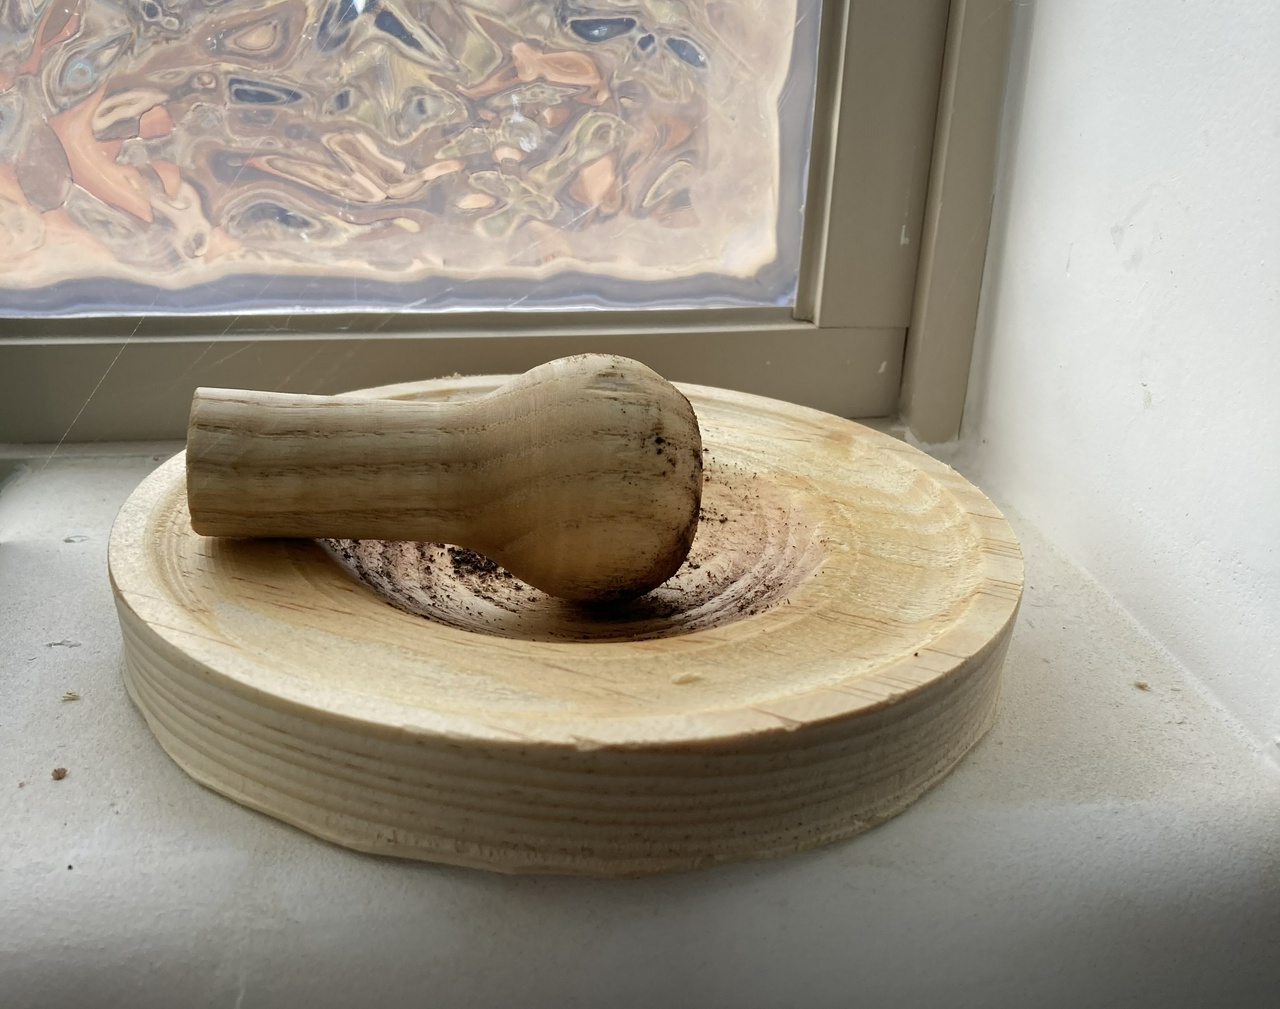
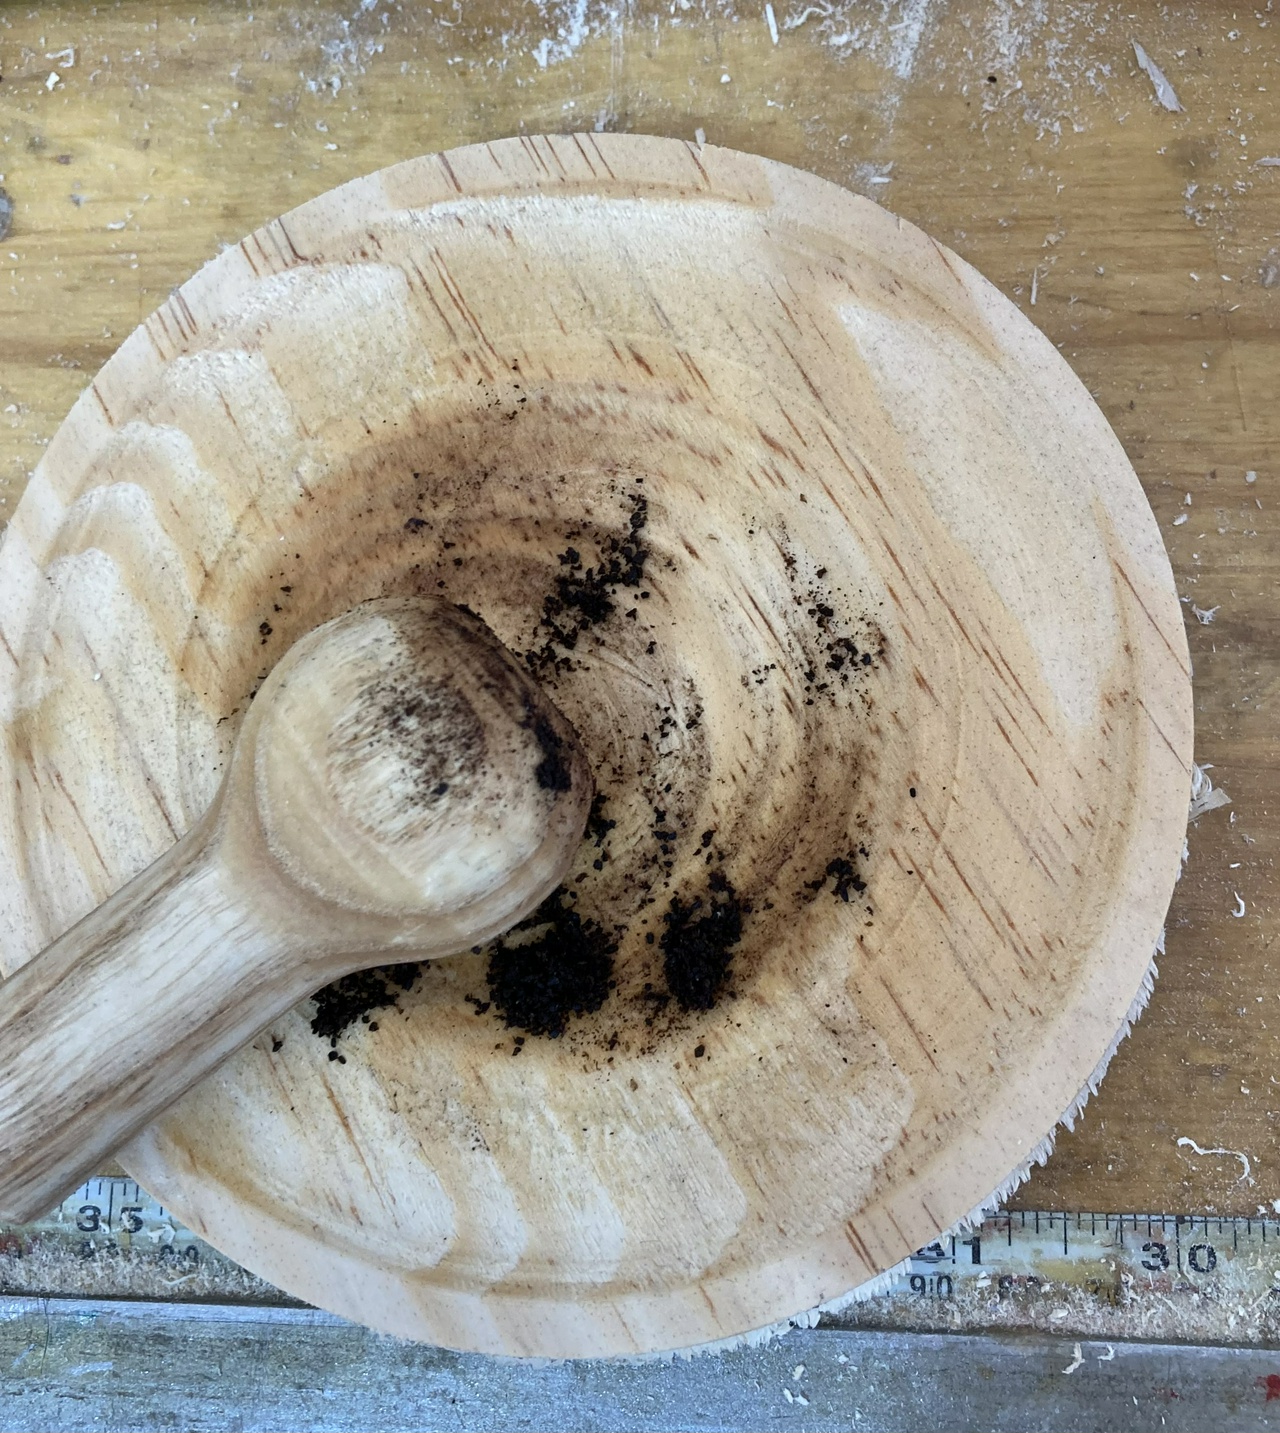
My first ball went really well. Wow! This was using the same tool I had just used to rough the piece to round, and there was wood everywhere. And then to get a finish like this with the same tool… Wow!

The second one… well… I started having problems.

Second ball turned with the sedan, which had a bark inclusion

See that spiral on the left of the frame? That's a catch anyone learning the skew will recognize immediately. But it wasn't that bad or scary. It just bugged me. Wait! What's with my tool-rest? Or, it's full of notches from my six months of learning to turn, and sometimes having… boo boos.

Close-up of the tool rest on my lathe, showing divots in the edge

After addressing that with a flat bastard file, the rest felt a lot better and my bedan didn't catch in the divots causing problems with my practice.

Second ball turned with the bedan, looking rounder

A pine "curly" turned off using a planing cut

That second one is a bit of wood planed off near the end of the ball. That's one heavy “curly”.

More turned balls, showing a few bits of tear-out

A turned cylinder, looking fairly smooth

A turned shape, somewhat ball-like

Things weren't all sunshine and puppies, but I feel like I made some progress this morning.

Here's the one-shot explanation if you want to try it yourself. For a planing cut, similar to rolling a bead with a skew, you want the edge of the bedan somewhere around 70 degrees away from parallel to the piece. Keep the top edge of the bevel just clear of the piece, so it doesn't act like a scraper, and rotate the bedan to keep the bevel tracking down into the v-groove you cut before starting the ball.

The bedan, positioned as to begin a planing cut

That's about what I learned this morning. I've got five more chunks of tubafor to practice on over the next five days. I'll try to post again as I figure out more.

Edited to add: my afternoon practice piece went very well. I practiced planing cuts, as well as paring cuts and turned the following piece:

Another practice piece, with a few different shapes turned into it

I was proud enough of it that I finished it by sanding it, then applying my homemade friction finish (linseed oil and shellac).

The same practice piece, finished with an oil and shellac finish

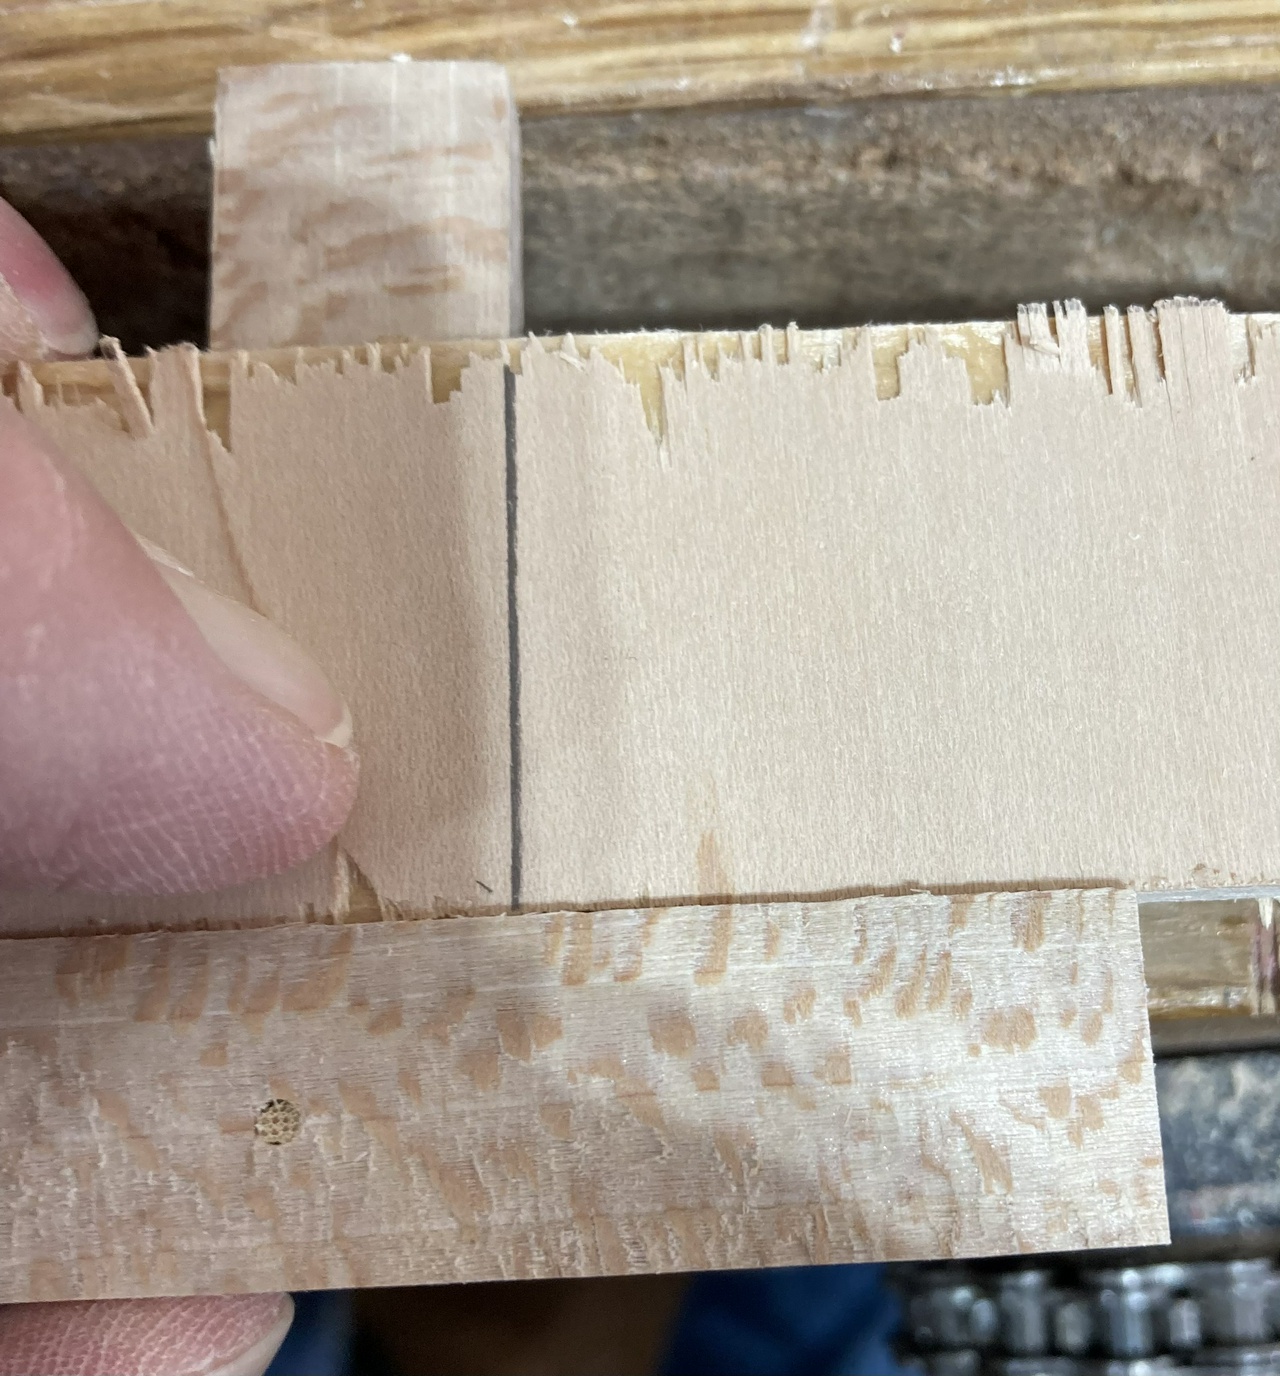
Here's a closeup of where a knot made for some very tricky grain. The bedan cut through it pretty cleanly. Note that this is after less than 3 hours of practicing with the tool.

Close-up of a knot with "tricky" grain


Techniques Contents #woodworking #woodturning #technique

Discuss... Reply to this in the fediverse: @davepolaschek@writing.exchange

Moving to Santa Fe, I've discovered that a lot of the handles on my wooden-handled tools have loosened up as the wood has dried out. Or in the case of things with ferrules, the ferrules will fall off because the wood shrunk.

There's a simple fix for the latter problem. I just punch a dimple in the ferrule using my Starrett automatic center punch and all is well.

Dimple in the ferrule of a rasp


Contents

#woodworking #tools

Discuss... Reply to this in the fediverse: @davepolaschek@writing.exchange

Back in February 2022, Tony, the Gr8Hunter sent me a Keystone Iron City hand-cranked grinder he had scored in Pennsylvania. It was pretty rusty (but just surface rust – no pitting I could see) and would barely turn, so I completely disassembled it, soaked everything in Evaporust, chased the threads on all the nuts and bolts with taps and dies, applied a coat of linseed oil to the wooden handle, then reassembled everything, oiled the moving parts, and gave it a test drive. It worked great, but there was a deep (maybe 1/16 inch) groove worn in the wheel from something, so I trued that up and took out the gouge. Now I've got a nice grinder I can use for things I don't want to grind on the 3600 rpm electric grinders. As another one of my buddies says, Don't work faster than you can think!

I thought about repainting it, but it works fine, and I think I'd rather be using it than fussing with repainting it.

Side view of Keystone Iron City grinder

Hand cranked grinder thumbnail


Contents

#woodworking #tools

Discuss... Reply to this in the fediverse: @davepolaschek@writing.exchange

Building drawer boxes, I'm working on small dovetails on relatively thin stock. I don't need a big square for marking lines, and given how cluttered my bench is at the moment, a small square seemed like a good thing to have.

I took a scrap of sycamore and planed it so the sides were flat and parallel.

Then I cut a slightly oversized dado in one of the pieces, glued a cross piece in, pegged it with a piece of bamboo skewer, and made sure it was actually square.

Small marking square

Marking a line on a scrap of plywood to test that the square is square

Flipping the square over and comparing to the line to verify that the square is square

Looks close enough for my needs. I'll clean it up and give it a coat of oil at some point, but for now, I'm back to marking and cutting dovetails.

With some shaping to make it more comfortable in the hand, and a couple coats of oil, it's looking pretty good to me.

Marking square, after finishing

After a year of use, this little tool is still always within reach. I did shorten the upright on it so I could mark dovetails on some box sides that were only about 2 inches wide, which meant only about 1½ inches stuck out of the vise when I was marking them. So now it's a much shorter T than previously, but it's still long enough to mark a pair of ¾ boards when I'm marking and gang-cutting tails.


Contents

#woodworking #tools

Discuss... Reply to this in the fediverse: @davepolaschek@writing.exchange

Not all of my handy tools are commercial tools. Looking back, about half are shop-made tools to help me get something done. This is one of those.

I've been wanting to film videos in the shop (not too much, but people seem to like them…) but never had enough hands. I took two pieces of scrap pine, and a couple wood screws, and made this. It did the job pretty well.

Phone holder from the front

Phone holder from the side

I just clamp it in one of my vises, or screw it to the bench, adjust the aim, then snap my camera into the case and film. Easy-peasy!


Contents

#woodworking #tools

Discuss... Reply to this in the fediverse: @davepolaschek@writing.exchange

Yesterday I decided I wanted to make a bowl, so I went digging through the wood horde and found a chunk of elm that looked as though it might want to be a bowl.

Elm bowl, sitting on a slab of apple wood

I rough-turned it yesterday and soaked it pretty well with linseed oil. This morning, the oil had firmed up the spots in the grain that were giving me trouble (likely because I haven’t sharpened my bowl gouges in a while) and I got the bowl cleaned up and finished. I really like the way ulmiform grain looks when everything goes right.

side view of the elm bowl

I think it came out fairly well. Finished by sanding to 400 grit, then a coat of linseed oil, a couple coats of shellac, and finally a coat of paste wax.

bottom of elm bowl

#woodturning #woodworking #bowl

Discuss... Reply to this in the fediverse: @davepolaschek@writing.exchange

A while ago I got a dowel maker. Got it up and running, and made a video of making a ¼ inch beech dowel.

Stanley #77 Dowel Maker

And here's a photo of the instruction sheet.

Stanley #77 Dowel Maker Instruction Sheet


Stanley No. 77

DOWEL AND ROD TURNING MACHINE

With this machine you can cut dowels when you are ready to use them, and cut them from the same material as the wood being worked.

It not only cuts dowels of various sizes and lengths to perfect dimensions, but with it you can form rods of practically any length.

One cutter head complete for making dowels or rods ⅜ inch in diameter is furnished with each machine.

Additional cutter heads with blades, sizes ¼, 5/16, 7/16, ½, 9/16, 5/8, 11/16 and ¾ inches can be furnished, if desired. The blades are adjustable so that the dowels or rods can be made for a tight or loose fit.

Directions for Use

Saw the stock square for the dowels or rods 1/8 inch larger than the diameter to be turned. Chamfer the end of the stock for an easy start. By means of the left hand clamp screw, secure the stock guide plate with the proper opening in line with the cutter head.

The cutter heads have a right hand thread and are screwed to the hollow spindle of the machine, allowing them to be easily attached or removed.

If a tight fitting dowel is desired, loosen the screw that holds the blade to the head and slide it back slightly. Make a trial cut.

For a loose fitting dowel reverse the operation, sliding the blade forward. Be sure to fasten the screw after the blade is adjusted.

When resharpening the blade be sure to preserve the original contour. We recommend honing in preference to grinding.

The extra power required for turning large rods is provided for by the adjustable crank which can be lengthened by shifting the locking position where it is attached to the speed gear.


I have cutters for the even sixteenths, which I think should cover my needs pretty well. Anything larger than that, I can make on the lathe. And if I should need one of the odd sixteenths, I can chuck a dowel of the next larger size in a drill and sand it down until it fits.

I also had a buddy ask how I have the cutters set up. Here are a couple pictures.

Top view of the cutting head for a Stanley 77

The left half of the blade is exposed over the edge of the cutter body. The right half isn't. Note that on mine, the blade can pivot a little, and it's very sensitive to pivoting, but it looks like years of sharpening has also made the edge of the blade kinda curved.

Front view of the cutting head for a Stanley 77

This one also shows just how little of the blade is protruding beyond the body of the cutter. I can back it off a hair and get an even better finish, but I suspect the real trick is that the blade is skewed a bit from a straight peeling cut, and that improves the finish, just as it would when using a skew on the lathe.

Set up like this, the dowels end up being about 1/128 inch oversized, but a quick wipe down the length of the dowel with some 60 grit sandpaper makes them fit the holes drilled by my auger bits perfectly. I would rather have the dowels slightly tight than too loose, since it's much easier to make them looser than tighter.

I also bought three brand new blades, and as the blades are identical across all the cutting heads, that should be a lifetime supply for me.


Contents

#woodworking #tools

Discuss... Reply to this in the fediverse: @davepolaschek@writing.exchange

I got an Ixion eggbeater drill. It was in slightly rough shape, with everything working, but some surface rust, and the original finish mostly chipped off. Also, the wooden handle on the crank was gone, and the metal shaft that held the crank was nasty with rust.

Disassembled eggbeater drill

Crank shaft of eggbeater drill, very rusty

So I gave it a good bath in citrus degreaser, then cleaned it up. Turned a new handle on the lathe from a scrap of apple wood I had left from another project, and used an 8d wire nail as a new shaft for the handle. Primed the metal that originally had enamel on it, then gave it four coats of shiny new enamel, and a little oil on the moving parts. I figure the bright yellow finish (instead of the original black) will help me find it on my messy bench. The main gear appears to have been red from the factory.

Repainted and reassembled Ixion eggbeater drill

Ixion was, near as I can tell, a small manufacturer in Hamburg between the two World Wars. And a manufacturer of bigger fancier machines more recently.

Ixion 1931 advertisement

Badge from a larger Ixion machine

I initially thought this drill would spend most of its life with a countersink bit in it, but instead it carries a 3/64” drill bit for drilling pilot holes for number 2 through 4 wood screws.


Contents

#woodworking #tools

Discuss... Reply to this in the fediverse: @davepolaschek@writing.exchange

I wanted to do some kolrosing (or kohlrosing) on my baby bow saw but the coffee grounds I got from my sweetie were far too coarse. So I whipped up this quick mortar and pestle from a piece of ash and a pine board. The pine board is awfully soft for a mortar, but it did the trick today. The pestle works pretty well, and I expect the end grain to get awfully brown since I'll only be using it to grind coffee grounds to powder.

wooden mortar and pestle, viewed from the side, in front of a window

wooden mortar and pestle, viewed from above

It's pretty handy having a lathe around to knock out other tools like these when I need them.


Contents

#woodworking #tools

Discuss... Reply to this in the fediverse: @davepolaschek@writing.exchange

Simple, but for every bookcase I built, I needed to cut a dozen 3/8” wide & deep rabbets. Which means marking two dozen lines 3/8” from the edge of a board. And I made a total of 70 bookcases to hold all my books.

I was initially using my fixed fence kerfing plane, but then I broke that by knocking it off my bench, which gave me an opportunity to rethink things.

Since I've been practicing turning things with my lathe, I've got a bunch of round things. I took one of them, put a fence on it (another scrap) and then put a brass brad through it 3/8” from the fence.

Fixed fence marking gauge

Now I've got a marking gauge that won't get accidentally set to some other distance, and it fits in my pocket, rather than sitting on the bench where I might damage it. And since I resaw a lot of ¾” boards into two pieces, I'll probably continue needing a 3/8” marking gauge enough to keep it around (I did – it still gets used often enough that it's not buried in the other stuff on my bench).

Another note: about every hundred lines or so (8-10 cases), the brad will get a little dull and bend. Glad I didn't glue it in, so I can relatively easily replace it with a new brad. I probably should have used hardened steel, but I have a couple hundred brass brads around, so when it gets dull, I'll file it sharp again, and when it bends, I'll replace it.

I also got asked by a woodworking buddy what kind of a tip on my marking gauge is my favorite. I replied:

the round discs that are on my fancy marking gauges seem to be the best for all-around marking. Next is a pin. And when marking end-grain for dovetails, I will either use a spear-point marking knife or a pencil. For my pine bookcases, I'm marking all the dovetails with a pencil, and getting reasonably good results.


Contents

#woodworking #tools

Discuss... Reply to this in the fediverse: @davepolaschek@writing.exchange