davepolaschek

woodworking

Short day today. Many other errands around the house.

I did find time to put tenons on the legs that match the holes I drilled in the table-top months ago.

The first two went well

two round legs with round tenons turned on them

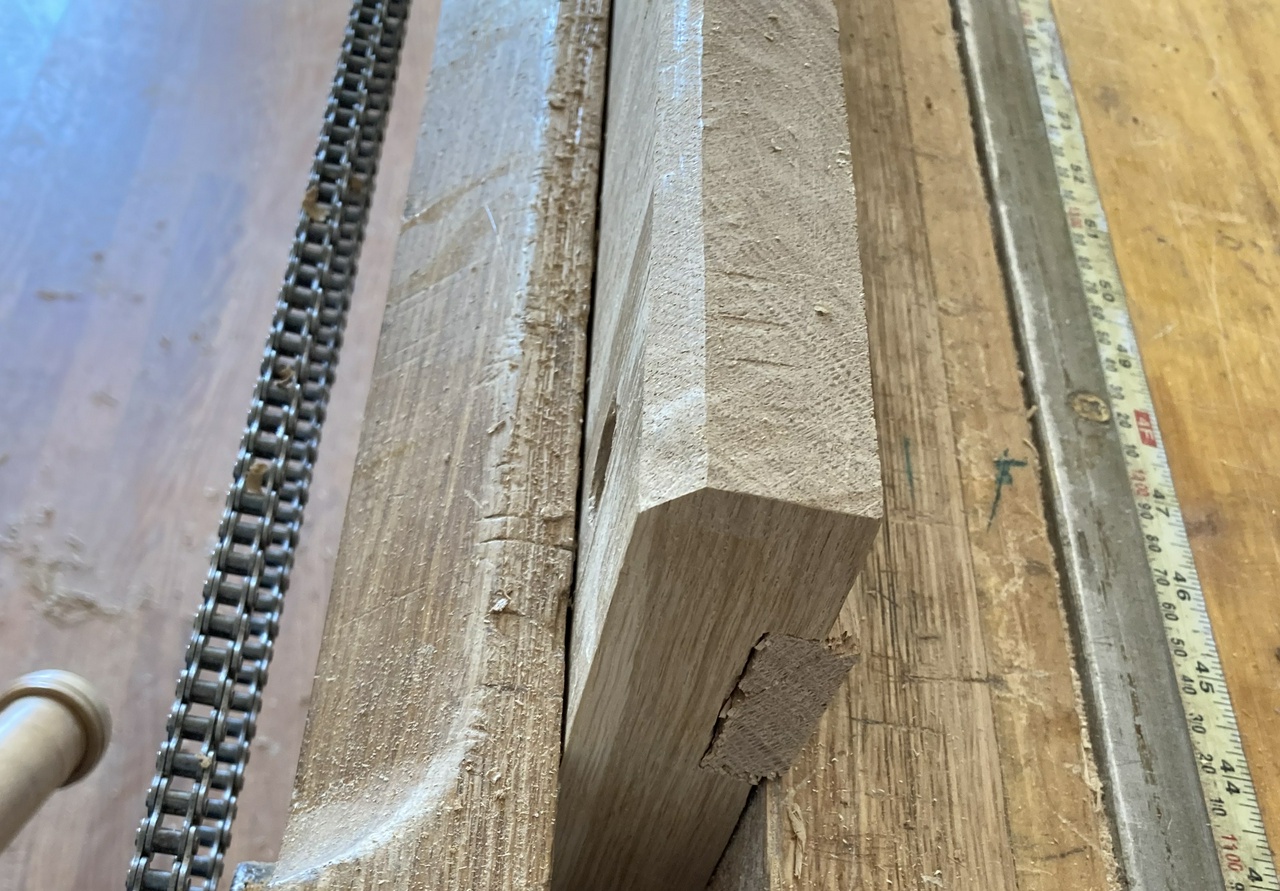
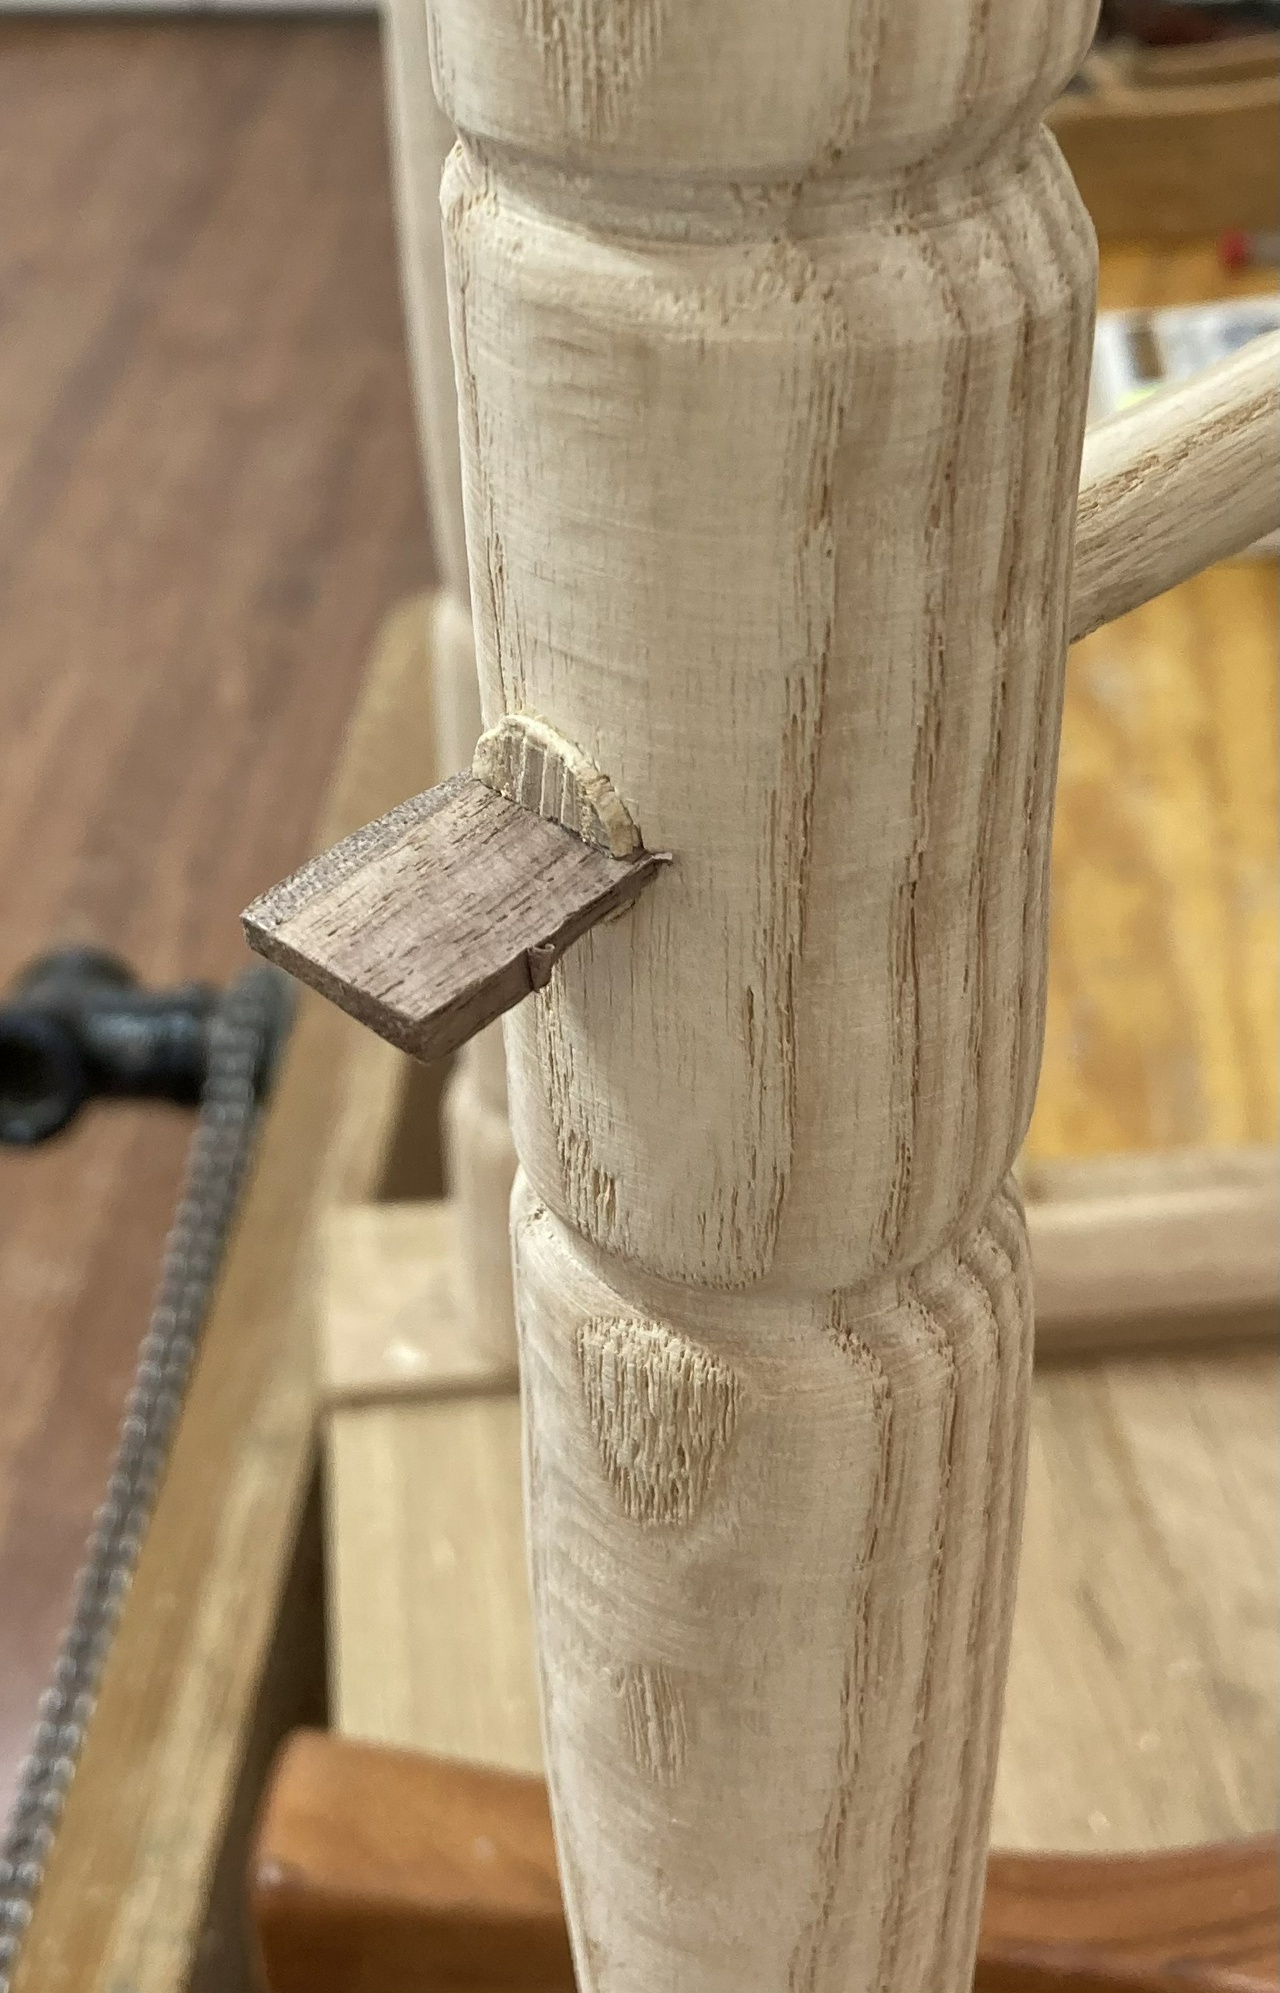
And then on the third one, I had a little oopsie.

round leg with the tenon at the end split nearly in half

I guess the new plan is that the legs will all be two inches shorter than I had initially planned (I'll saw the extra off the bottoms, which means no carved feet, either). Ah well. It was a good day otherwise.


Contents #woodworking #ForgeTable

Discuss... Reply to this in the fediverse: @davepolaschek@writing.exchange

Finally got back to working on the table again today (after almost three months off). All my clamps are busy holding bookcases that got glued up this morning, and it was time to move this forward a bit.

I had made some roughly rectangular pieces of ash for the legs last time. Today I felt good enough about my lathe skills to make them round. At 32” long, they're about the longest piece I can work in my lathe.

I put on the Nova chuck with the 2” jaws. That can reliably hold pieces this size. And I put the live center on the other end of the lathe.

Then I found centers on the four legs. This one was the worst, so I left it for last.

A rectangular leg with the center marked

I guess I should probably do a better job of getting square legs (or octagons) and I would if I was using the bungie lathe, but electricity makes me lazy.

Took me about a half-hour per leg, including futzing-around-time, but I've got four round legs now.

Four legs, roughly turned

I still have a fair amount of work to do. The all need ¾” tenons turned on one end, and they're currently 1⅝” – I'll do some sort of spindle turning to make them pretty and to practice. Plus I'll need two stretchers with a central piece to hold them in an X, and I'll need to drill holes in the legs for the stretchers. But today's Sunday, and I've done enough for today.

Plus I need to sweep up and take out the trash. I've got more than a 5 gallon bucket of little ash chips that came off with the roughing gouge.


Contents #woodworking #ForgeTable

Discuss... Reply to this in the fediverse: @davepolaschek@writing.exchange

This morning I decided it was time to get the top of the table a little closer to done. I started by sawing off the excess on the ends.

Trimming the end of the table-top with a hand-saw

Next up was scrubbing across the grain to even out the slight undulations where I had clamped the board together. Forgot to take a photo. Oops!

Once that was done, I started drilling the holes for the legs. I want them to go through the center of the battens, about two inches from the edge of the table. They're going to be straight vertical, with some sort of stringers, so the holes were pretty easy, except for the fact that my ¾ inch auger has a soft wood lead screw on it, and will split oak if I don't drill a 3/16 pilot hole first. I got reminded of that the hard way when the batten cracked on the first hole I drilled. Oh well. Squirt a little glue into the crack and it shouldn't affect the strength.

Bit and brace sitting on the upside-down table-top with two large holes drilled through the battens and the top, and two smaller pilot holes drilled in the other end of the battens

Top of the table, with all four leg-holes drilled

Next was chamfering the top. Low angle jack plane for this, end grain first, then the long grain sides next. That pretty well cleans up the blow outs.

End-grain of the table-top, with the top of the table chamfered

Then a quick pass with the smoothing plane with the grain on the top.

Table-top right-side-up, with a smoothing plane sitting on it

It's looking pretty good, but I've got a little gap in one of the seams. Let's jam it full of the wood filler I've got sitting out from after repairing some of the trim on the house. It's a “light oak” color, so it'll be close enough, right? Plus, as Duck pointed out, I should probably put a piece of plate over the top of the table to protect it from heat. But if I end up using it for something other than holding the forge, I might want it prettier, so let's clean it up now while it's easy to do so.

top of the table with some wood-filler in one of the seams


Contents #woodworking #ForgeTable

Discuss... Reply to this in the fediverse: @davepolaschek@writing.exchange
Today was (the first) leg day. I started with a 5 foot long piece of 8/4 ash that was about 7 inches wide.

First up was getting a square edge or two to work from, so I started by planing the straighter of the two narrow edges down using my #7 jointer. It doesn't get a lot of use, but it's sure handy for making things flat.

Ash board held in a face vise with a jointer plane sitting on it

Using that edge as a reference, I cut the end of the board square (it wasn't).

Board with a line marked on it to make a square end, and a saw

And then I measured 40 inches from that end, and struck another line across. I'm not sure if the legs will be the full 40 inches long, but that felt like a good height when I was playing around with things. There's a knot or two in the board that might convince me to make the legs 35 or 36 inches long, though.

board with a square sitting on it

With that done, I measured the width and planed the side opposite my reference face flat with the jointer, then I marked three lines dividing the board roughly into quarters. These would be just a bit under 1¾ inches wide, so with the 2 inch thick board, they'll be pretty close to square.

Some ripping and planing later (I used the circular saw to rip, but the blade won't quite cut all the way through the 2 inch thick board, so I had to finish with a handsaw), I had four roughly square and fairly straight pieces of ash which will become the legs for my table.

Four pieces of ash, roughly 2 inches square, and 40 inches long


Contents #woodworking #ForgeTable

Discuss... Reply to this in the fediverse: @davepolaschek@writing.exchange
I bought a little forge for the shop a couple years back. One of the things I'm short on in my shop is flat surfaces, so I decided to build a little table for the forge and associated tools to sit on (the anvil will hopefully get a stump).

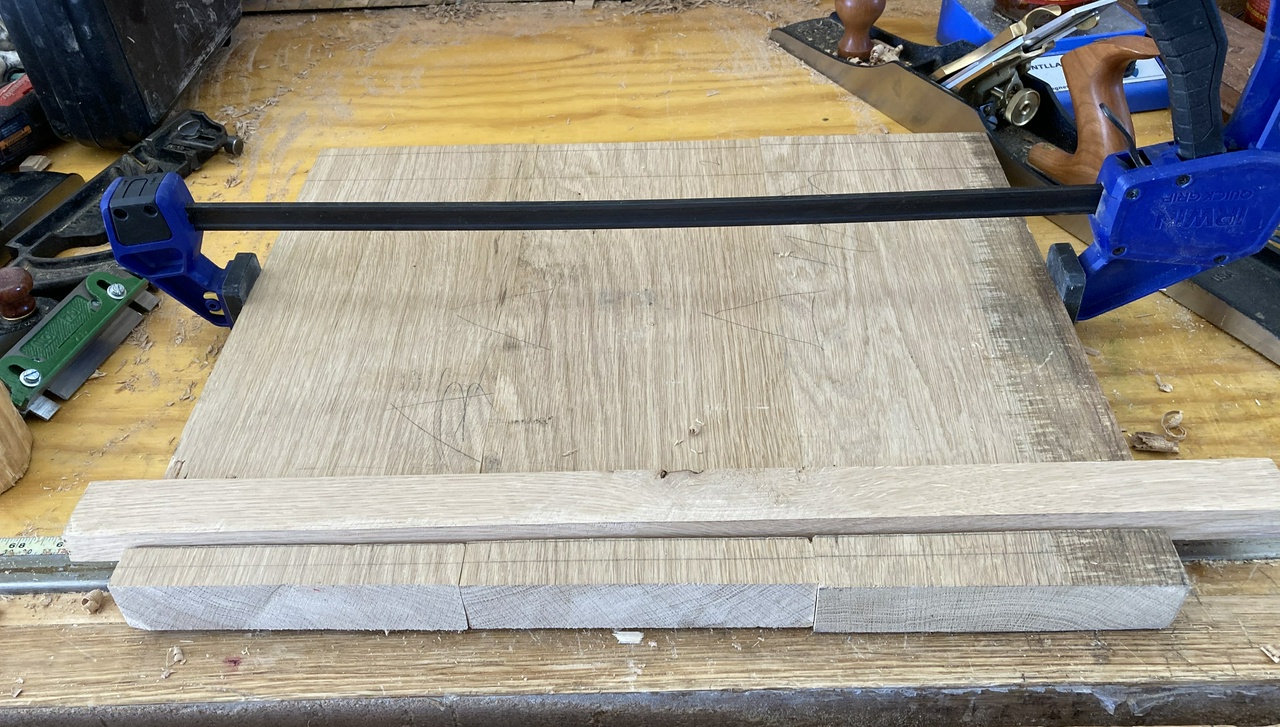
I dug through the pile of wood, and found a chunk of 7/4 oak, already planed smooth (so 1½ inches thick), that's 6½ inches wide and 4 feet long. I decided a table top 16×18 inches or so would be about right, so I cut it into three pieces. Then I planed the edges so I could glue the three pieces together.

Three section table-top with battens resting on it

I cut a couple battens from another piece of oak, and decided I'd put them in with sliding dovetails. So I got out the circular saw and cut a few kerfs about ⅜ inch deep. The battens are about ¾ thick, so that seems right-ish.

The edges of the dados in the top are tapered by dint of going along the edges with a #79 side rabbet plane, held at an angle. The edges of the battens were planed with a jack plane to about the same angle.

gluing in the first batten

The first batten took some fiddle-farting around to get right, but the second went together more quickly, since I realized if I get the edges of the sliding dovetail socket close, it's much easier to make the batten match it than to try and tune the dado to match the batten.

both battens installed in table-top with clamps holding the top together

With that done, I glued the edges of the pieces for the top, put a dab of glue in the middle of each batten (the legs will be staked through the batten and top, so I don't want or need to glue in the battens), and clamped things together. In the next session, I'll flatten the top of the table, and start thinking about how tall I'd like it to be.


Contents #woodworking #ForgeTable

Discuss... Reply to this in the fediverse: @davepolaschek@writing.exchange
Over time, wooden planes wear unevenly. Rookies to using them will tend to take a heavy cut at the start and end of a pass, which will tend to leave the bottom of the plane somewhat convex (which means no matter how you adjust it, the plane will be more aggressive than it should be). And just normal use will tend to make a plane slightly concave (which will mean no cut at all until the plane is set very aggressively, or unless you push down hard enough to flatten the plane out a bit).

In either case, the first thing you need to do is get the length of the plane flat. If everything else is right with the planes, you can use the hollow to flatten the round, and vice-versa. It's best to try and get the round close first, as this can be done with a bench plane if need be (you'll get a faceted bottom curve, but that's easily corrected).

If you have a convex plane, mount it in your bench vise, sole up, with the iron set in the plane, but retracted enough that it won't cut. Use the matched plane to take shallow cuts off the middle, planing from toe to heel. If the planes aren't matched, this will begin to match them.

If you have a concave plane, concentrate on the ends of the plane. It shouldn't take more than three or four passes unless your plane is way out of shape.

If you had corrected a round with a bench-plane, use the hollow and roll it slightly side to side to knock off the facets from that process to make a nice smooth curve.

After a few passes, retract the blade for the matched plane, set the wedge again, and wrap the bottom with some sandpaper (120 grit has been a good starting point for me) and sand to get the plane bottom correct.

The important thing is to set the blade in the plane body before adjusting it so the plane won't be warped from its normal use-state. This applies to both the plane you're reshaping as well as the plane you're using to reshape the other.

If the curve of the plane is off (they seldom are by much), simply rotating the other plane while leveling the length of the bottom will get you closer to correct, since the curves are circles.

Once you have one plane (probably the round) good, change them around, and mount the hollow in the vise, and flatten its length similarly, first with the plane, and then with sandpaper.

To check the curve on the plane (once the length is flat), I use an auger bit of the appropriate diameter to compare against the hollow. My good augers will give me a pretty good idea if the curve is wrong on the hollow. If it is, I will mark the high spots with a pencil, then use the matching round to plane off the high spots. Once the hollow is correct (according to the auger bit), I use it to make sure the round has the correct curve. Small adjustments here! It's highly unlikely the curve of the plane sole will be too far out of whack, unless you're changing it (which is more advanced than I'm covering here). More likely is a small ding in the sole that you can usually ignore unless it's too near the mouth.

With the wood correct on both planes, it's time to start sharpening the blades. I have a couple synthetic stones that I got from Razor Edge Systems which don't require lubricant. I keep them flat with a diamond plate, and the coarse stone works well for establishing bevels and making sure the back of a plane blade is flat. For the hollow blades, I use slip stones.

For a hollow or round, you want to do about 60% of the work on the back of the blade. This is pretty easy, since you're just making sure it's flat. Don't do “the ruler trick” or lift the tang of the blade, just make it flat on the stone.

For the bevel, I start with a known-good plane body (see above) and use a marking knife and layout fluid to paint the face of the blade, and then mark the correct curve on it. If the blade is WAY out of shape, I'll take it to the grinder and grind to that curve 90 degrees from the back, and then grind the bevel by hand, but I've only needed to do that on about one blade out of ten.

Other than that, it's just sharpening. Just make sure to establish the correct curve first, then worry about the bevel. And try not to use the same track on the stone every time so you have to flatten your stone more often. About 30 degrees will be fine for the bevel in almost all cases. If you have a hollow-ground bevel (from a grinder), you'll want to lift the tang of the blade just a hair while sharpening the bevel because that's the way the geometry works. Matt Bickford's book (see below) has pictures and an explanation.

Once the blade is sharp, use a strop to keep it touched up. I've got a set of hollows and rounds that I'm slowly getting back in service using these methods, and I haven't had to sharpen the blade on any of them a second time yet. But every time I use one, I'll give its blade a couple passes on the strop just to make sure the edge stays nice and sharp. And it gives me practice adjusting the blades so I get better at that.

And if you're serious about this, buy a copy of Matt Bickford's Mouldings in Practice and read chapter 14 of that book. It's a much better treatise on maintaining hollows and rounds from a guy who has a ton more experience at it than I do.

Edited to add: my buddy Kent found a three-video series for those who learn better from videos than from words.


Techniques Contents #woodworking #mouldingPlanes #maintenance

Discuss... Reply to this in the fediverse: @davepolaschek@writing.exchange

This is a collection of things I wrote about various #woodworking and #woodturning #techniques I've figured out over the years. I don't claim to be an expert, but I've made enough mistakes that I'm not a complete beginner, either.

#techniques #contents

Discuss... Reply to this in the fediverse: @davepolaschek@writing.exchange

A while ago I picked up a bedan to add to my set of turning tools, and it's rapidly become one of my favorites, due to its versatility and ease of sharpening (I touch it up on the same stones I use for my smaller chisels, which aren't as flat as the ones for the big chisels and plane-blades – that's probably another blog at some point).

Anyway, back to the bedan. I've mostly been using it as a heavy scraper, which it does pretty well. But that sharp edge doesn't have to be presented as a scraper. It can also be used in a peeling cut to rough a spindle in a big hurry, or, as I practiced today, to do planing cuts like a skew on steroids. (If you don't know what the various cuts are, go read Simplifying the Skew now. It'll clear things up.

So, I started practicing planing cuts. The huge bevel of a bedan means that riding the bevel is pretty idiot-proof. Even I can see and feel that big bevel rubbing on the piece I'm turning. The only trick is not catching the side and inadvertently using it as a scraper, which will push the bedan into the piece, causing a bigger catch with the edge… bad juju. But the tool is so heavy, it'll just plow through the wood and remove a giant divot. No real worry about breaking a 3/8” square piece of tool steel with mere wood.

I ripped a chunk of SPF (spruce pine fir) construction tubafor into two squarish two-by-twos, and chucked it up. Put a live center in the tailstock to hold it straight. I've found when I'm trying a new technique, using a chuck on the headstock and a live center on the tailstock makes it almost impossible to have a catch that heaves the piece of wood around the room. Not totally impossible, but almost. Safety first, kids!

First ball turned with the bedan

My first ball went really well. Wow! This was using the same tool I had just used to rough the piece to round, and there was wood everywhere. And then to get a finish like this with the same tool… Wow!

The second one… well… I started having problems.

Second ball turned with the sedan, which had a bark inclusion

See that spiral on the left of the frame? That's a catch anyone learning the skew will recognize immediately. But it wasn't that bad or scary. It just bugged me. Wait! What's with my tool-rest? Or, it's full of notches from my six months of learning to turn, and sometimes having… boo boos.

Close-up of the tool rest on my lathe, showing divots in the edge

After addressing that with a flat bastard file, the rest felt a lot better and my bedan didn't catch in the divots causing problems with my practice.

Second ball turned with the bedan, looking rounder

A pine "curly" turned off using a planing cut

That second one is a bit of wood planed off near the end of the ball. That's one heavy “curly”.

More turned balls, showing a few bits of tear-out

A turned cylinder, looking fairly smooth

A turned shape, somewhat ball-like

Things weren't all sunshine and puppies, but I feel like I made some progress this morning.

Here's the one-shot explanation if you want to try it yourself. For a planing cut, similar to rolling a bead with a skew, you want the edge of the bedan somewhere around 70 degrees away from parallel to the piece. Keep the top edge of the bevel just clear of the piece, so it doesn't act like a scraper, and rotate the bedan to keep the bevel tracking down into the v-groove you cut before starting the ball.

The bedan, positioned as to begin a planing cut

That's about what I learned this morning. I've got five more chunks of tubafor to practice on over the next five days. I'll try to post again as I figure out more.

Edited to add: my afternoon practice piece went very well. I practiced planing cuts, as well as paring cuts and turned the following piece:

Another practice piece, with a few different shapes turned into it

I was proud enough of it that I finished it by sanding it, then applying my homemade friction finish (linseed oil and shellac).

The same practice piece, finished with an oil and shellac finish

Here's a closeup of where a knot made for some very tricky grain. The bedan cut through it pretty cleanly. Note that this is after less than 3 hours of practicing with the tool.

Close-up of a knot with "tricky" grain


Techniques Contents #woodworking #woodturning #techniques

Discuss... Reply to this in the fediverse: @davepolaschek@writing.exchange

Moving to Santa Fe, I've discovered that a lot of the handles on my wooden-handled tools have loosened up as the wood has dried out. Or in the case of things with ferrules, the ferrules will fall off because the wood shrunk.

There's a simple fix for the latter problem. I just punch a dimple in the ferrule using my Starrett automatic center punch and all is well.

Dimple in the ferrule of a rasp


Contents

#woodworking #tools

Discuss... Reply to this in the fediverse: @davepolaschek@writing.exchange