Originally written Mar 27, 2020


The spring swap this year was a surprise swap, so we could make anything we wanted. Since my shop was being built, and would not be complete until reveal week on the swap, I spend a while thinking about what I was going to build for the swap. I decided I'd make a skew rabbet plane. I have an old one which I use, but it's hard to find a nice old plane, and I felt I had okay chances of being able to make a nice-looking plane that was functional.

So I started trying things. I had a bunch of pallets from the hardware store, and used some of the lumber from them to experiment on. The first try had some issues. I couldn't drill the holes for the mortise as precisely as I needed with a bit and brace and without much better workholding than I could achieve on the tailgate of my pickup using a pallet as a workbench, and with only a half-dozen three foot long bar clamps.

The second try didn't go a lot better. The mortise was maybe a little less raggedy, but I had geometry problems with the multiple angles for the skew and the bedding angle and the different sized escapements needed on the two sides. I'm glad I was practicing on pallet wood while working out the details, since it was pretty clear I still had to so some more thinking.

My third try, I decided I'd make it a composite plane. I could then cut the mortise with a hand-saw and get good angles, and drill the sides separately, and most of the complicated geometric issues could be simplified. So I started by gluing a piece of poplar to a piece of ipe that I was planning to use for the sole. I went with the poplar because I still wasn't sure this plan was going to work, and I should have used something a little more stable.

It was about this point that I found that I was sending the plane to Brian in Spain, so I decided I'd keep my schedule as tight as possible so that he wouldn't be waiting on international delivery while everyone else was revealing the goodies they'd received in the swap.
Since clamping (and really any other operation) on this T-shaped piece of wood was difficult, I used a few drywall screws to screw some pallet wood to the sides of the poplar. That turned out to be the real trick, and I started making good progress. I got the mortise and the bed for the blade cut, and was feeling pretty good. The picture below shows the cutting, which was made easier by clamping the piece so I was cutting more or less straight down.

Since I don't have a forge for heat-treating, this was when I roughed out the blade, too. It's a rabbet plane blade from Lie-Nielsen, and while it was a little expensive, there's no way I could've succeeded without it. Then I sent it off to Dave Kelley in AZ for heat-treating, as he volunteered to help out. Thanks, Dave!
This was also the point that I realized I'd made an error in my geometry, and had cut a left-handed plane body. On a skew-rabbet plane, you want the forward point of the blade on the inside edge of the rabbet, since that will tend to pull the plane tightly into the rabbet you're cutting. I decided that I was far enough along that I didn't want to change things to make it a right-handed plane. I've used both left and right-handed, and I can usually manage, even with a plane that goes the wrong way – it's only been a problem when I'm also fighting the grain, and that's why I have both left and right-handed skew rabbets in my collection.
Once I'd gotten the core of the plane cut, I removed the pallet wood sides, and started working on the nice cherry sides that were going to make the final plane. I laid out and drilled holes for the escapement (pictured below), cut a wedge from alder, then drilled in some indexing holes I could use when gluing all the pieces up (also below) so I could keep things from creeping while I was clamping all the pieces together.


Now that I had an idea of how all the pieces would go together, it was time to get the wedge cut and tweaked for thickness. It's not rocket surgery, but it's a lot easier to do when you can take the sides off the plane and look at the angles and draw directly onto the wedge with a pencil so you get things right. With that done, it was time for the glue-up.
Once the plane was glued together, I had a few days to wait for the blades (I made two, in case I screwed one up) to get back from AZ. I rough-carved the escapement at this point, but I needed a blade to know exactly how tall the escapement needed to go to make room for the blade.


I then cleaned up the blade (removing scale from the heat treat, mostly), and put the final edge on the blade to match the actual glued-up plane body. Once that was done, I could fettle the plane, flattening the bed for the blade with floats, opening the mouth up enough to handle the blade thickness, carving the end of the wedge to help steer shavings out the escapement (they curl because of the skew, and I'm still not enough of a pro to know just how tightly they'll curl), and using my belt-sander to bring the plane down to final thickness (you want the plane to be just a hair thinner than the width of the blade so the blade edge protrudes just a bit). With no shop, the belt-sander just got wheeled out into the driveway, and I let the New Mexico winds blow the dust to Texas.
With the thickness right, it was mostly finishing work. Cut the chamfers on the edges of the plane so it feels nice in the hand, carve a little detail in the wedge because I knew Brian would appreciate that, and hit the various pieces with some linseed oil and paste wax.
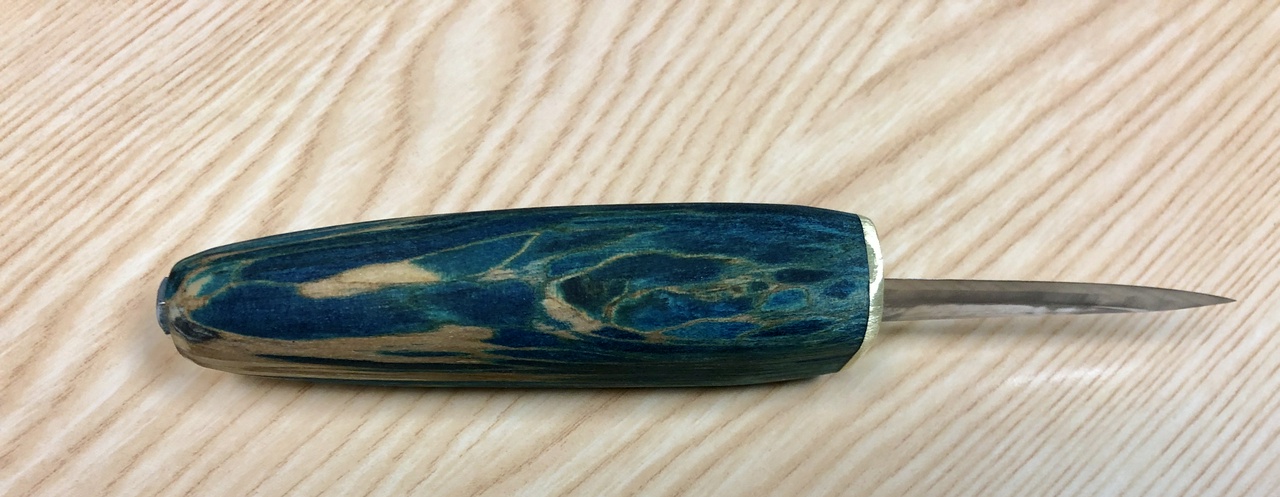
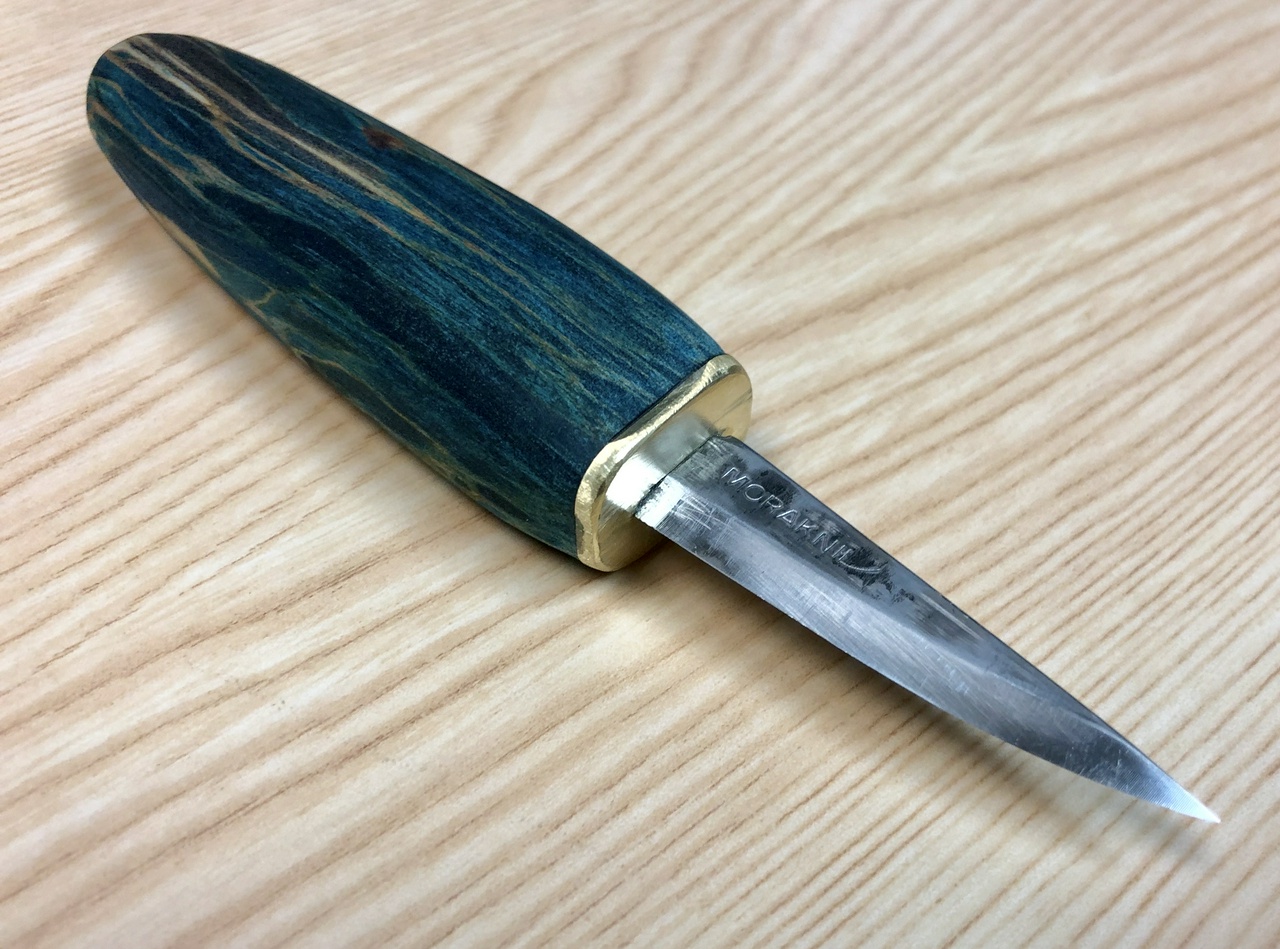
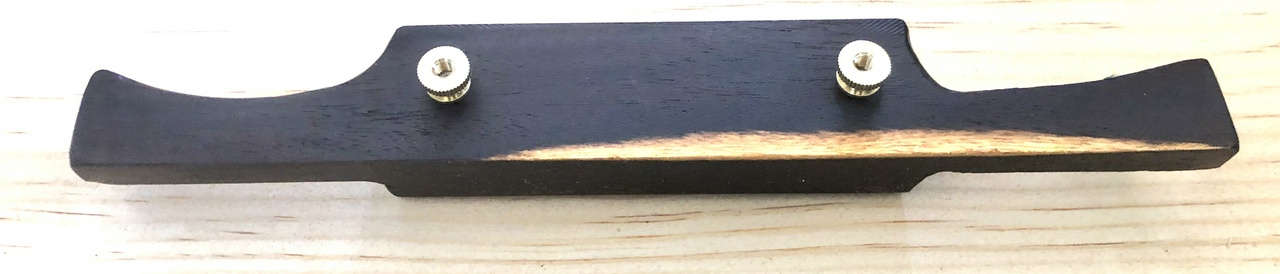
And here's the note that went in the box:


This was a spokeshave I made as a bonus for the 2020 surprise swap. I started with a Hock Tools blade, and these instructions for making a spokeshave. Plus a piece of ipe I had on hand. It went to Brian Johns, and I hope he's happy with it!

#project #swap #woodworking #toolmaking
Discuss...
Reply to this in the fediverse: @davepolaschek@writing.exchange