davepolaschek

storage

May 5, 2020

Today was dovetail day, and I'm still not done, but I made a lot of progress.

As I'm doing mitered shoulder dovetails on the carcass (to practice them for the bookcases I'm building next), I took my time laying them out and cutting them. Spent all morning just cutting the tails.

After lunch, I headed out to the shop to cut the pins. That went pretty well, so I got started on the sliding dovetails for the shelves as well. They're not super hard, but I took pictures along the way, so I'd be better able to remember what I did and any improvements I found along the way.

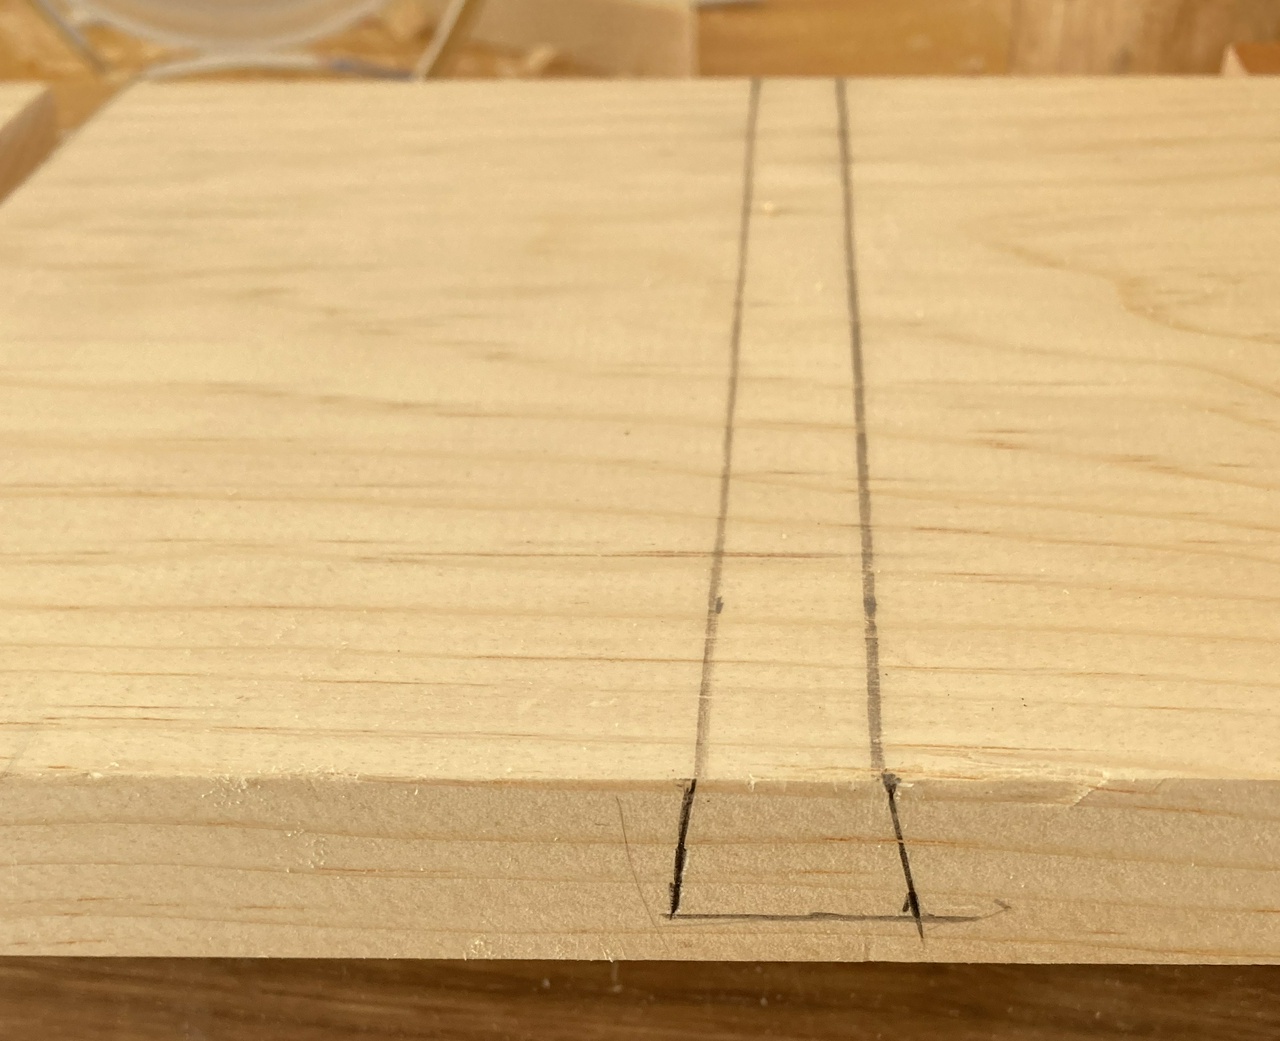
First step is to layout your lines. Make sure the width is the width of the narrow part of the dovetail (cut in part 1 of this blog).

Lines marked for a sliding dovetail socket

Then saw the two angled lines. As with normal dovetails, start on one end, then angle to the other end. I started on the near side, since it was easier for me to see.

Starting to cut the sliding dovetail with a dovetail saw

After cutting the two angled lines, cut a straight line between them. This will make is easier to chisel out the waste. Note that the depth of this line you're sawing is your depth-gauge, so try to cut it to the line, but no further.

Sides and a middle relief cut made for a sliding dovetail socket

Then chisel our the waste. I did half from the front, turned the board around and did another half (to ¾ of the final depth) from the far side, and about an inch to full depth, then turned the board around again, and finished up from the front.

Chiseling out the waste for a sliding dovetail socket

Half of the waste removed on the first half of the board for the sliding dovetail socket

And that's where I finished the day. I still need to saw out the ten sliding dovetail sockets for the vertical pieces between the two shelves, and also the slots to hang the braces in. And I need to cut rabbets in the rear of the sides and top for the back, so there will be a couple more entries before I'm finished with the carcass.

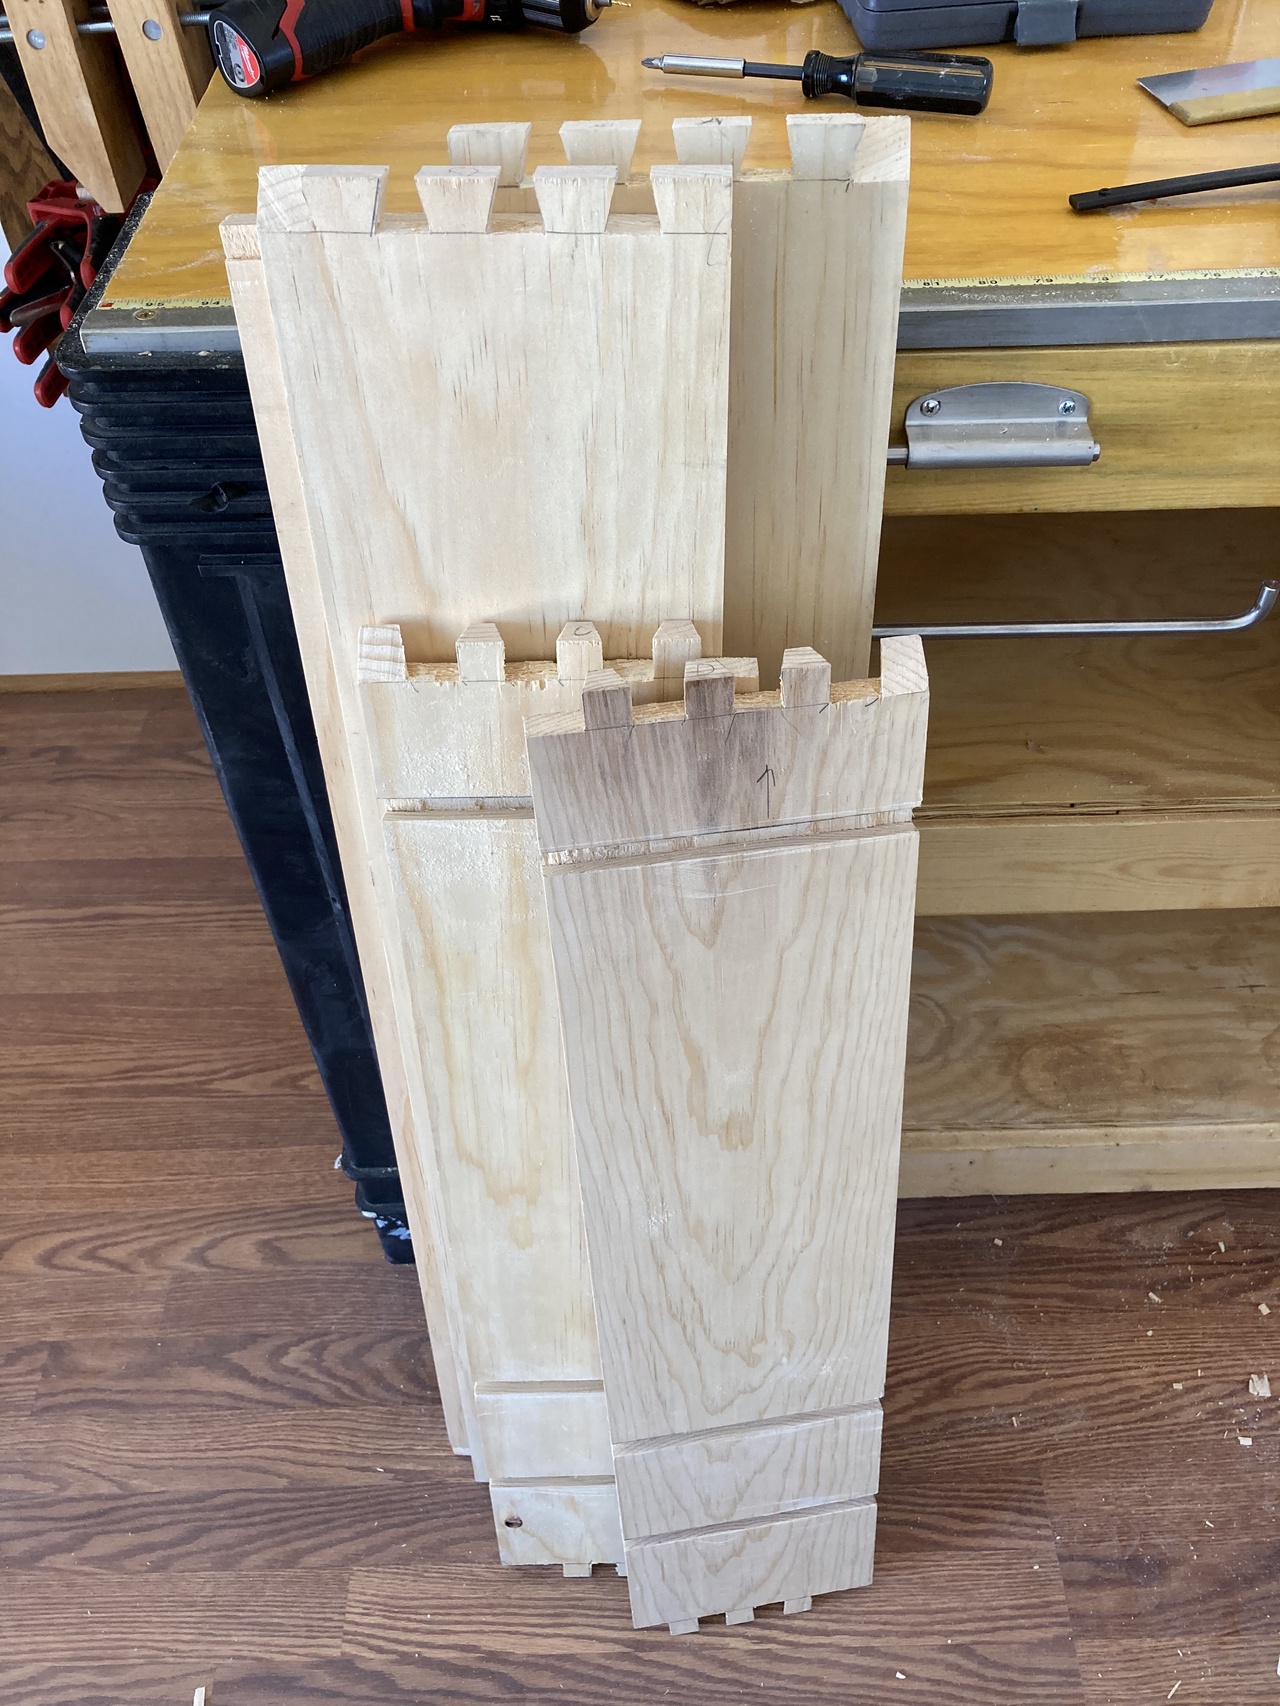
Major boards for the till with the sockets cut for the sliding dovetails

Thanks for following along!


Contents #woodworking #storage #slidingDovetails #joinery

Discuss... Reply to this in the fediverse: @davepolaschek@writing.exchange

April 30, 2020

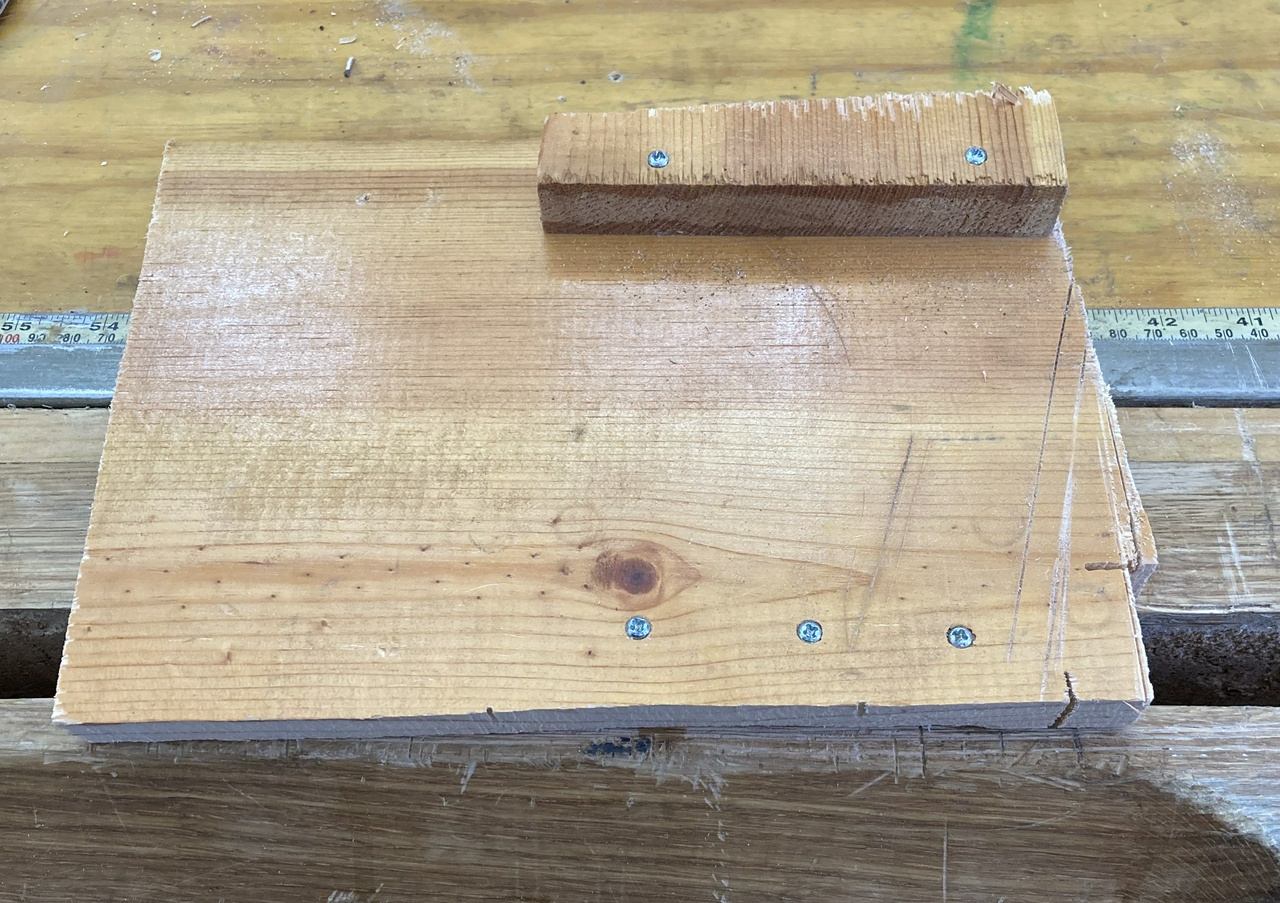
I was asked to finish moving my tools from the garage to the shop the other day, so I did that. Still haven't found and unpacked all of my tools, so I took a little detour to build a dovetail marker so I could lay out the dovetails nicely. In the course of making that, I needed a bench hook, so I slapped one of those together, too.

Bench hook - very quick and dirty

I think I can start laying out the dovetails now, but since I'm planning on doing mitered dovetails (as practice for the corners on the bookcases I need to build), I might need to study up on those first.


And the next day, further detour to make a clamp rack.

Clamp rack, with clamps on it


Contents #woodworking #storage

Discuss... Reply to this in the fediverse: @davepolaschek@writing.exchange
April 28, 2020

I looked at my braces as I was unpacking, and discovered I have four, plus a couple eggbeaters, plus another brace I've bid on on eBay… It's time to build a till. Also, I'll have a place to keep my bits if I do that.

So the first step was to get out the graph paper and sketch out what I think I'll need. I figure I'll eventually have braces of 6-14 inch sweeps, probably doubling up on 8 and 10 since they're more common. So I sketched a till that could hold those plus a couple eggbeater drills.

Boring Tools Till Plan

This is a first for me. Most of the time I just start building and then realize afterwards that I've underbuilt, so it feels kinda weird making a plan, but I think I'll survive. Also, the Bad Axe magnet is handy for holding my plan to the whiteboard so I don't lose it in a pile of sawdust.

Given that, I decided I'd use pine I have on hand for building my bookcases. I've got a lot of S4S 1×8s, so I started with those. That should give me enough depth that I can put doors on the till and still get a 14 in there. Plus it means my existing boxes of bits can fit in the cubbyholes at the bottom.

I started by cutting boards to length. All of my lumber on hand is cut to 4 foot lengths, so it worked out pretty well. The 38 inch long pieces had an offcut that gave me two pieces that were not quite 5 inches long, so I was efficient in my lumber use.

I've also got a new ECE dovetail plane so I've decided I'll put the shelves into the case with sliding dovetails and put the uprights between shelves with sliding dovetails as well.

As for the dovetail plane, it's pretty slick. It took me a while to get the fence set correctly for a half-inch deep sliding dovetail, but once I did, I spent more time grabbing a new board and whacking the holdfasts to hold it down than I did planing. There's a little spelching on the pine, but I lightened up the cut a little and that took care of the worst of it. The plane was usable out of the box, but would have benefited from a few minutes honing the blade, especially since I was working on pine.

Boards for the till, cut to length

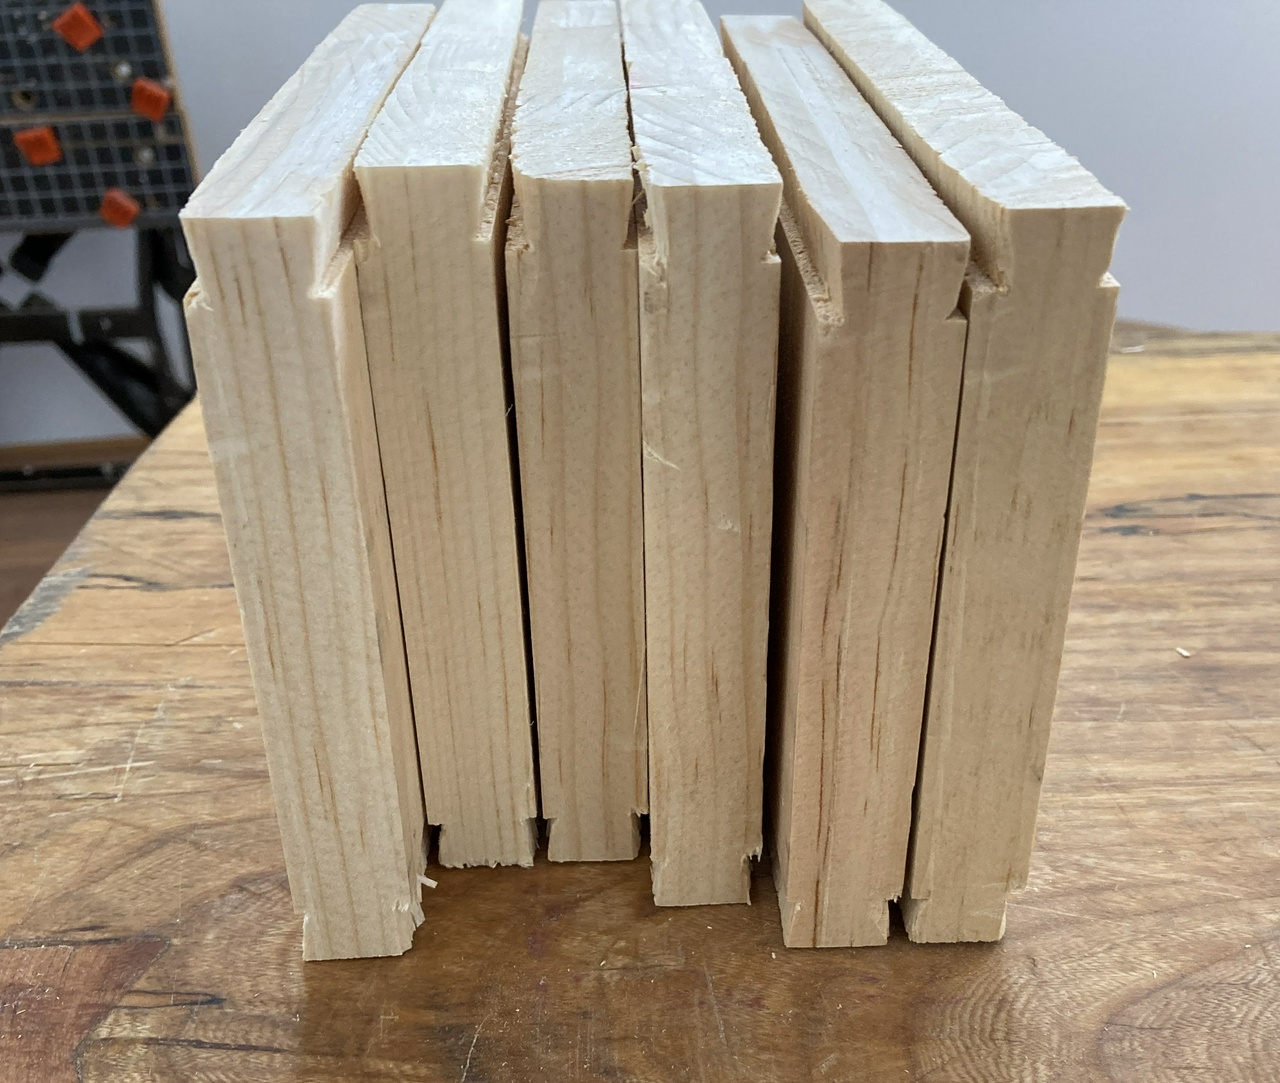
Short uprights for the till, with sliding dovetail pins cut on the ends of them

I put the dovetails on the ends if the boards and called it a day. Tomorrow I'll start joinery on the carcass, and hopefully get the dovetails cut in the four exterior joints and maybe get started on the sliding dovetails for the shelves. We'll see how it goes!


Contents #woodworking #build #storage #shopFurniture #plan

Discuss... Reply to this in the fediverse: @davepolaschek@writing.exchange

Oblique view of the box

In my ongoing quest to organize and clean up my shop, I made a box to hold my cordless circular saw and spare blades for it from some pine and plywood. The box was built in two parts, as I didn’t have any pine boards tall enough to make the entire box in one piece and then cut it apart, so the dovetails on the corners look a little strange. The pine is, again, leftovers from my bookcases. The plywood top and bottom are from a neighbor’s garage sale last year, and were free.

view of the open box with saw and blades

I put an insert in the bottom to separate the saw from the spare blades. Nothing fancy, it’s just glued into a pair of dados.

front view of the closed box

One the bottom was complete, I built the top slightly larger than the same size, then trimmed it to match the bottom. Then glued and screwed on the top and bottom, added a piano hinge and a couple latches, and it’s done. The only snag was that the only screws I had for the piano hinge were ¾ inch long, and the wood I was putting them into was only ½ inch thick, so I cut them flush with a flush-cutting hacksaw and then filed them smooth. And ordered some #6x½ screws.

rear oblique view of the box

#woodworking #storage #box

Discuss... Reply to this in the fediverse: @davepolaschek@writing.exchange

Closed buffing wheel storage box

In the ongoing process of cleaning up the top of my workbench, I needed to turn a couple handles on my lathe. And when I went to do so, I discovered that the buffing wheels I had bought a month or two back were still on the lathe, with no safe place to store them. So! Time to build another box!

Overhead view of box with buffing wheel system installed

I started with four oak boards that I scavenged from my sweetie’s old desk-topper. It was a large, solid lumber project made for her by her dad, and when we moved across the country, she didn’t want to move it, but we didn’t want to waste it either, so I broke it down into boards. These four boards were the doors on it, and had breadboard ends joined to the centers of the panels by dominos. I thought I would be able to avoid exposing them, but on one side I did expose the dominos. Oops!

oblique view of the storage box with buffing wheel system installed

Construction is pretty simple. The ends of the box are pine with a rabbet cut on all four edges. The oak panels are glued into those rabbets, with simple butt joints between the oak panels. Then the box was cut in half, an insert was installed to hold the shaft for the buffing wheels, and a couple small pockets were made to hold the sticks of buffing compound. Everything was finished with a coat of tung oil and a piano hinge and latch were installed. Done in a couple hours on two subsequent days.

#woodworking #storage #box

Discuss... Reply to this in the fediverse: @davepolaschek@writing.exchange

closed storage box

After making my the sheath for my knife I realized I needed better storage for my leather-working tools than a plastic bag. So I dig through the scraps and found some nice sapele that was leftover from an earlier project.

I had resawed a board of 5/4 sapele into two ⅜ inch thick pieces, and had a piece that was about ¼ inch thick remaining. But my technique wasn’t great, and the kerf had wandered a bit, so by the time I was done smoothing the boards, I was down to 3/32 of thickness left. That’s pretty thin for a box, but with the liberal use of some other scraps as glue blocks, I managed to make it work.

unfinished interior of the box bottom

With the bottom built, I went searching for a top. I had two book-matched boards of elm that had been resawed to ¼ inch thick, so I glued them together, then cut it down in size until it matched the size of the bottom. With some more glue blocks, I managed to make a top that fit.

top and bottom of the leather-working tools box

I added some inserts to hold things in place, and coated it all with a coat of tung oil, and here we are. One more set of tools now have a home so they can all stay together, and not clutter the top of my workbench.

filled bottom of the leather-working tools storage box

#woodworking #box #storage

Discuss... Reply to this in the fediverse: @davepolaschek@writing.exchange