davepolaschek

build

Dec 29, 2021

Another question I received was someone asking Why do you need so many drawers for your bits? Well, I have the following types of bits (and use them all for different tasks):

  • spoon
  • spade
  • hardwood auger
  • softwood auger (the lead screw is different for hardwood and softwood)
  • brad-point ship-augers (longer)
  • Forstner
  • plug-cutters
  • gimlets
  • cheap twist-bits for drilling metal

And that's not even counting the reamers, spoke-pointers, hollow augers, hole saws, or expansive bits. I have a lot of boring tools. ;–)


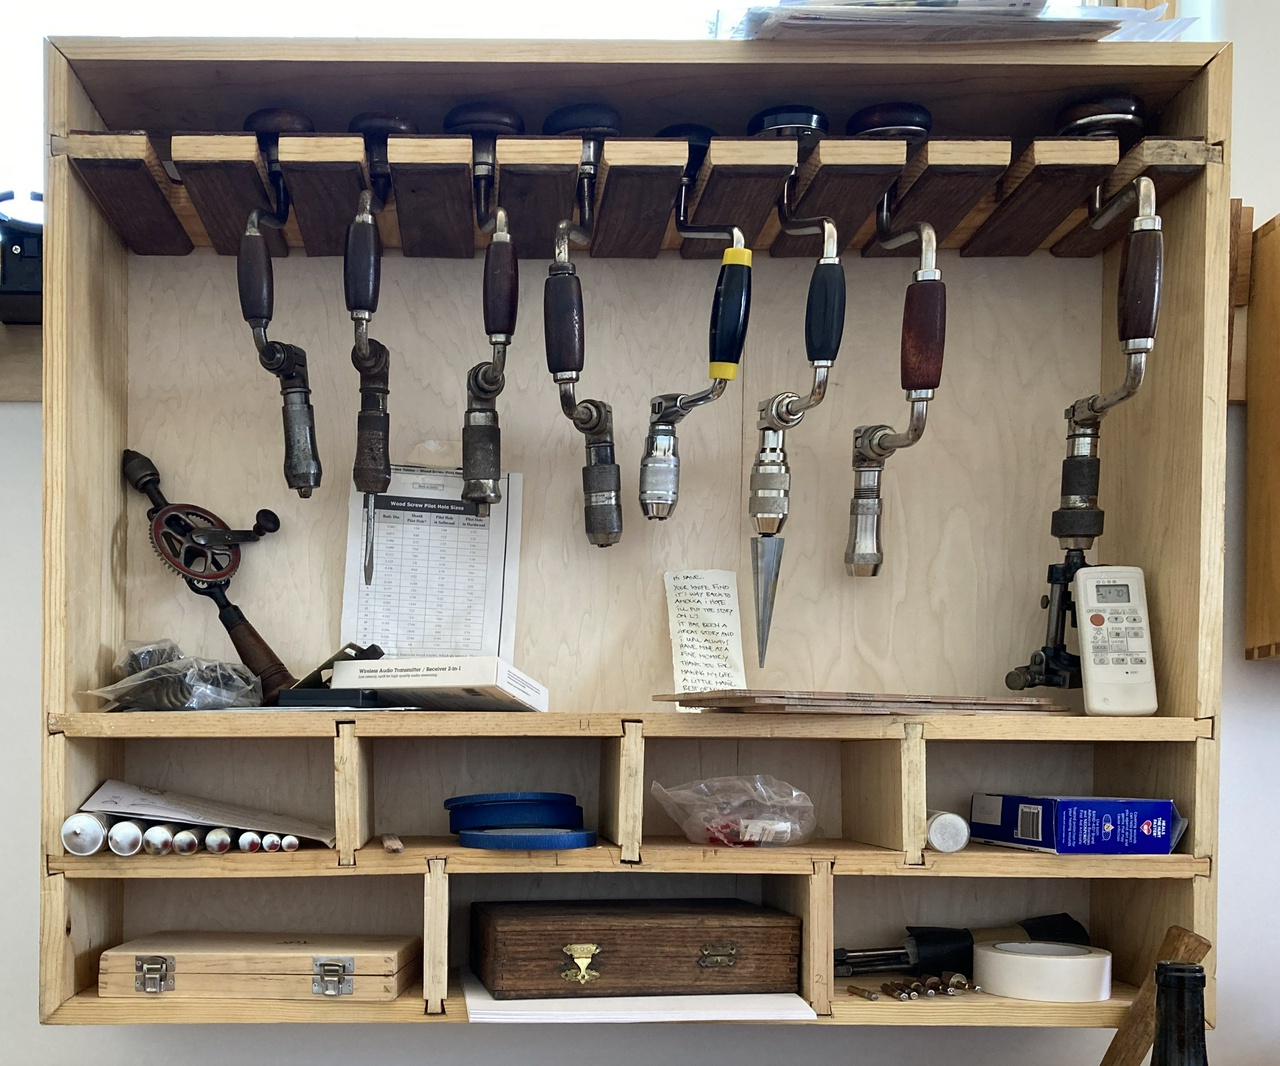
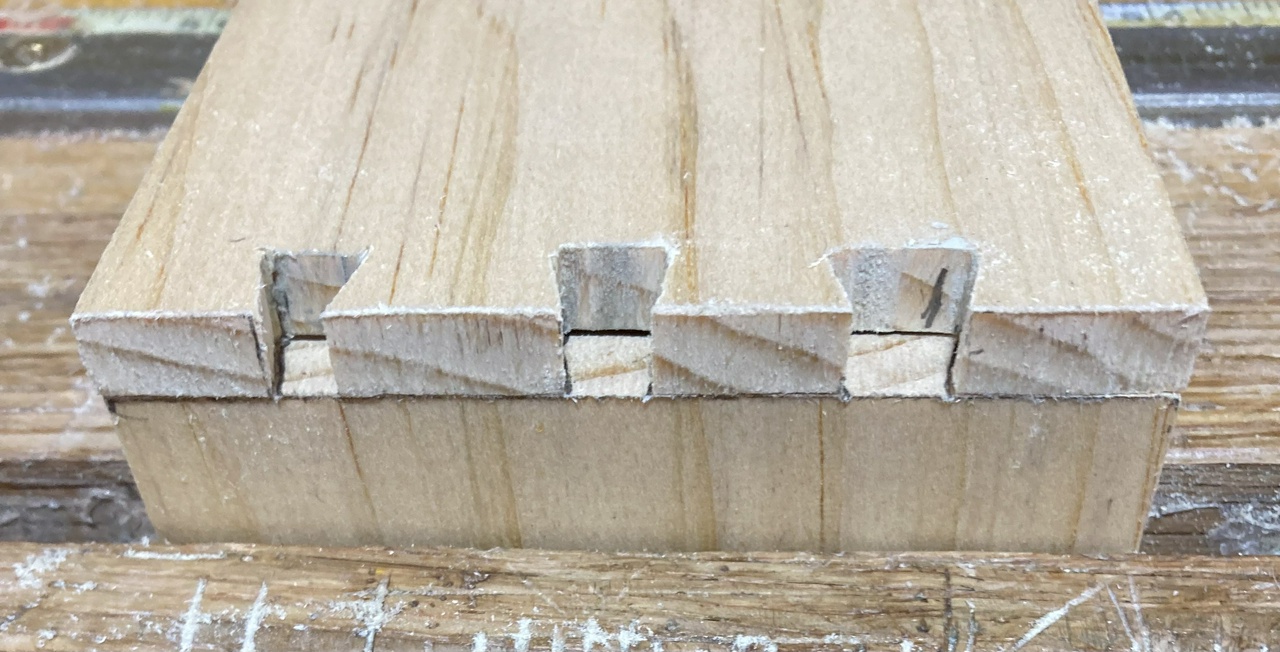
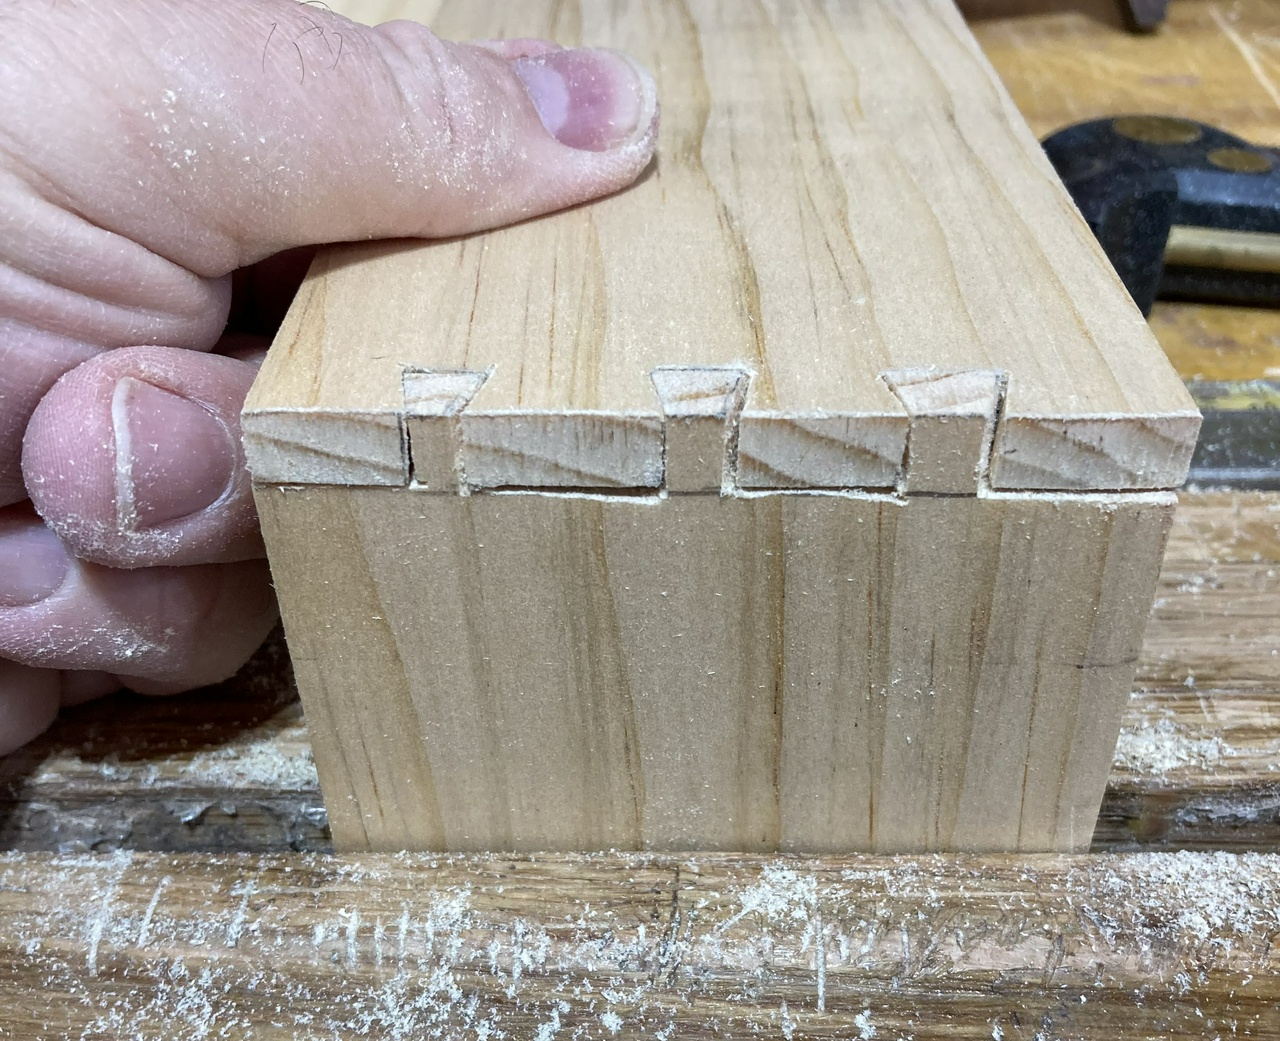
First a photo of how the till looked at this point.

The till, filled to overflowing with various bits and braces

That's yesterday's drawer-box in the lower right corner. I took it to the belt-sander to bring the dovetails down to level. I had cut them so the pins and tails protruded just a little, and it's a lot easier to fix that on the belt-sander than with a plane. Normally I cut dovetails so the flat surfaces are slightly proud of the end-grain, which is easier to plane flat. Maybe tomorrow's blog will cover that…

Todays update will fill in some blanks in yesterday's drawer construction. If I were a better person I'd go back and edit them into that blog.

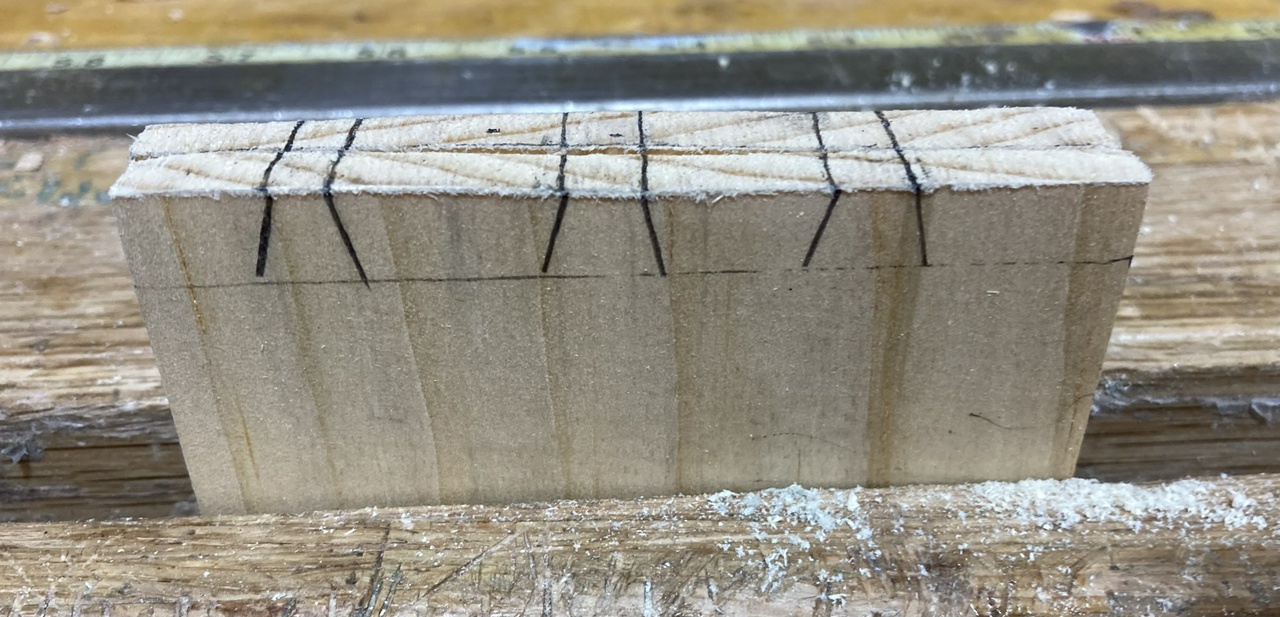
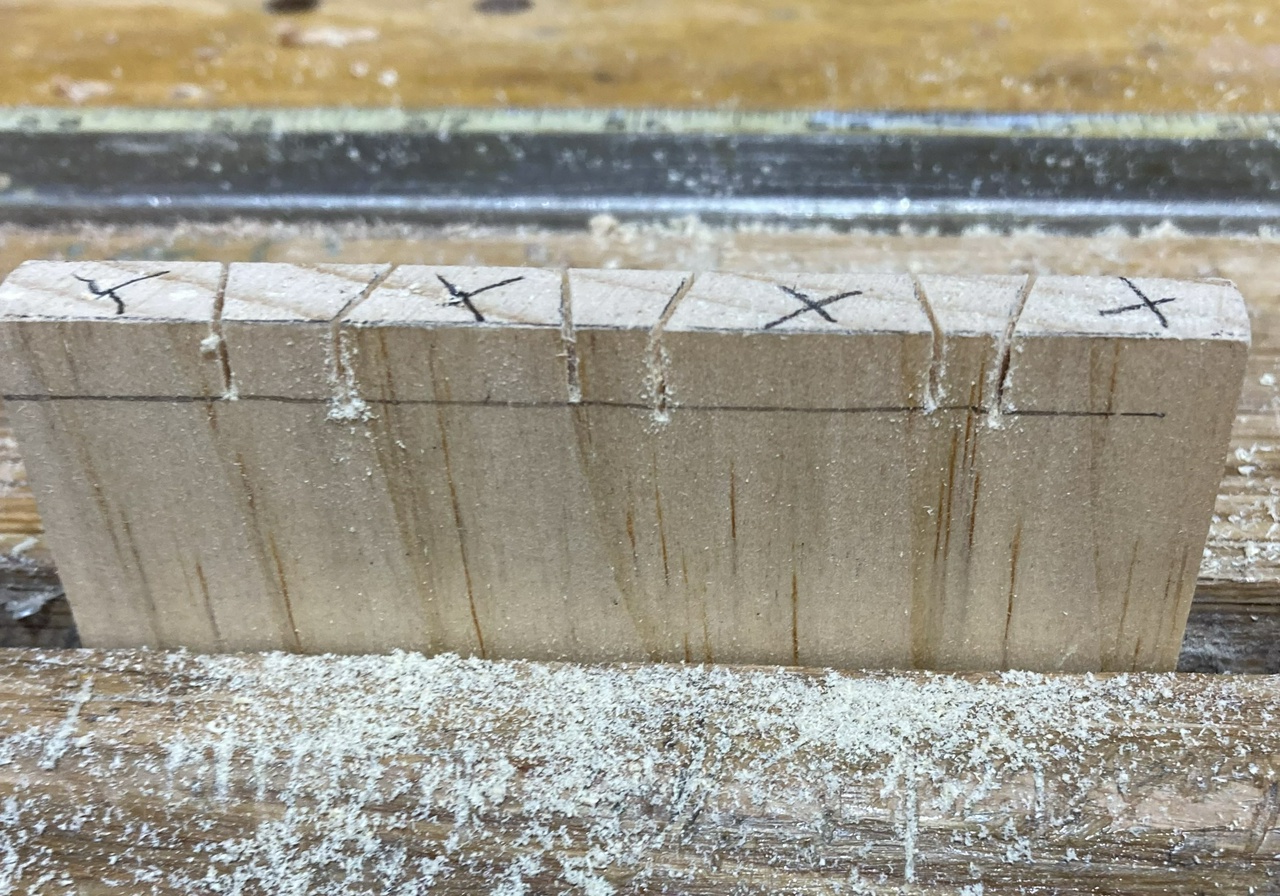
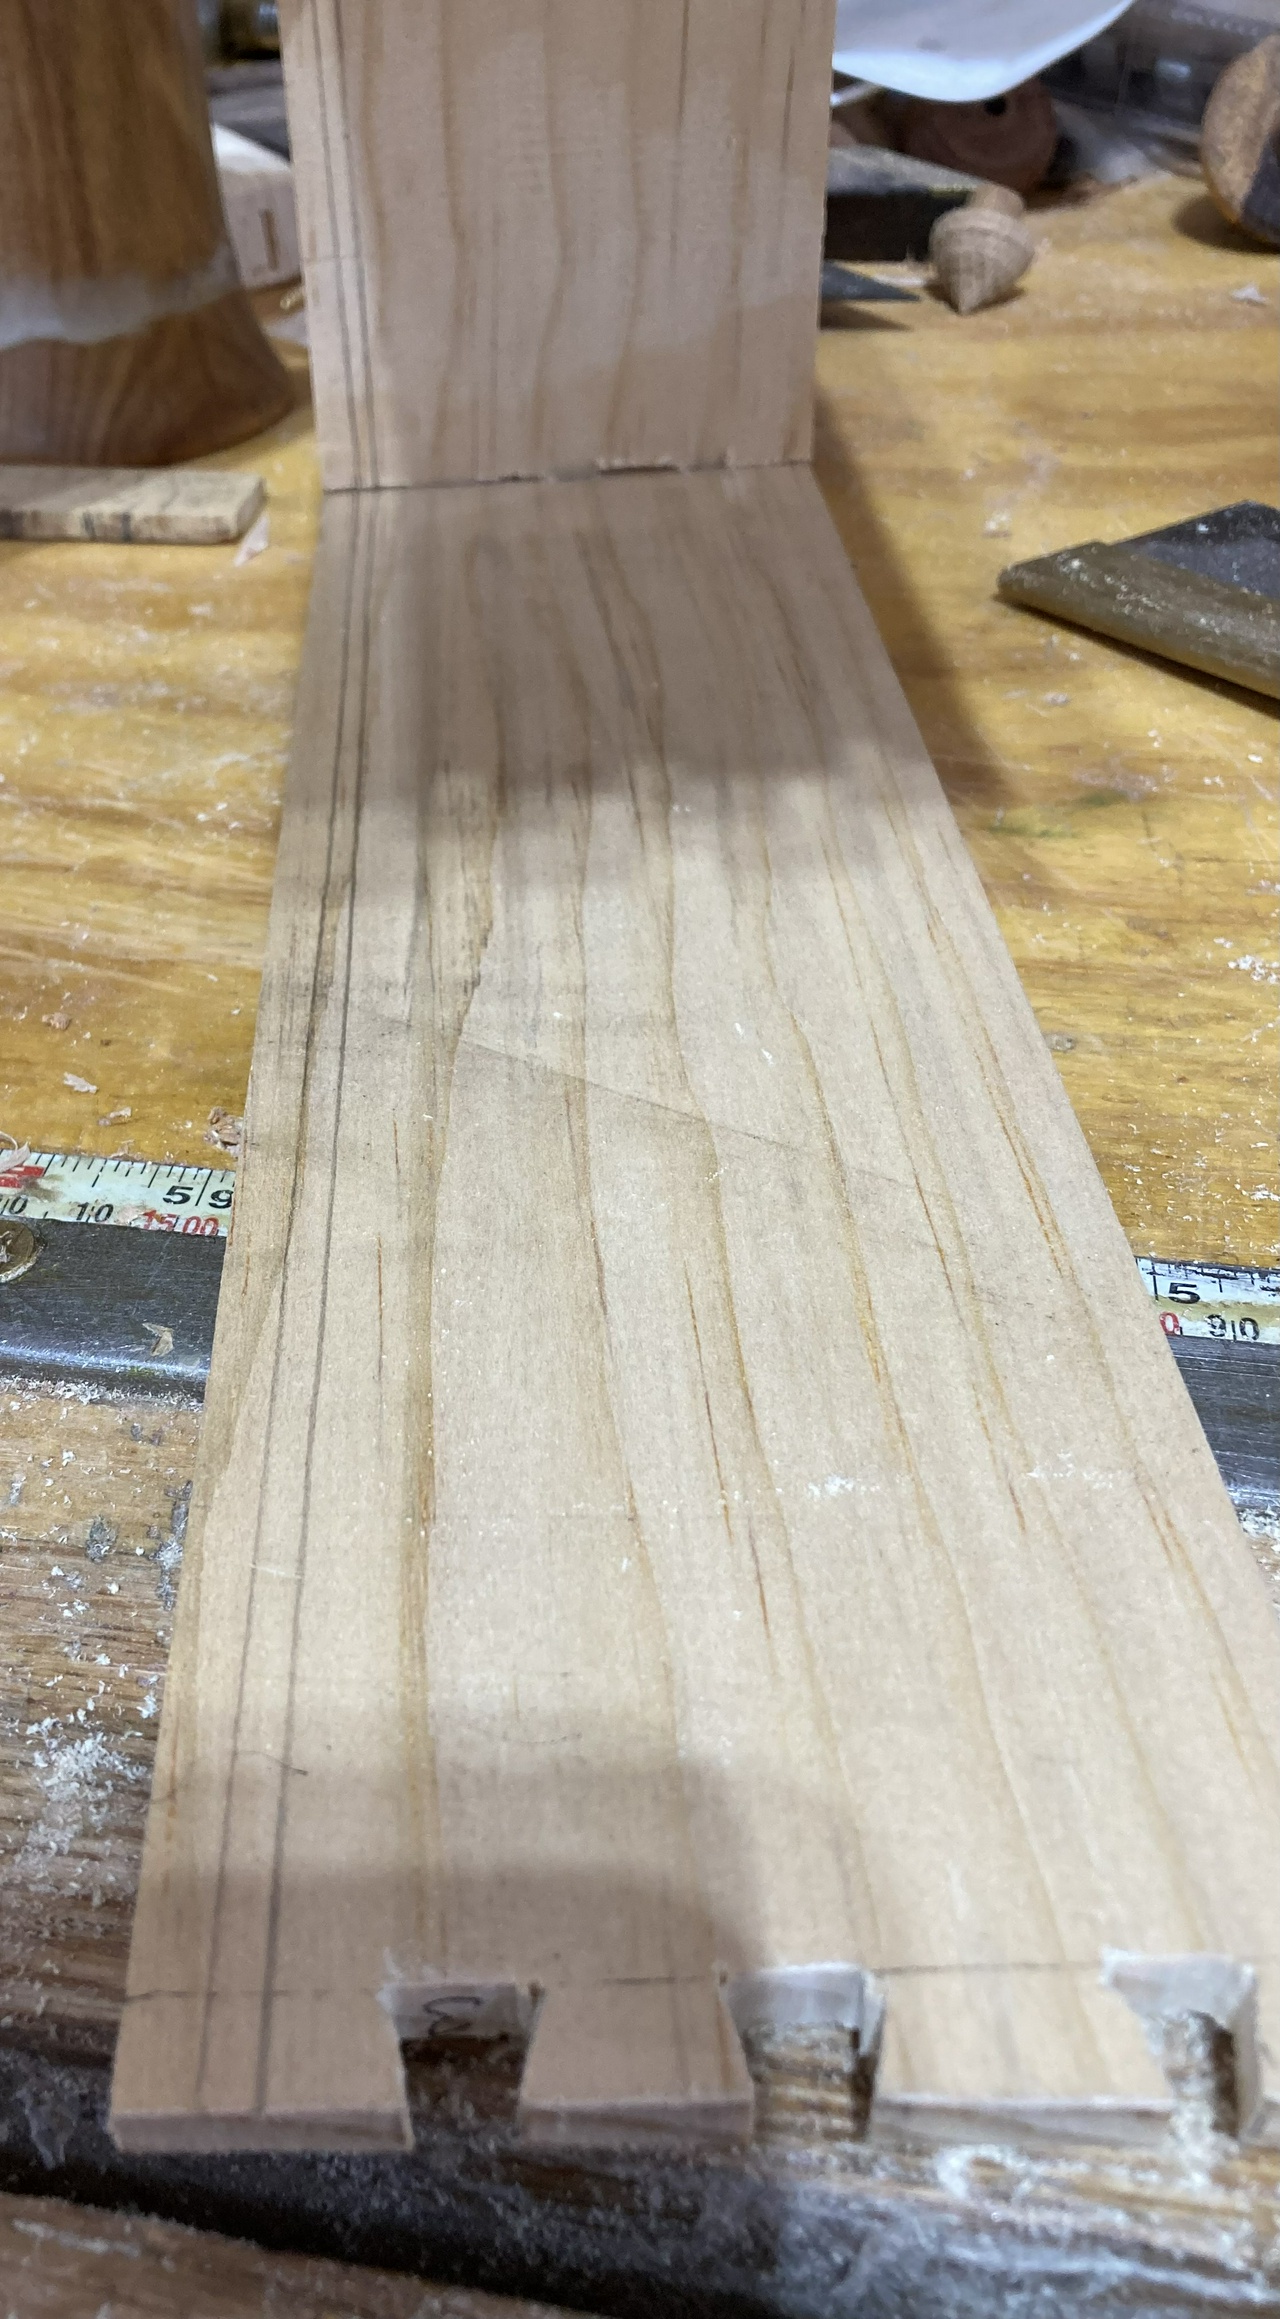
As there are some variations in the carcasse, I'm measuring each drawer individually. No idea how many inches each is, but they should fit pretty good…

Marking the length of a drawer-board by placing it in the hole where it will live

Marking the width of a drawer front by placing it in front of the hole where it will live

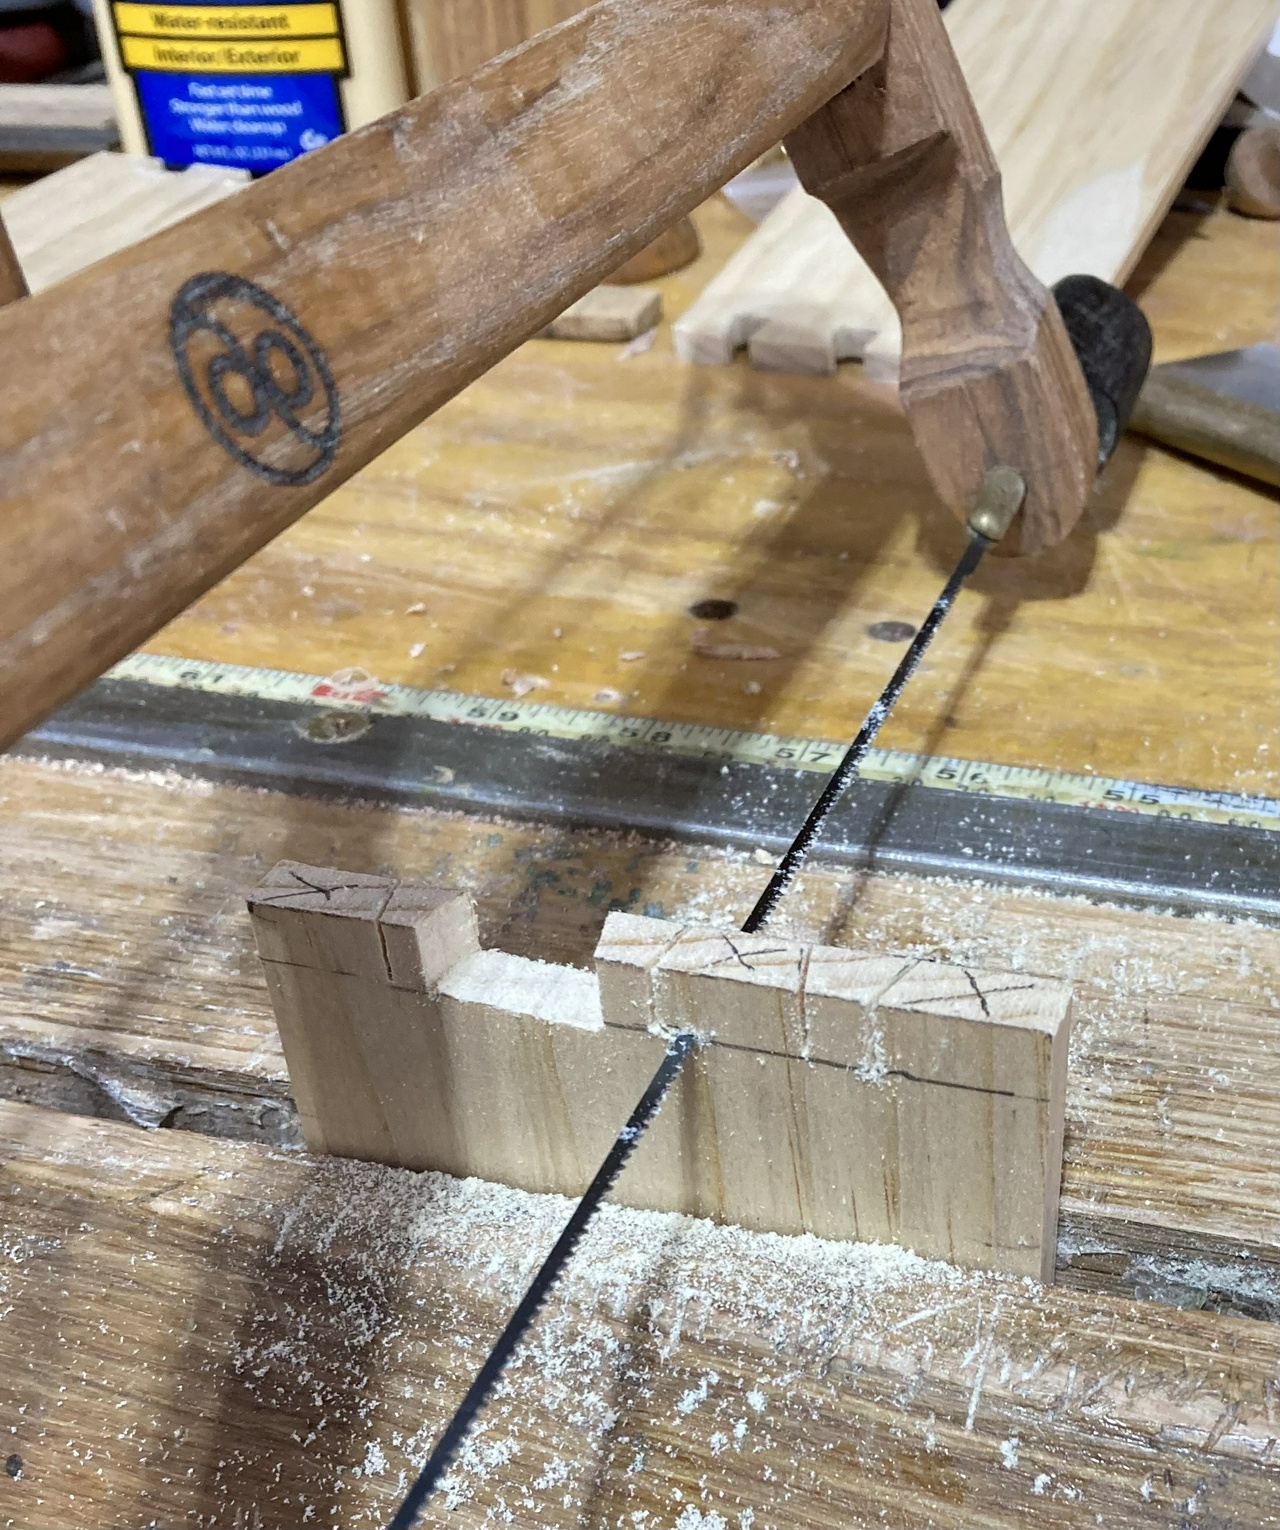
So that's how I measure them. I also noticed that yesterday's drawer has the dovetails the wrong way around for greatest strength, so I switched things up today and cut the tails on the sides (which are the shorter boards).

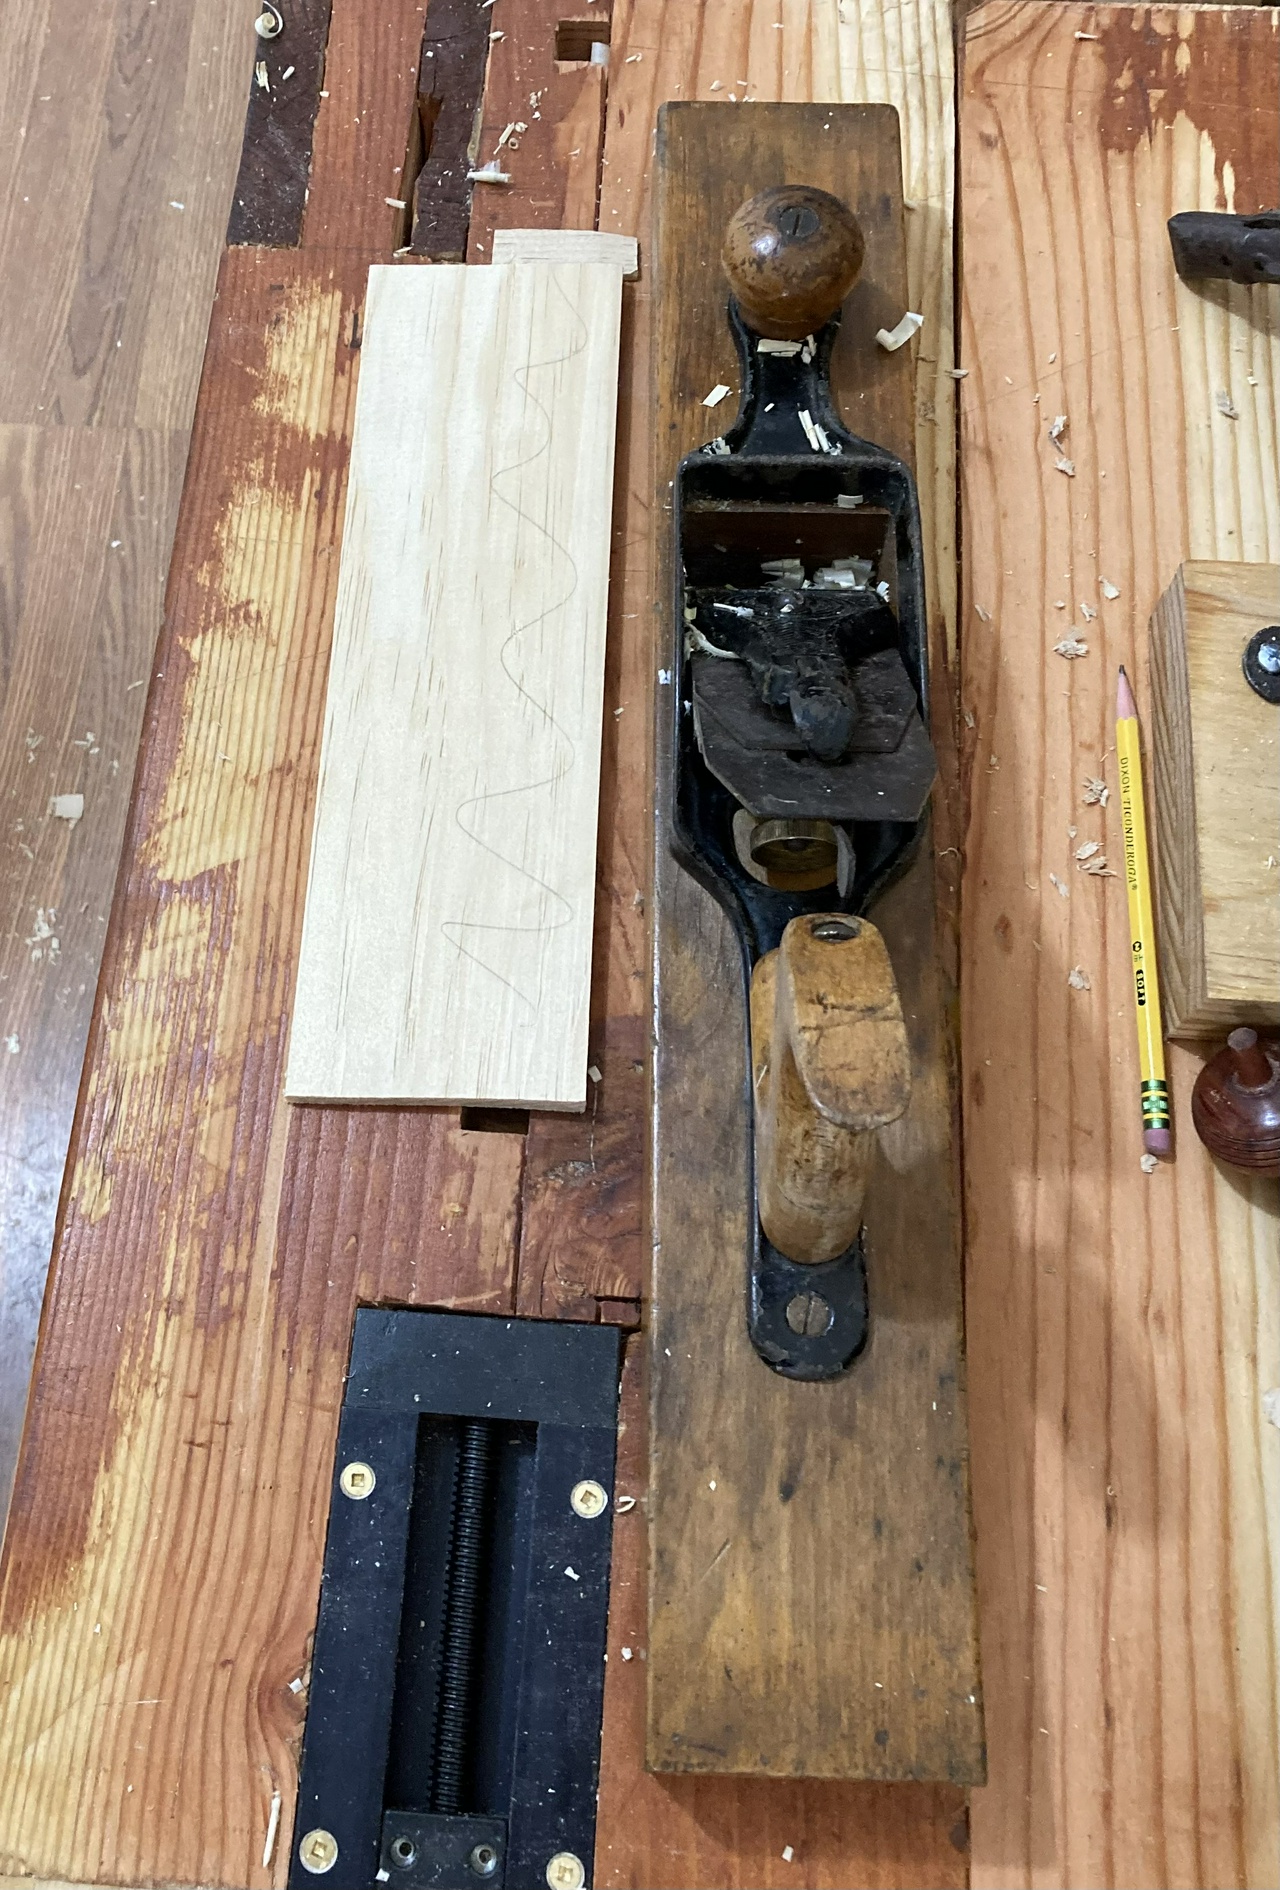
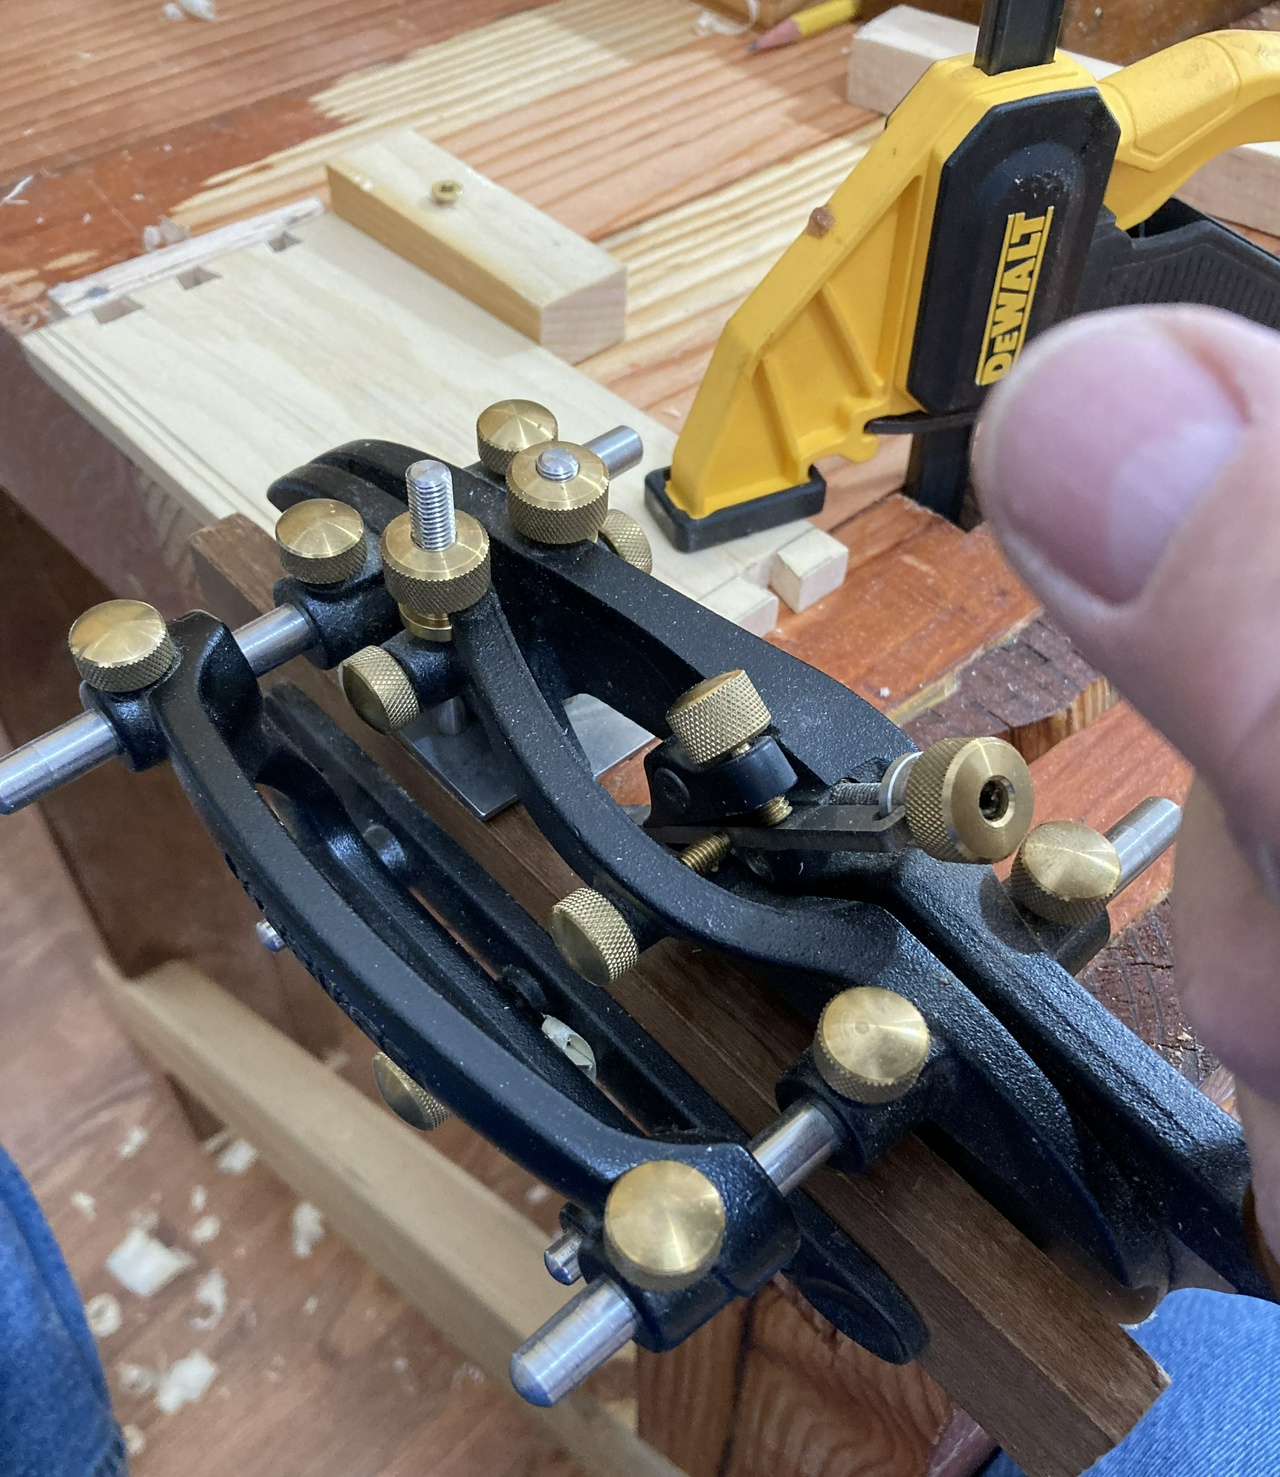
And here's a picture of using the combination plane to make the grooves. I clamp the board to my new small bench (because there's room) with the edge just over the edge of the bench so the combination plane can index off the edge of the board.

A combination plane, planing a groove in a drawer side

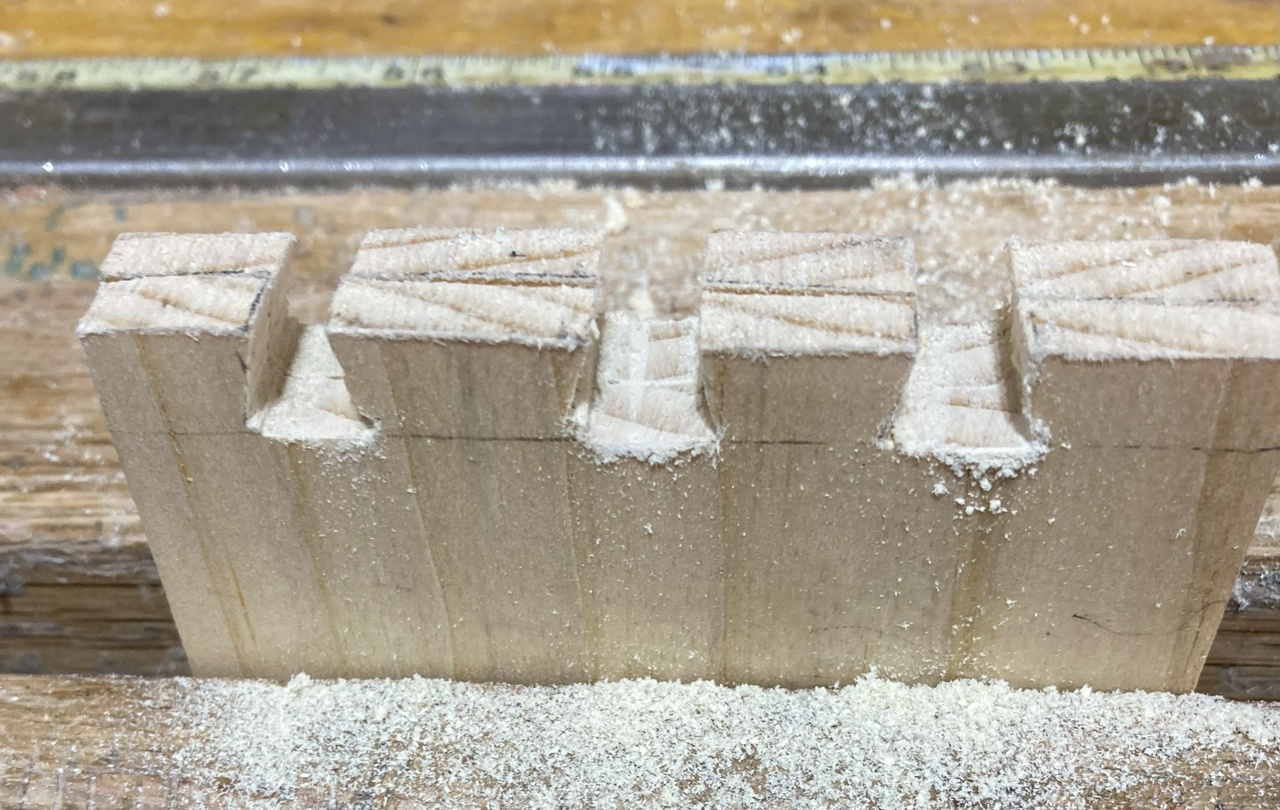
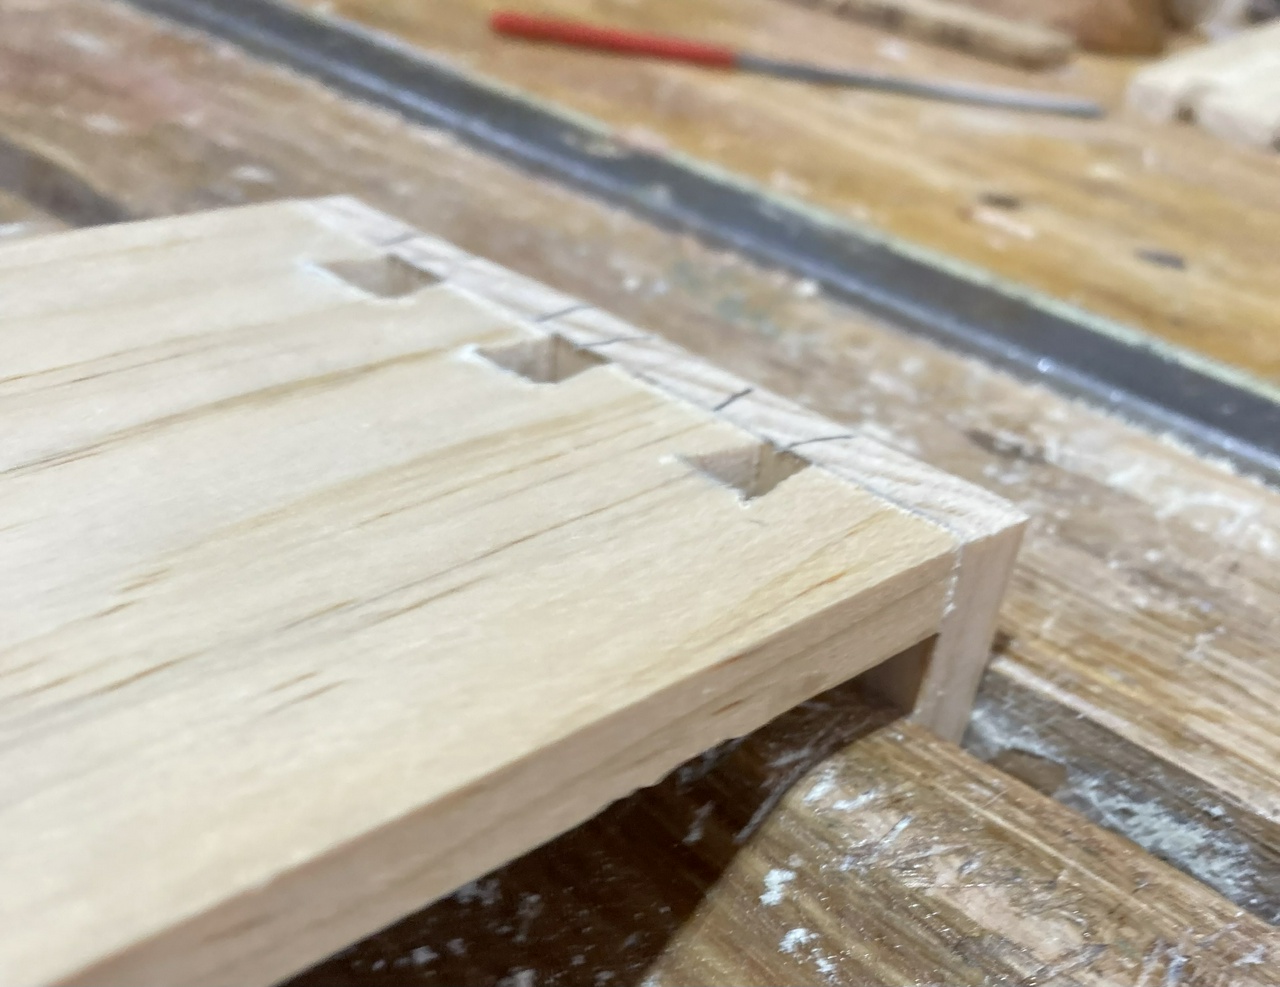
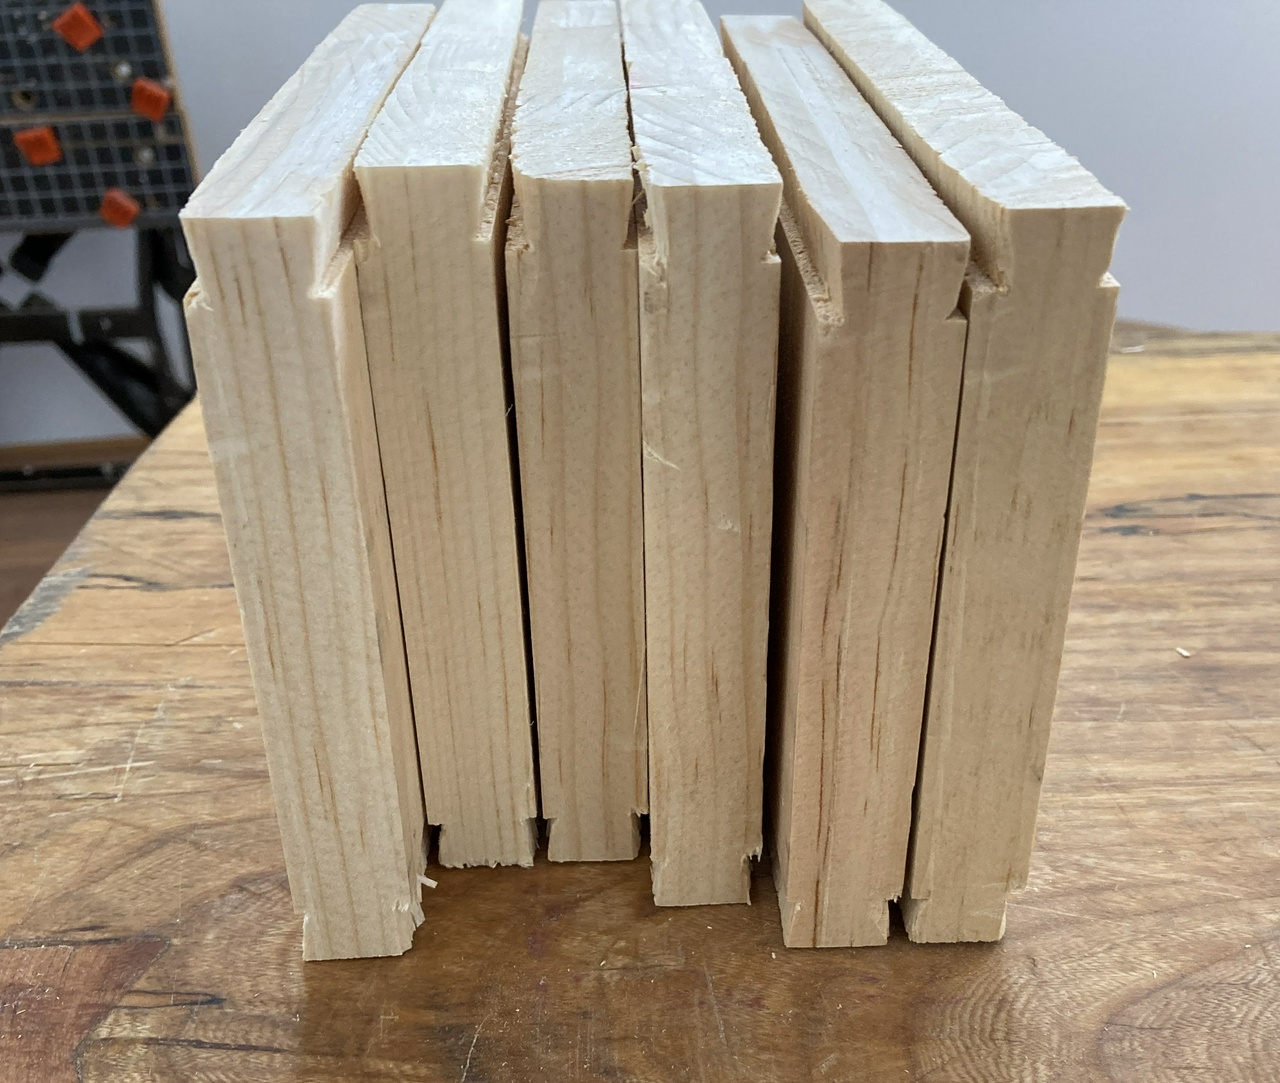
And here's a completed board (either the left or the right of the drawer, don't remember which)

drawer-side with a groove planed in the bottom edge of it

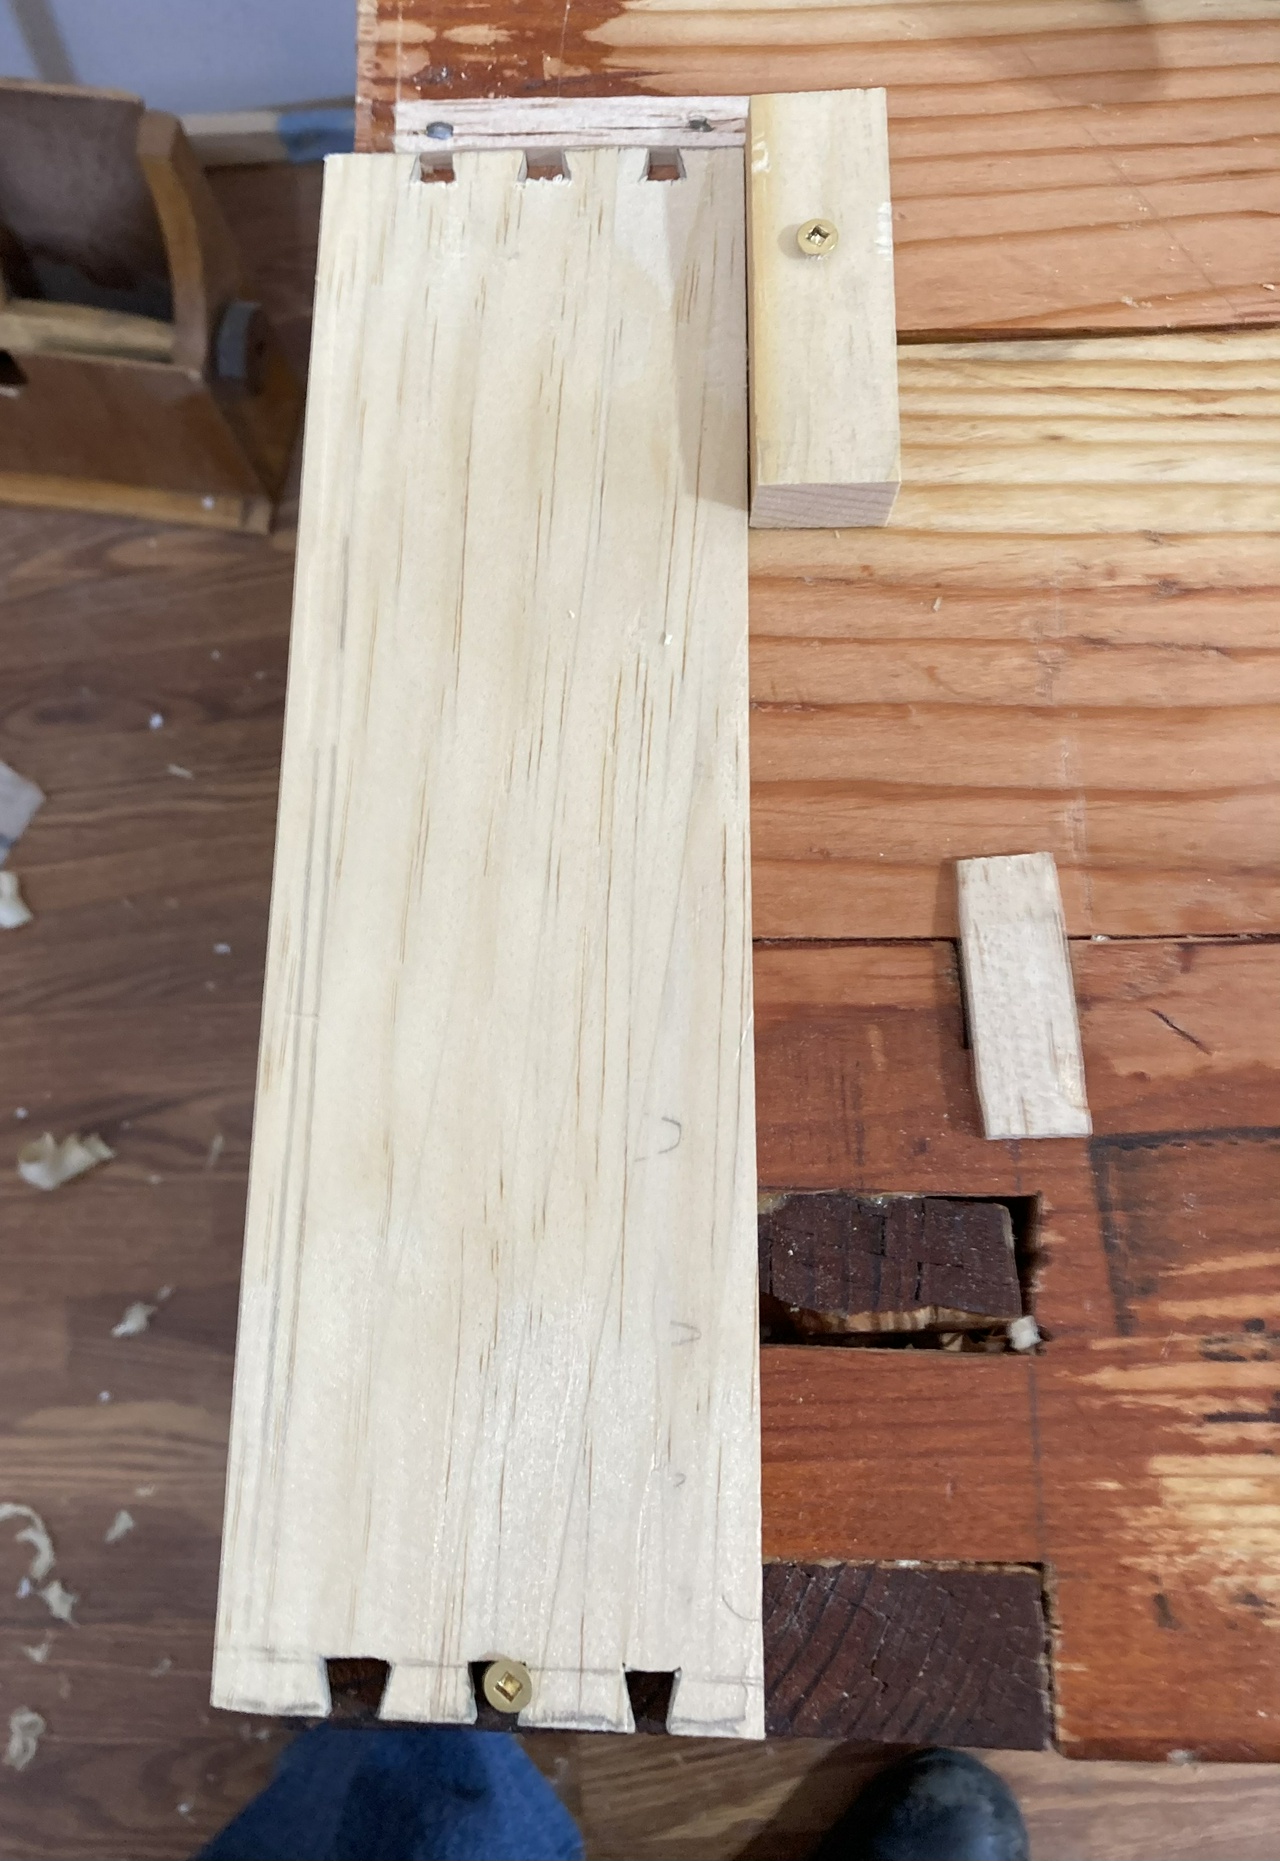
To mark the size of the bottom, I set the (test-fit) drawer on the piece of ¼ inch plywood, with the outside of two edges on two edges of the plywood.

drawer-box sitting on a piece of plywood to mark the size of the bottom

Then I mark along the inside of the box for the other two sides of the drawer-bottom.

marking the inside edges of the remaining two sides of the bottom

Since I set the depth-stop of the combination plane to about half the thickness of the boards, this will work out to be about right.

And sure enough, it fits pretty well. The bottom was maybe tighter than ideal, but it's close enough that I won't worry about it unless I move the till to somewhere more humid. On future drawers, I'll plane a hair off the edges of the bottom to leave a little more slack.

drawer box glued up with clamps holding it together

It took about 90 minutes from cutting the first board to length to shutting off the lights with the next drawer-box in the clamps.


Contents #woodworking #storage #drawer #build

Discuss... Reply to this in the fediverse: @davepolaschek@writing.exchange

Dec 28, 2021

Nineteen months ago I said I needed to get started on the drawers for my brace till soon.

Till with braces filling the shelf above, and bits in most of the cubbie-holes which will be getting drawers

I guess it was finally soon!

I had resawed a bunch of pine down to about ¼ inch. First up was cutting it to size and flattening it. When I'm flattening a board, I will often mark the high bits or areas that need work with a pencil, then plane away the pencil marks, and re-check the board.

thin pine board in inset vise, with a transitional plane next to it; there is also a pencil

Then I laid out the tails on a pair of boards. I do tails-first because I can gang-saw two boards worth of tails at once. When working in thin boards like this, that helps give me more area as a flat reference surface, plus cuts the sawing in half for the tails.

two boards held in a face vise, with marks for three dovetails on the boards

Cut the tails, sawing out the waste with a small bow-saw, then flattening the bottom of the tails with a rasp or float.

three dovetails cut in two boards held in a face vise, with sawdust near the boards

Laid out the pins on a single board. Note that I mark each of the tail boards first, then once the pin board fits, I mark the matching pin board. This has saved me from getting a joint backwards or mismatching the joints. If I were more uniform in sawing my dovetails, it might not matter as much, but there is enough variation where the boards will usually only fit one way.

Transferring from the tail board to a pin board. The tail board has a "1" visible inside one of the tails, which will be matched to the pin board once it has been sawed and fit

I also transfer the thickness of each end of the tail board to the proper end of the pin board that will fit with it. Since the boards are hand-resawn and hand-planed, they are seldom all the same thickness, and sometimes even vary in thickness from one end to the other.

Transferring the thickness of the tail board to the pin board

Cut the pins. And remember to mark the waste before cutting out the wrong bits.

Pin board with the waste marked with X

Then remove the waste with a bow saw.

Removing the waste with a bow-saw

And remove the waste from the ends using a backsaw, which makes it easier to get a flat cut.

Remove the waste from outside the pins using a back saw

And then test-fit the corner.

The corner being test-fit. Looks close enough that it will glue up well

Then I marked where the grooves for the bottom will go before I got something worng. Having the grooves on the bottom of the drawer on one side, and on the top on the other doesn't make for a terribly useful drawer.

Marking the grooves where the bottom of the drawer will fit

And got a little groovy.

Board held down to the work bench with two screws and a couple boards, in preparation for cutting the groove with a plough plane

After cutting out a piece of ¼ inch plywood to fit in the bottom of the box, I test fit everything, and glued together the first box. This one will fit in the lower right drawer slot, and will contain my set of long brad-point auger bits (I think). The drawer fronts and handles go on after all seven boxes are done. I'll also put in runners on the sides of the cubbies to hold the drawers level. But next up, is building six more drawers and then fitting out something to hold the bits in place in each of them.

I'll try to remember to show the setup for the combination plane and how I mark the size of the drawer bottom when I'm doing one of the next drawers. I think I may also need to put some slips under the bottom in some of the drawers, as I can only cut about a ⅛ inch deep groove for the bottom, which may not hold great if I've got heavy stuff in the drawer.

Stay tuned!


Contents #woodworking #storage #drawer #build

Discuss... Reply to this in the fediverse: @davepolaschek@writing.exchange

April 28, 2020

I looked at my braces as I was unpacking, and discovered I have four, plus a couple eggbeaters, plus another brace I've bid on on eBay… It's time to build a till. Also, I'll have a place to keep my bits if I do that.

So the first step was to get out the graph paper and sketch out what I think I'll need. I figure I'll eventually have braces of 6-14 inch sweeps, probably doubling up on 8 and 10 since they're more common. So I sketched a till that could hold those plus a couple eggbeater drills.

Boring Tools Till Plan

This is a first for me. Most of the time I just start building and then realize afterwards that I've underbuilt, so it feels kinda weird making a plan, but I think I'll survive. Also, the Bad Axe magnet is handy for holding my plan to the whiteboard so I don't lose it in a pile of sawdust.

Given that, I decided I'd use pine I have on hand for building my bookcases. I've got a lot of S4S 1×8s, so I started with those. That should give me enough depth that I can put doors on the till and still get a 14 in there. Plus it means my existing boxes of bits can fit in the cubbyholes at the bottom.

I started by cutting boards to length. All of my lumber on hand is cut to 4 foot lengths, so it worked out pretty well. The 38 inch long pieces had an offcut that gave me two pieces that were not quite 5 inches long, so I was efficient in my lumber use.

I've also got a new ECE dovetail plane so I've decided I'll put the shelves into the case with sliding dovetails and put the uprights between shelves with sliding dovetails as well.

As for the dovetail plane, it's pretty slick. It took me a while to get the fence set correctly for a half-inch deep sliding dovetail, but once I did, I spent more time grabbing a new board and whacking the holdfasts to hold it down than I did planing. There's a little spelching on the pine, but I lightened up the cut a little and that took care of the worst of it. The plane was usable out of the box, but would have benefited from a few minutes honing the blade, especially since I was working on pine.

Boards for the till, cut to length

Short uprights for the till, with sliding dovetail pins cut on the ends of them

I put the dovetails on the ends if the boards and called it a day. Tomorrow I'll start joinery on the carcass, and hopefully get the dovetails cut in the four exterior joints and maybe get started on the sliding dovetails for the shelves. We'll see how it goes!


Contents #woodworking #build #storage #shopFurniture #plan

Discuss... Reply to this in the fediverse: @davepolaschek@writing.exchange