Jun 27, 2021
Built for the 2021 plane swap on that woodworking site I don't participate in any more, this was a fun project for a lot of different reasons. The main disappointment is that it was for a swap, so after it was built, I sent it away. But then someone else got to enjoy it, so there's that.
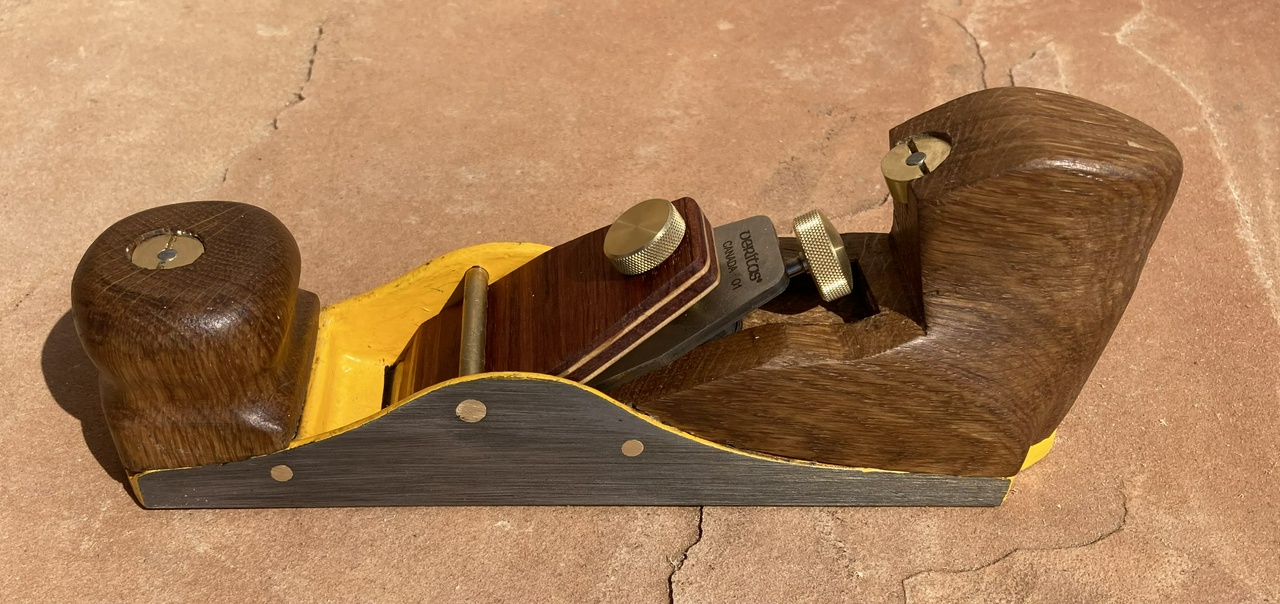
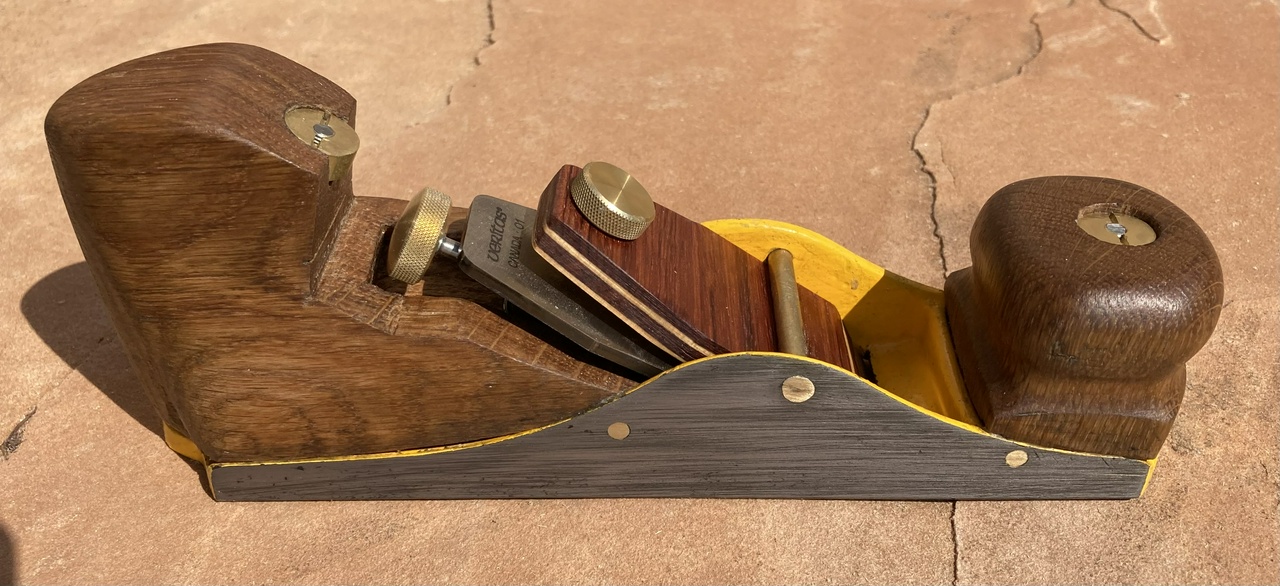
For the plane swap this year, I wanted to build something a little different. I have a stash of Stanley Global Plane #3s that I bought cheap on eBay from a seller in Canada when the exchange rate between the dollar and the loonie got fairly lopsided, so I decided to infill one.
But just a normal infill plane didn't seem challenging enough. Let's make a low-angle bevel-up plane from it. That should be a good challenge!
So I started out by removing the plane hardware and trying some things. One of my very first discoveries was that I would need to modify both the mouth and the bedding for the blade to achieve what I wanted.
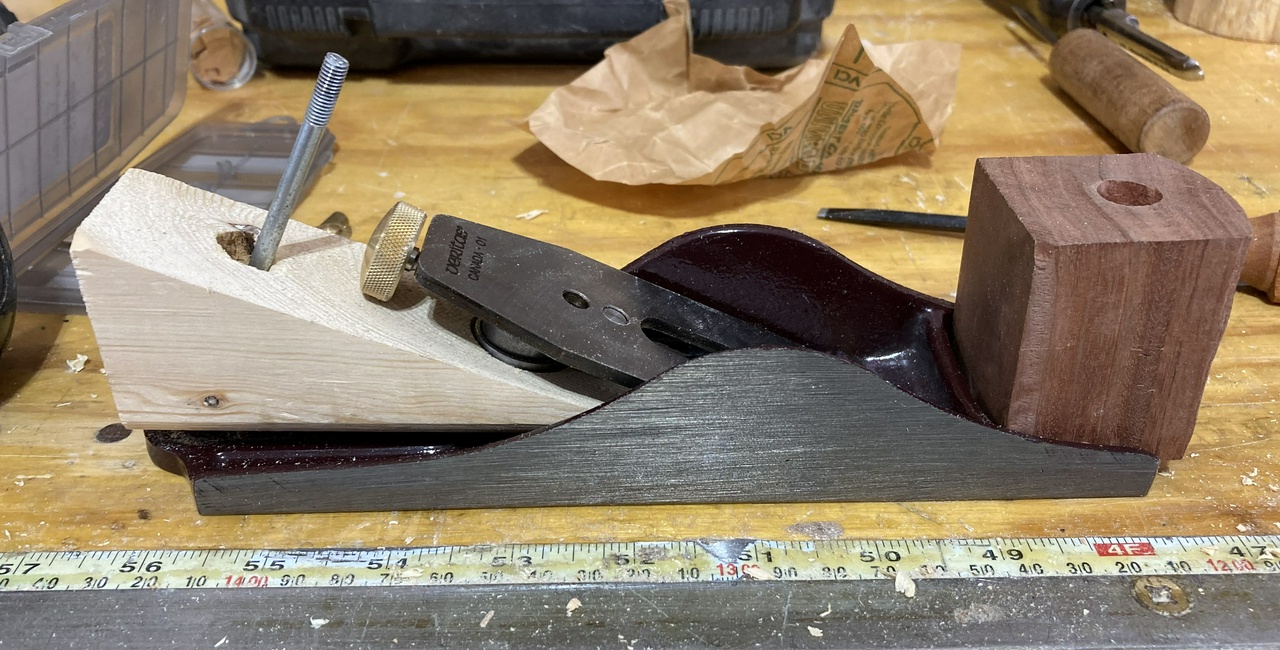
But I had a Veritas plane kit on hand, and I was pretty sure it worked with most of the smaller Veritas blades, so I ordered a spare blade for their bevel-up smoother that matched the size of the #3. I also initially planned to do the infill with some eucalyptus I got from AZWoody, but that plan fell by the wayside… Mostly because the eucalyptus from Arizona is brittle and hard to work, but also because I discovered I had a very nice bit of white oak in the shop. I bought a 6 foot long 10 inch wide 12/4 board a while back, and there was a knot near one end. The remaining bit on that end of the board looked like it would make a great infill for the plane.
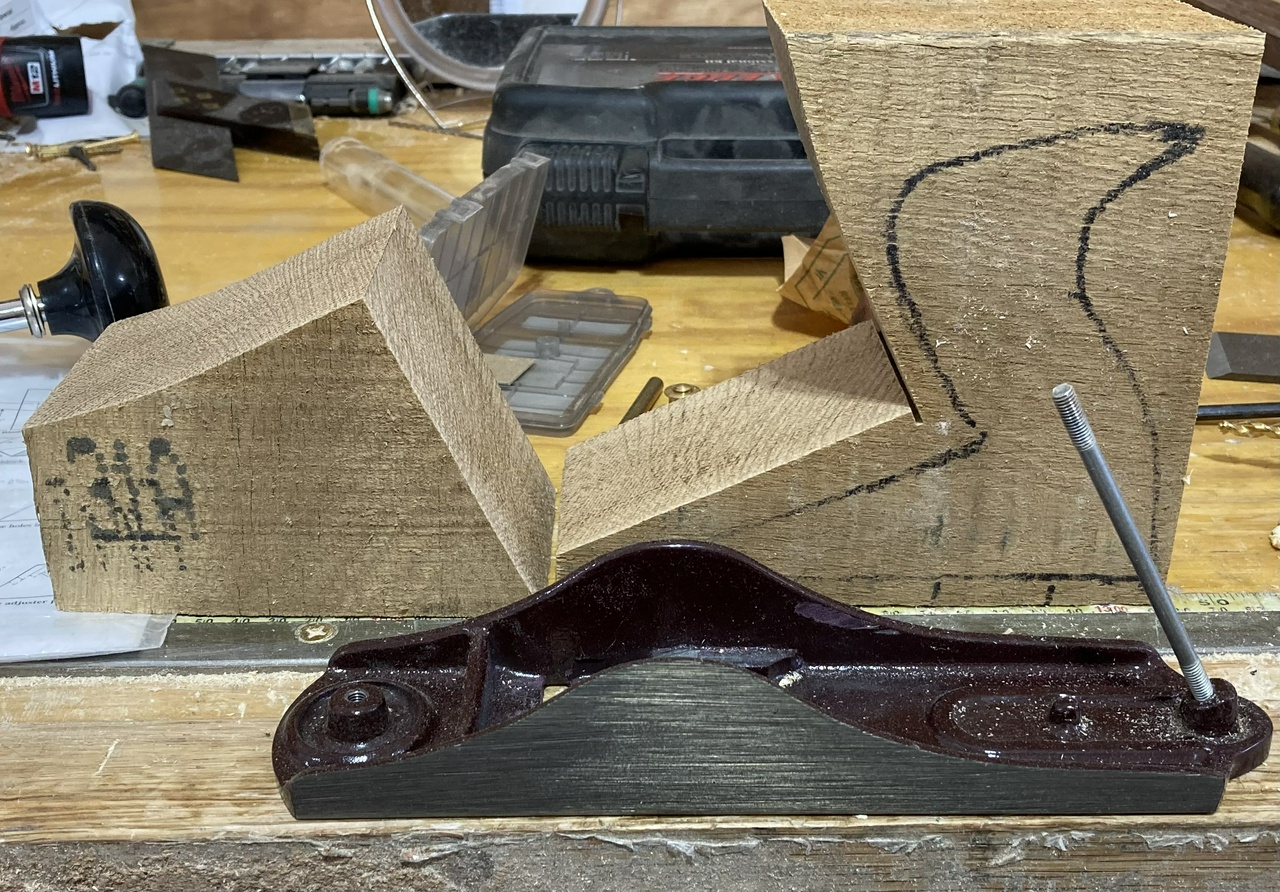
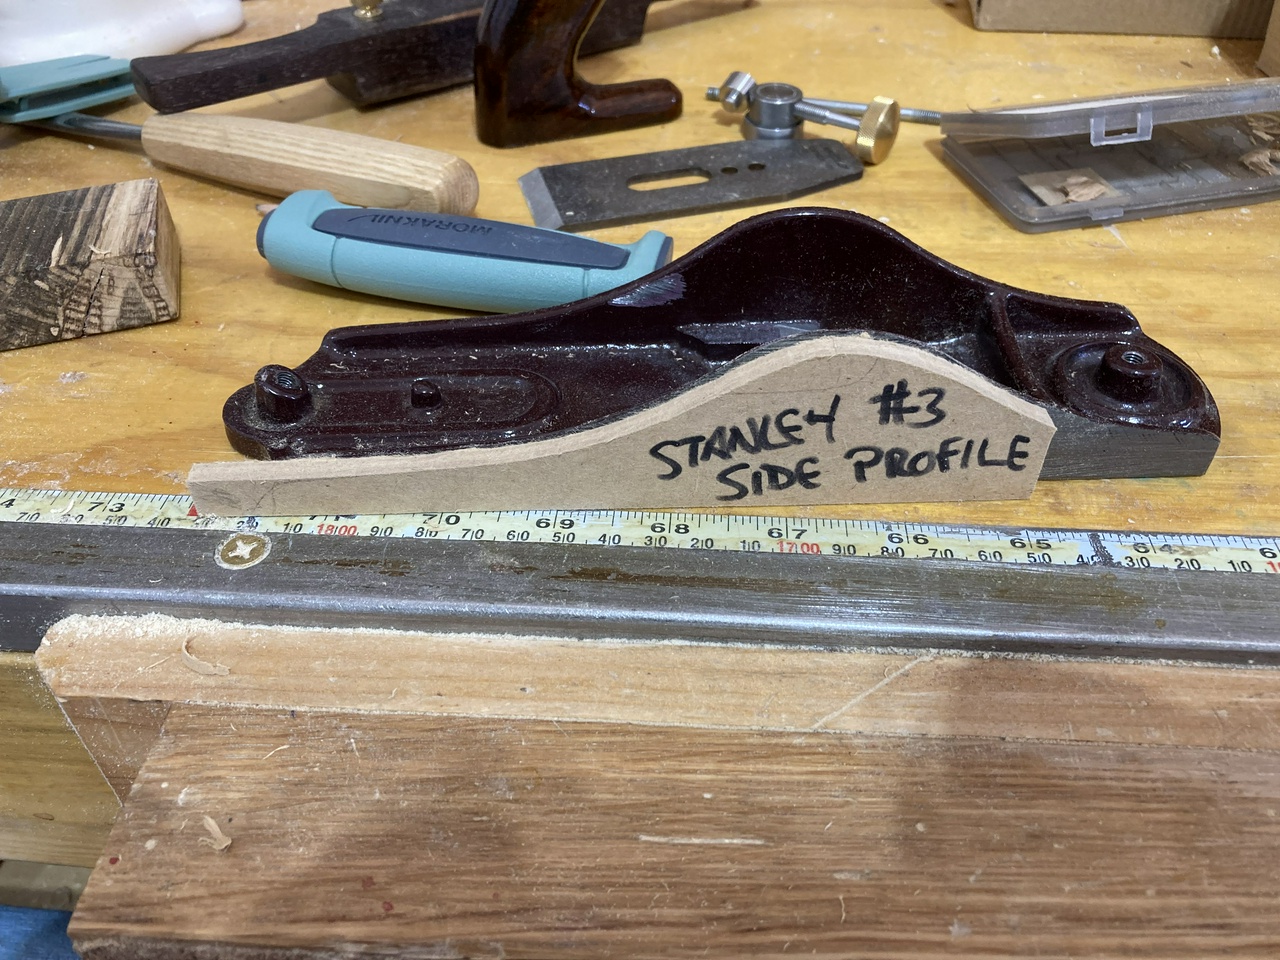
I set aside my pieces of oak and went to work with a chunk of spruce from a tubafor as my prototype, and made some templates from MDF so I could try things out as I experimented.
First thing I discovered was that the blade would be unsupported without the factory frog in place, so I cut a piece of brass to fill the area immediately behind the mouth with metal, giving me solid support for the blade where it would need it the most. I epoxied this into the plane body and set to work with a file making a smooth transition for the blade or infill to rest upon.
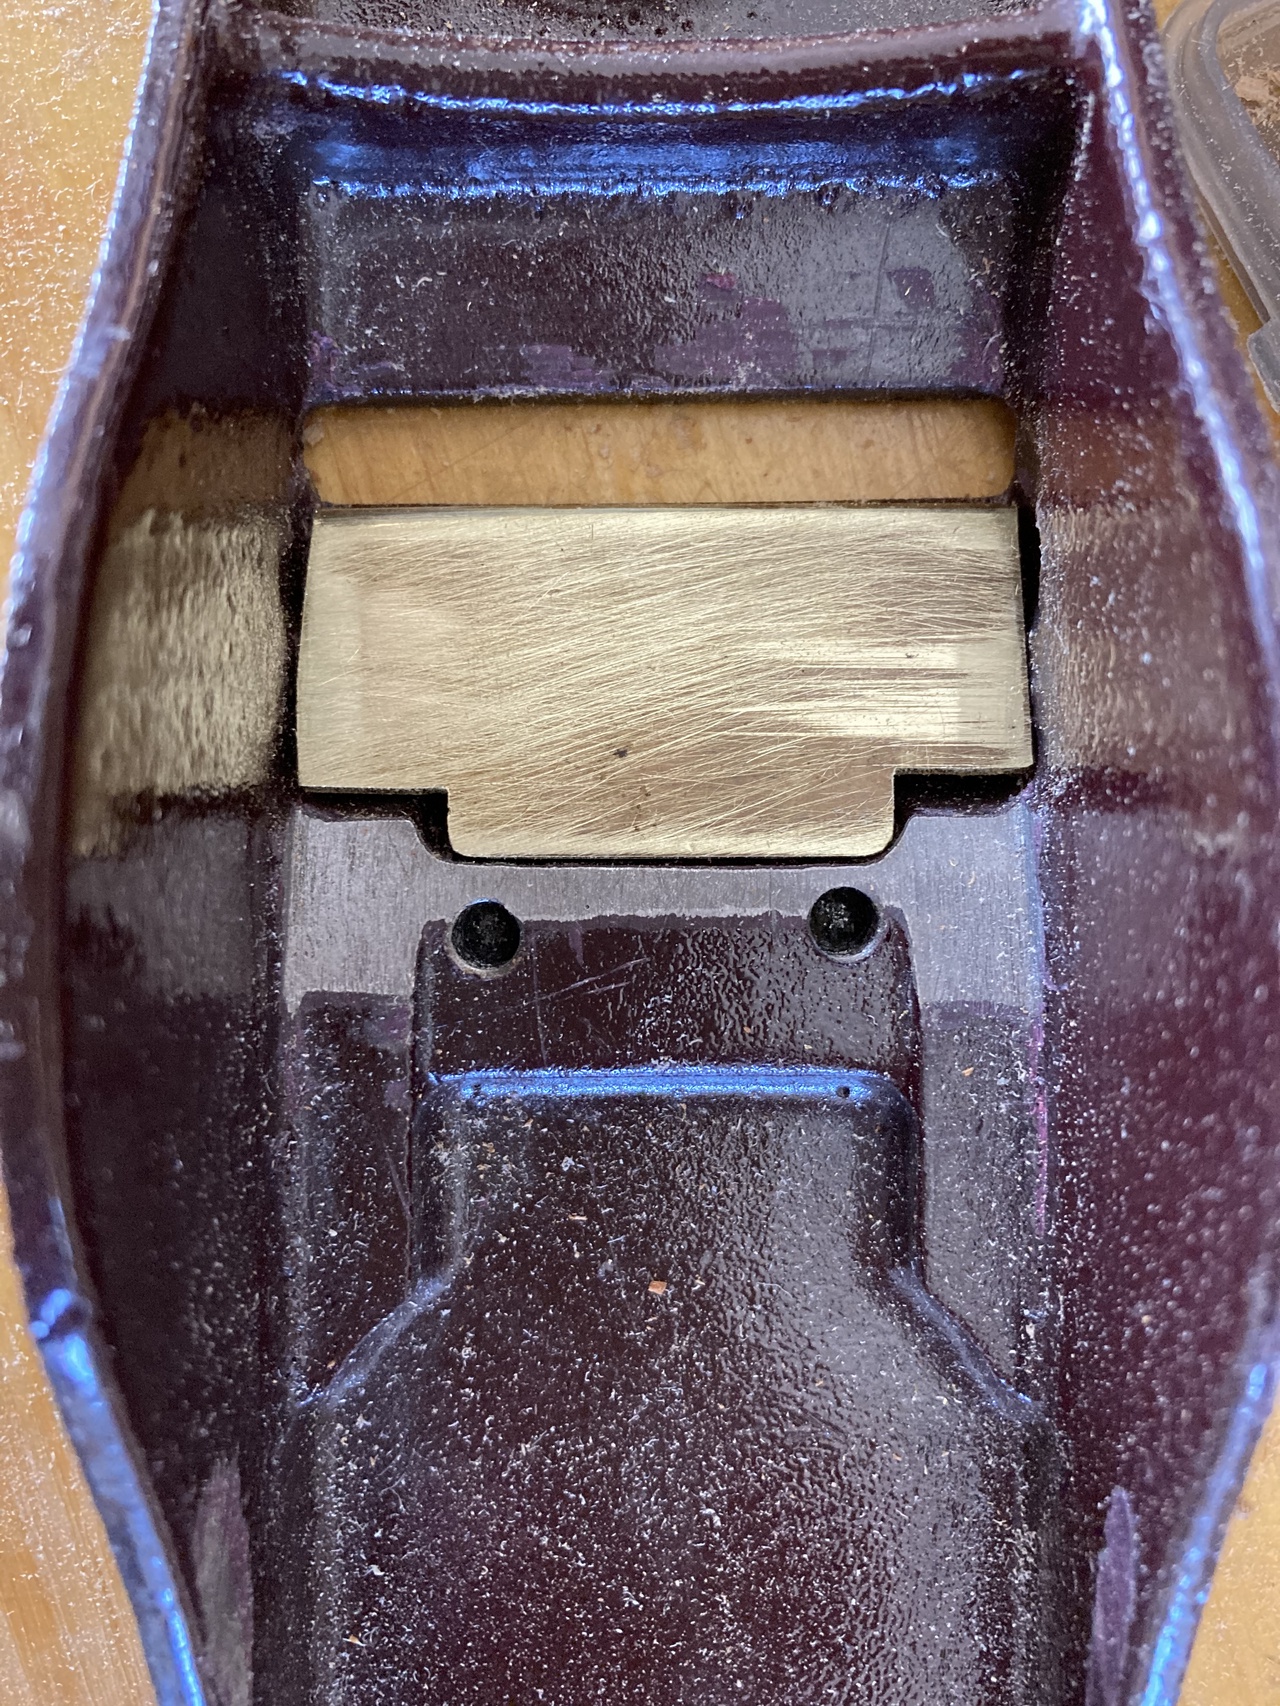
I also decided that I wanted to dress the plane up from the stock purple that Stanley chose. I had some Chromium Yellow (aka CAT Yellow) lettering enamel laying about, and decided that would look pretty good. It's not a sansoo-level paint job, but I think I did okay. I think there were four coats in most places.
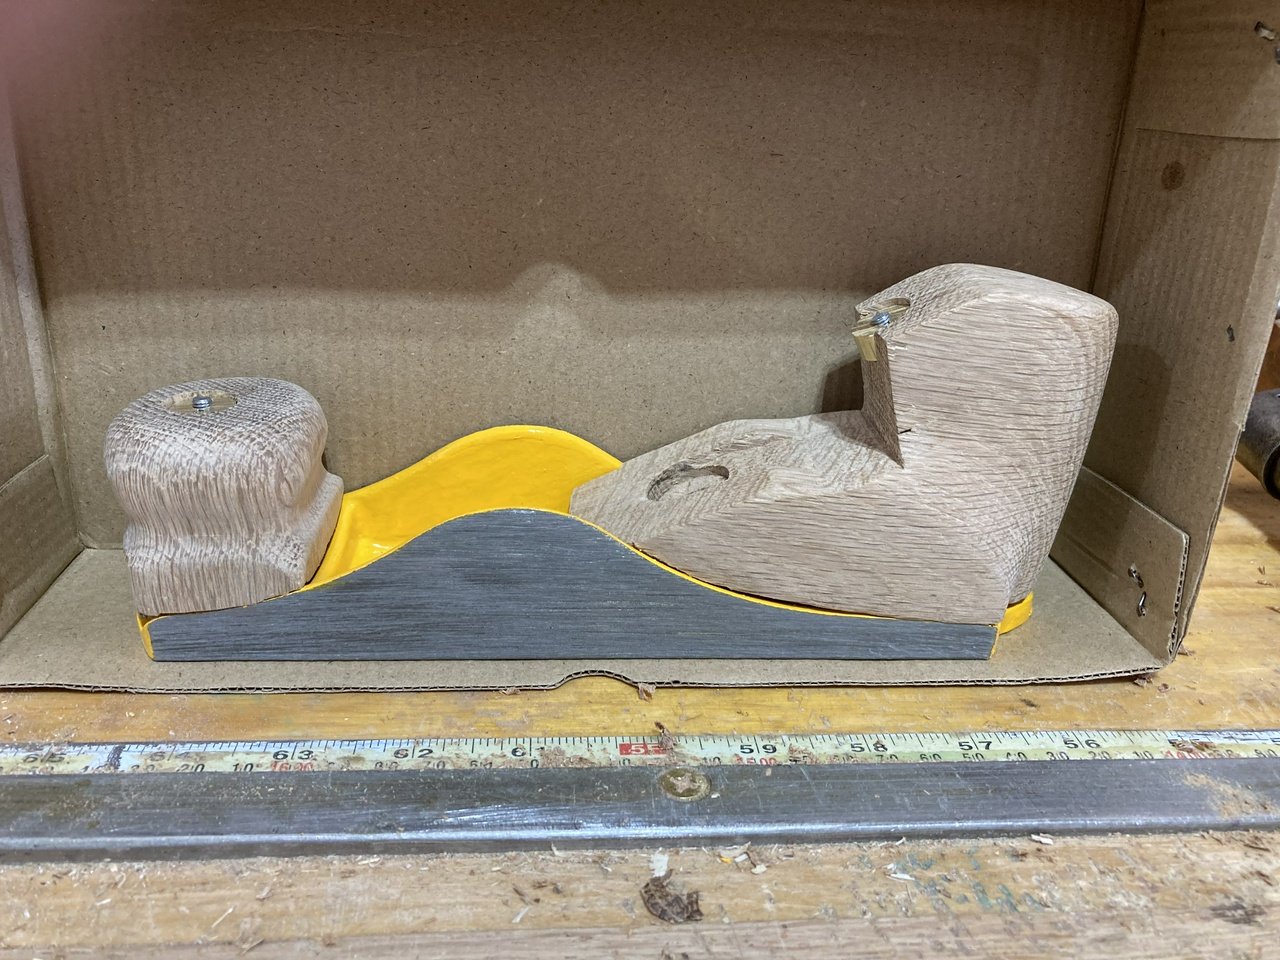
I was also working out the geometry of the plane, and knew that I wanted to use the original bolts to help hold the infill pieces in place. I wouldn't be able to do a tote like I had initially planned, but I got something that felt okay in my hand, which used the original bolts.
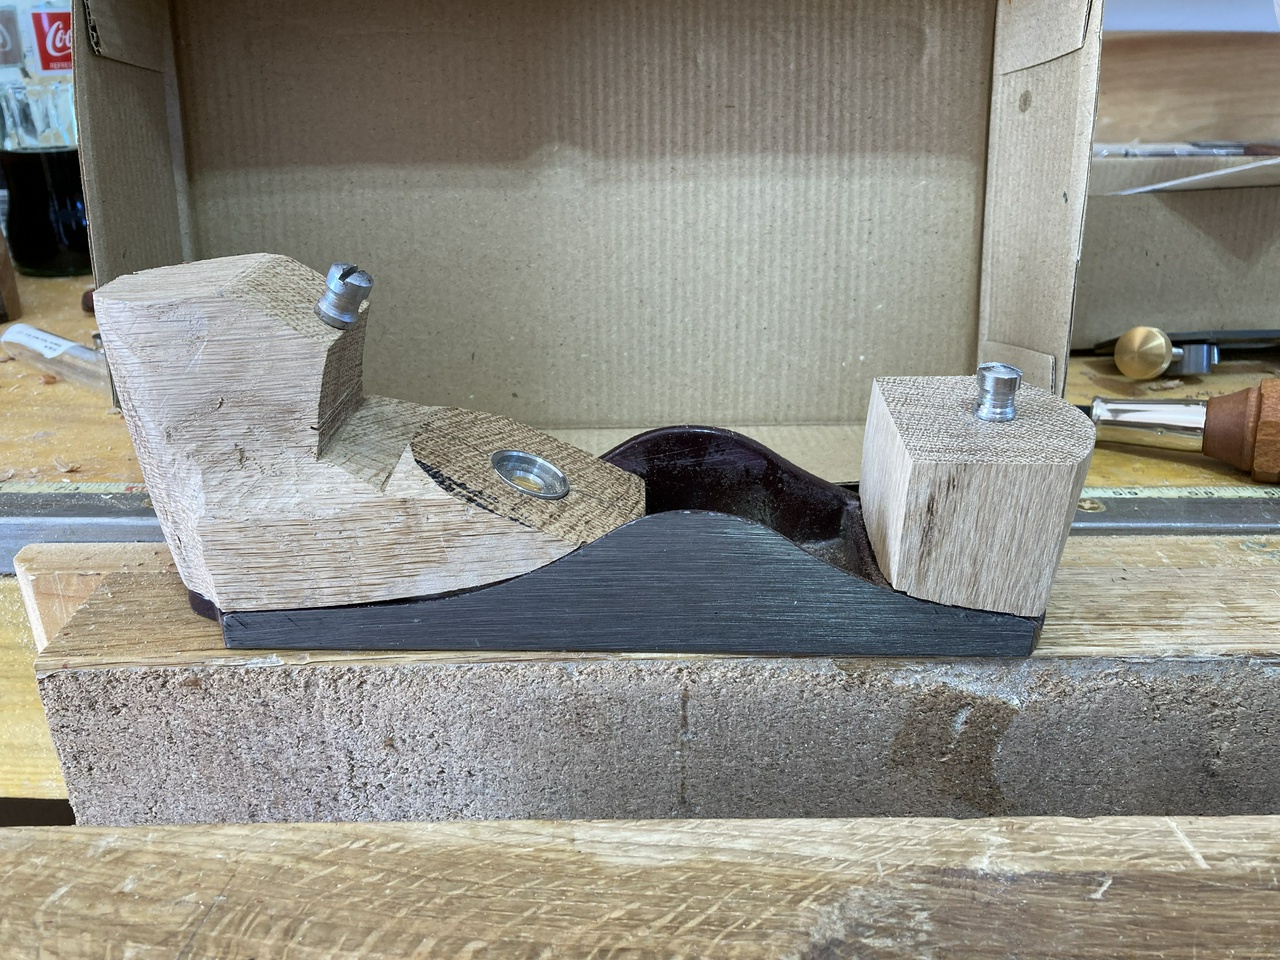
But the nuts that came with the plane wouldn't do, so I found a piece of ⅝” brass rod, and fashioned some new nuts for the plane. Rather than turn them into hex nuts or something that was a lot of work, I decided to make them split-nuts so I could use a driver I already had (and that just requires sawing a slot).
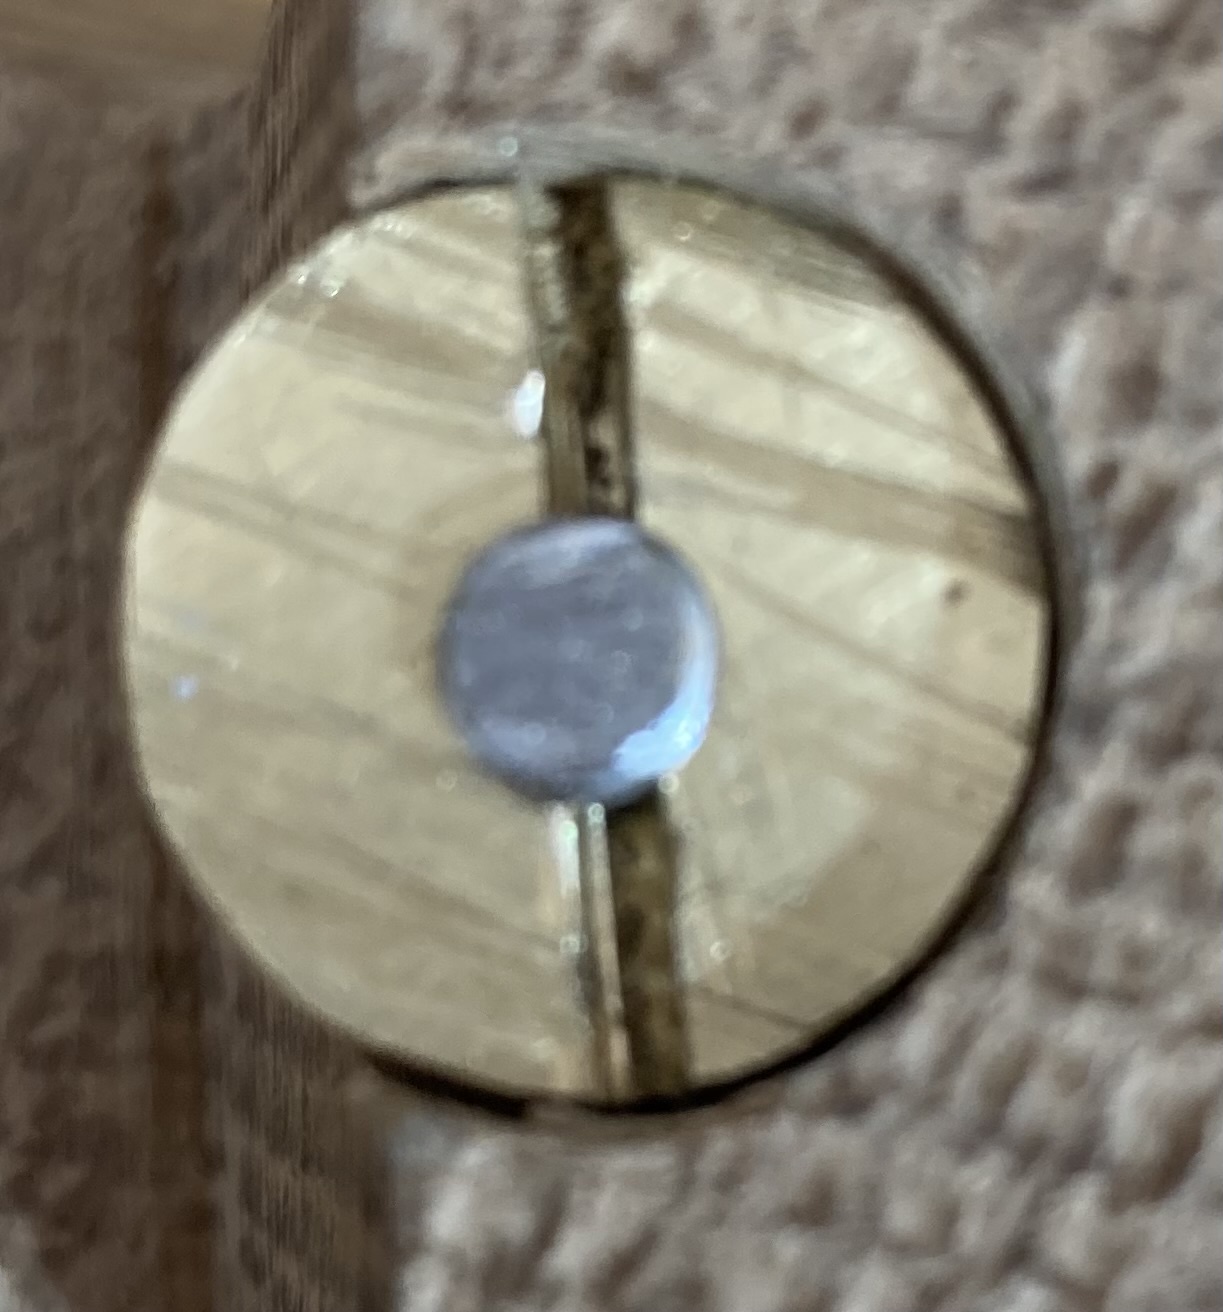
The bolts in this Stanley plane were 12-32. I don't have a tap and die for that, but I do have a set for 10-32, so I left the bottom ends stock, and reduced the upper ends of the bolts to 10-32 so I could tap the nuts to match. It's pretty easy to reduce the diameter of a bolt a little while not changing the thread.
As I worked, I ended up cutting off the tip of the rear infill and making it a separate piece. This meant that I had better access to it to shape it to match the slope I needed to bed the plane but I had to file down the heads of the factory screws a bit. But things were taking shape!
I drilled the holes for the cross-pin. The stock one from the Veritas plane kit wouldn't work, because it was too short, but I have a bunch of ¼” brass rod on hand. Turns out it's actually 15/64, but drilling a ¼” hole still worked, I just needed to make sure I didn't widen the hole too much.
I also drilled holes for screw the infill into place. I used #8 brass wood screws, countersunk just enough that when I filed off the head of the screw down to the bottom of the slot, I would be down to the side of the plane. My post-drill was getting quite a workout, and I spent quite a bit of time filing the screws, and peening the cross-bar into place and filing the ends of that smooth.
My first attempt at assembling the plane didn't go so well. With the blade not fully bedded, the chatter when trying to plane was horrible. I almost gave up and moved on to plan B, but I figured I'd give it one last try and took things apart and cut deeper grooves for the adjuster to ride in, which also meant making a deeper space for the adjuster knob.
With those changes made the plane suddenly worked well! The chatter was gone, and it would take shavings. Not great shavings, and the blade was now about 1/32” too long, but making things shorter is easy! Off to the grinder to establish a new bevel on the blade.
With that done, everything went together well, and it was just a matter of finishing it up. Well, almost. The metal plane wedge that I had initially planned to ship was no longer thick enough to hold the (now lower) plane blade securely. And making things thicker isn't as easy as making them thinner. So I got out some bubinga and ash veneer I had on hand and laminated up a new wedge for the plane. I alternated the grains, so the bubinga grain, which is visible, runs cross-wise in the plane body. It looks a little strange, but I like it.
Finish was three coats of linseed oil on all the wooden bits. I let each coat cure for a full day, while I worked on the bonus projects for the swap, and then once the oil had dried, I coated all the exposed metal (and the wood) with paste wax. It looks and feels pretty good, I think.
I also included a spokeshave as a bonus. The spokeshave was made from granadillo. I used a Hock Spokeshave Kit, which unfortunately had come without the mounting bolts and thumbscrews. Oh well, the threads in the blade are 10-32, which Ron verified when I emailed to let him know about the missing thumbscrews and bolts, so I just headed to the hardware store. Got a few 3” long 10-32 bolts, and I reused the thumbscrews from one of my own spokeshaves, since I didn't have great luck making my own thumbscrews from brass. I'll fix them up one of these days…
Anyway, I started cutting away some of the waste with the bandsaw, then went to work with rasps, files, hand-saws, gouges and chisels. I also drilled the holes for the mounting with the post drill. Then after setting the blade and making sure it worked correctly, I hacksawed the bolts to length and filed the ends smooth so they won't be an injury risk.

Having a well-appointed shop made this go a lot quicker than last year's spokeshave which was built before my shop was done.

The piece of granadillo I was using had a bit of sapwood on it, too. I had meant to place this on the back of the shave, but I got myself turned around, and it ended up on the sole of the spokeshave. Hopefully it won't wear too fast.

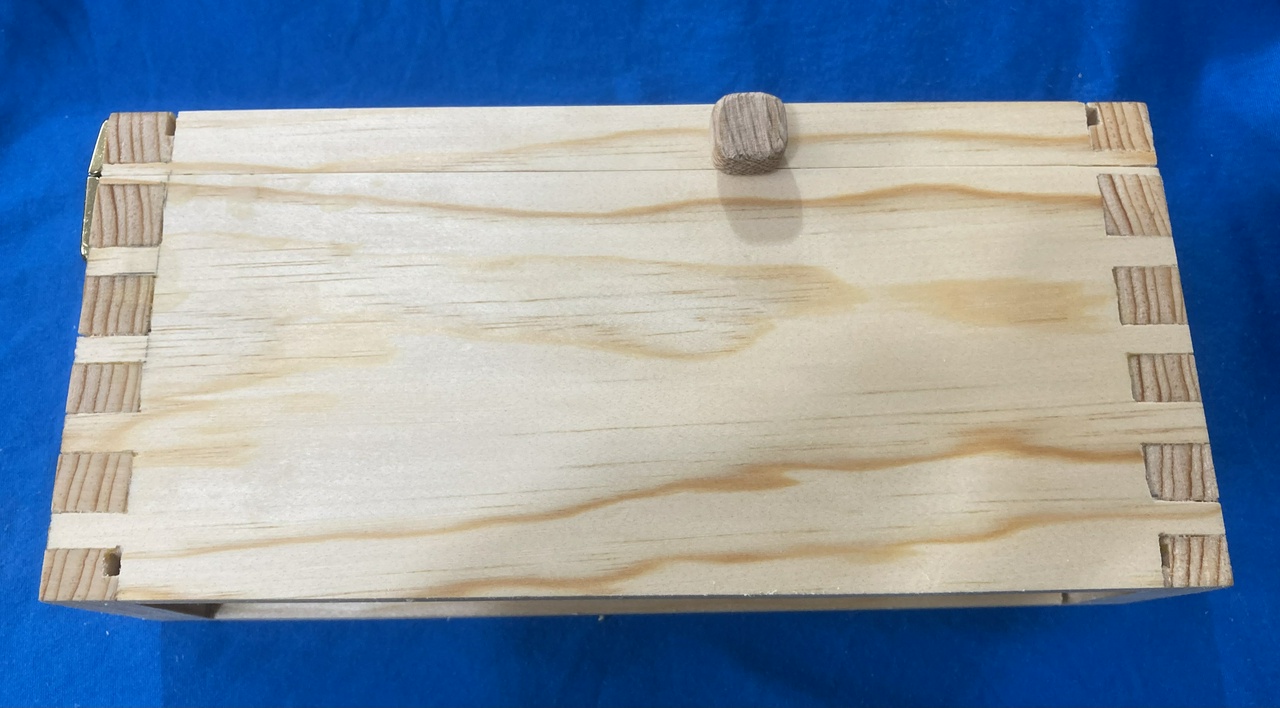
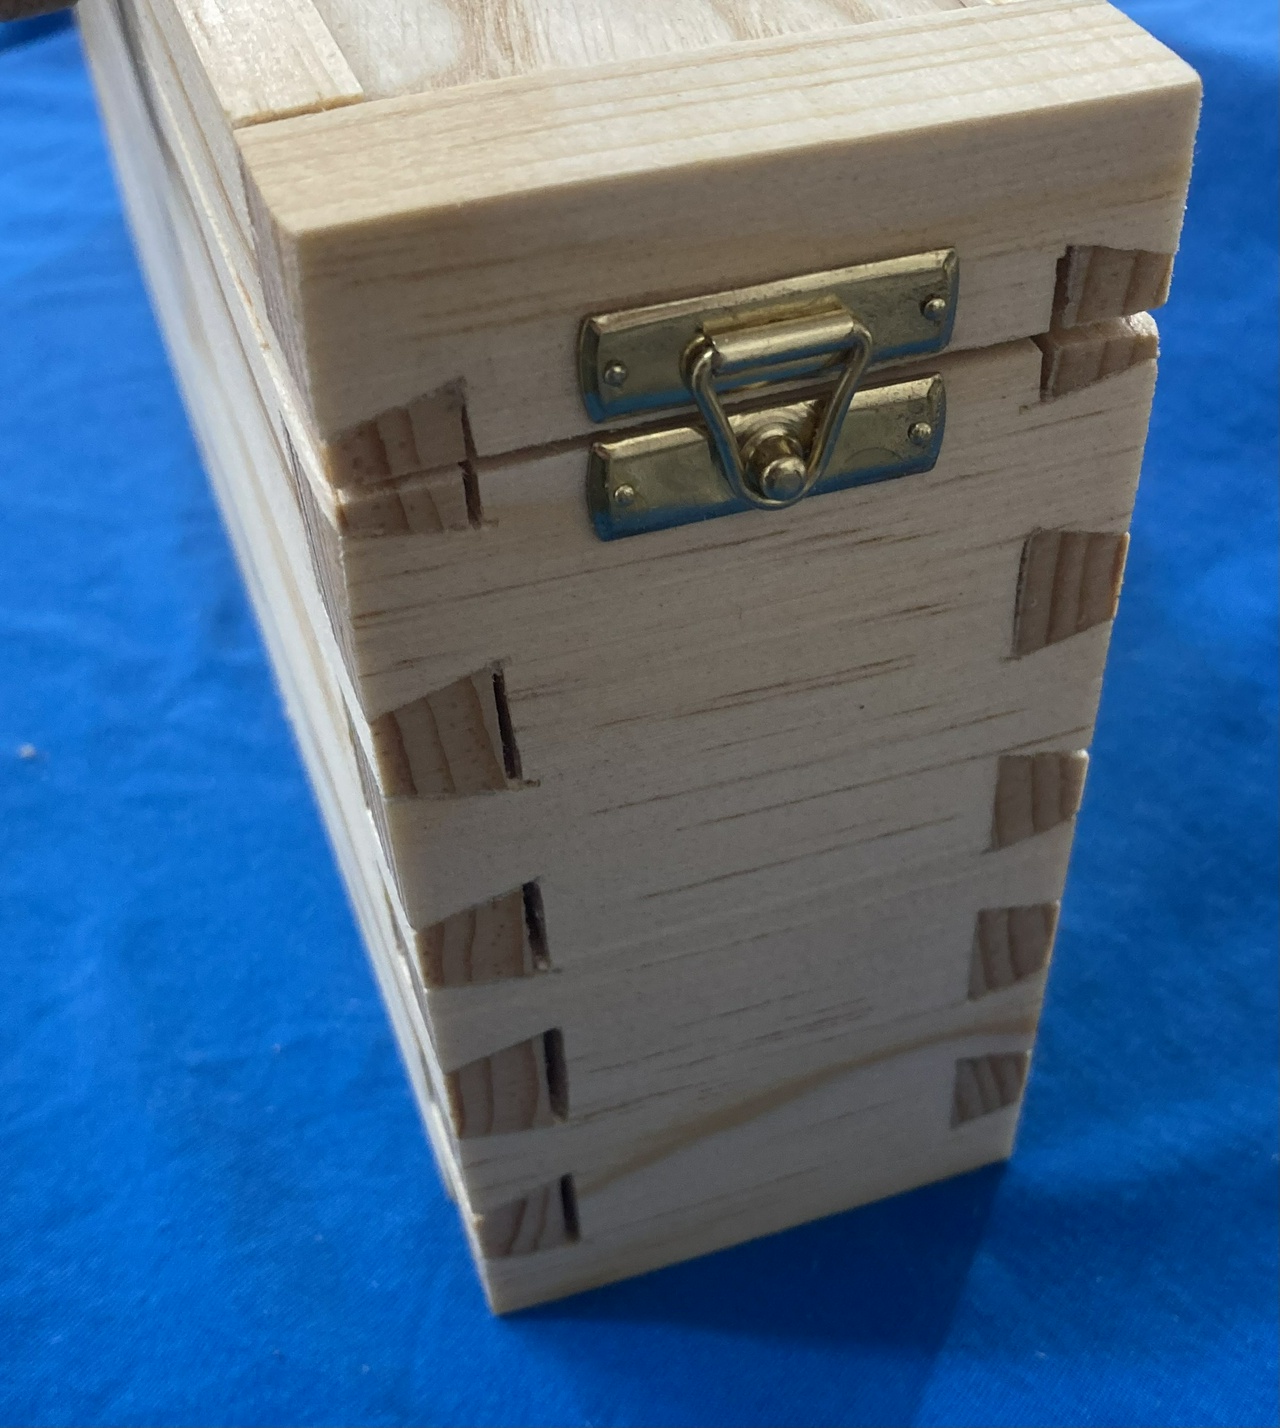
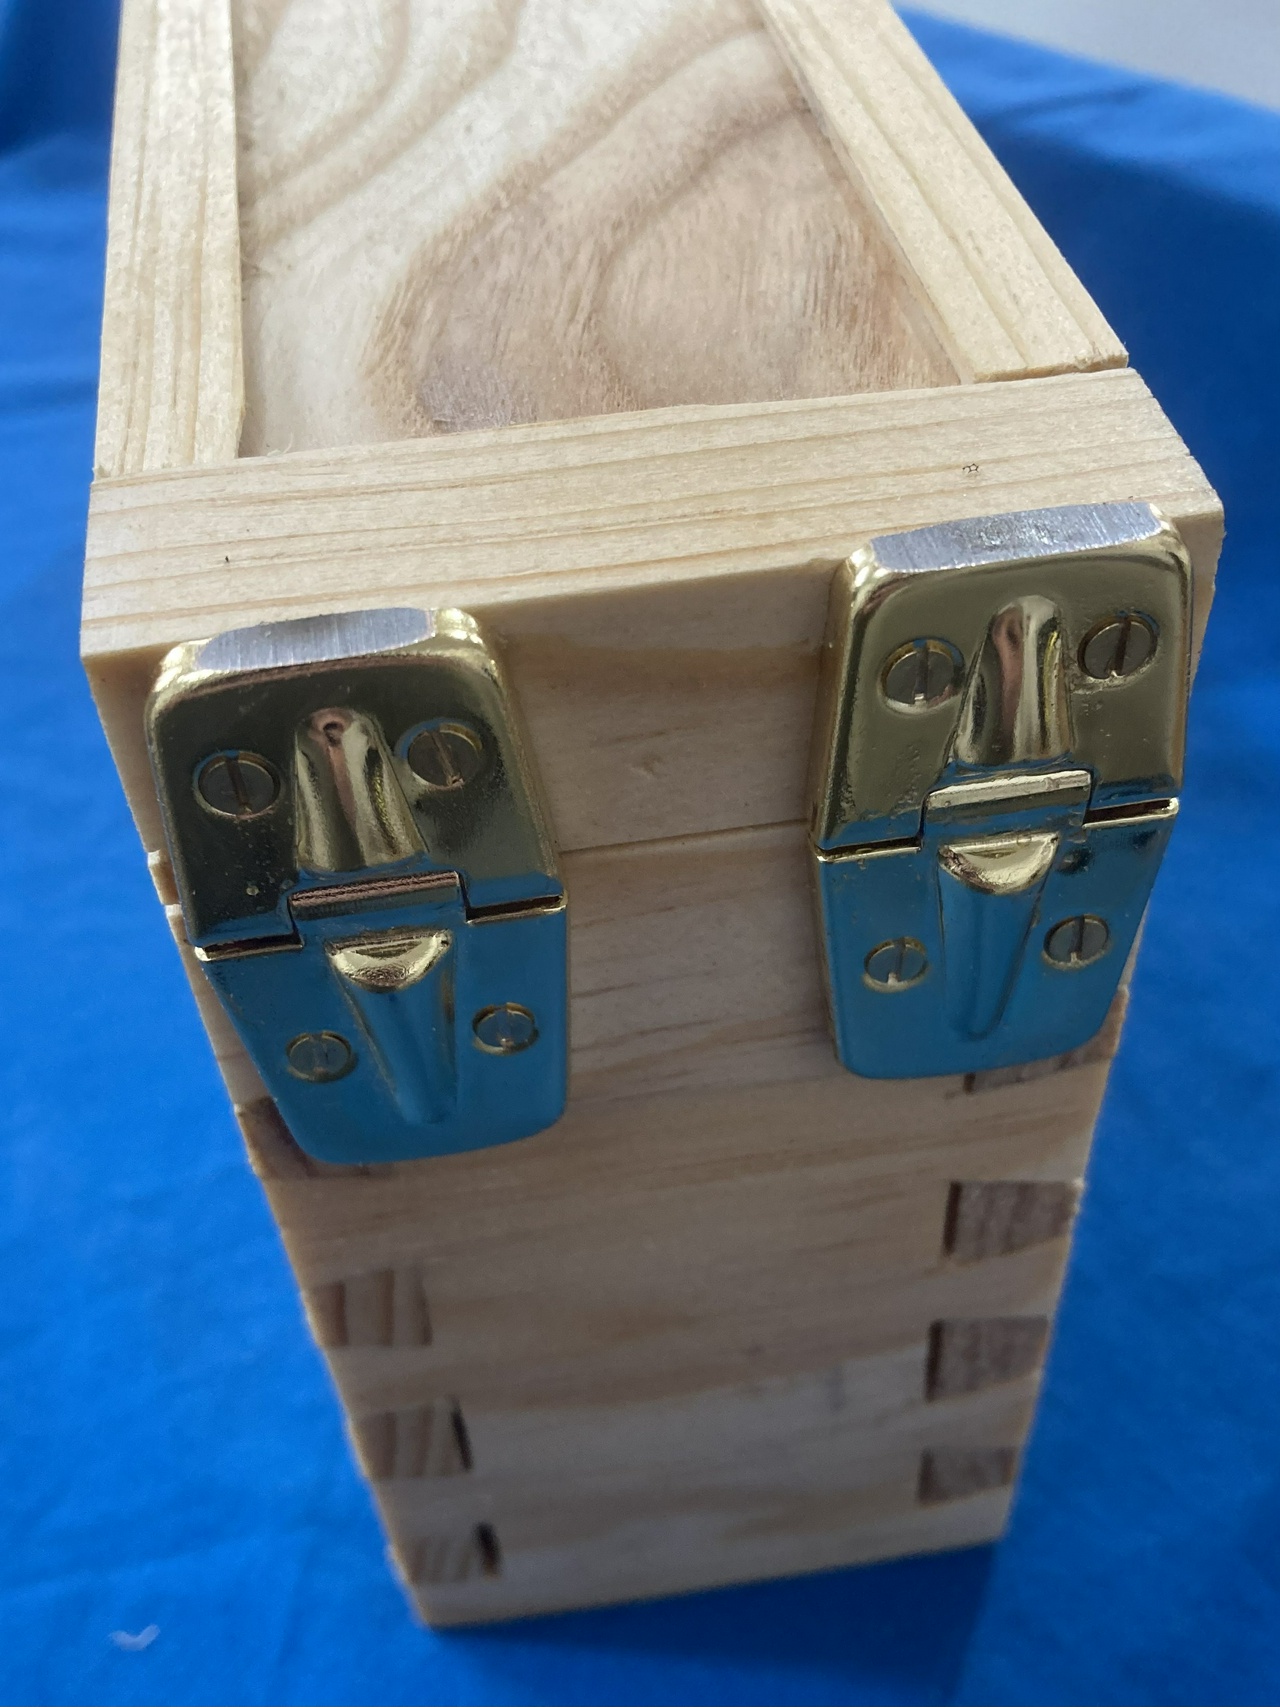
I also built a box to hold everything. It's fairly simple construction. A piece of red oak resawed in half to make the top and bottom, and a piece of walnut that was resawed in half to make the sides of the box. The bottom is simply rabbeted into the dovetailed sides, and the top got some bubinga veneer and oak sides so it would fit over the bottom of the box.
To build it, I cut the rabbets on the edge of the walnut, then dovetailed the walnut together. Then I trimmed the bottom piece of red oak to fit into the rabbets. Glued everything together and took it to the belt sander to clean up the outside edges of everything. I had one gap in the bottom which I filled with sawdust from the sanding and CA glue.
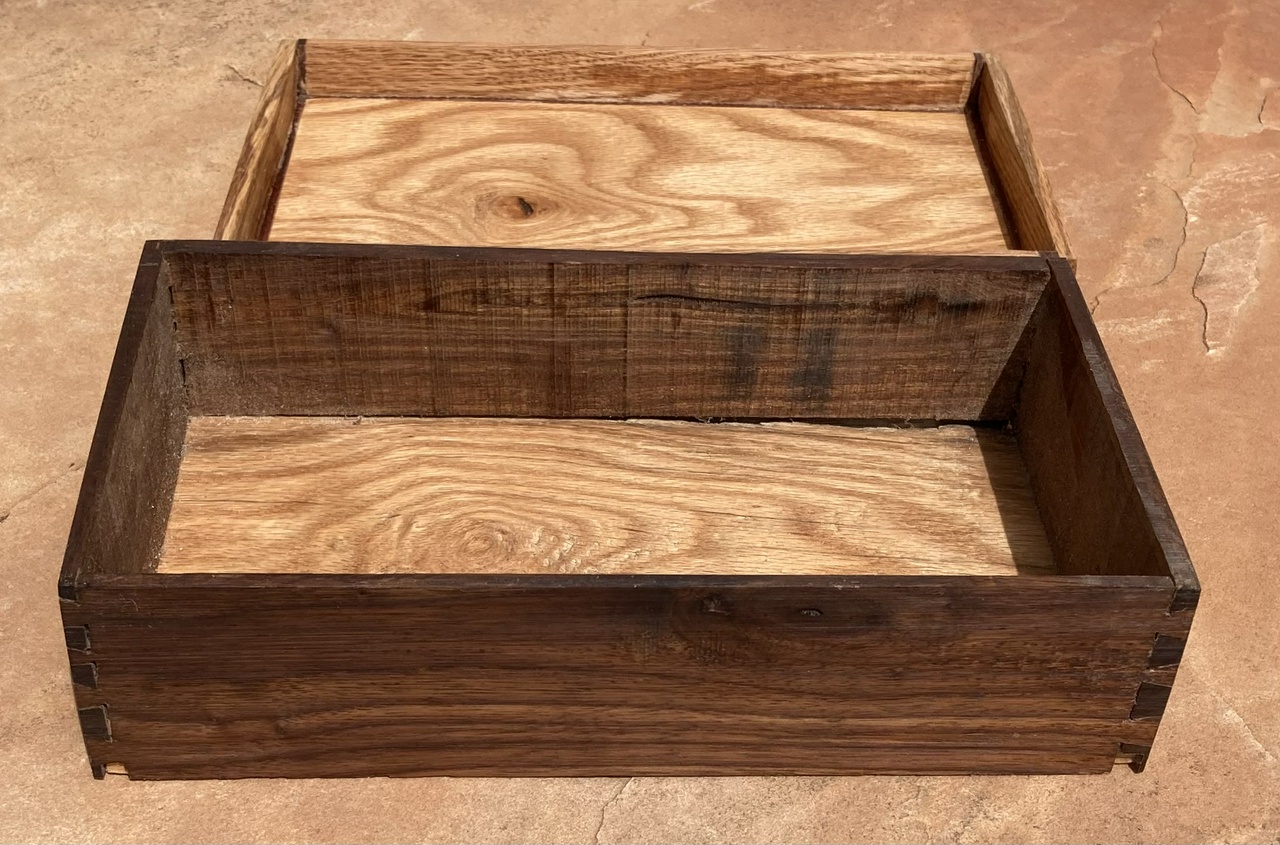
For the lid, I glued strips of the 1/8” thick bubinga veneer to the edges of the top, then resawed a scrap of white oak to make the sides of the lid and glued those to the bubinga. Headed to the belt-sander again and made everything smooth. Again, there were a few small gaps between the oak and bubinga, so I filled those with the sanding dust and some more CA glue.
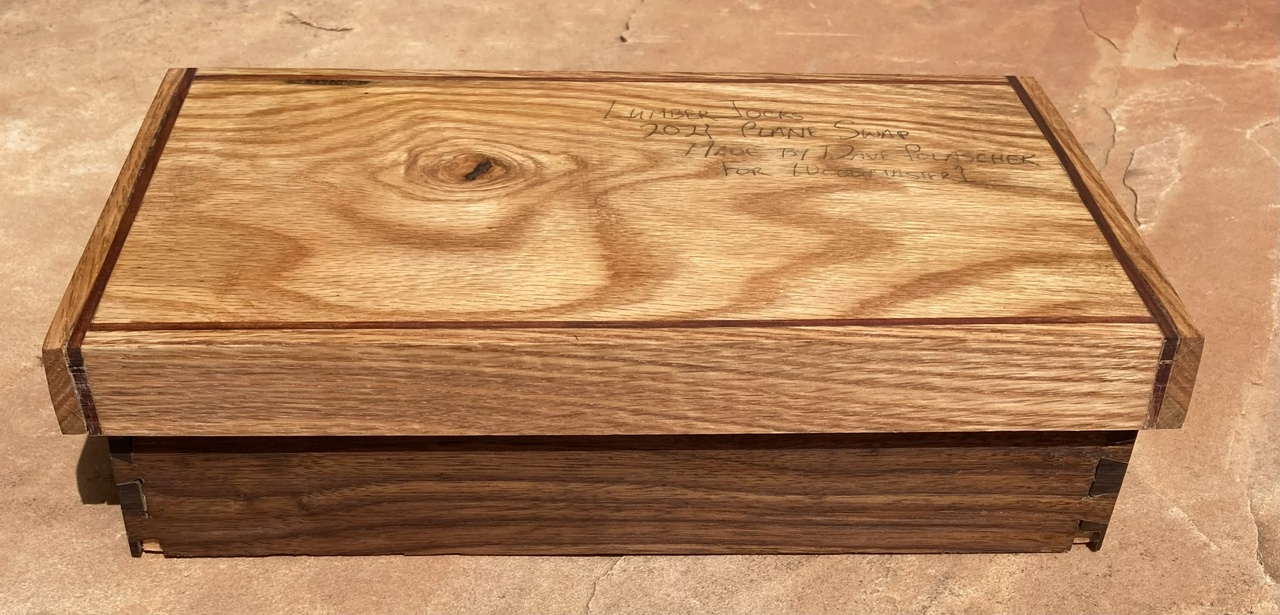
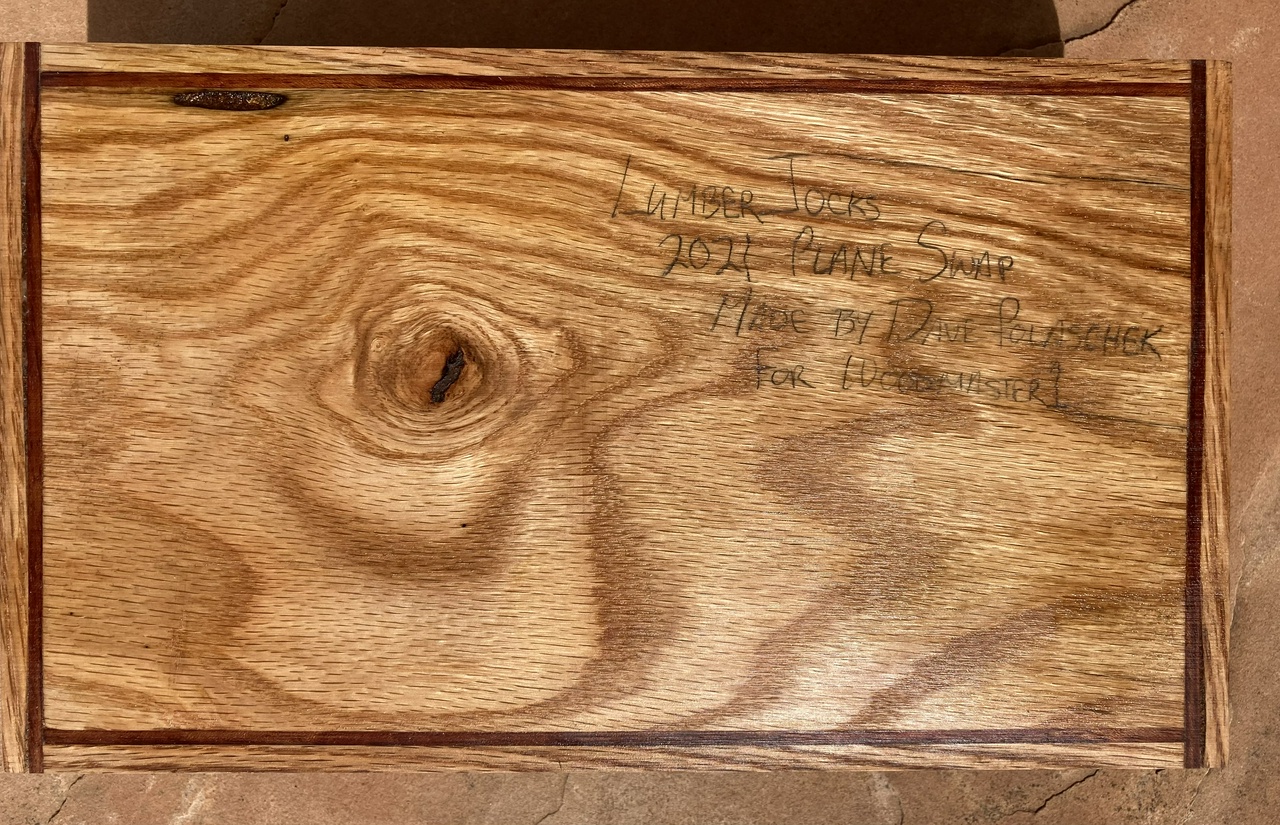
Wrote on the lid of the box with a pencil, then gave it three coats of shellac. It offered another layer of protection to the plane and the spokeshave in case the post office was less than gentle in the delivery.
#woodworking #planemaking #toolmaking #plane #box #spokeshave #swap #project
Discuss...
Reply to this in the fediverse: @davepolaschek@writing.exchange


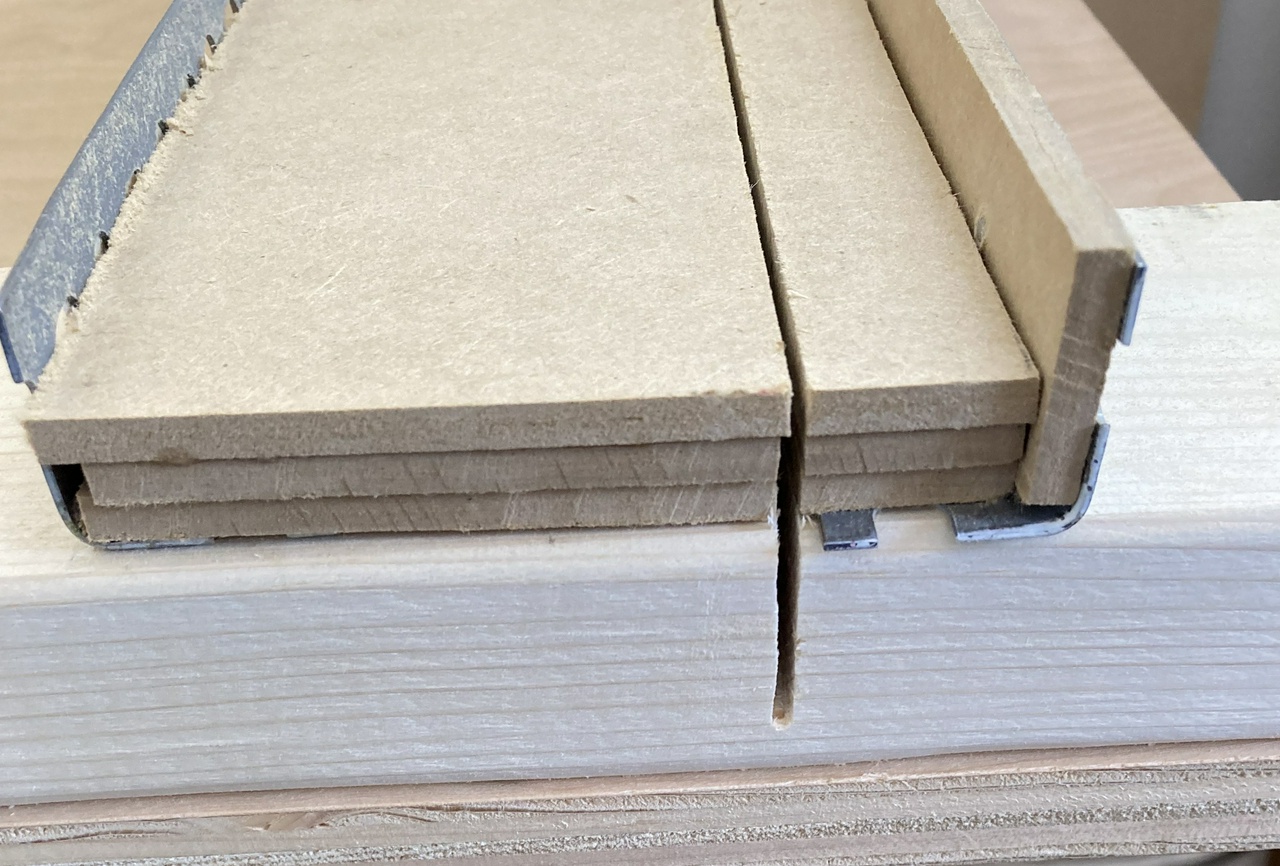


 * Third sneak-peek is my workbench, set up for building these cases.

