davepolaschek

Wood. Food. More.

Jan 8, 2022

When I left off yesterday, I had roughly laid out the boards for the drawer fronts and was thinking about how best to keep them aligned through the process of attaching them to the drawer boxes.

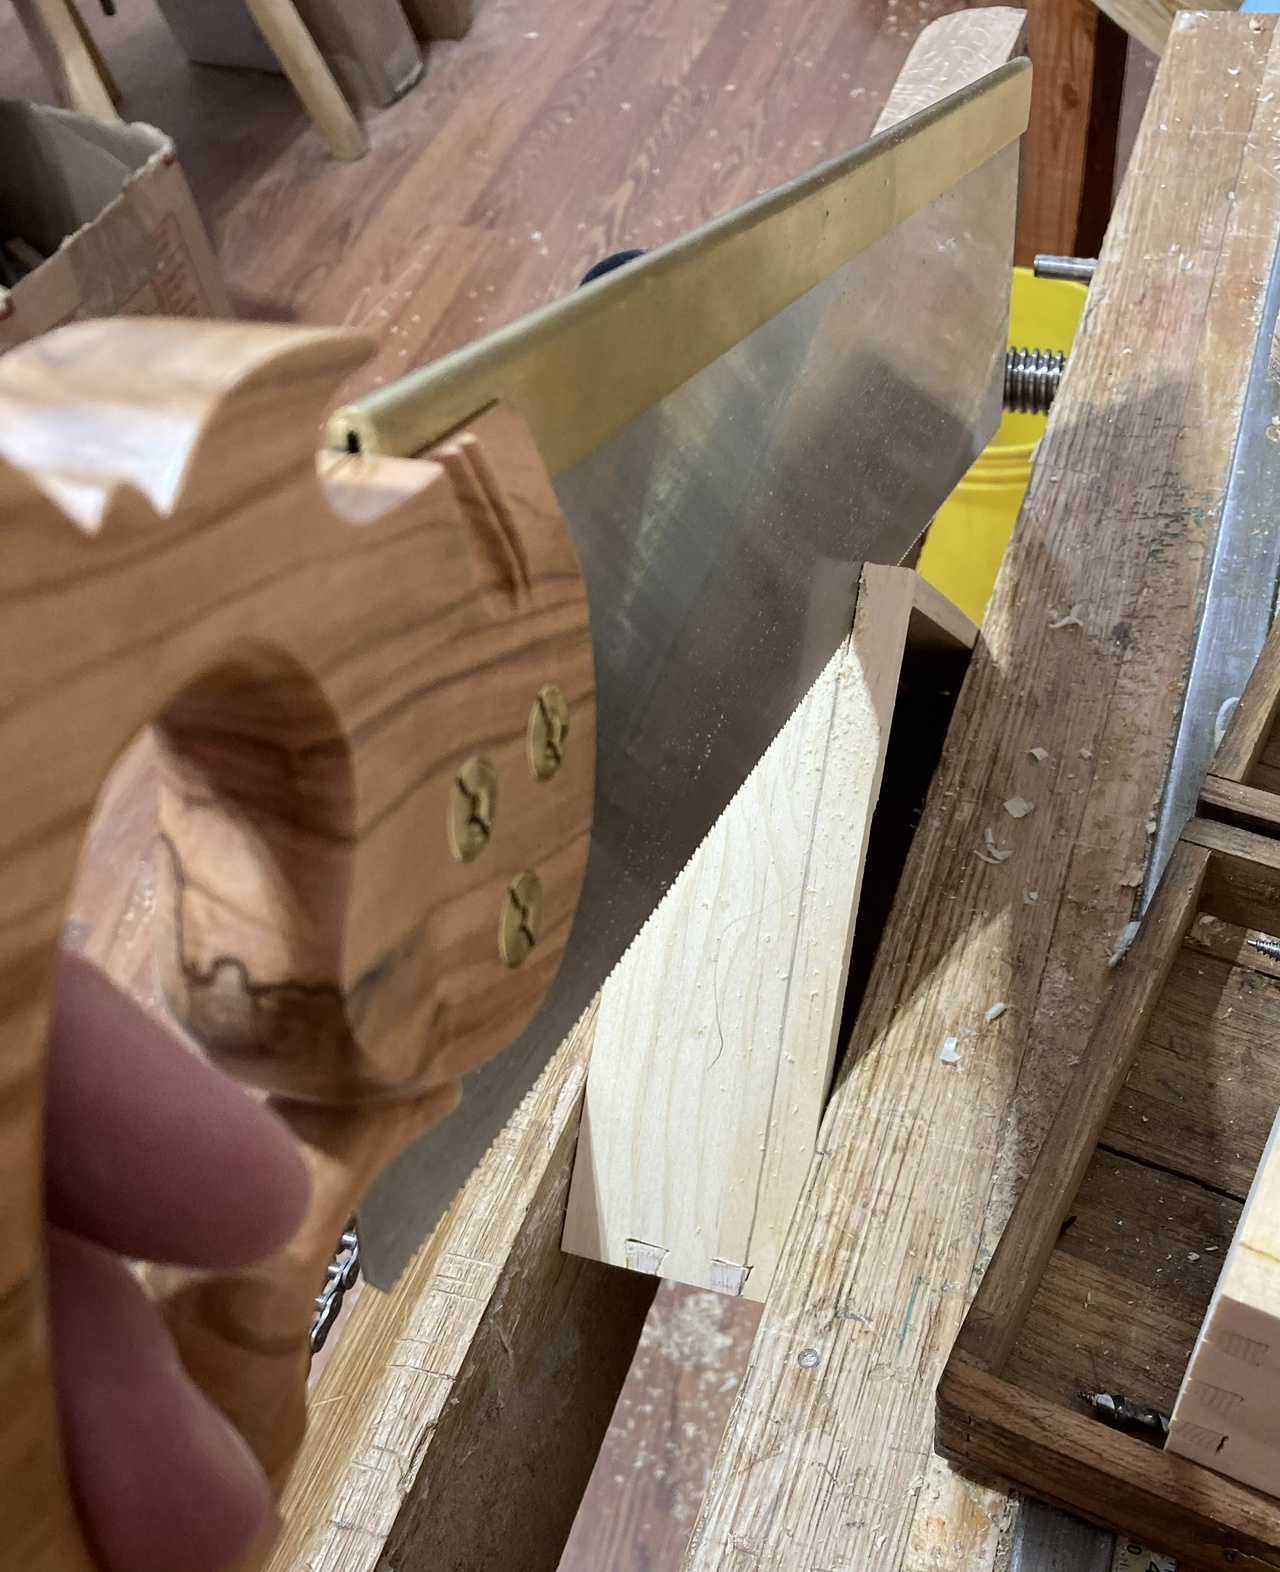
First step was to trim the boards down to length so I wasn't wrestling a 5-6 foot long piece around the shop. I used my “new” miter box for that.

Using the miter box to cut off the unused portion of the drawer front board, side view

Using the miter box to cut off the unused portion of the drawer front board, front view showing how the adjacent bench will hold the end of a long board

This also will give you a bit of an idea of the chaos that is my bench top at the moment.

With that done, I wanted a way to get the drawers aligned vertically so I could mark how much I need to take off the top of the top row and the bottom of the bottom row. I decided that the best next step would be to flatten the backs of the boards. For the thicker one, this meant trimming off 3/32 in some spots, so I set up to resaw it on the bandsaw. I didn't take any picture of that because halfway through that board, the bottom of the bandsaw blade had wandered enough that it hit the side of the insert in the table, snapped, and the end of the blade took a little bite out of my finger. Nothing a band-aid wouldn't fix, but it threw me off a bit.

I inspected the bandsaw, and the problem is that the sliding bracket that holds the upper wheel doesn't slide very well, and the sides of it that should be smooth so they'll slide in the groove on the frame are all chewed up. So it sticks. So I had plenty of tension on the gauge that shows the tension on the wheel, but I didn't have as much tension as I thought on the blade, so bad things happened. New part ordered. Sigh.

So much for having my tailed apprentice save me some work. I put a new blade on, tensioned the blade and finished the cut, and then unplugged the bandsaw until the new parts arrive.

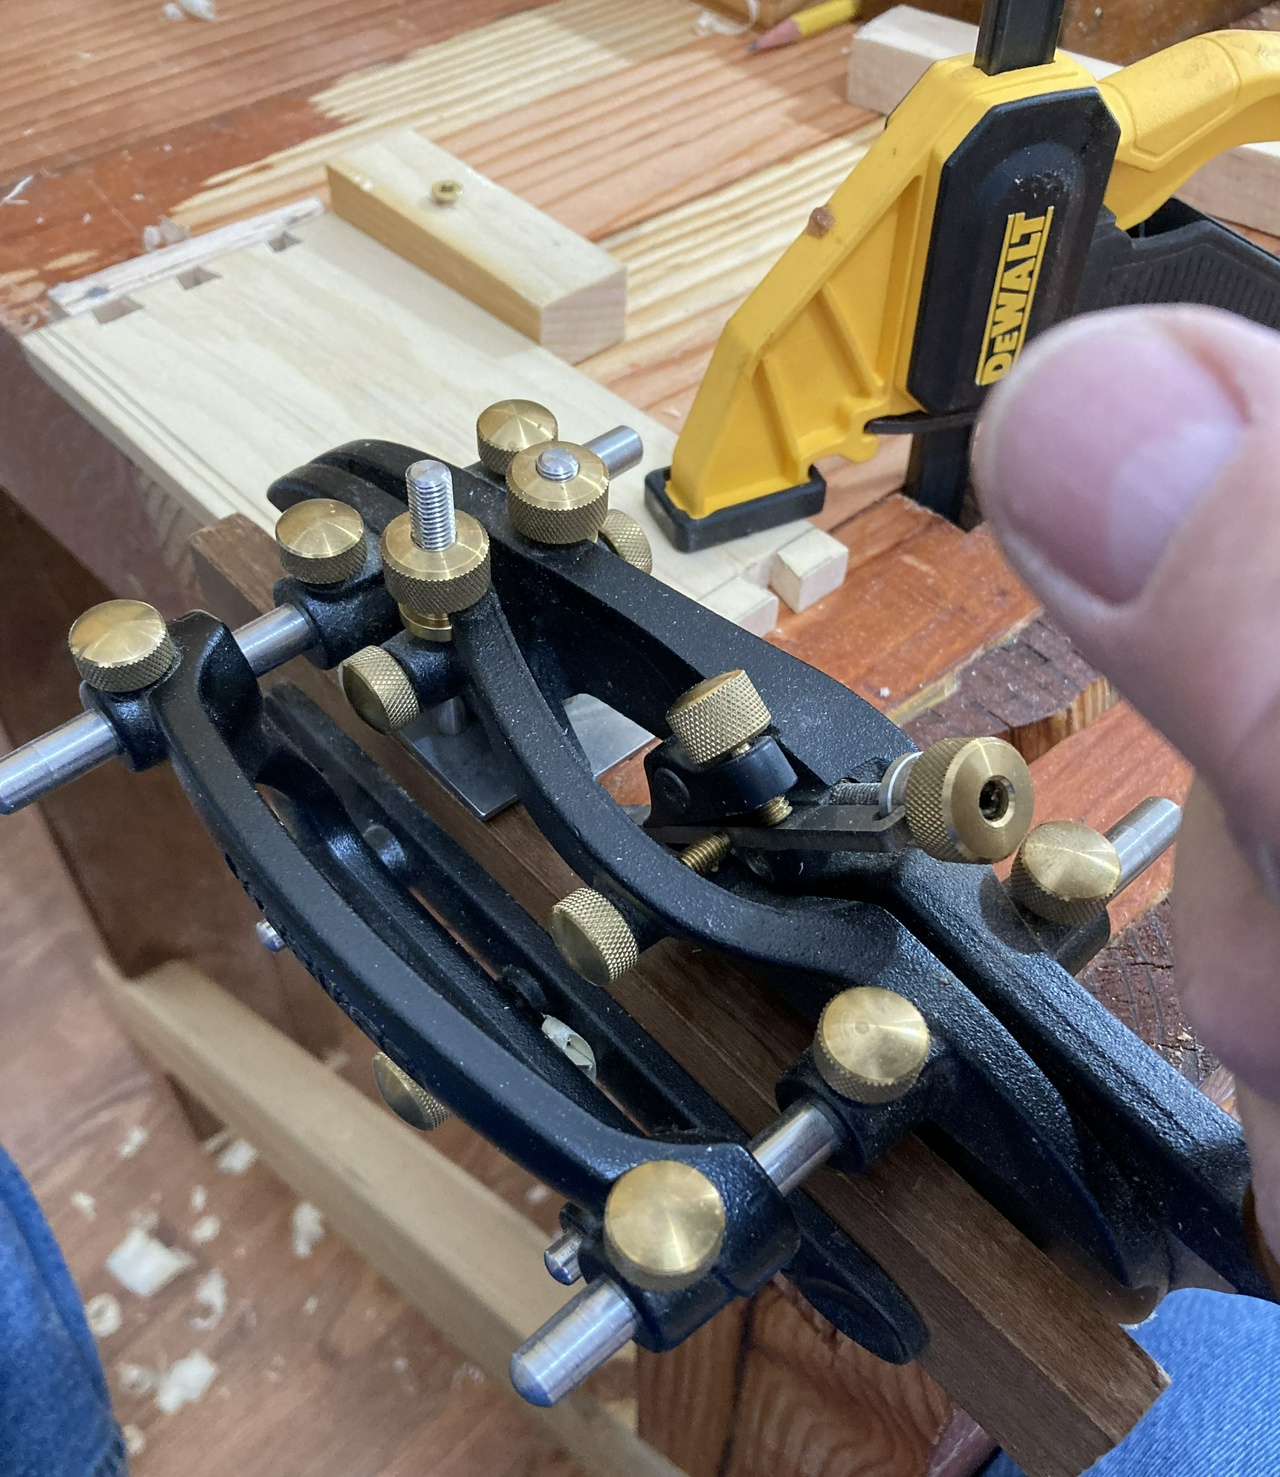
Then I got out the transitional plane I got from my Secret Santa and smoothed the backs of the drawer fronts enough that I figured I'd be able to glue them to the drawer boxes.

drawer-front boards sitting on top of the bench, showing the rough side which will need to be smoothed enough that the drawer-fronts can be glued to the drawer boxes

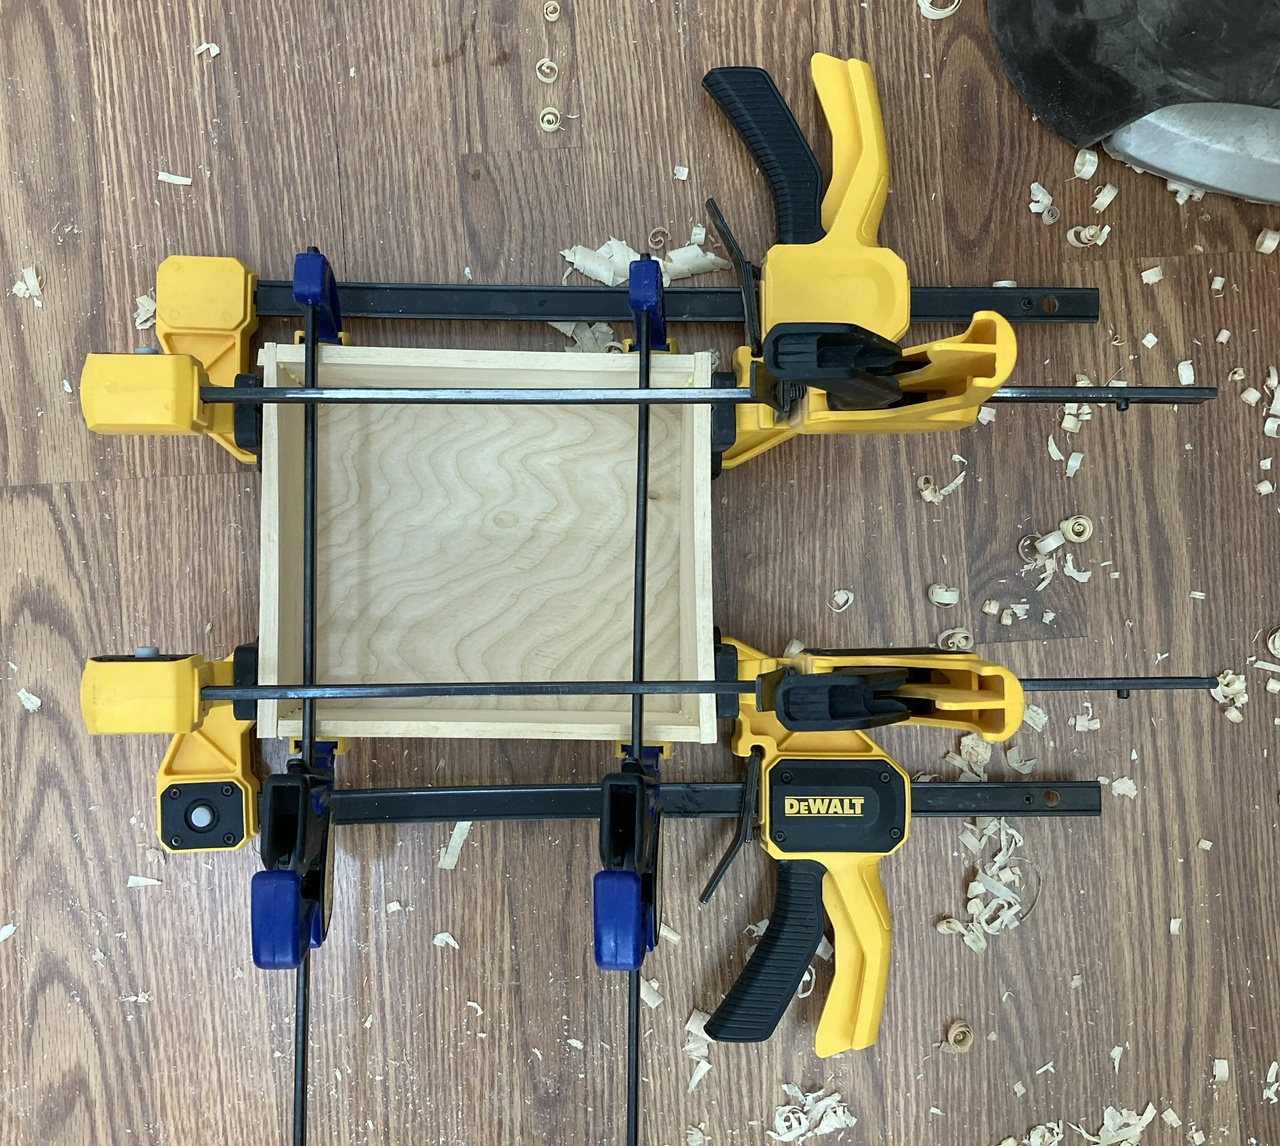
I used a couple screws and a piece of blue tape to hold the top board in place while I marked and double-checked the height, then cut the excess off the top of the board and planed the top edge smooth.

Board for the upper drawers taped to the cabinet, with the individual drawer positions marked

Then I used the miter box to cut the drawer fronts apart.

Four drawer-fronts cut apart, showing the grain match

Then I screwed each drawer front onto the drawer box putting a single screw though the area that will (hopefully) be covered by the drawer pull.

Four drawer fronts screwed to their respective drawer boxes

Back to the miter box to repeat that for the bottom row.

Miter box, with the left two drawer fronts remaining to the left of the saw

And I screwed each drawer front onto the appropriate box as I went.

Bottom right drawer front screwed to its drawer box

With all the drawer fronts in place, I cut the two halves of the short drawers apart, after visually verifying where the cut should be, and screwed those to the drawer boxes.

All of the drawer fronts screwed to their respective boxes, with the short drawer fronts cut apart

I also discovered that one of the runners I put in yesterday hadn't stuck, so I cleaned it up and reglued that (luckily I had set up the glue pot when I got to the shop).

Holding the drawer runner in place while the glue sets up

And with that, I called it a day. I'll come back and trim a little off the left edge of the lower row of drawer fronts, trim about ¾ inch off the bottoms of the bottom row (they all hang below the bottom of the cabinet now), then sand the fronts of them smooth and finish them with some shellac. They may get the whole French Polish treatment, but I still need to decide if I want to fill the grain first or not.

And then they'll get the drawer pulls installed, and I'll take a break from this till for a while. I need to repair and repaint a rocking chair we have (it used to belong to my mom) and then get started on my project for the turning swap.

All the drawers in place but the one with the runner that came loose


Contents #woodworking #storage

Discuss... Reply to this in the fediverse: @davepolaschek@writing.exchange

Jan 7, 2022

Step zero for the morning was to get the hot hide glue going. Figured I was going to need it today.

Drawer with countersink, plug-cutting and twist bits

When I left off yesterday, the short drawer I was working on looked like the photo above. When I came back to the shop, I realized I have 3 VIX bits I need to have a home for, so I got another piece of pine and started carving.

Drawer with countersink, plug-cutting and VIX bits with the twist bits moved to the top

I also wanted the drawer to be a bit shorter. There's no good reason for the trays to be a full ¾ thick, so I set the fence in the bandsaw to about ⅜ inch and resawed them.

Resawing the tray for the plug-cutting bits to ⅜ thick

I also took ⅜ inch off the top of the drawer box with one of my larger backsaws.

Cutting ⅜ inch off the top of the drawer

And then I set the two drawers in their cubby to make sure they'd fit with the runners in place, and got ready to glue the runners in. By this point, the glue was up to temperature. [brief break in the narrative while I run out to the shop and unplug the crock pot for the day, and put the glue back in the fridge]

Two drawers in the cubby with spacers to hold them apart

I set the lower drawer in place with some spacers, then did a rub-joint with the runners until the glue grabbed.

Lower drawer in its cubby with runners glued to the side walls above it

That's that pair of drawer boxes complete. I looked through the bits I have remaining, and it looks like the rest are just getting tossed into various drawers for now.

Tapered tenon cutter, some twist bits, and a set of twist bits in a yellow DeWALT case, filling a drawer

A few auger bits, a grey case which holds a set of calipers, a small jar of vaseline, and a couple screwdriver bits in the bottom of a drawer

And with the drawer boxes done, I started laying out the drawer fronts. I took my piece of resawed elm that's going to be the fronts, and decided which way it'll be oriented, then planed one of the edges square as a reference surface.

Jointing the edge of the two reason elm boards

Then I cut both boards to width and cut off the last ¾ inch from the end so I'd have a square surface there to measure from.

The two boards with the smooth surfaces up

Then I laid out the drawers on each of the boards, and called it a day. I'll double-check my work tomorrow before making any of these cuts, as once I start cutting, I'm committed to this plan. I think you'll be able to see the marks on the boards. The plan is that the drawer fronts will butt up against each other, leaving bookmatched grain on the two rows of drawers, and continuous grain from left to right along the row. The wood lost to kerfs should be just enough that the drawers won't rub against each other.

The two boards with the drawer positions marked on them


Contents #woodworking #storage #drawer #drawerFronts

Discuss... Reply to this in the fediverse: @davepolaschek@writing.exchange

Started on the next drawer of stuff. The spoon bits I have are about the toughest to make fit, so I started with them. Rather than using a gouge to carve a holder for them, I used auger bits to drill through two pieces of pine simultaneously, with them clamped in my face vise so the lead screw wouldn't push them apart.

Drilling through a paired set of boards, clamped in the face vise

Then with four holes drilled (for eight bits), I cut them apart on the bandsaw. Woohoo! They'll fit in a single layer in a small drawer!

After drilling the holes and cutting apart the pieces, they are placed in the bottom of the drawer to make sure they'll fit

So I measured how much height I needed and cut off the drawer.

Measuring the height I needed in the drawer

And glued and clamped a bottom to the piece that didn't have a bottom any more.

clamping a new bottom to the former top of the drawer-box

For the other half of the drawer, I carved trays for my countersink bits,

Carved tray for countersink bits, including the bits

Plug cutters,

Carved tray for the plug-cutter bits

And I'll fill the rest of the drawer with spare twist bits and the carbide-tipped spade bits I use for drilling through saw plates.

Drawer with countersink, plug-cutters and spare bits somewhat organized

I think I can take another ¼-⅜ inch off the drawer with the spoon bits tomorrow in order to make room for a pair of runners, so that's going to be the first thing for tomorrow, I think. Almost out of bits to find a home for, finally!


Contents #woodworking #storage #drawer #trays

Discuss... Reply to this in the fediverse: @davepolaschek@writing.exchange

One more drawer mostly done today. These are both carved into a piece of ¾ inch pine.

First the batwing bits, because I won't use them very often. They're nice for making a clean hole it they're in good shape, but mine aren't yet, and they haven't been a priority to sharpen up yet.

Tray holding an assortment of bat-wing spade bits

Recesses for the larger bits, pieces of bamboo skewers to hold the smaller bits, and a couple ipe knobs I turned from a ¾ inch diameter stick I had laying around so I can lift the set out of the bottom of the drawer.

Next is a tray for my forstner bits. Again, carved using three different gouges.

tray for forstner bits, with pencilled numbers indicating the sizes of the bits, in sixteenths of an inch

tray with forstner bits in place

Then I stuck a couple pieces of pine on the ends of that board so it can sit over the batwing bits in the same drawer. I may need to add a handle or I may not. Trying to decide if I'm going to make another tray to hold my plug cutters in this drawer too, but I got hungry for lunch and called it a day in the shop.

Drawer box with tray of batwing bits in the bottom

Tray of forstner bits, with oversized edge pieces to hold it above the lower tray

Once the glue has had a chance to dry, I'll cut off the top and bottom of the sides to get the tray of forstner bits fitting perfectly.


Contents #woodworking #storage #drawer #trays

Discuss... Reply to this in the fediverse: @davepolaschek@writing.exchange

Started out today by cutting down the drawer holding my Fisch auger bits. They only need a single level, and the added space will give me room for runners for the drawer above them.

Shortening a drawer-box by about a half-inch, drawer-box is in the face vise and I am sawing the top off with a large backsaw

Next up, the small drawer that will hold my long brad-point bits.

Short drawer, with holes drilled in the end of the box

When I drilled the smaller holes for the brad points, I broke through the end of the box (intentionally). So today it was time to fix that up. I glued on (with hot hide glue) a spare bit of edge-banding to cover the holes and protect the brad points.

Clamping a piece of edge banding over the holes I just drilled in the end of the box

Since it was hot hide glue, I didn't really need to clamp at all, but the clamps made it easier to take the curl out of the edge-banding.

The edge of the box with the holes covered by a piece of edge-banding

The drawer, seen from above, holding the bits

And now the small drawer is done. Time to give it some runners to ride on. I cut a couple pieces of oak, and tacked them into the till, spacing them the thickness of a scrap above the drawer below them.

drawer-runner protruding from the end of the drawer-cubby

Two hand screws holding the runners in place, viewed head-on

Two hand screws holding the runners in place, viewed from above

And a little over a half hour later, I figured the glue was “set enough” to test the fit.

Two drawers inserted to check the fit

Yep. That'll do.

Time for the next drawer. This will hold my old set of (mostly) Russell Jennings auger bits. I made wooden holders for the largest bits.

Lower layer of (larger) drill bits in a drawer-box

And then reused one of the metal clips from the (broken) box I got the bits in to hold the smaller bits. Plus I added a small handle I had left over from something else so I could lift this tray of bits out.

Upper layer of (smaller) drill bits on their removable tray

Again, hot hide glue put the piece of plywood into the end and set up quickly enough that I could continue working, rather than having to wait for the glue to dry.

So that's two drawers fitted out.


Contents #woodworking #storage #drawer

Discuss... Reply to this in the fediverse: @davepolaschek@writing.exchange

Jan 2, 2022

Today I started fitting out the drawers.

The biggest problem (the longest bits) I had were a set of long brad-point bits. They're almost exactly the same length as the drawer openings, which means they have to go into a box diagonally. Or the box needs holes drilled in the side walls. So I started by cutting about an inch off the top of one of the boxes and putting a bottom on it.

A drawer-box, held in the face vise, with a cut through two faces

The drawer box, with the top inch or two cut off

The smaller portion of the drawer box, with a piece of plywood clamped to it so I now have two drawer boxes

I also drilled holes into it from the two ends, but forgot to take a picture. Mañana.

In the bottom portion of that box, I put in holders for my set of Fisch augers with hardwood lead screws. They're very nice, but they're not a complete set, and Fisch is unlikely to ever make a complete set, so I didn't leave any spare room.

To make the rests for the sharp ends, I drilled holes in two pieces of board clamped together in my face vise. That worked pretty well.

Holes drilled in a pair of small boards, so that the holes are semi-circles in each of the two boards

The square ends of the bits just slide into half inch holes in another board. And then I made room for my “spare” tapered reamer bit in that case, as the Fisch bits will almost certainly get used in the same projects where I need a tapered hole (chair or staked furniture work).

Finished drawer holding auger bits on the left, and a single tapered reamer on the right

I'll likely cut the box down a little farther tomorrow and make runners so these two partial drawers can sit one atop another.

That was it for today.


Contents #woodworking #storage #drawer

Discuss... Reply to this in the fediverse: @davepolaschek@writing.exchange

Jan 1, 2022

A few odds and ends as I built the last two drawer boxes today.

First is one of the steps I don't think I've mentioned in previous write-ups of building a dovetailed box. If the opposing sides of the box are not the same length, it will be very difficult to make a square box. So after cutting the sides, I will match up the opposite sides in my face vise and look at their lengths. If they're uneven, like this pair are, they will need some clean-up.

Two boards, held together in a face-vise, showing that they are not the same length

I do the cleanup with a block plane. In pine, I can take a fairly heavy cut so it goes quickly, and as long as I'm careful, I won't get any spelching. First I go from right to left, tapering off the cut as I go, so I don't remove any material from the left edge.

block plane, sitting behind the two uneven boards, preparing to go to work

Then I turn the block plane around, and come from the left edge to the middle, evening things out. If I'm overlapping a little, I won't leave a crown in the middle, but if I do, that's usually not too big of a problem, as I'll clean that up with the final sanding of the drawer.

block plane, sitting behind the two boards, facing the other direction. The boards are now even

That done, I dovetail as normal.

For the glue-up, I put glue on the spaces between the pins, and on the sides of the pins.

Looking down on two corners worth of pins, with glue between the pins, and also on the sides of the pins

I slop it on a little heavy. It's a lot easier to clean up a little squeeze-out than it is to have to re-glue a joint.

A joint, pushed together by hand, with glue oozing out of the joint

When clamping the box, I put the first clamps on to pull the tails onto the pins, placing the clamps so they're compressing everything against the bottom of the box. If I have made everything fit right, the bottom will still be able to move a bit.

The next clamps go the other direction, holding the sides with the pins tight in the tails.

And then the third set of clamps go on, holding the top of the tail-boards tight on the pins, but not so tight that the boards bow in and end up curvy.

a drawer box, with six clamps holding it together while the glue dries

a different drawer box, with six different clamps in a slightly different arrangement, also holding the drawer together while the glue dries

And that's it for today. Happy New Year, and thanks for looking!


Contents #woodworking #storage #drawers

Discuss... Reply to this in the fediverse: @davepolaschek@writing.exchange

Yesterday I was busy building and didn't stop to take pictures.

Had one drawer box all ready for glue-up when I walked into the shop, so that was the first task. Got it together and started cutting the next box, which went well, and the first box had spent a little over an hour in the clamps, so I could remove them and reuse them on the second box of the day.

And then I started on the third box, and was done and ready for glue in under an hour. Apparently practice still makes me better! So I found four longer clamps and a couple shorter ones to hold the box together, since I'm pretty sure the glue wants at least an hour to set before I remove the clamps. I had a brief thought that I should be using hot hide glue, since the cold at the shop floor near the door won't bother that as much, and I could almost go clamp-free, but I haven't been setting up my glue-pot in the mornings, so Titebond II use will probably continue.

In any case, that was enough for the day, and I'll knock out the last two drawer boxes today, and maybe get the previous batch of three sanded and fitted today, and can get started on designing storage for the bits tomorrow.

Here are the three drawer boxes in place, after cleaning them up on the belt sander.

Till with five of the seven drawers in place


Contents #woodworking #storage #drawer

Discuss... Reply to this in the fediverse: @davepolaschek@writing.exchange

Dec 30, 2021

Took yesterday's drawer out of the clamps this morning and checked it for fit. As I expected, it was a bit tight, due to the bottom being a hair large.

Drawer in its future home, rubbing against the edge

So I scribbled on the sides with a pencil and hauled the belt-sander outside to clean things up. The belt started out as 60 grit, but I've been using it long enough that it's probably more like 120 now. Still plenty good for cleaning up drawer sides.

belt sander, outside, with the drawer box sitting on the table for the disc sander

After a few minutes, the sides were cleaned up, and the drawer fits much better. Maybe a hair loose, but plenty good for my purposes.

drawer in its future home, fitting slightly loose now

And it looks pretty good, too.

drawer side, with the dovetails sanded smooth


Contents #woodworking #storage #drawer

Discuss... Reply to this in the fediverse: @davepolaschek@writing.exchange

Dec 29, 2021

Another question I received was someone asking Why do you need so many drawers for your bits? Well, I have the following types of bits (and use them all for different tasks):

  • spoon
  • spade
  • hardwood auger
  • softwood auger (the lead screw is different for hardwood and softwood)
  • brad-point ship-augers (longer)
  • Forstner
  • plug-cutters
  • gimlets
  • cheap twist-bits for drilling metal

And that's not even counting the reamers, spoke-pointers, hollow augers, hole saws, or expansive bits. I have a lot of boring tools. ;–)


First a photo of how the till looked at this point.

The till, filled to overflowing with various bits and braces

That's yesterday's drawer-box in the lower right corner. I took it to the belt-sander to bring the dovetails down to level. I had cut them so the pins and tails protruded just a little, and it's a lot easier to fix that on the belt-sander than with a plane. Normally I cut dovetails so the flat surfaces are slightly proud of the end-grain, which is easier to plane flat. Maybe tomorrow's blog will cover that…

Todays update will fill in some blanks in yesterday's drawer construction. If I were a better person I'd go back and edit them into that blog.

As there are some variations in the carcasse, I'm measuring each drawer individually. No idea how many inches each is, but they should fit pretty good…

Marking the length of a drawer-board by placing it in the hole where it will live

Marking the width of a drawer front by placing it in front of the hole where it will live

So that's how I measure them. I also noticed that yesterday's drawer has the dovetails the wrong way around for greatest strength, so I switched things up today and cut the tails on the sides (which are the shorter boards).

And here's a picture of using the combination plane to make the grooves. I clamp the board to my new small bench (because there's room) with the edge just over the edge of the bench so the combination plane can index off the edge of the board.

A combination plane, planing a groove in a drawer side

And here's a completed board (either the left or the right of the drawer, don't remember which)

drawer-side with a groove planed in the bottom edge of it

To mark the size of the bottom, I set the (test-fit) drawer on the piece of ¼ inch plywood, with the outside of two edges on two edges of the plywood.

drawer-box sitting on a piece of plywood to mark the size of the bottom

Then I mark along the inside of the box for the other two sides of the drawer-bottom.

marking the inside edges of the remaining two sides of the bottom

Since I set the depth-stop of the combination plane to about half the thickness of the boards, this will work out to be about right.

And sure enough, it fits pretty well. The bottom was maybe tighter than ideal, but it's close enough that I won't worry about it unless I move the till to somewhere more humid. On future drawers, I'll plane a hair off the edges of the bottom to leave a little more slack.

drawer box glued up with clamps holding it together

It took about 90 minutes from cutting the first board to length to shutting off the lights with the next drawer-box in the clamps.


Contents #woodworking #storage #drawer #build

Discuss... Reply to this in the fediverse: @davepolaschek@writing.exchange

Enter your email to subscribe to updates.