Jan 8, 2022
When I left off yesterday, I had roughly laid out the boards for the drawer fronts and was thinking about how best to keep them aligned through the process of attaching them to the drawer boxes.
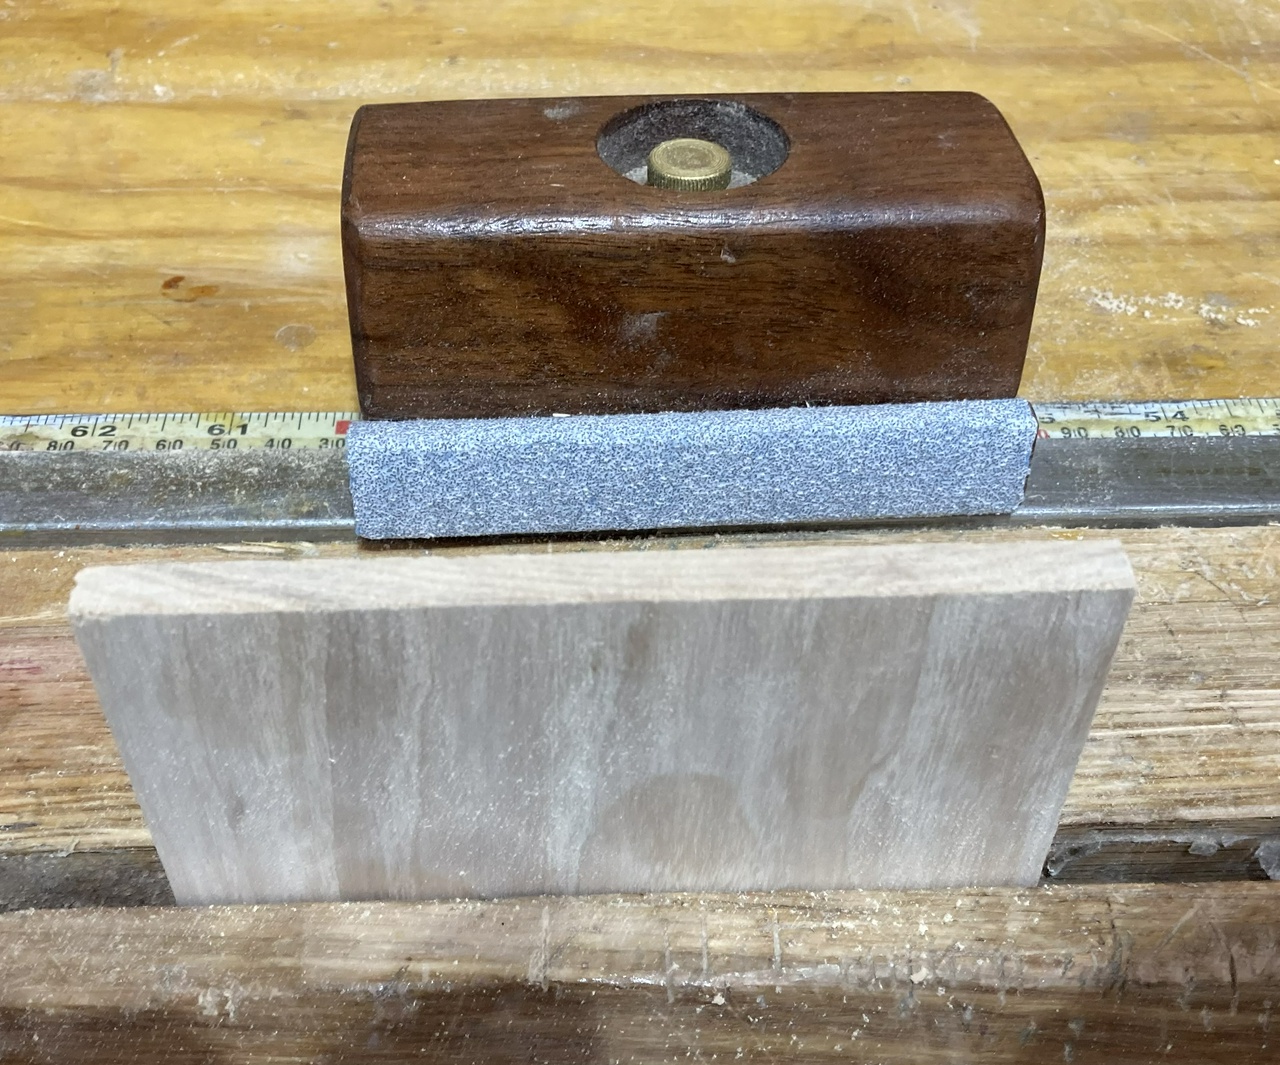
First step was to trim the boards down to length so I wasn't wrestling a 5-6 foot long piece around the shop. I used my “new” miter box for that.


This also will give you a bit of an idea of the chaos that is my bench top at the moment.
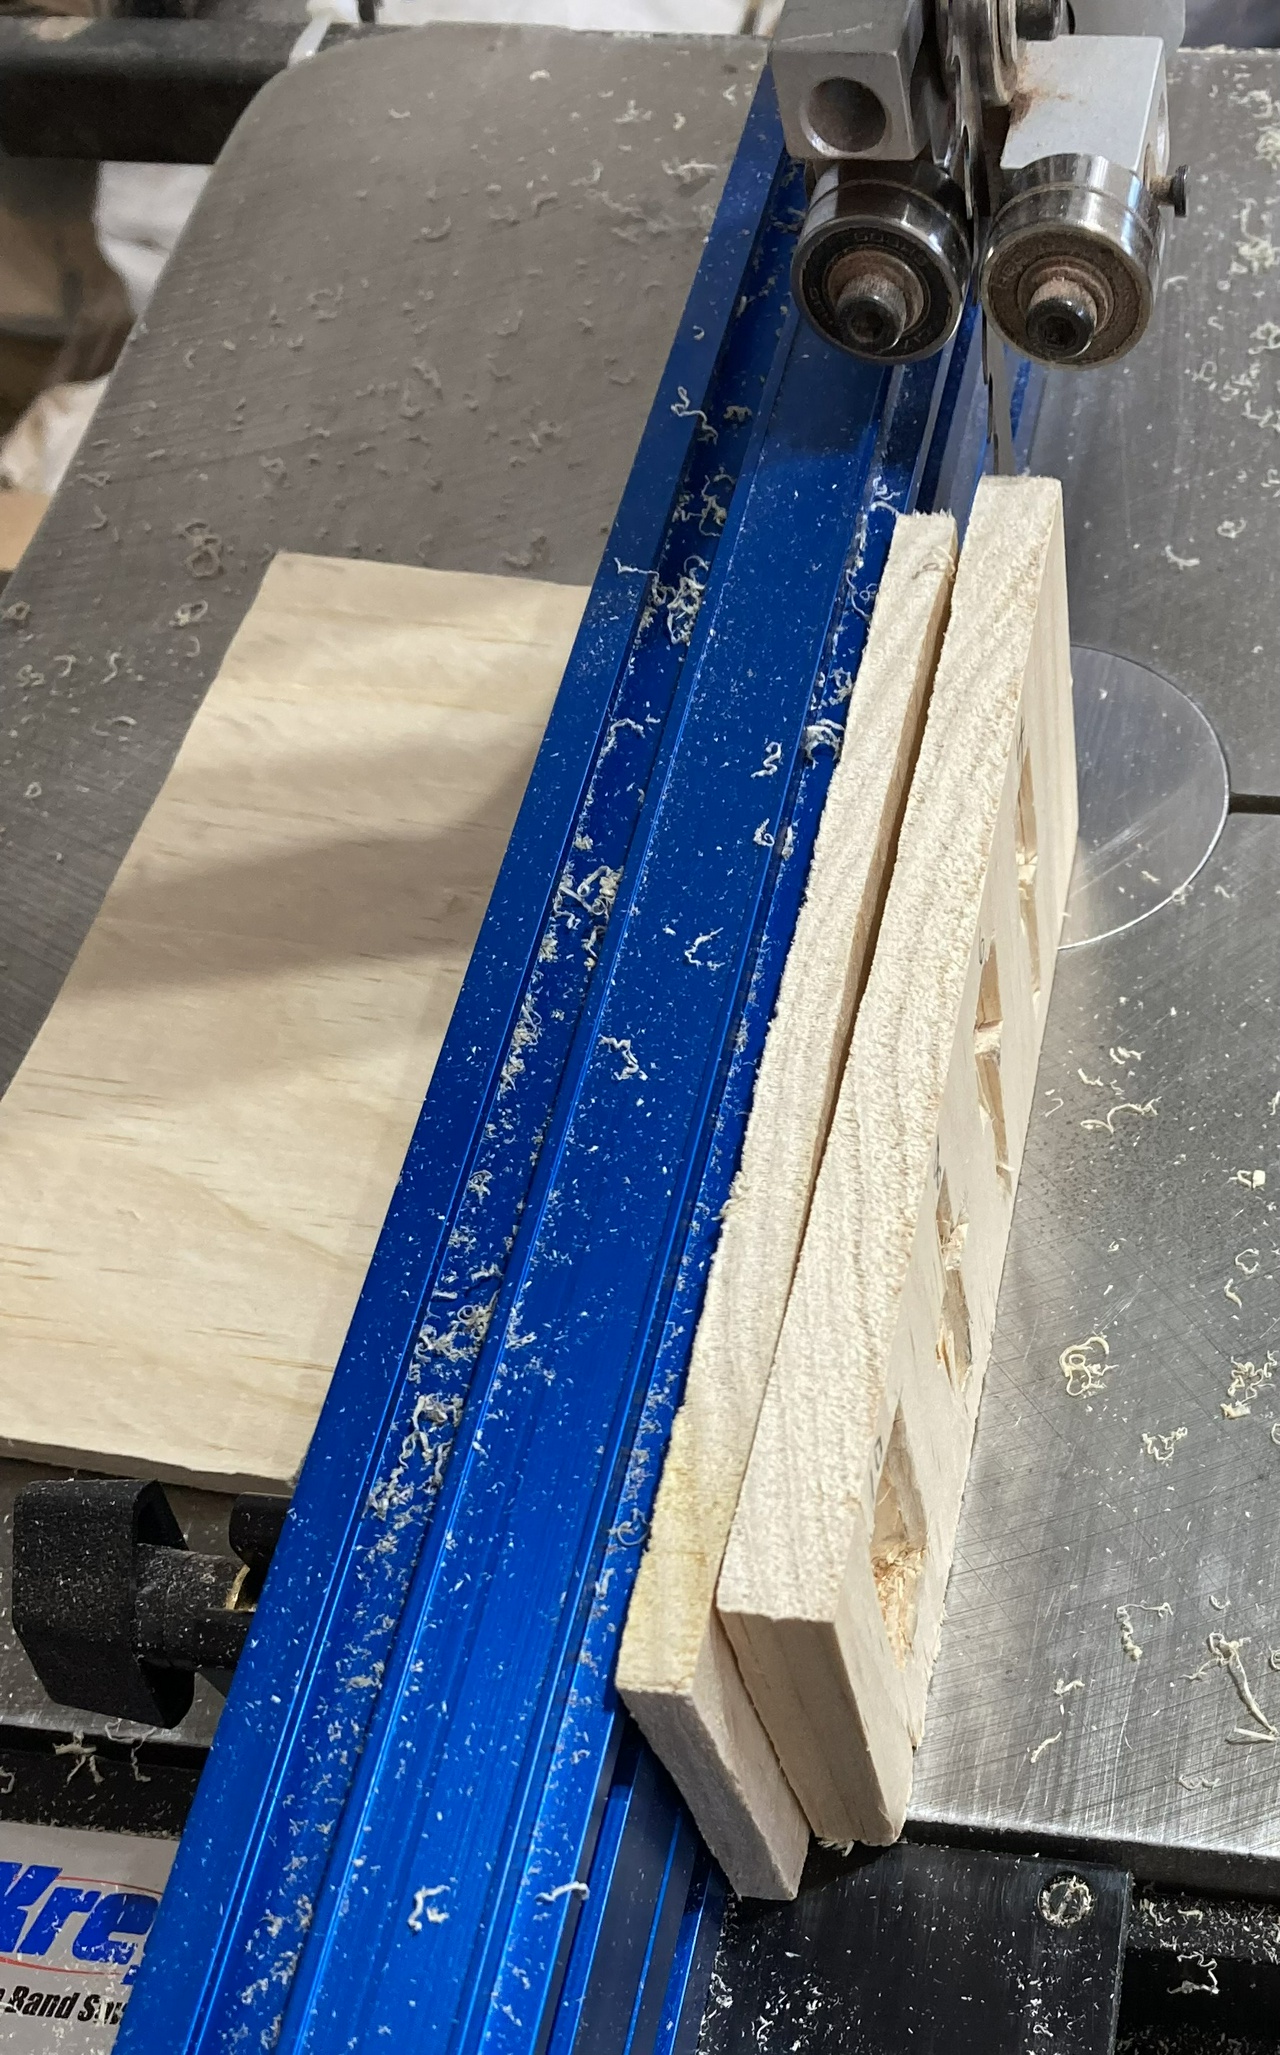
With that done, I wanted a way to get the drawers aligned vertically so I could mark how much I need to take off the top of the top row and the bottom of the bottom row. I decided that the best next step would be to flatten the backs of the boards. For the thicker one, this meant trimming off 3/32 in some spots, so I set up to resaw it on the bandsaw. I didn't take any picture of that because halfway through that board, the bottom of the bandsaw blade had wandered enough that it hit the side of the insert in the table, snapped, and the end of the blade took a little bite out of my finger. Nothing a band-aid wouldn't fix, but it threw me off a bit.
I inspected the bandsaw, and the problem is that the sliding bracket that holds the upper wheel doesn't slide very well, and the sides of it that should be smooth so they'll slide in the groove on the frame are all chewed up. So it sticks. So I had plenty of tension on the gauge that shows the tension on the wheel, but I didn't have as much tension as I thought on the blade, so bad things happened. New part ordered. Sigh.
So much for having my tailed apprentice save me some work. I put a new blade on, tensioned the blade and finished the cut, and then unplugged the bandsaw until the new parts arrive.
Then I got out the transitional plane I got from my Secret Santa and smoothed the backs of the drawer fronts enough that I figured I'd be able to glue them to the drawer boxes.

I used a couple screws and a piece of blue tape to hold the top board in place while I marked and double-checked the height, then cut the excess off the top of the board and planed the top edge smooth.

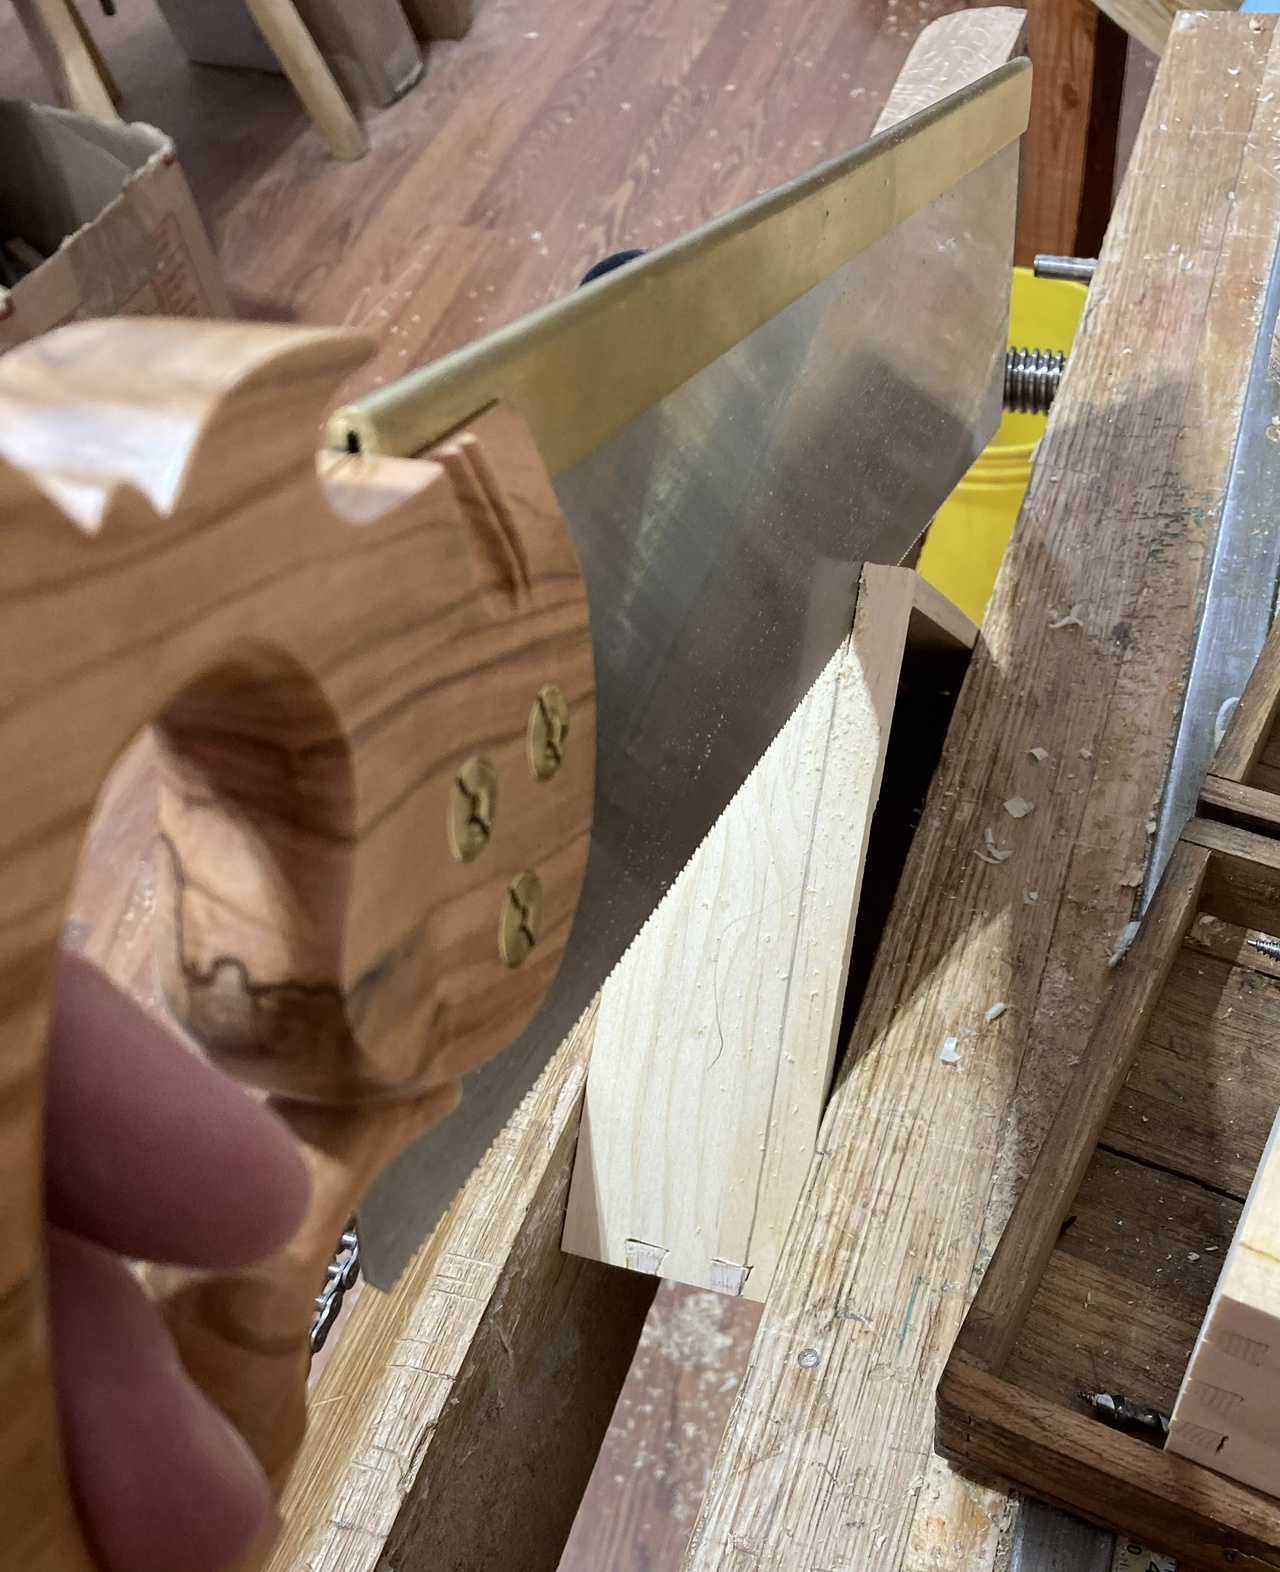
Then I used the miter box to cut the drawer fronts apart.

Then I screwed each drawer front onto the drawer box putting a single screw though the area that will (hopefully) be covered by the drawer pull.

Back to the miter box to repeat that for the bottom row.

And I screwed each drawer front onto the appropriate box as I went.

With all the drawer fronts in place, I cut the two halves of the short drawers apart, after visually verifying where the cut should be, and screwed those to the drawer boxes.

I also discovered that one of the runners I put in yesterday hadn't stuck, so I cleaned it up and reglued that (luckily I had set up the glue pot when I got to the shop).

And with that, I called it a day. I'll come back and trim a little off the left edge of the lower row of drawer fronts, trim about ¾ inch off the bottoms of the bottom row (they all hang below the bottom of the cabinet now), then sand the fronts of them smooth and finish them with some shellac. They may get the whole French Polish treatment, but I still need to decide if I want to fill the grain first or not.
And then they'll get the drawer pulls installed, and I'll take a break from this till for a while. I need to repair and repaint a rocking chair we have (it used to belong to my mom) and then get started on my project for the turning swap.

Contents #woodworking #storage
Discuss...
Reply to this in the fediverse: @davepolaschek@writing.exchange


