Jefferson Bookcases – The Little Things
Originally written Dec 8, 2020
As I was building another book case today, I thought about some of the little things I do that make the process easier. These aren't all things I've been doing all along, and while there's nothing surprising here, it took me a while to incorporate these into my process. Maybe this will help someone else.
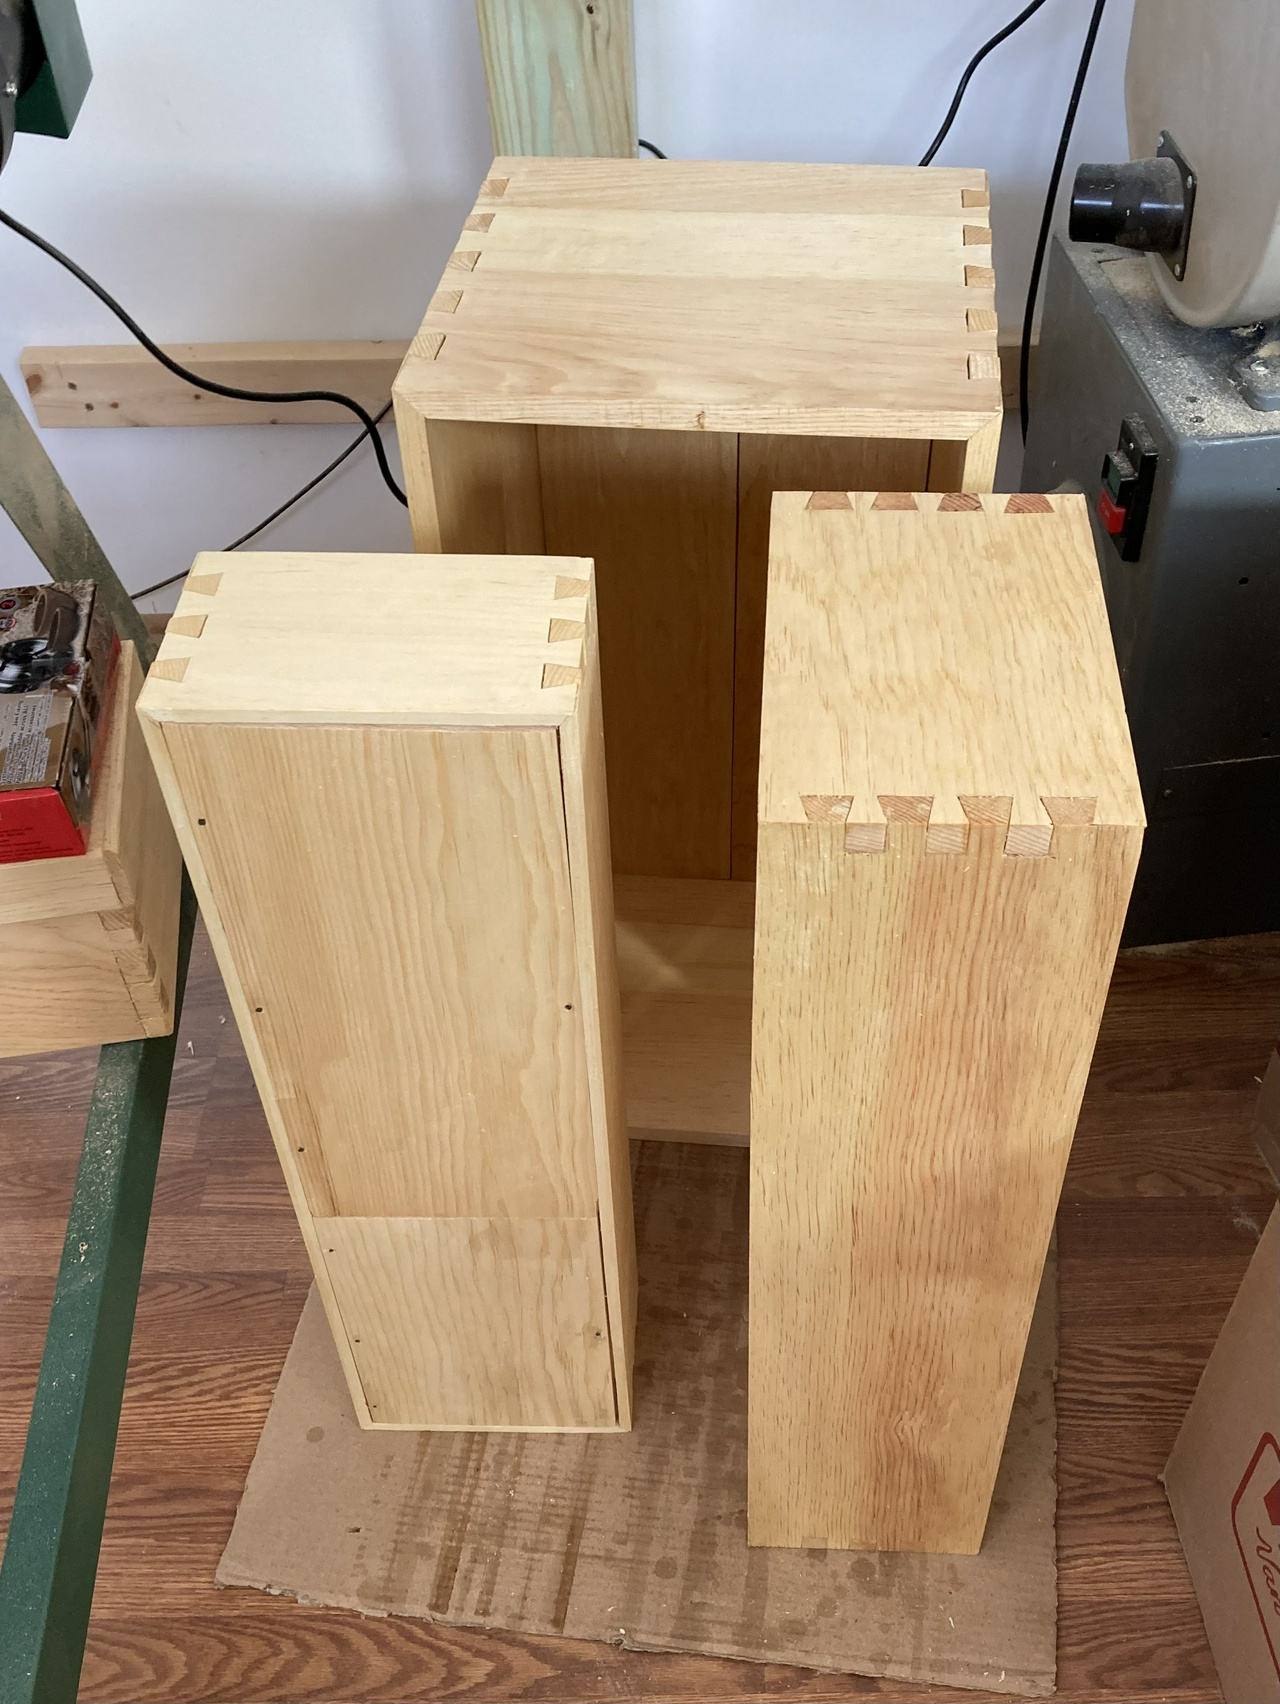
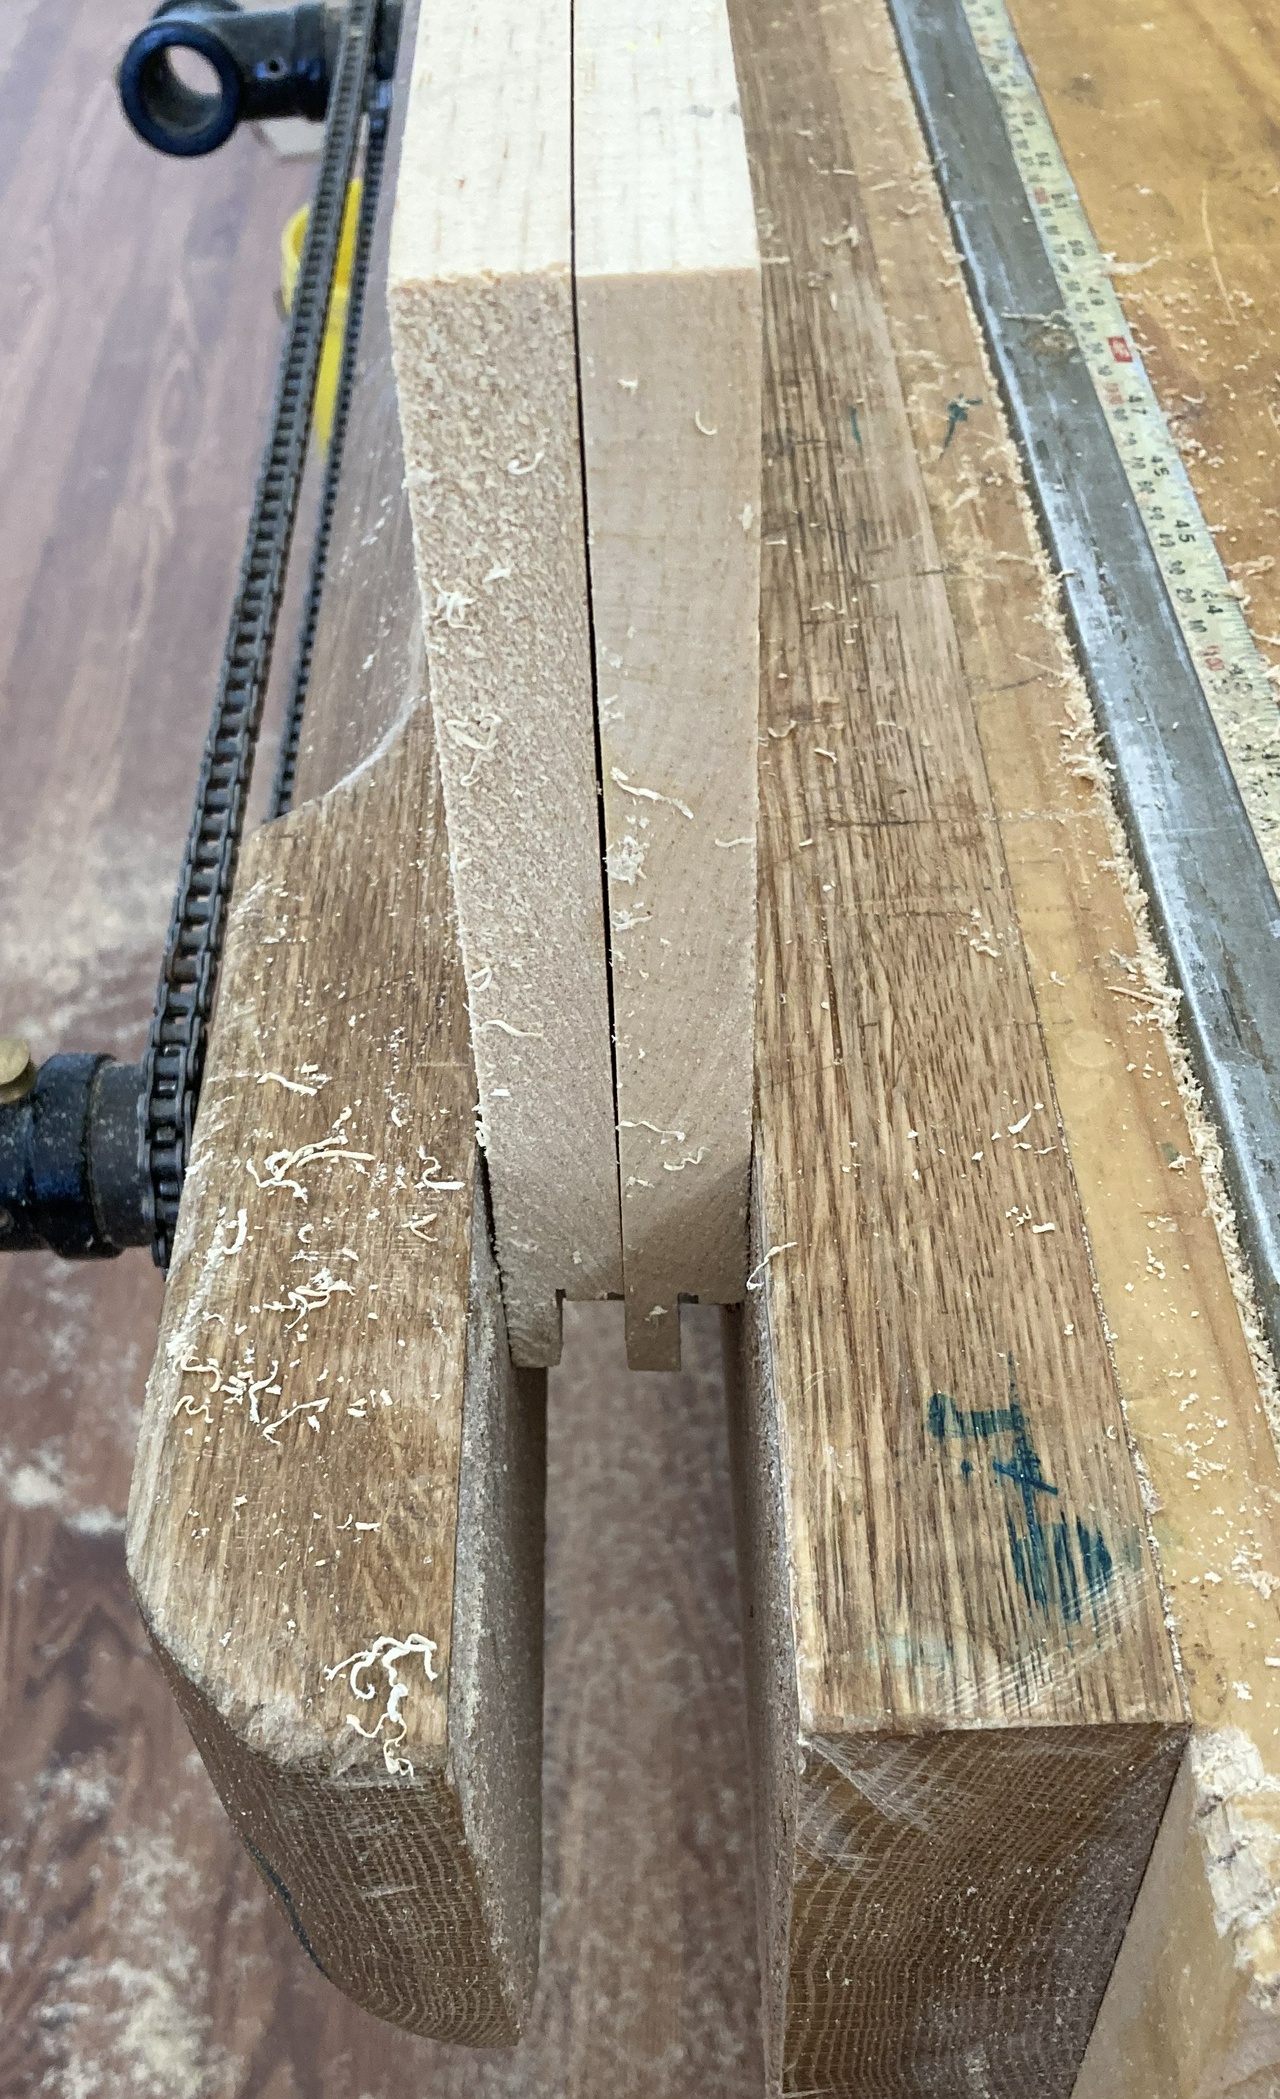
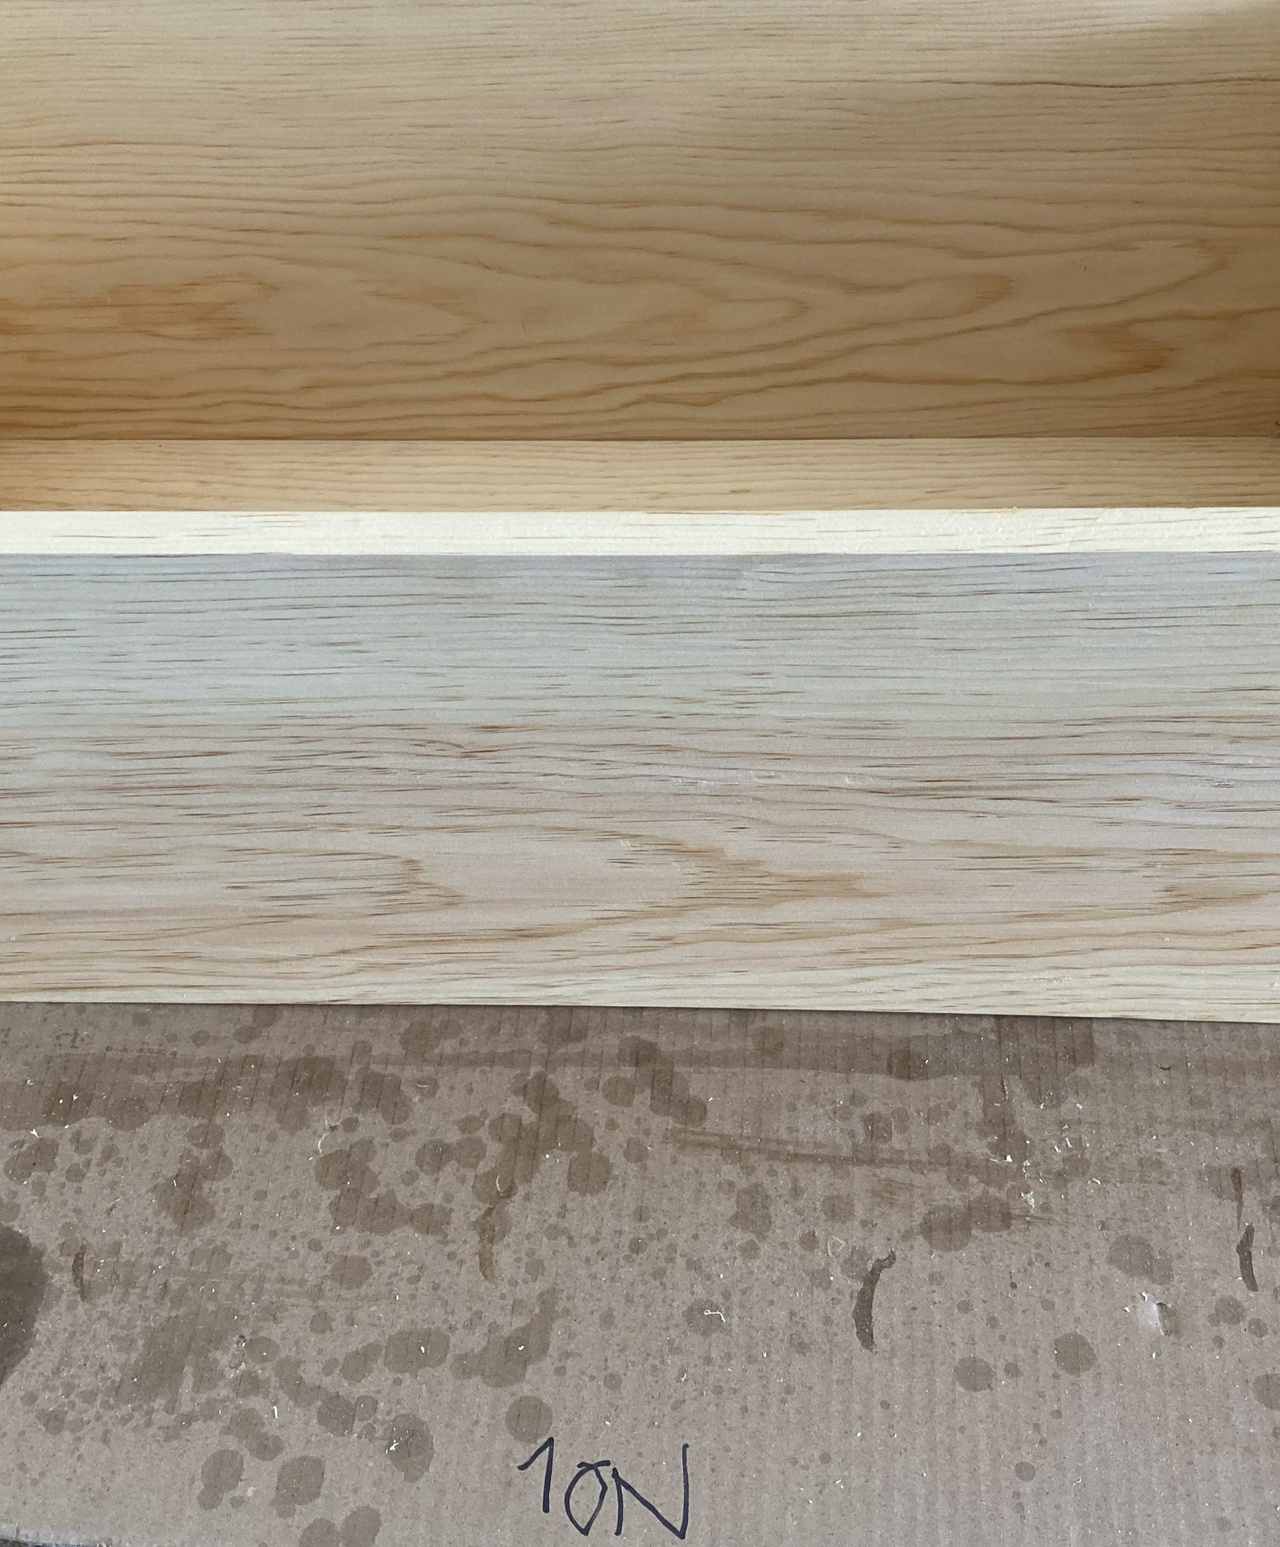
Square up the stock, making sure opposite sides of the case are the same size.

Since I tend to cut the lumber to size in batches, all of the pieces are pretty close in size. There's less than 1/16 inch difference in length, usually. But straight from the lumber yard, there are some boards that are a little wider than others. I've had two pieces that differed in width by 1/8 inch, which will cause issues. So I generally take a couple minutes before starting on a new case to make sure that the two opposite sides are the same size. If not, I'll throw them in the vise and plane them to the same width.
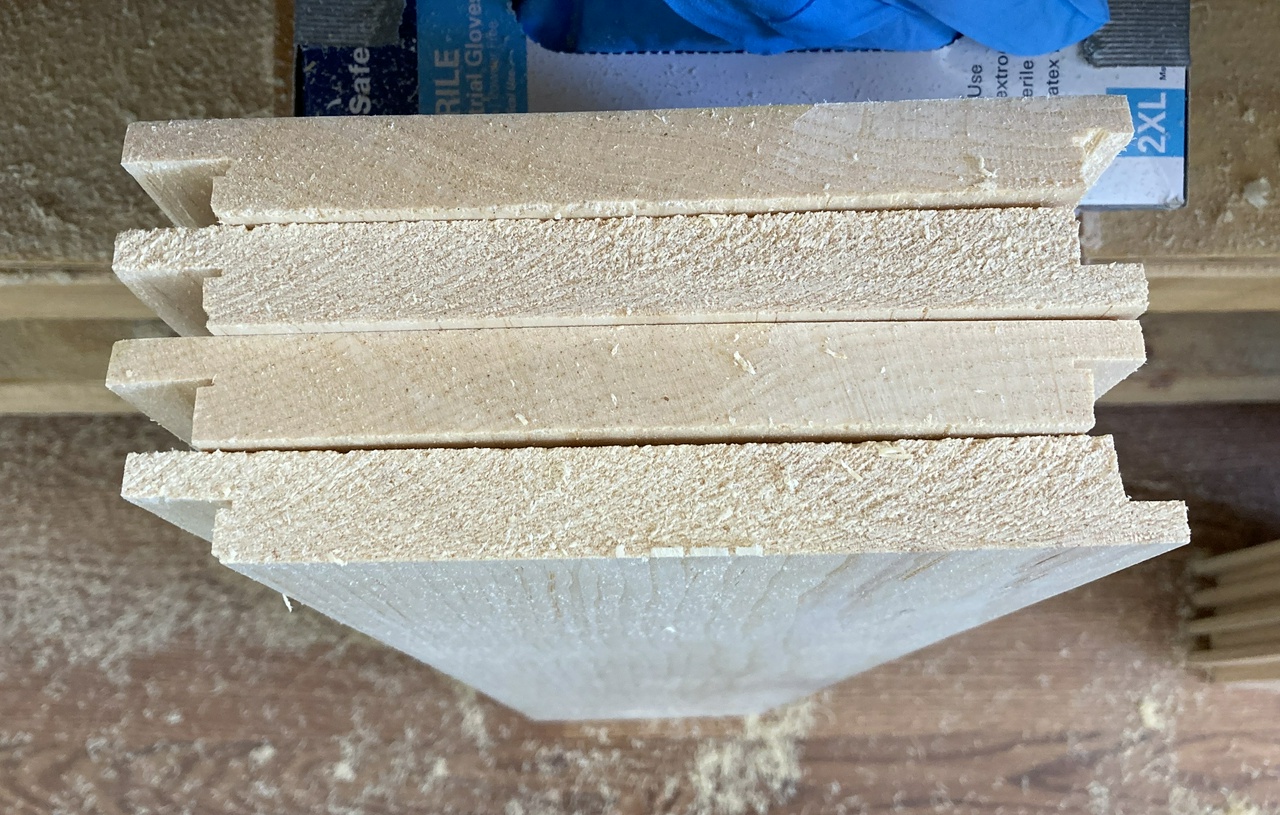
Lay things out from the front of the case.
I always make sure the side boards and top and bottom boards are aligned on the side that will be the front of the case. If there's a mismatch, I generally plane the boards even after the case is glued up, but it's a lot easier to do that on the back of the case. The fronts are generally aligned to within one pass of the block plane, which I like to do anyhow, just to clean up the wood.
Make sure my pencils (and other tools) are sharp before I start

It's not the end of the world if the pencil isn't sharp, but having to get up and sharpen it throws me out of my rhythm, so I've gotten in the habit of making sure the three pencils I have on my bench are all sharp when I start in the morning. Similarly, if a saw or plane needs sharpening, I'll set it aside and switch to a sharp one before starting for the day. If I have to stop to sharpen tools in the middle of the day, it throws me off a little. Easier to make sure everything is ready to go before I get started. And then when it's time to sharpen, I concentrate on that.
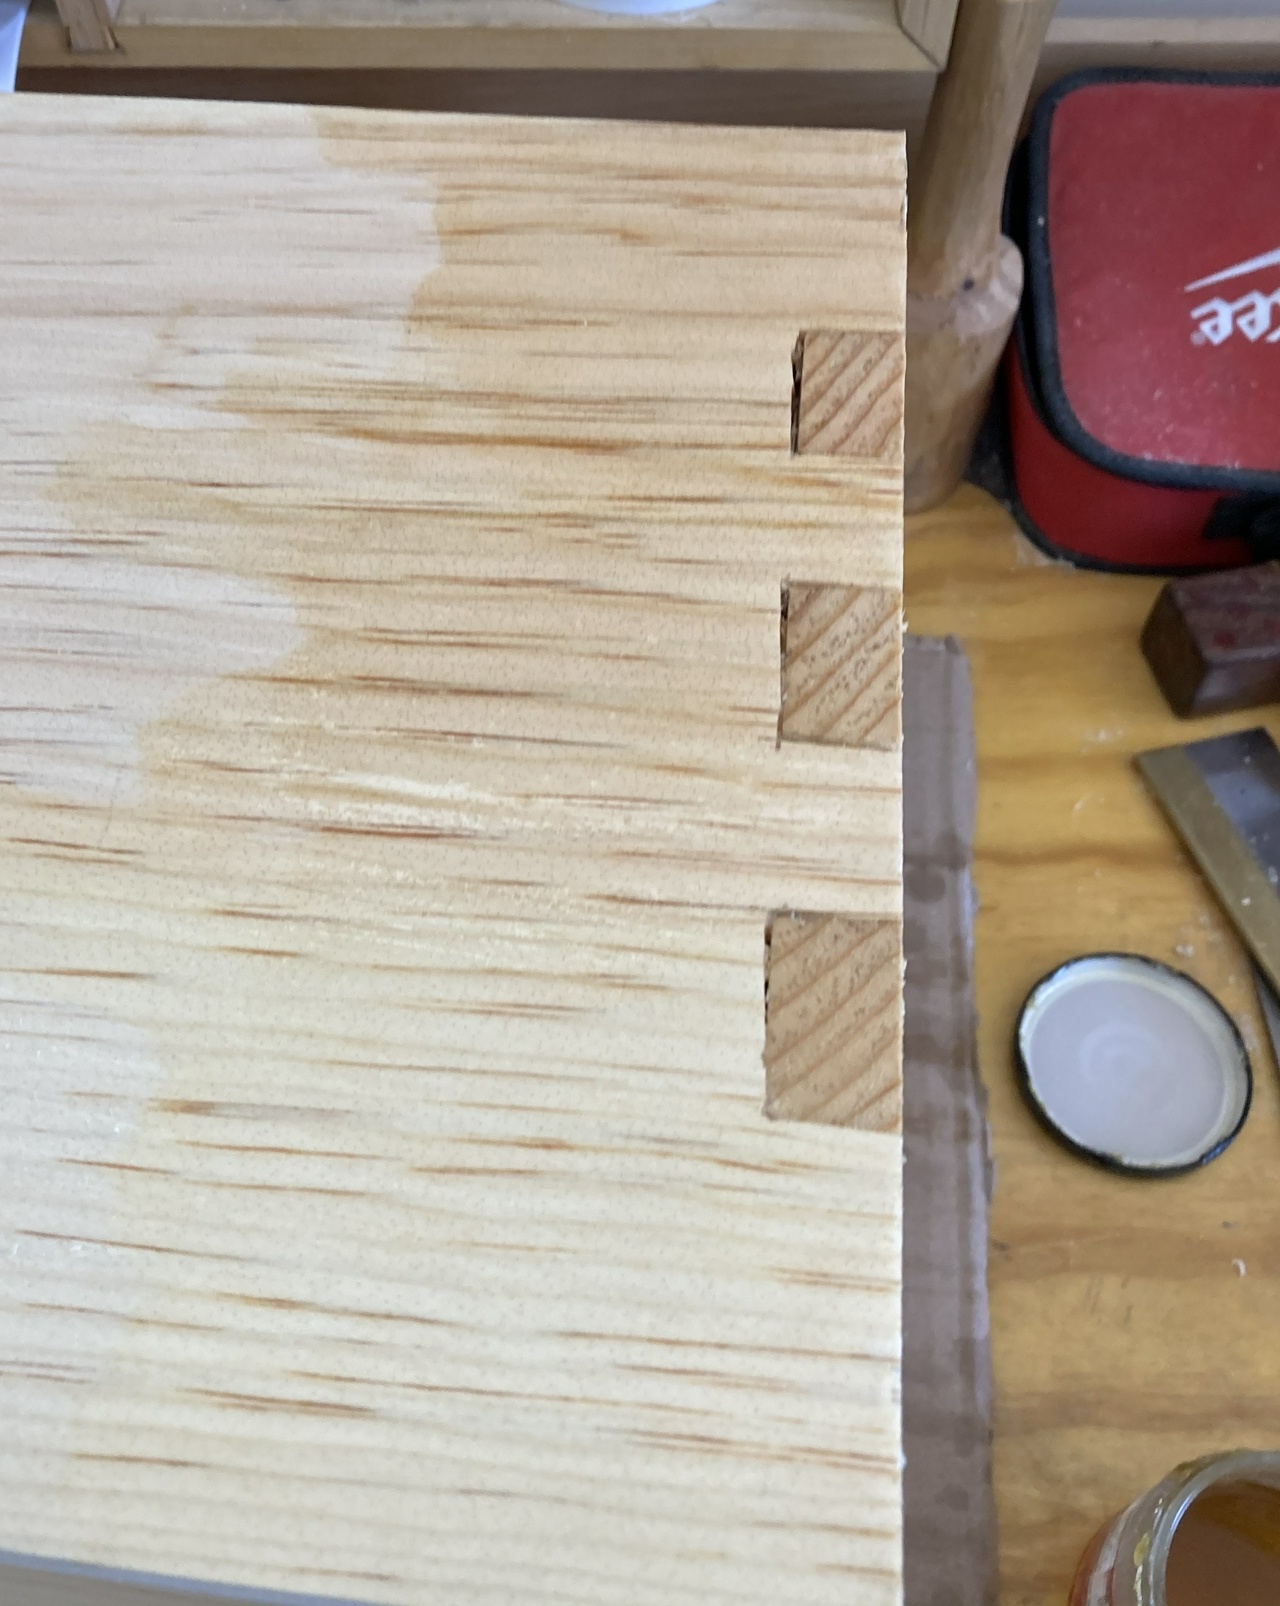
Make templates

I figured out the spacing of dovetails once for each size case, and I keep those templates handy. If I make a new size of case, I make a new template, and label it appropriately. It saves me having to figure out the “right” spacing from scratch again.
Have fresh shellac mixed up

It takes about an hour to mix up a new batch of shellac using the magnetic stirrer. I find it's a lot easier if I just have two jars of shellac always ready to go. When one gets empty, I'll finish the case I'm working on, and then mix up another batch right away, so I don't have to wait for the shellac to be ready.
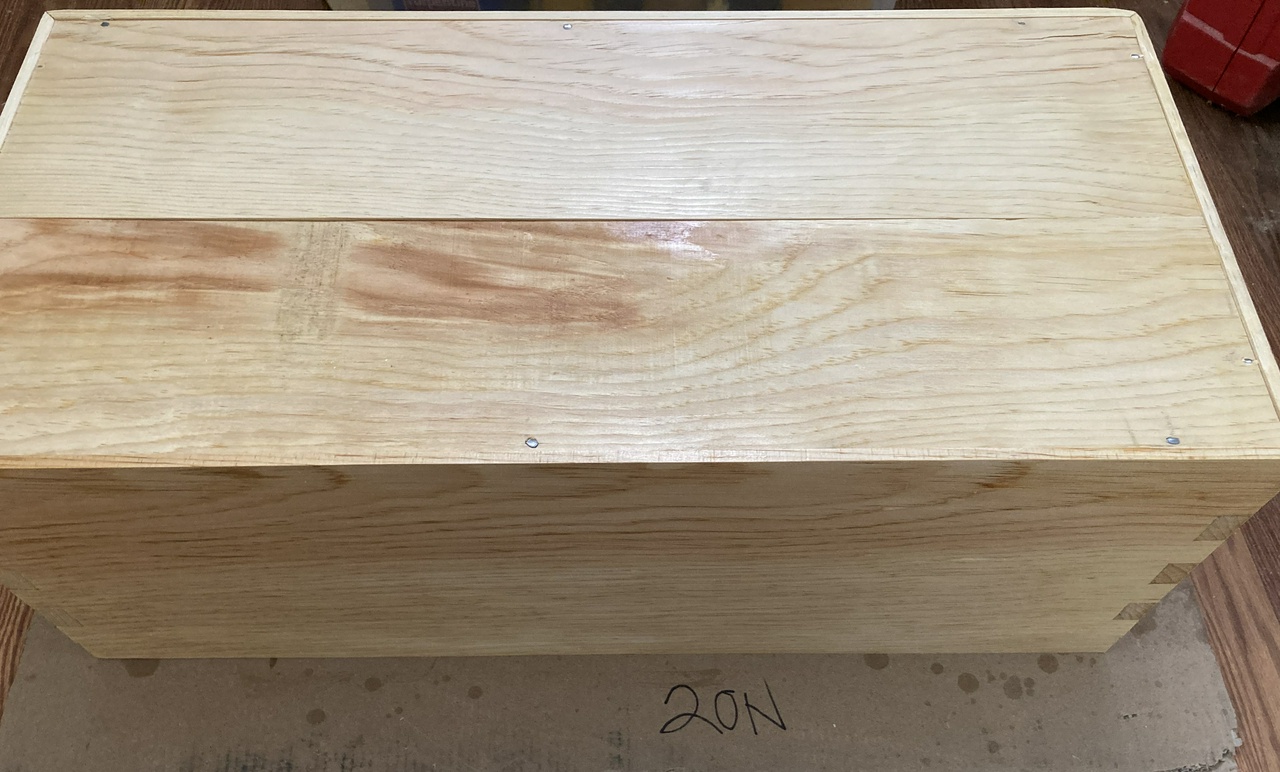
Here's a photo of the progress as this was written. I had to switch to panorama mode in order to capture all the cases. There are 37 cases in 8 stacks at this point.

Jefferson Bookcases Contents #woodworking #bookcases #tipsTricks #progress
Discuss... Reply to this in the fediverse: @davepolaschek@writing.exchange